

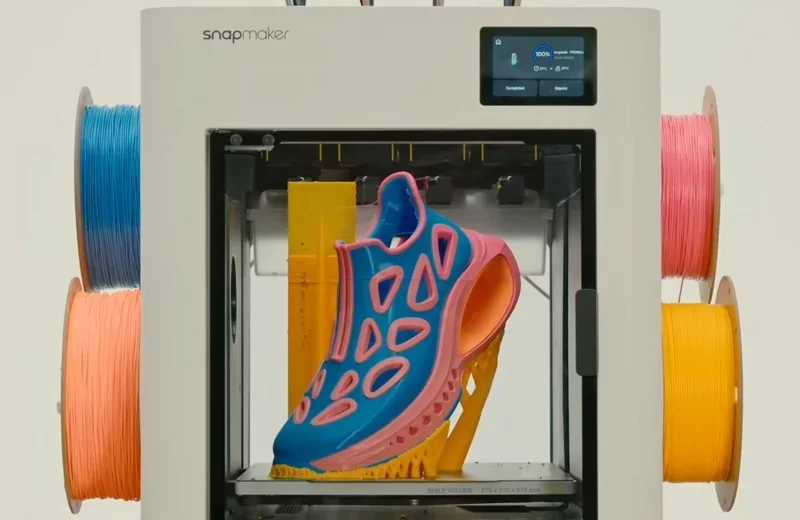
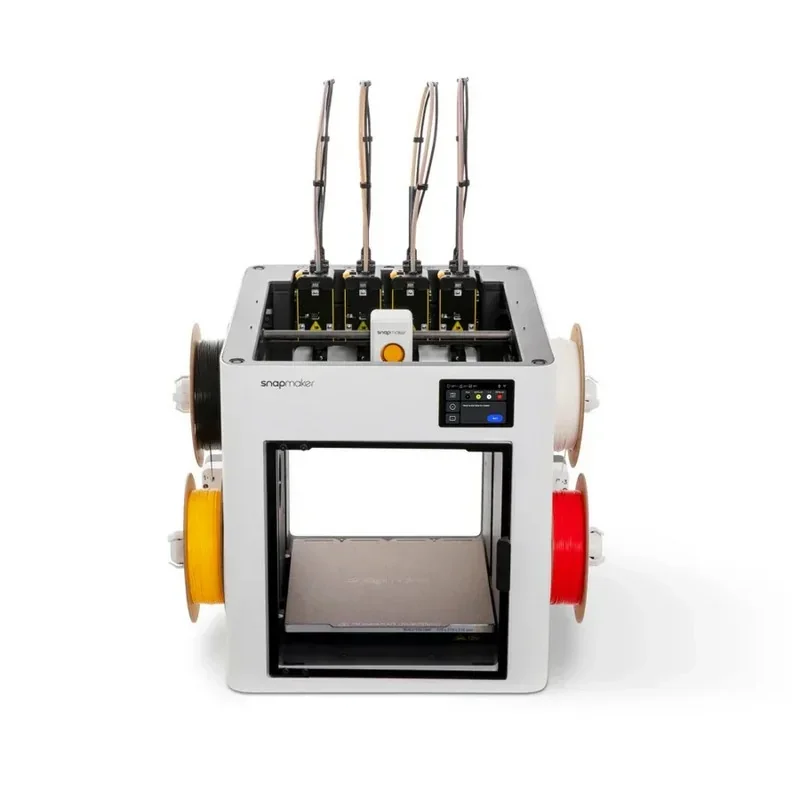
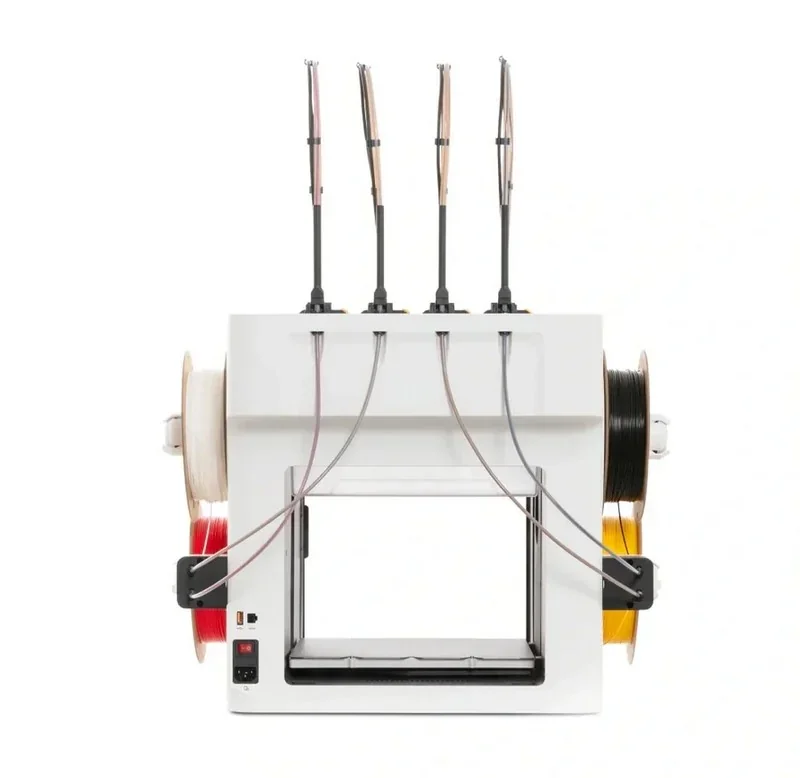
Snapmaker U1 is a CoreXY, four-toolhead toolchanger FDM 3D printer with a 270 × 270 × 270 mm build volume, engineered to deliver multi-material/4-color prints without purge waste by assigning each filament its own dedicated nozzle. It runs up to 500 mm/s (20,000 mm/s²) with 0.08–0.24 mm layer heights and achieves ±0.1 mm dimensional accuracy, backed by automatic bed leveling and a 300 °C hotend/100 °C heated bed for process stability. A built-in 2 MP (~1 Hz) camera supports remote monitoring, and the Klipper-based firmware (Moonraker/Fluidd) provides OTA updates for ongoing feature improvements.
Print quality. The Snapmaker U1 supports 0.08–0.24 mm layer heights (0.20 mm recommended), enabling fine detail while keeping throughput high. It achieves dimensional accuracy up to ±0.1 mm on finished parts. Lab testing demonstrates the printer’s performance via 1,000,000-cycle tool-swap endurance, accelerometer-based vibration/input-shaper characterization, multi-material print trials (PLA, PETG, TPU, PVA, ABS, ASA) with filament-usage benchmarking, dimensional-accuracy and toolhead-offset verification (≤0.04 mm), mesh bed-leveling/first-layer checks, and high-speed runs up to 500 mm/s.
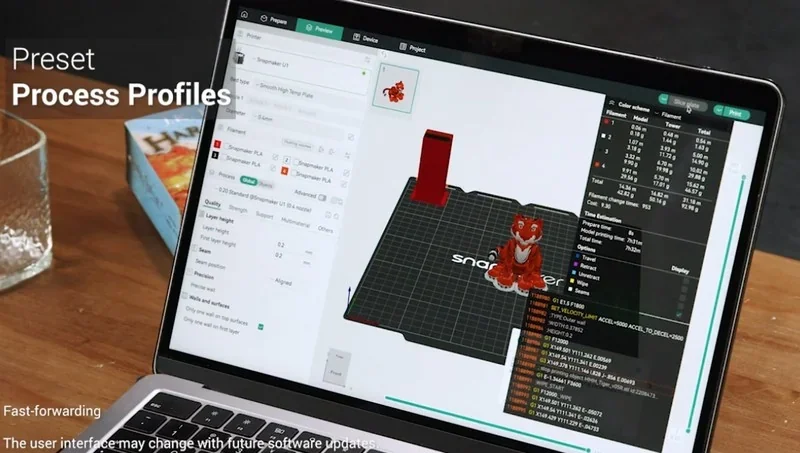
A prime-tower routine clears any heat-soaked residue during color changes to prevent oozing and poor layer bonding, helping maintain clean edges and consistent surfaces during multi-color 3D printing.
Performance. Maximum toolhead speed is 500 mm/s with up to 20,000 mm/s² acceleration. Compensation features keep results consistent at speed: the U1 auto-aligns XYZ offsets between toolheads within 0.04 mm for sharp color boundaries and seamless multi-head jobs, and uses Input Shaping and Pressure Advance to suppress ringing and flow-timing artifacts for smoother walls and crisper corners.
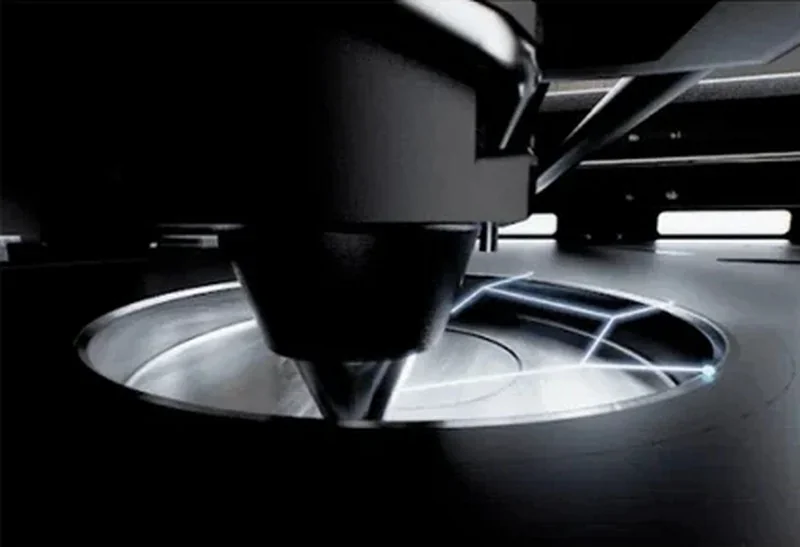
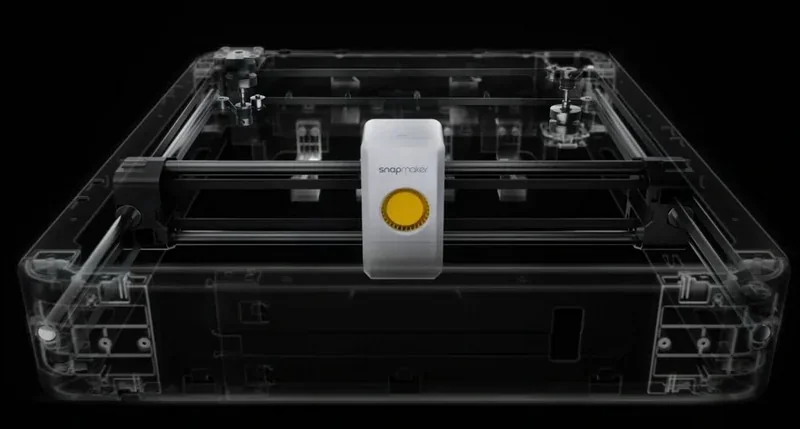
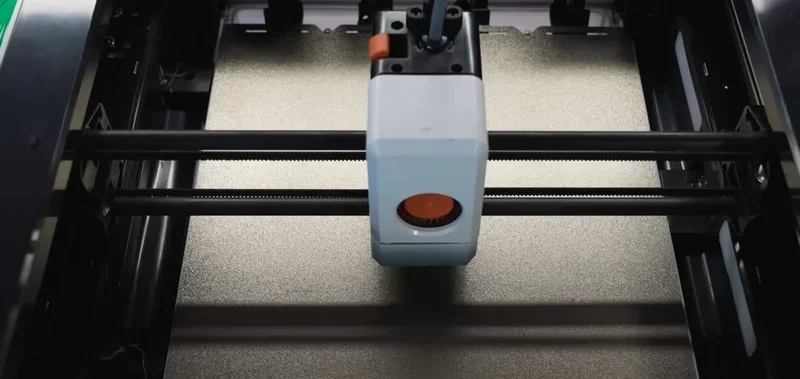
Mechanics that drive quality. A CoreXY motion system with a lightweight, rigid carbon-fiber X-axis rod reduces moving mass and vibration; all-metal Y/Z rails, linear bearings, and belt/lead-screw transmission provide stable motion. A fully automatic bed leveling routine (high-sensitivity probe) ensures a flat, reliable first layer.
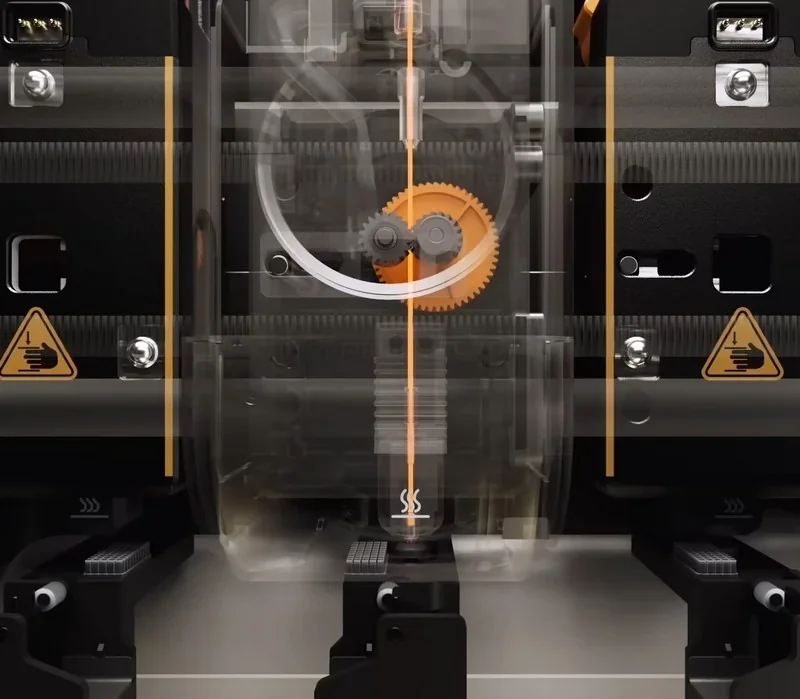
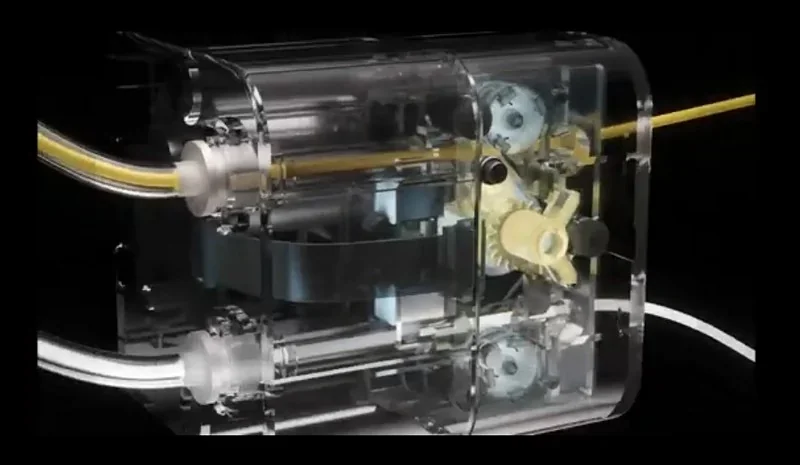
Extrusion stability is reinforced by a direct-drive system, 300 °C stainless-steel hotend with thermal isolation to prevent heat creep, and built-in nozzle cleaning/lift to reduce clogs. A 100 °C heated bed and 6.5 mm reinforced structure keep adhesion and mesh variation controlled for repeatable results.
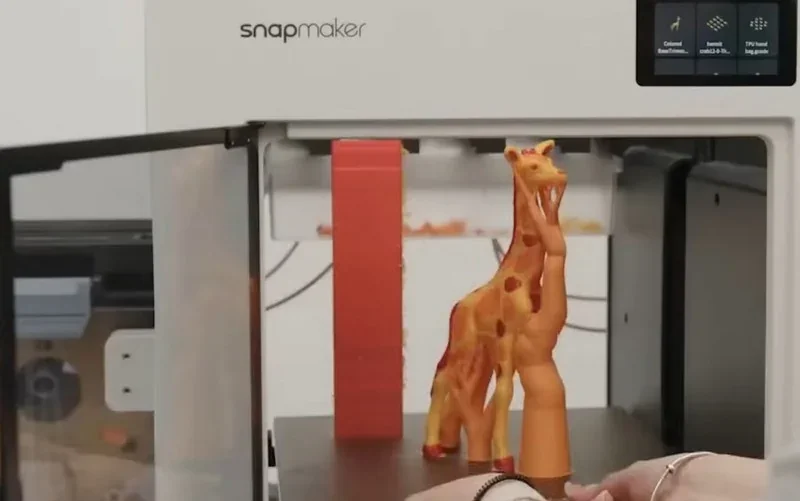
Example: In the review by YGK3D, the four independent toolheads of the Snapmaker U1 delivered crisp multi-color PLA prints, clean PLA+TPU assemblies with minimal stringing, and carbon-fiber PETG parts with well-separated breakaway supports. Results showed accurate tool alignment, consistent surface quality, and low purge waste.
Example: In the review by 247printing, the toolchanger automatically aligned its toolheads within the 270 × 270mm work area, producing a sharp 4-color PLA Deadpool (with rear oozing, no purge tower), a clean T-Rex wall piece, and a smooth large-scale Gordon Freeman. PETG and TPU results were mixed: minor stringing on a Voronoi deer, belt-pitch artifacts on coarse PETG, moderate TPU stringing, and a failed multi-material CT foot due to a TPU clog.
Example: In the review by WombleyWonders, a pre-production Snapmaker U1 was tested by printing a blue PLA ocarina with PLA breakaway supports. The overhangs were clean, and the supports were easy to remove, leaving only minimal surface texture from the support “bowl.” A separate collar, printed in brown PLA with an embedded yellow PLA Triforce (~3 mm features), finished in roughly 10 minutes with sharp edges and a seam neatly hidden on the reverse.
Example: In the review by 3D Prints By Vic, the Snapmaker U1 produced the Cinderwing 3D Mushroom Turtle in PLA (CookieCad “Blue Ombre Elixir”) in just over 5 hours, with uniform layer lines and well-defined surface details. The print showed noticeably more stringing compared to the K2+ reference print, which had been completed earlier in a drier, temperature-controlled room over approximately 12 hours. This highlights that the U1 supports printing with extra motors, providing consistent multi-axis control.
Snapmaker U1 supports 4 material types out of the box—PLA, PETG, TPU (≥90A), and PVA — and with the Top Cover it adds ABS and ASA; combining the Top Cover with hardened steel hotends further extends compatibility to PC, PA, PA-CF, and PA-GF. Temperature-sensitive filaments such as ABS/ASA benefit from the Top Cover’s passive chamber up to 50 °C for improved stability, while TPU below 90A is still being evaluated. The printer is open to third-party 1.75 mm filaments (when using these, material type settings can be manually selected). Hardware that broadens material support includes 300 °C hotends, a 100 °C heated bed, and optional hardened steel hotends for abrasive fiber-reinforced filaments; a SnapDryer add-on is available to dry hygroscopic materials.
PLA Print Sample:
PLA Print Sample:
PLA Print Sample:
PLA Print Sample:
PLA Print Sample:
PLA Print Sample (with PVA Supports):
PLA Print Sample (with PETG Supports):
Example: In the review by Aurora Tech, the Snapmaker U1’s 4-head toolchanger produced clean, multi-color PLA prints with sharp separation, minimal purge waste, and accurate first layers, including a functional Master Sword and detailed Benchy and Vegeta models, enabling 3D printing with a 4-head. It also handled PETG with PLA supports and TPU tires well, showing clean breakaways, flexible parts, and dimensional accuracy within 0.05 mm.
ABS, Nylon and ASA Print Samples:
Multi-color PLA Print Samples:
Example: In the review by The Next Layer, a 36-hour print on the Snapmaker U1 with 0.15 mm layers and around 10,000 tool changes delivered uniform walls and clean color/material transitions, with no missed swaps or under-extrusion. Only the support filament (old and moist) showed some stringing and caused a minor layer shift, while the main model material printed cleanly.
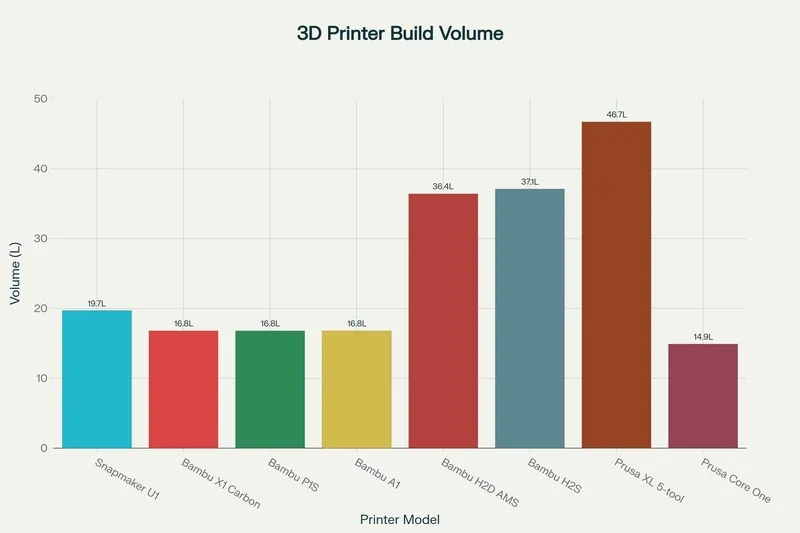
The printer offers a 270 × 270 × 270mm build volume, and because it uses a four-head toolchanger rather than a dual-nozzle carriage, there is no build-area reduction from a dual-extrusion mode.
| 3D Printer Model | Build volume (mm) | Chamber | Max nozzle (°C) | Max speed (mm/s) | Price (USD) |
|---|---|---|---|---|---|
| Snapmaker U1 | 270 × 270 × 270 | Enclosed | 300 | 500 | From $849 (pre-order). |
| Bambu Lab X1 Carbon Combo (X1C + AMS) | 256 × 256 × 256 | Enclosed | 300 | 500 | From $1,249. |
| Bambu Lab P1S Combo (P1S + AMS) | 256 × 256 × 256 | Enclosed | 300 | 500 | From $749. |
| Bambu Lab A1 Combo (A1 + AMS Lite) | 256 × 256 × 256 | Open frame | 300 | 500 | From $499. |
| Bambu Lab H2D AMS Combo (H2D + AMS 2 Pro) | 350 × 320 × 325 † | Active to 65 °C | 350 | 1000 | From $2,299. |
| Prusa CORE One (+ Multi-Material Unit 3) | 250 × 220 × 270 | Enclosed, active control; max chamber temp 55 °C | 290 | 300 | From $1348 Kit / $1,598 Assembled. |
| Original Prusa XL (5-toolhead) | 360 × 360 × 360 | Open (optional enclosure) | 290 | 400 | From $4,099. |
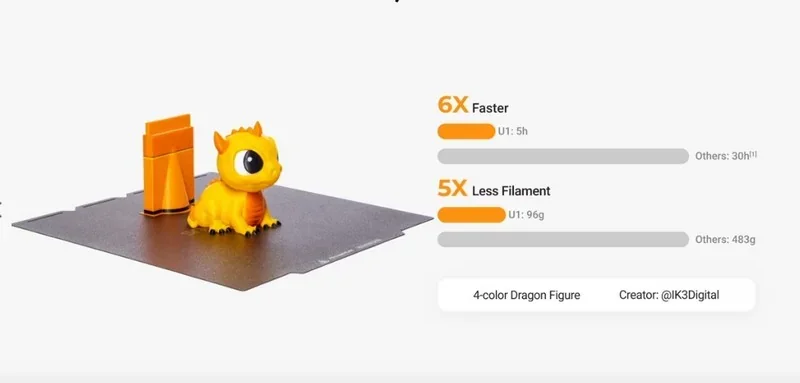
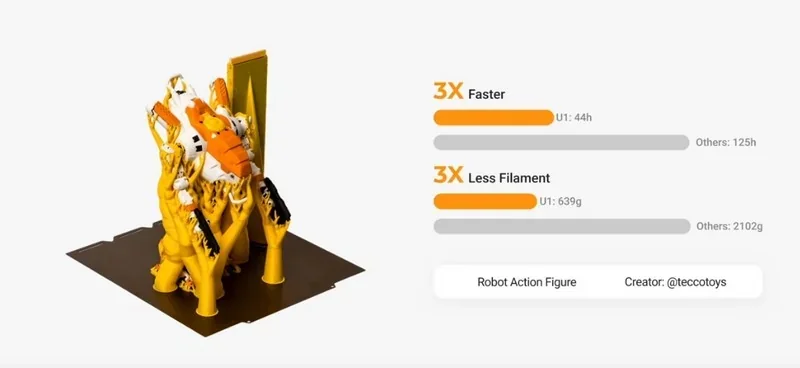
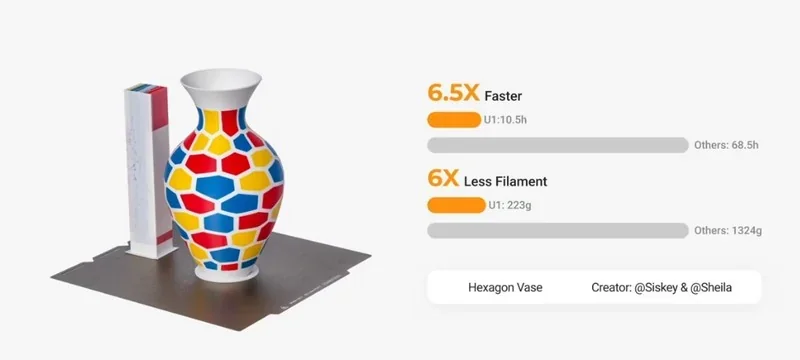
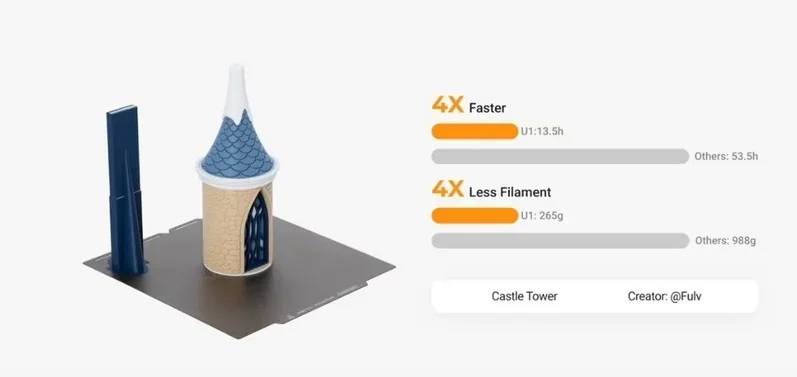
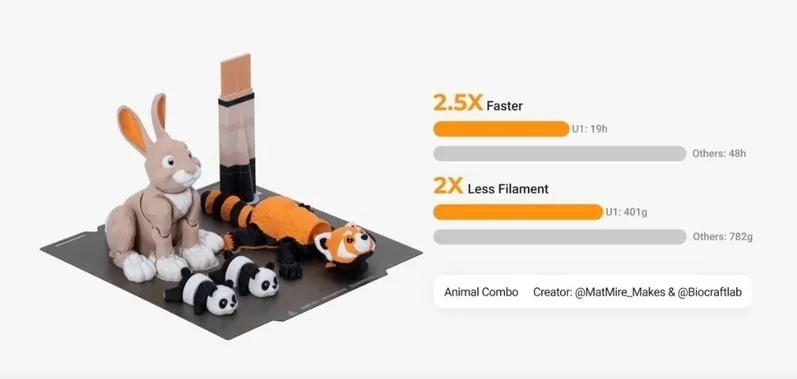
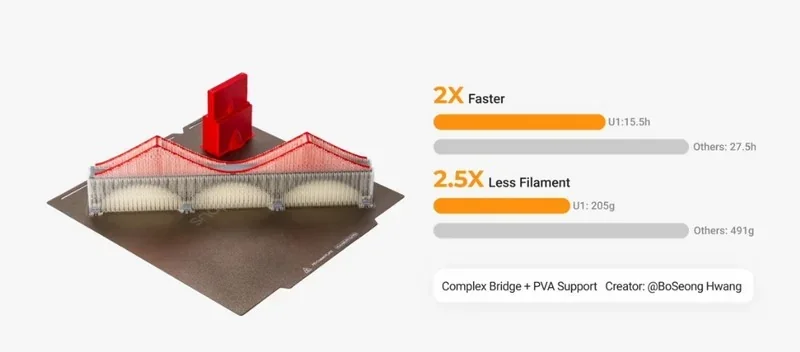
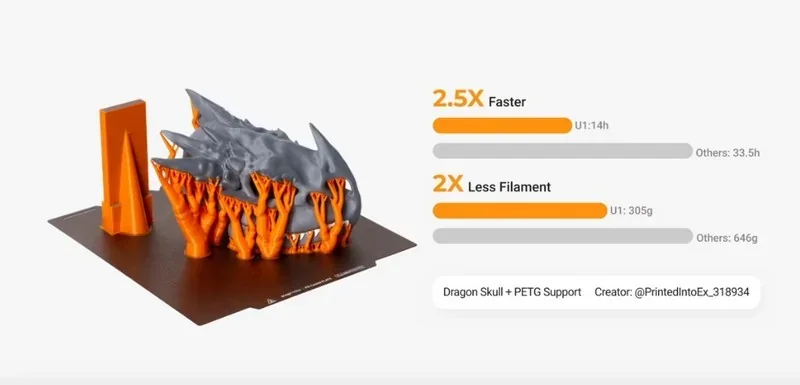
Snapmaker U1 — four-toolhead changer that keeps multicolor jobs fast and lean: color swaps take ~12 s vs ~90 s on AMS machines; a 3-color “spider” finished in 45:33 (≈+24 min over single-color) while a Bambu AMS printer added extra 2.5 hours; an X-Wing kit card took ~6.5 h on U1 vs 10:45 on Bambu H2S with ~60 g purge waste; against Prusa Core One the U1 printed a 473-swap miniature in 6:19 vs 13:14, and single-color in 1:04 vs 1:25.
In contrast:
Bottom-Line: Among the multicolor 3D printers, the Snapamaker U1’s tool-changer architecture consistently outpaces AMS/MMU systems. Buy this unit as it offers this best price/performance ratio, if you're constantly working with multi-color/ multi-material prints, and you care about time-to-part and waste minimization. The Prusa XL outperforms the Snapmaker U1 in multi-material use but costs significantly more. Consider it only if you need five toolheads or a large build volume.
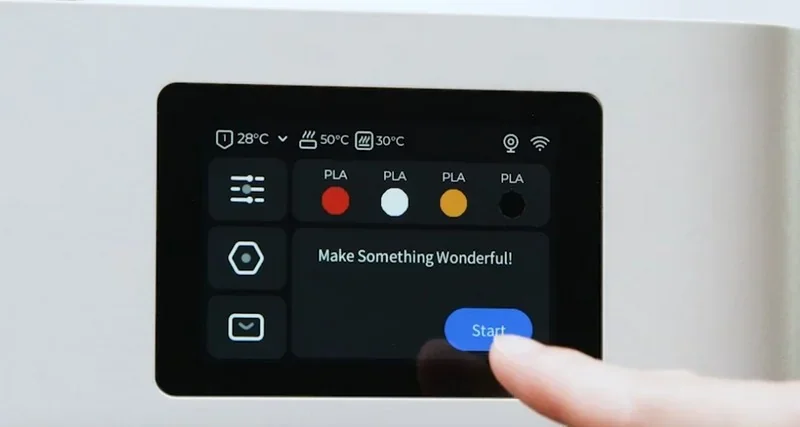
Built-in calibration/adjustment controls:

Multi-toolhead offset calibration wizard (run at first setup, after hotend changes, or if scraping/shift occurs; takes ~15–20 minutes). Once done, it’s not required before every print.
Direct operation & safeguards:

The Snapmaker U1 has a semi-enclosed metal frame with a clear rear panel, front door, and optional top cover. It measures 584 × 499 × 730 mm and weighs 18.2 kg.
The Snapmaker U1 uses CoreXY kinematics with a carbon-fiber X-axis rod and all-metal Y/Z structures. Motion is guided by linear bearings on precision rods, with timing belts for X/Y and lead screws for Z.
The Snapmaker U1 produces 55 dB of noise at 1 m during normal printing.
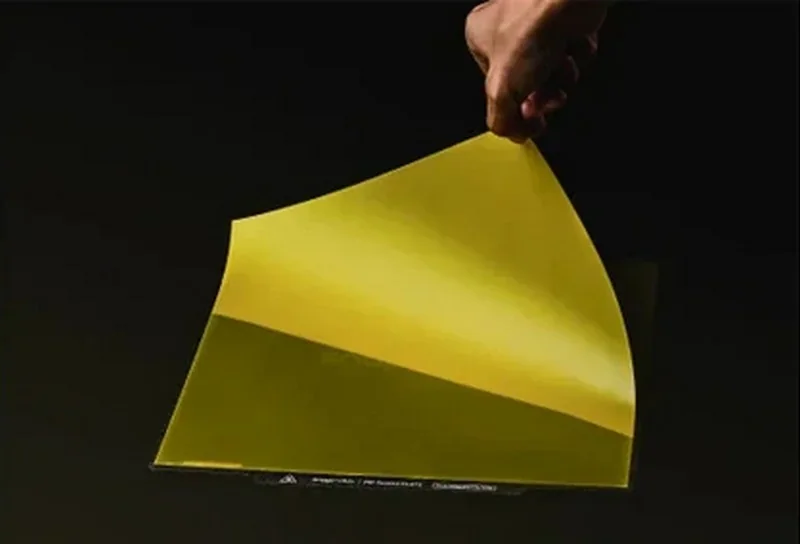
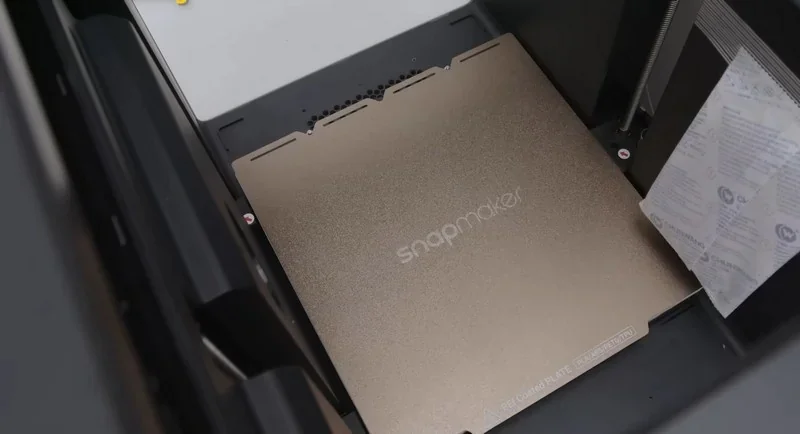
The Snapmaker U1 has a 270 × 270 × 270 mm build area on a heated bed up to 100 °C. The 6.5 mm thick bed (1.5 mm base + 5 mm ribs) has typical mesh variation ≤ 0.4 mm and includes a double-sided PEI steel sheet.
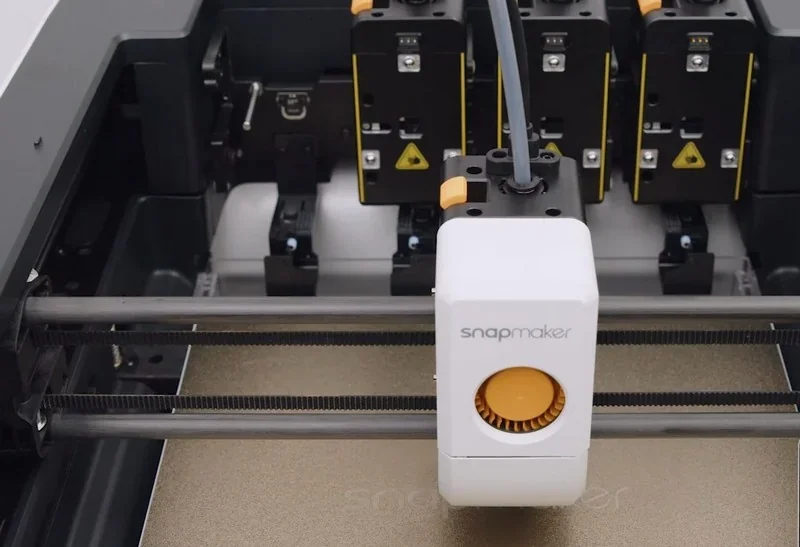
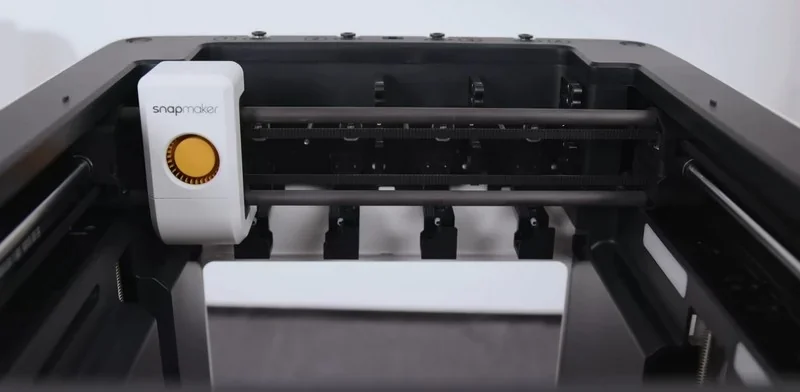
The Snapmaker U1 uses proprietary four independent extruders (four included, one spare) that reach 300 °C. The hotend integrates the heatsink, heat break, block, and nozzle as a single, non-replaceable unit. It features direct-drive extrusion with hardened-steel gears, plus automatic nozzle cleaning and lift routines.

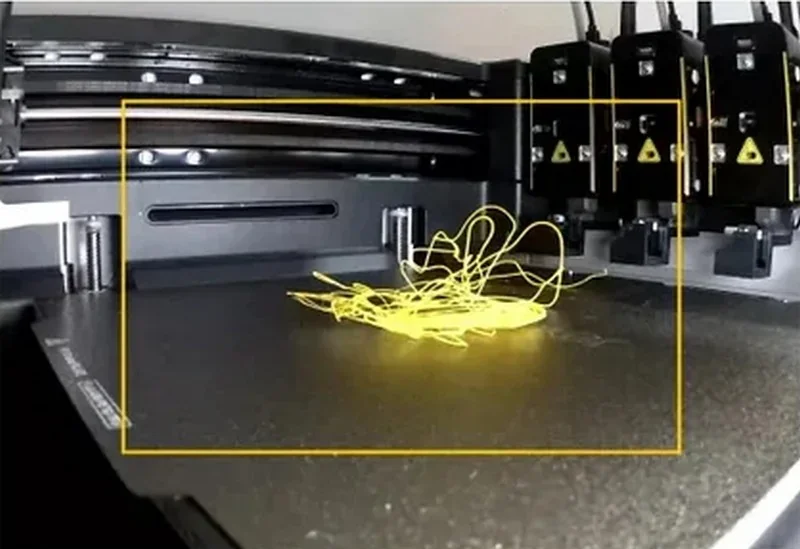
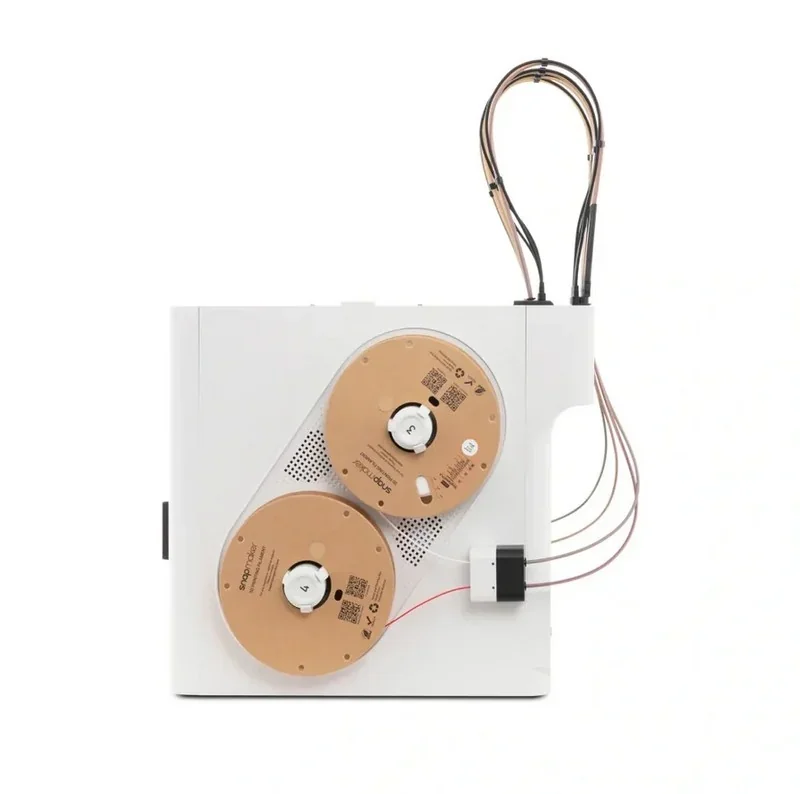
The Snapmaker U1 uses side-mounted spool holders for spools with 52–60 mm inner diameters, up to 70 mm wide and 1 kg in weight. Its automatic filament system includes detection, loading, and runout sensing. Snapmaker filaments with RFID are auto-identified; third-party spools are compatible but lack RFID support.
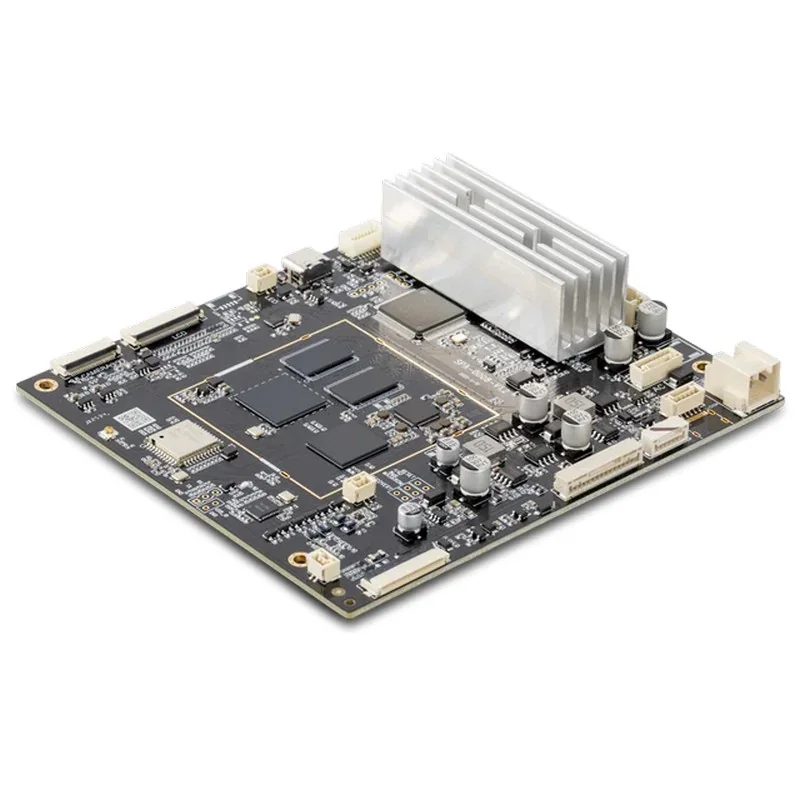
The Snapmaker U1 uses a proprietary controller running Klipper with Moonraker, supports OTA firmware updates, and has service-accessible internal electronics, including the Toolhead Hub PCB and mainboard.
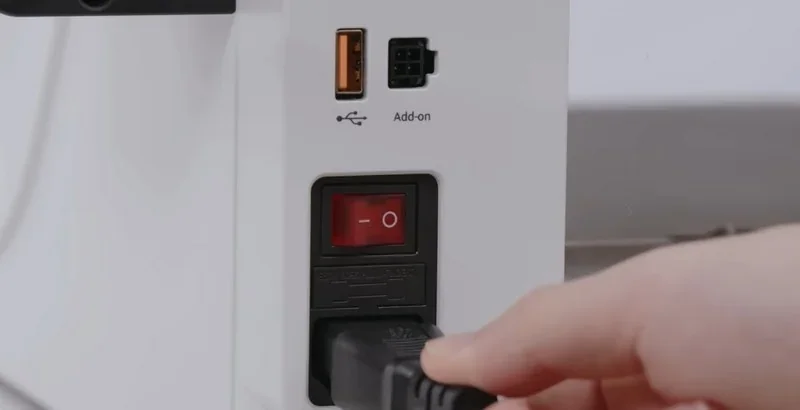
The Snapmaker U1 supports 100–240 V input with a regional power cord. Max power is 400 W at 100–120 V and 1150 W at 220–240 V. Max current is 4 A or 6 A, respectively.
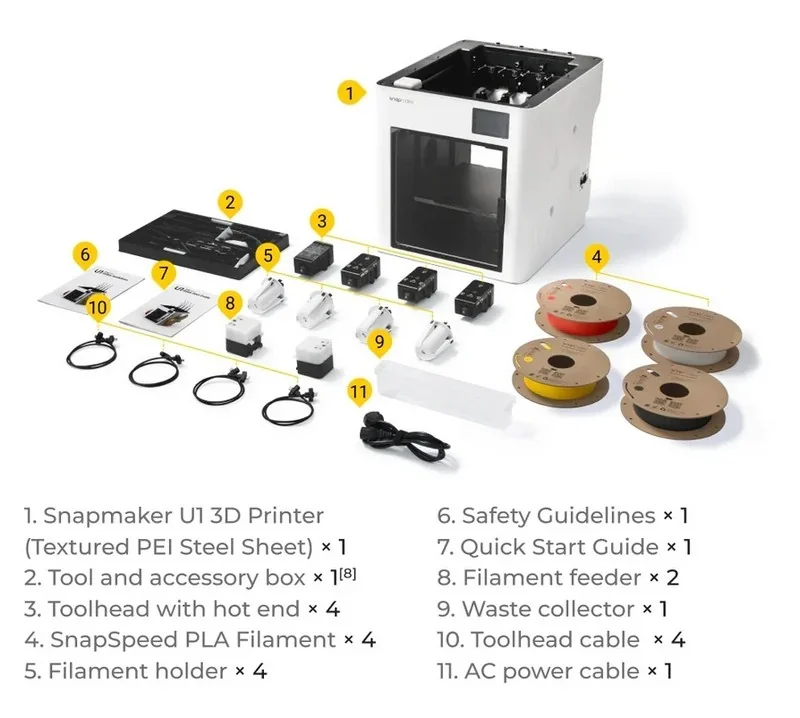
Printer: Snapmaker U1 (PEI steel sheet included) (1×)
Assembly state: Pre-assembled, but requires user assembly of the toolheads, following the printed manual (1×)
Safety & Documentation: Safety Guidelines (printed) (1×), Quick Start Guide (printed) (1×)
Tool/Accessory Box (1× set):
Consumables & lines: included as supplied (filament tubes/connectors, etc.) (1× set)
| Accessory | Function | Price (USD) | Image |
|---|---|---|---|
| GROUP: Enclosure, Temperature Control, Filtration | |||
| Top Cover for Snapmaker U1 | Enclosure top cover that enables passive chamber heating up to 50°C for printing more filament types. Supports automatic high/low temperature chamber switching. Uses a three-layer filtration system for cleaner chamber air. Reduces operating noise. Includes a magnetic front door for fast access. | 179.99 | 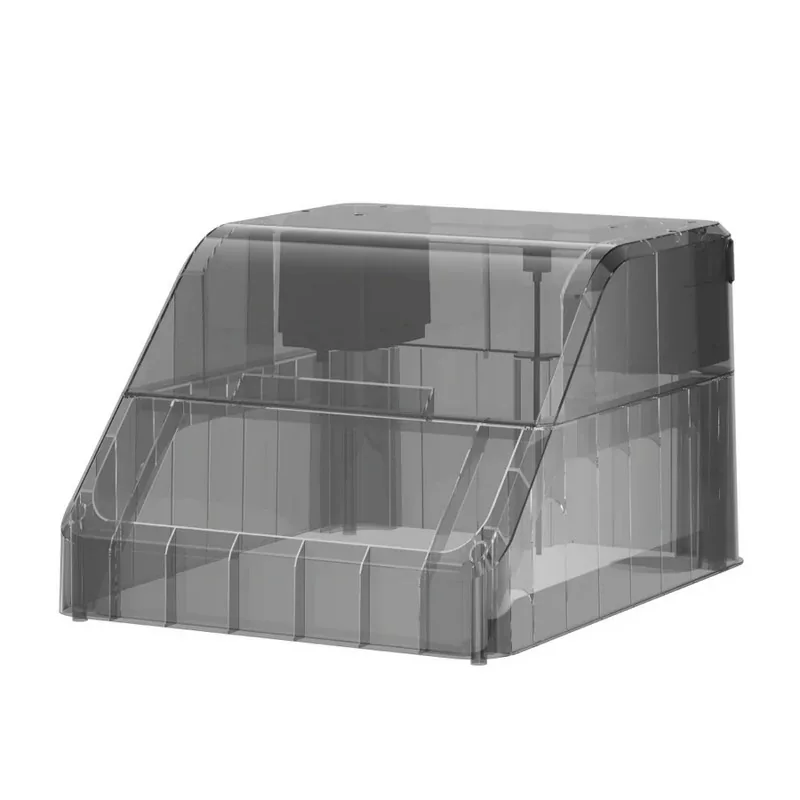 |
| GROUP: Filament Drying and Storage | |||
| SnapDryer Bundle (1 Dryer Dock + 4 SnapDryer Boxes) | Filament drying + storage system co-developed by PolyMaker & FabNotion. One dryer dock supports multiple dry boxes (modular system). Provides moisture-proof sealing for reliable storage after drying. Supports common materials including PLA, PETG, ABS, ASA, TPU, PA, PC, PVA, and Breakaway support for PLA. | 143.99 | 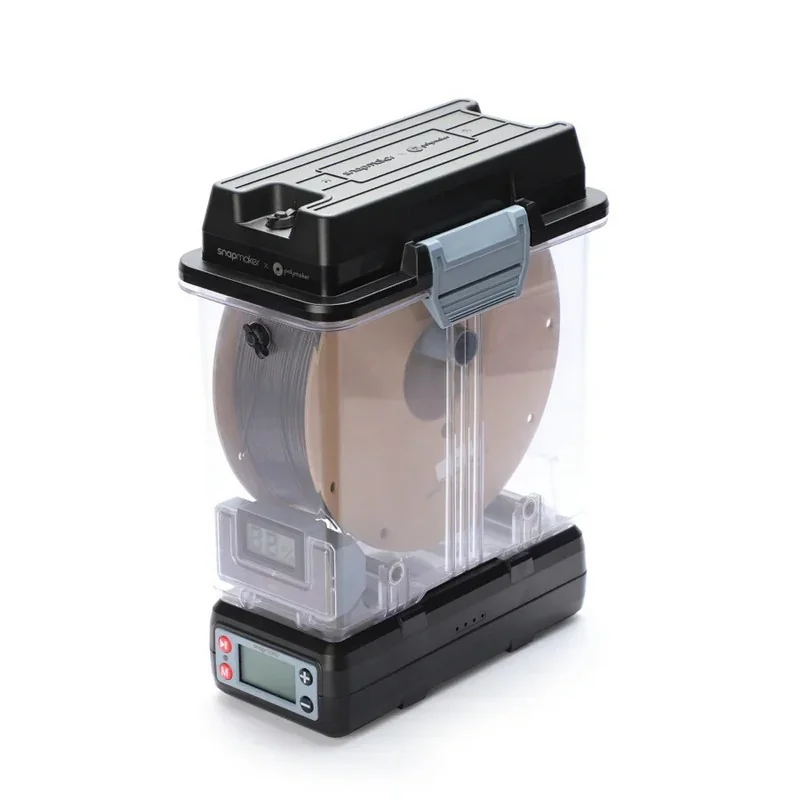 |
| GROUP: Toolhead and Hot End Components | |||
| Hot End for Snapmaker U1 | Replaceable hot end system rated up to 300°C. Includes a built-in ceramic heating element and heat-insulated silicone hot end sock. Supports 0.4 mm. Integrated design for faster replacement. | 59.99 | 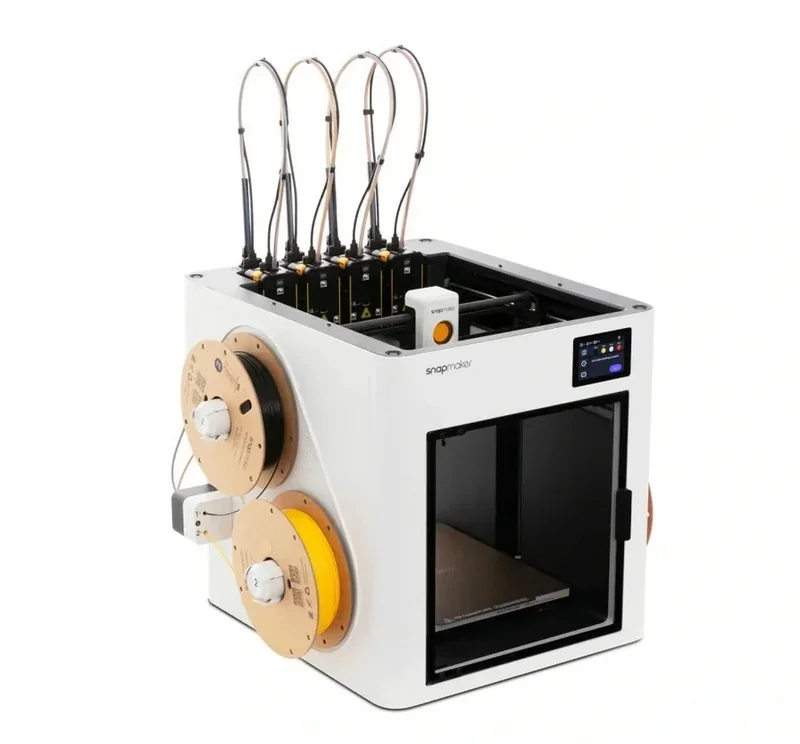 |
| Hot End Silicone Sock 4-Pack for Snapmaker U1 |
High-temperature silicone heat-insulation sleeve that protects the heater block, improves safety, reduces energy use, enhances print quality, and minimizes filament sticking to the nozzle for more reliable performance. |
6.99 | 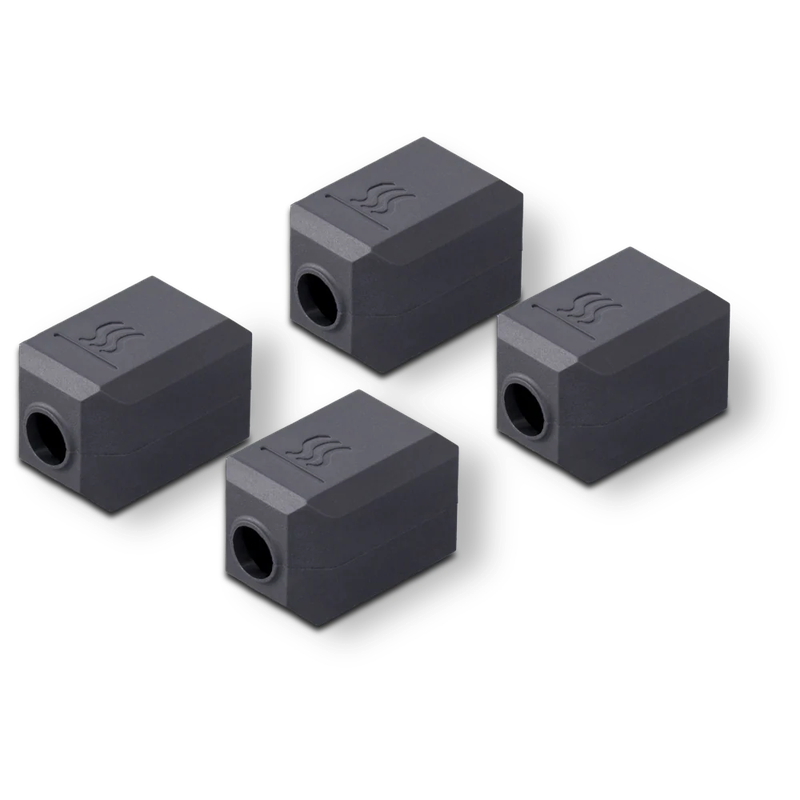 |
| GROUP: Build Surface Plates | |||
| PEI Steel Sheet for Snapmaker U1 (Smooth) | Flexible steel build sheet for easy print removal by flexing. Dual PEI coating for strong first-layer adhesion. Supports faster print starts via efficient heating behavior. Surface designed to minimize wear and extend service life. | 30.99 | 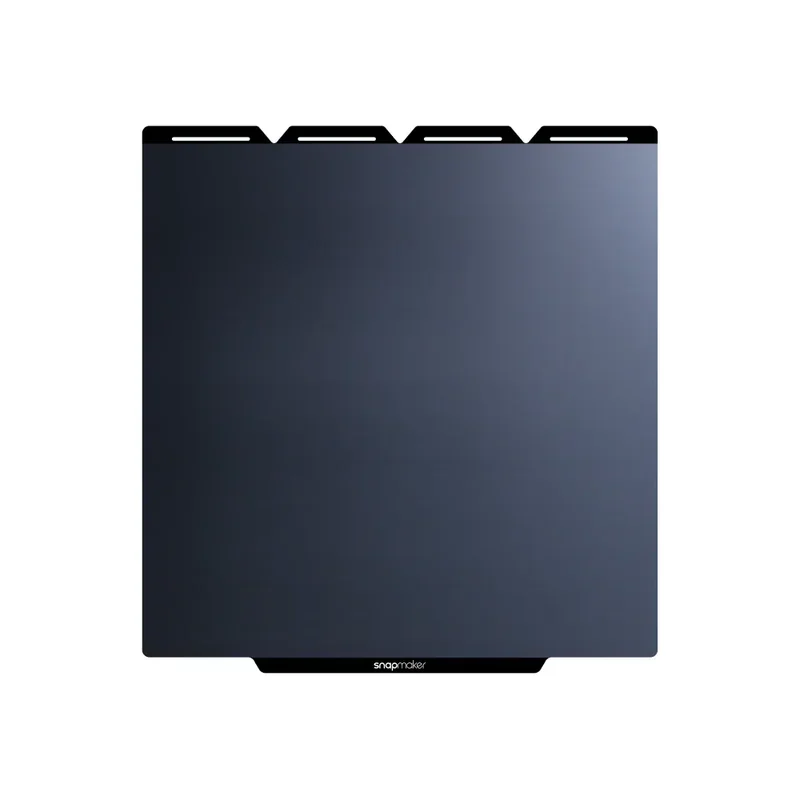 |
| PEI Steel Sheet for Snapmaker U1 (Textured) | 41.99 | 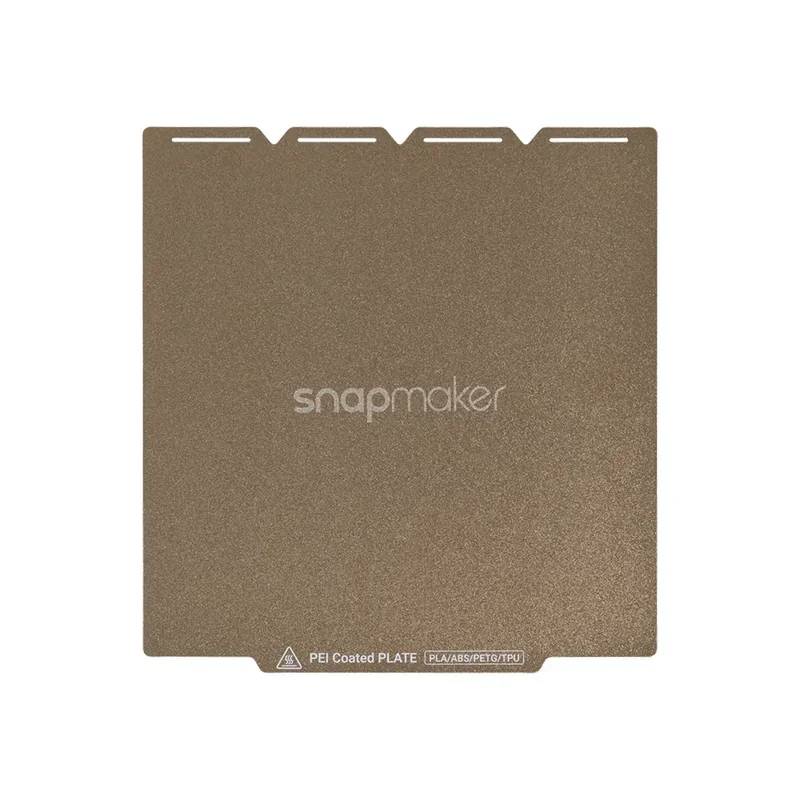 |
|
| Graphic Effect Steel Plate for Snapmaker U1 (Carbon-Fiber Texture) | Build plate that transfers a carbon-fiber texture effect to the part’s contact surface. Provides strong adhesion for stable prints and clean release with no residue. | 24.99 | 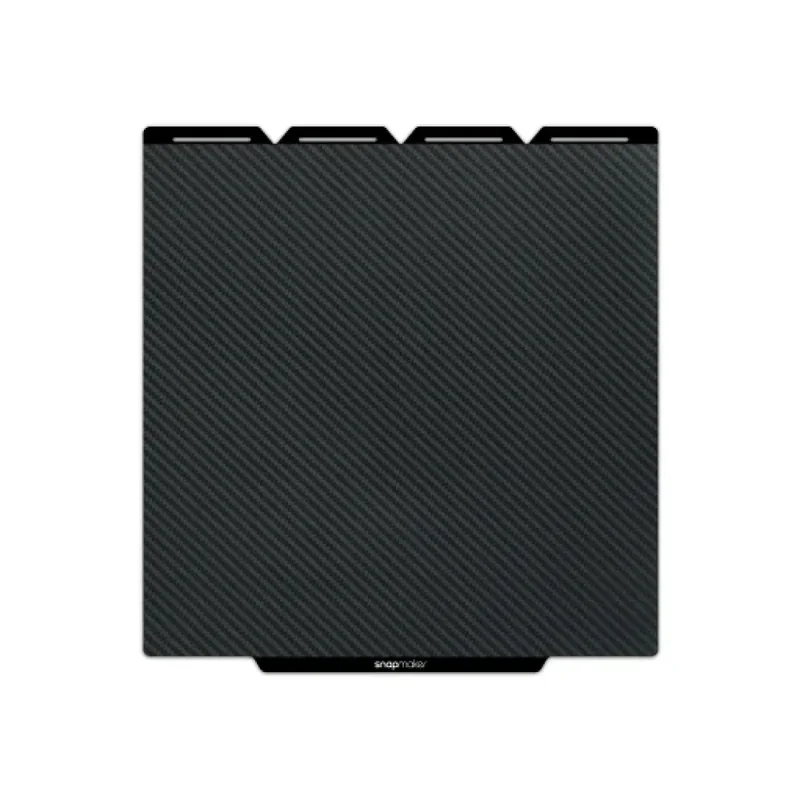 |
| GROUP: Nozzle Cleaning and Maintenance | |||
| Nozzle Cleaning Brushes & Parking Pads Kit for Snapmaker U1 | 24-piece silicone maintenance set (20 scrapers + 4 clog removers) made from durable, high-temperature, non-deforming silicone for long service life, designed to clean build-plate residue and clear nozzle clogs efficiently. | 7.99 |  |
To ensure reliable printing and multi-material performance, the U1 requires several maintenance routines:
Standard Limited Warranty:
The standard limited warranty covers major U1 printer modules from the date of delivery for the original purchaser, with claims requiring a valid invoice. Limited-warranty parts (e.g., extruders, filament holders) are covered for 3 months, while consumables are not covered. Damage resulting from third-party parts, misuse, modification, accidents, or normal wear is excluded, and shipping/taxes for returns or inspection are not included.
Warranty Period
Start date: The clock starts on the date of delivery to the first end customer (per the purchase invoice).
Consumables (no warranty): Nozzles, ceramic heater, thermistors, fans, hot-end socks, extruder gears, PEI sheet, filament tubes/connectors, filaments, waste collector, nozzle parking pad/cleaning brush, included tools; Snapmaker may replace a failed consumable only for manufacturing defects while the printer is in warranty, at Snapmaker’s discretion.
Exclusions (not covered): Expired warranty; purchases from unauthorized/second-hand sources; wear and tear/consumables; misuse/improper maintenance; unauthorized repair/modification/disassembly; damage from extreme temperatures/water/chemicals/pests/foreign objects; issues from illegal software/third-party compatibility; return-shipping damage; force majeure; claims like uninterrupted or error-free operation.
Other: Replacement parts inherit the remaining warranty (no reset/extension).
Extended Coverage (Snapmaker Care 1-Year Plan)
Adds +12 months to the standard warranty and +3 months to limited-warranty parts. Exclusions apply for improper operation, external factors, unauthorized modification, or force majeure.
Full warranty terms: https://support.snapmaker.com/hc/en-us/articles/34227294357783-Snapmaker-U1-Warranty-Policy
The price of the Snapmaker U1 is $999.00. The Snapmaker U1 is a four-toolhead, purge-free toolchanger platform supporting multi-material printing in up to 4 colors. It offers 500 mm/s high-speed performance, automated calibration, on-device camera, and app-based control — all engineered to minimize waste and time compared to filament-switching systems.

Update your browser to view this website correctly. Update my browser now


