There are many relatively inexpensive and functional devices among the modern FFF/FDM 3D printers. Some of the machines have a wide range of useful features and showcase a convenient design without costing a fortune. The Creality CR-6 SE is one of such solutions, offering impressive build quality, smart features, and decently-sized build volume at a low price without compromising on being easy to use.

Source: creality.com
Creality 3D Technology Co., Ltd is a 3D printer and scanner manufacturer. It’s based in Shenzhen, China, and was founded in 2014. Their first success came after the release of the Ender 3 in March of 2018. The Ender series was overall very popular. The vast majority of the company’s 3D printers come as the DIY kits that need to be assembled.
The CR family of printers is large and includes the majority of the company's devices. The CR-6 SE was the result of the brand’s recent crowdfunding campaign and is the latest addition to the series.
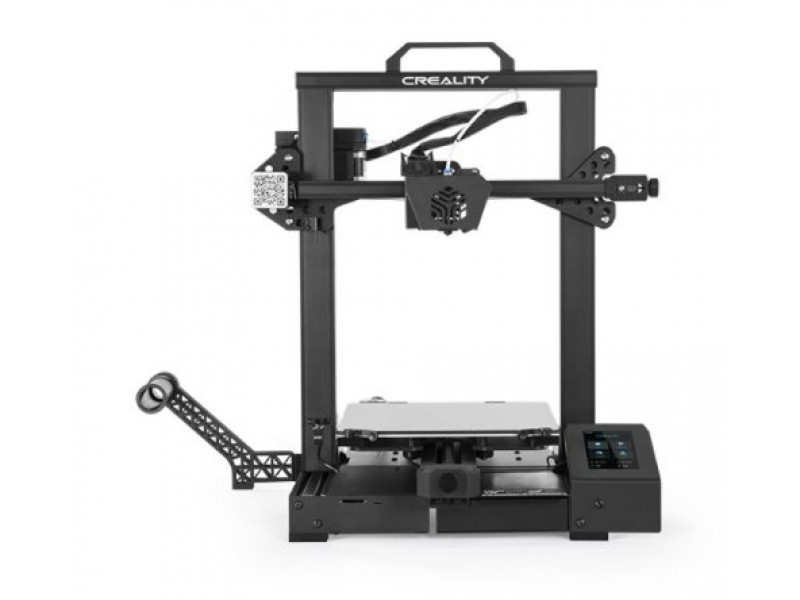
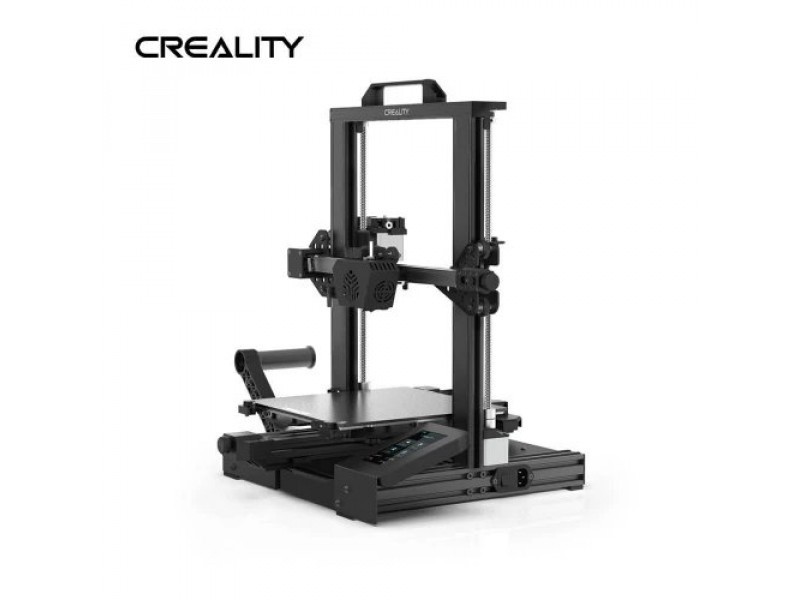
The CR-6 SE is a personal Cartesian FFF/FDM 3D printer. It’s sold as a DIY kit but assembling the machine is quite easy and doesn’t take a long time (the manufacturer claims that the CR-6 SE can be put together in just 5 minutes).
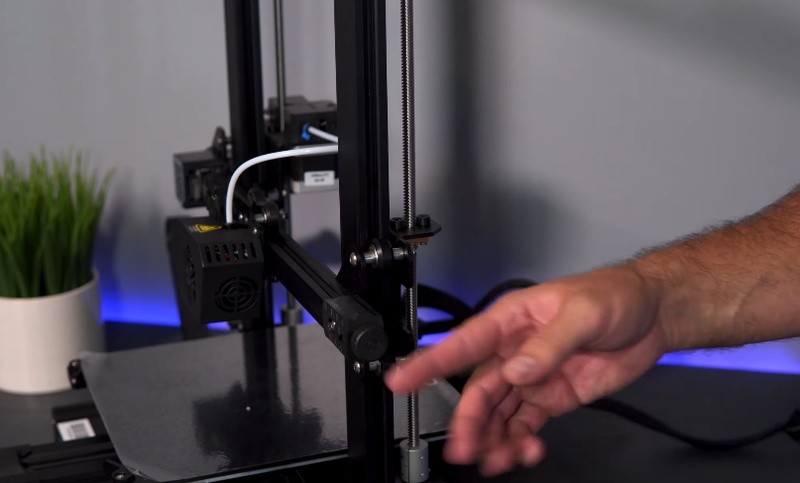
The aluminum frame of the device is very stable and offers a great level of rigidity, thus resulting in improved accuracy. Dual Z-lead screws and timing belts help as well. The operation of the Creality CR-6 SE is as noise-free as possible for an open-design machine, thanks to a Trinamic Controller which also makes the motion of the nozzle smooth and nice.
The device features an automatic bed leveling, A redesigned extruder features a 0.4 mm nozzle that provides the best balance between speed and detail. It can heat up to 260 °C (and the maximum temperature of a heated print bed is 110 °C), making it compatible with a broader range of filaments.
Safety features include a photoelectric filament runout sensor and a print resume function. The former will suspend printing in a case of filament runout or blockage while the latter can resume the process where it stopped right after a power failure.
Printing quality is also impressive, considering the machine’s price. The CR-6 SE can print the objects with the minimum layer height of 100 microns, providing a reasonably smooth surface finish.
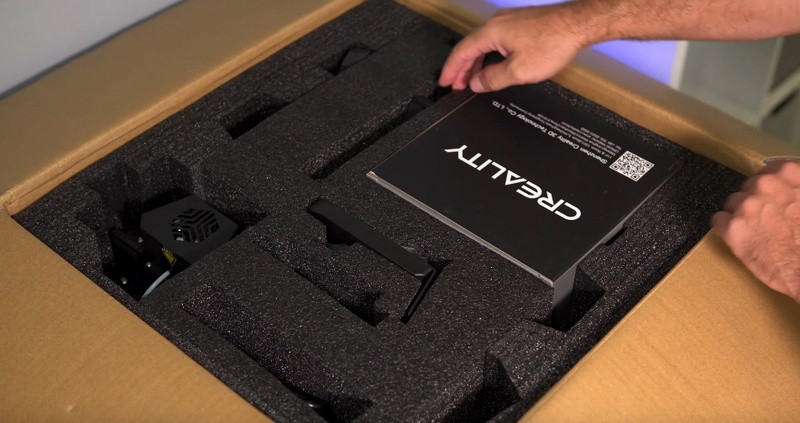
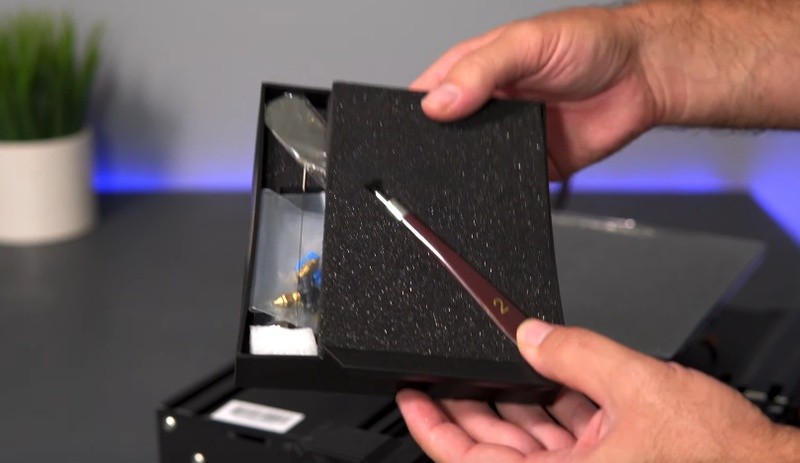
The Creality CR-6 SE comes neatly packaged in a relatively compact box.
Source: youtube.com
Source: youtube.com
The contents of the package include:
For some items, package content may change. In case of any questions, please get in touch.
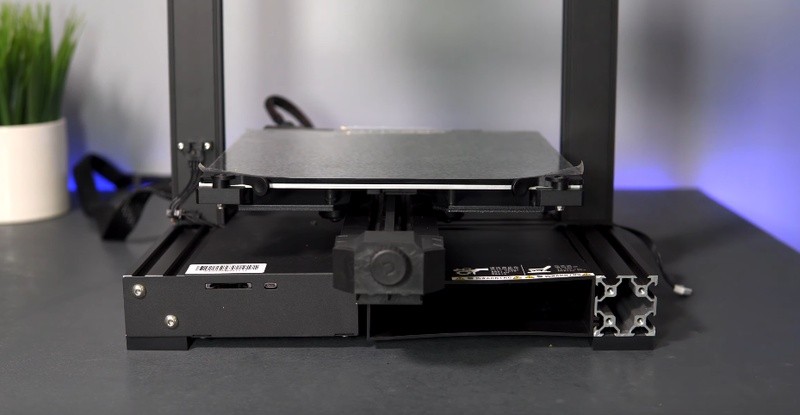
The machine is really easy to assemble and set up. There are just a few steps.
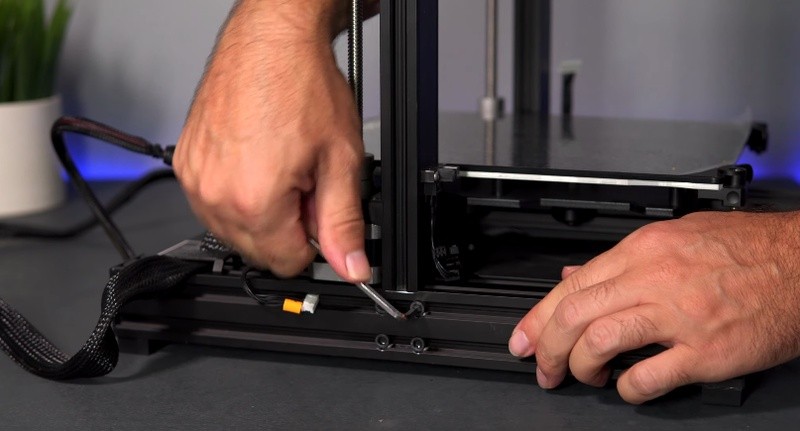
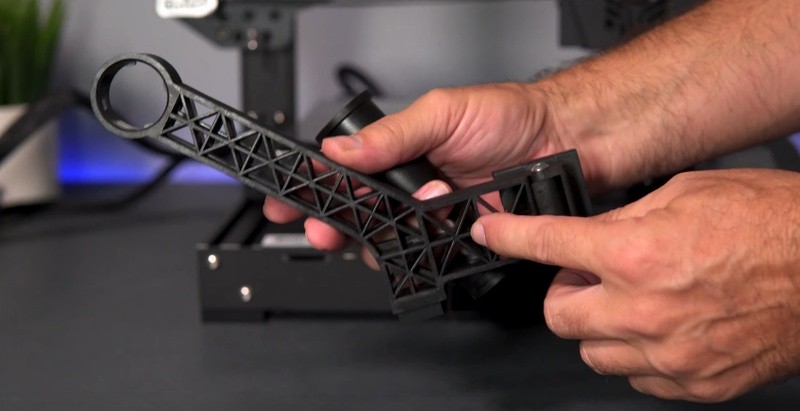
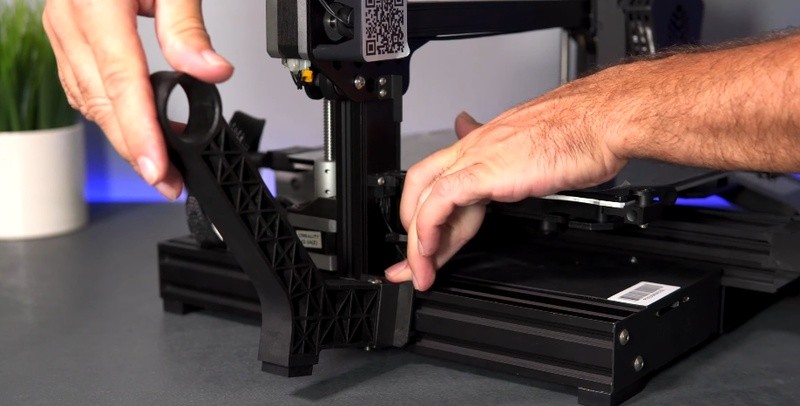
The first thing to do when you’re assembling the Creality CR-6 SE is to connect vertical gantry frames to the main base of the machine. Just place the frames onto the base and screw the bolts into the bottom part of the base.
Source: youtube.com
Source: youtube.com
It’s also recommended to check all of the bolts. They’re usually tightened at the factory with reliable quality, but quality control issues happen as well as the temperature changes.
Source: youtube.com
Source: youtube.com
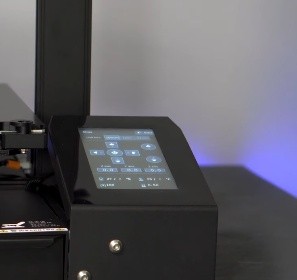
Installing the screen is the next step. It connects to the right side of the printer, the bolts can be found in the packaging, there’s nothing complicated about the process.
Source: youtube.com
Source: youtube.com
Source: youtube.com
And then connect a wire to the screen.

Source: youtube.com
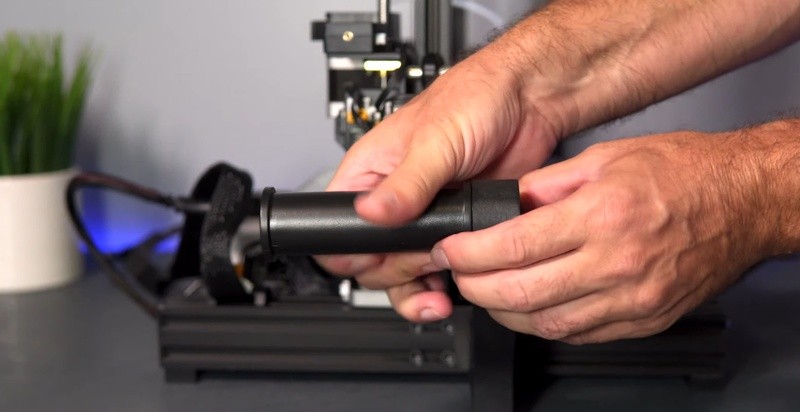
The next step is installing the filament spool holder.
Source: youtube.com
Source: youtube.com
Source: youtube.com
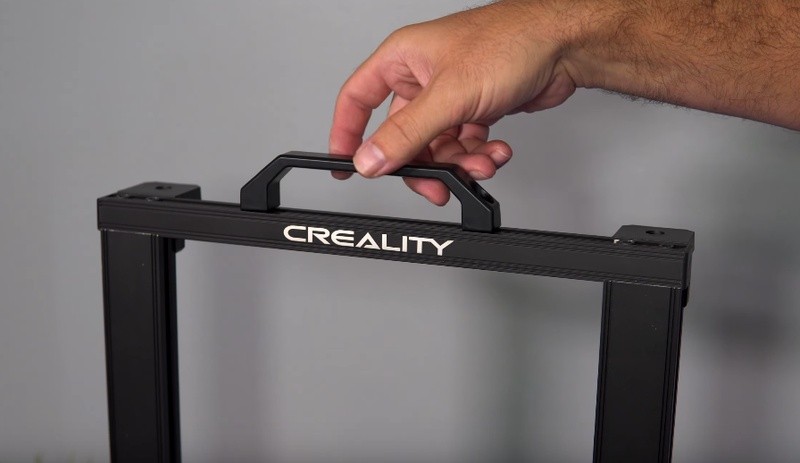
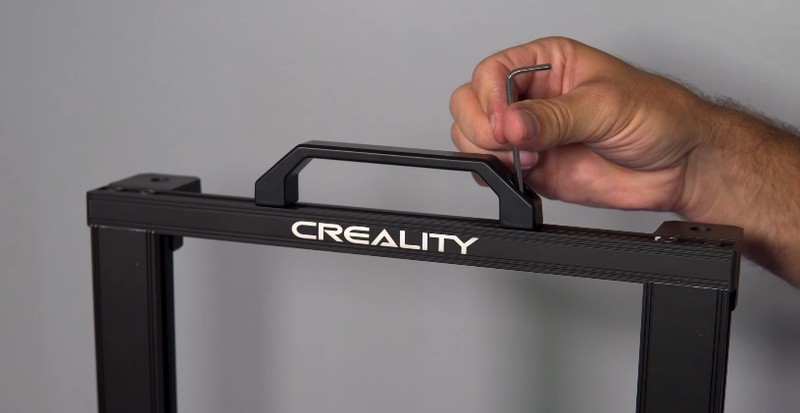
The next step of the assembling process is quite simple: installing the handle. Just put the bolts through it and connect it to the top part of the frame. Then tighten the bolts. Of course, you don’t have to install the handle if you don’t need it or have to meet strict height requirements.
Source: youtube.com
Source: youtube.com
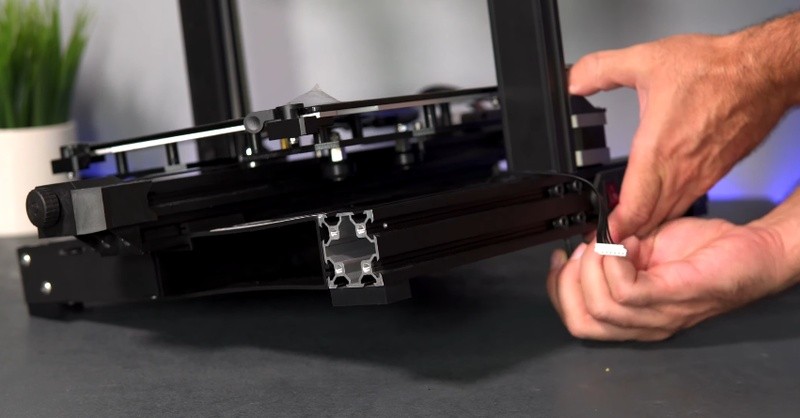
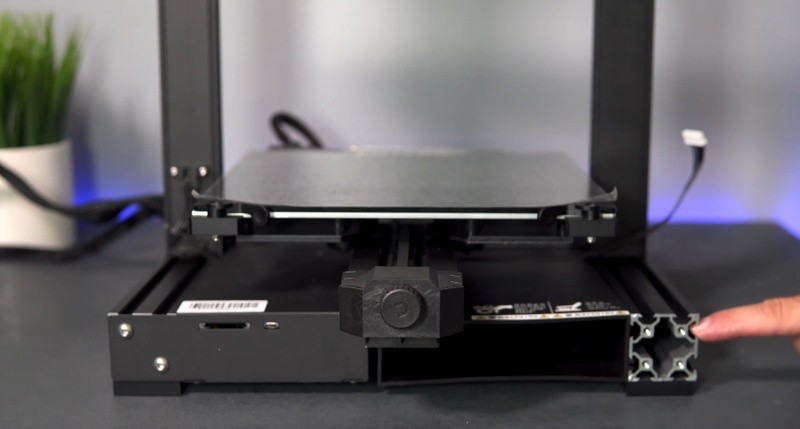
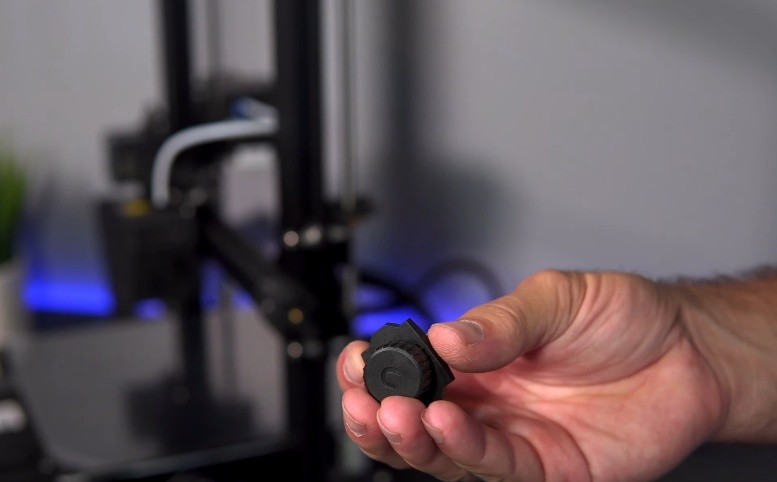
Then you should install the hot end belt tensioner.
Source: youtube.com
And you just need to place it.
Source: youtube.com
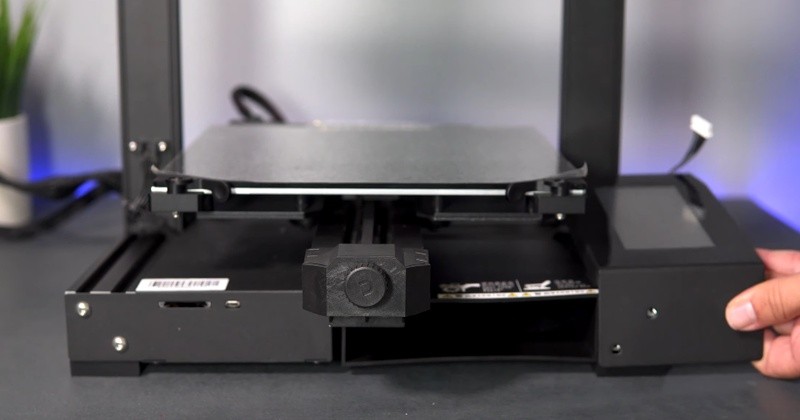
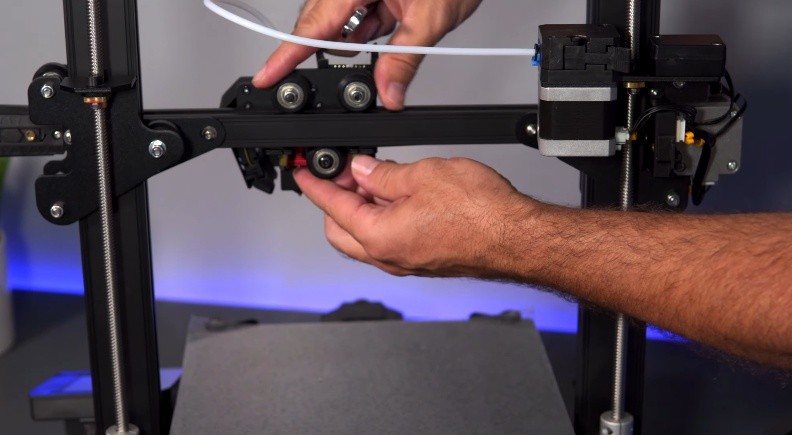
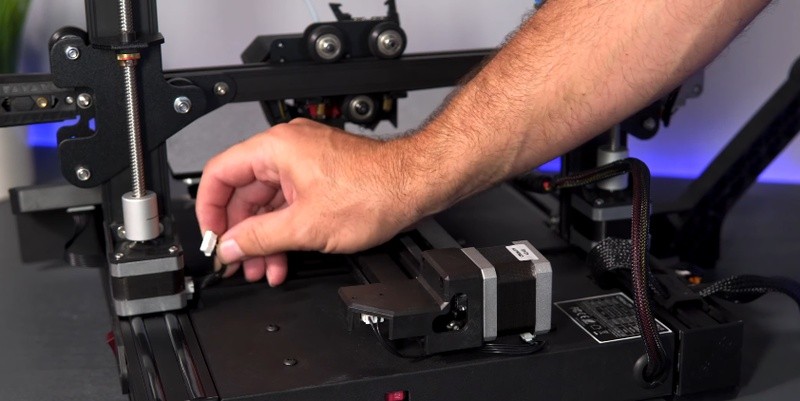
Then adjust the hot end wheels.
Source: youtube.com
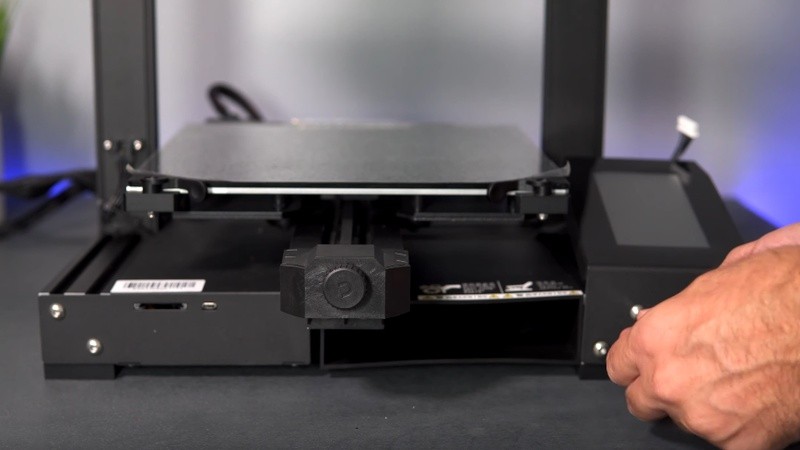
Then connect the stepper motors wires.
Source: youtube.com
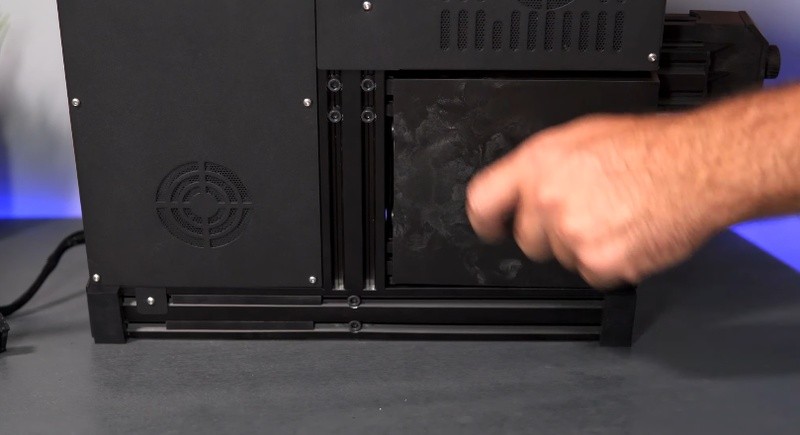
Then connect the large wire to the side of the frame and the extruder.
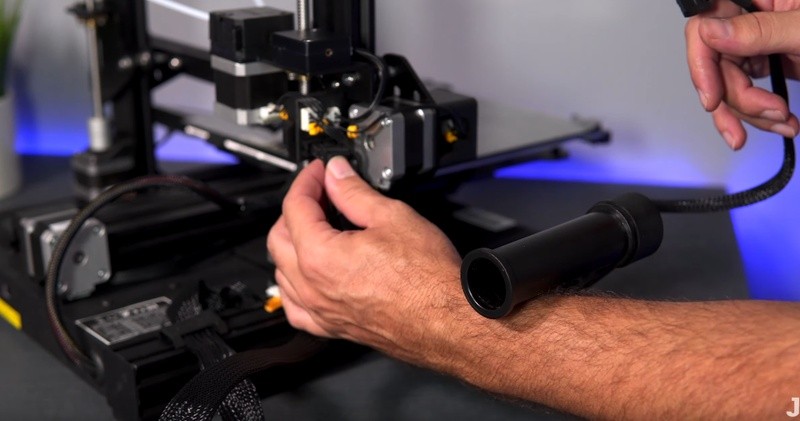
Source: youtube.com

Source: youtube.com
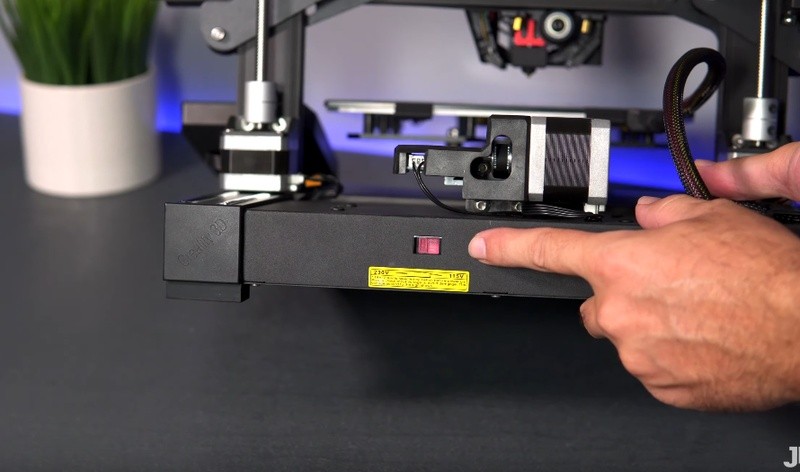
And the last thing to do is to switch the power to the correct voltage if it’s needed.
Source: youtube.com
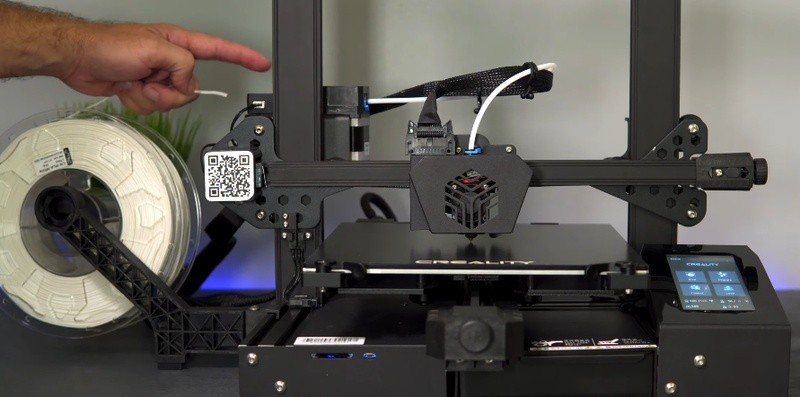
The CR-6 SE is now assembled.
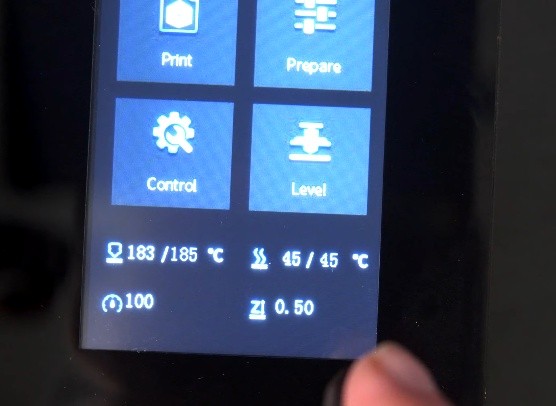
After turning it on and installing the print plate, the first thing to do is to home the machine. Go to the main menu, choose ‘Prepare’, press ‘Move’, and click ‘Home’.
Source: youtube.com

Source: youtube.com
The next thing to do is to level the bed. Go to the ‘Level’ menu.
Source: youtube.com
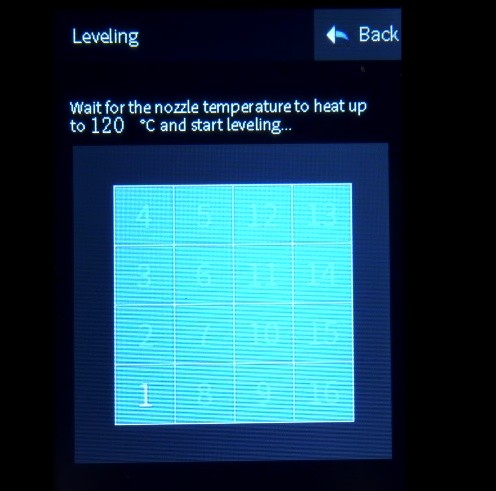
Click. Choose the automatic bed leveling option. Wait for the nozzle to heat up to 120.℃.
Source: youtube.com
The machine’s sensors will check all 16 points and calibrate the bed.
The last thing to do would be to feed in the filament. Install the filament spool.
Source: youtube.com
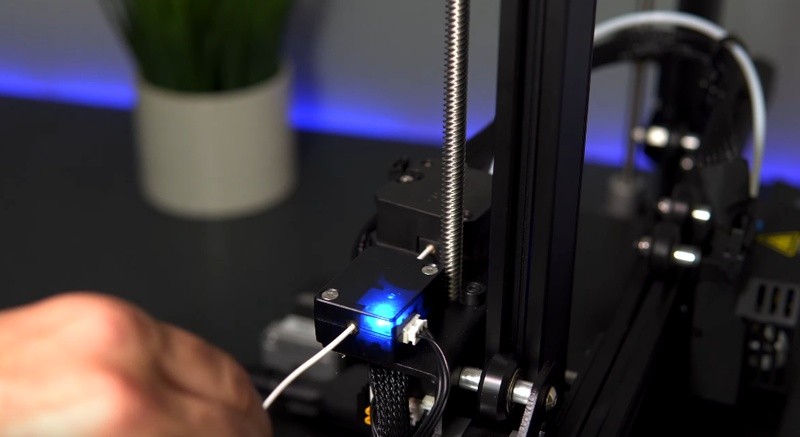
Preheat the filament. Unlock the lever located close to a filament sensor and push the material through.
Source: youtube.com
The printer is compatible with a variety of slicing and host software, including quite popular solutions such as Cura and Repetier-Host. Everything works as expected thanks to the overall simplicity of this 3D printer. The fork of Cura, named Creality Slicer, is also available and is geared towards working with Creality 3D printers.
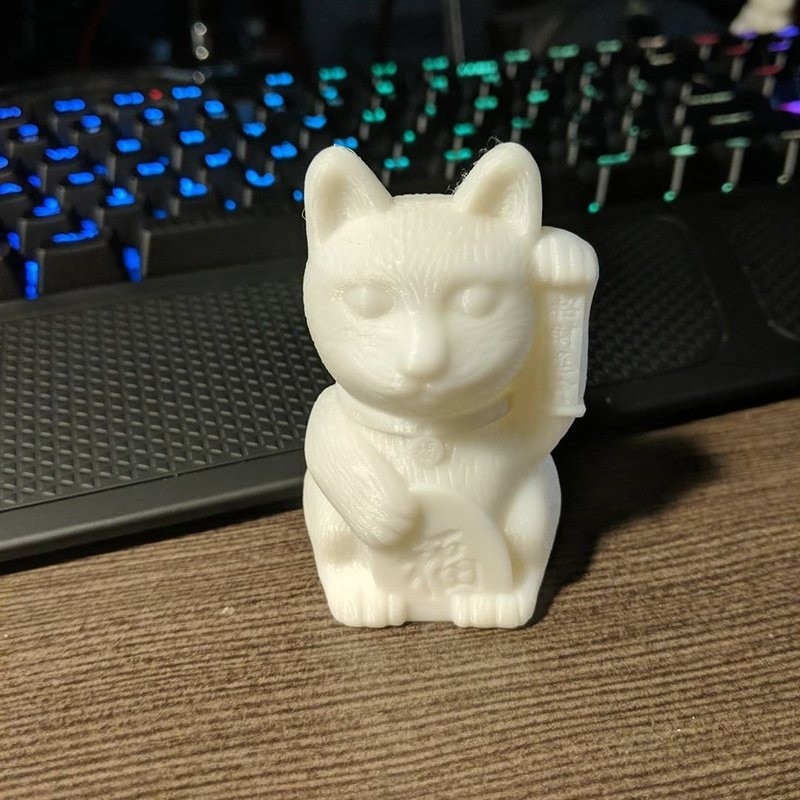
Below are various figurines printed using the Creality CR-6 SE.
This test print is a great example of what you can make with the CR-6 SE. The model is fairly detailed and has a neatly-looking appearance.
Source: instagram.com
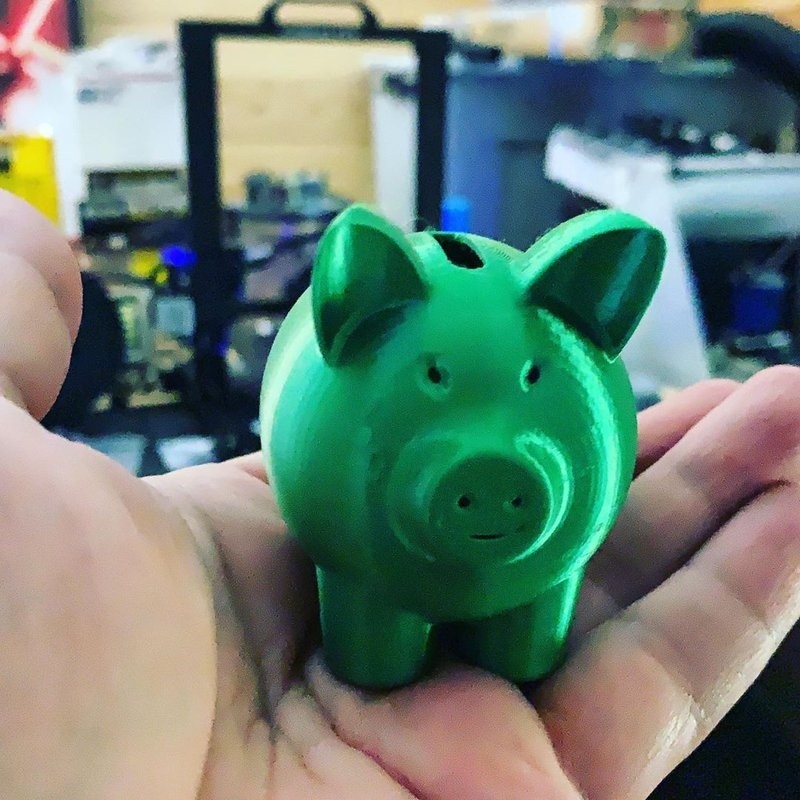
This piggy bank is nice to look at and its surface finish is quite smooth:
Source: instagram.com
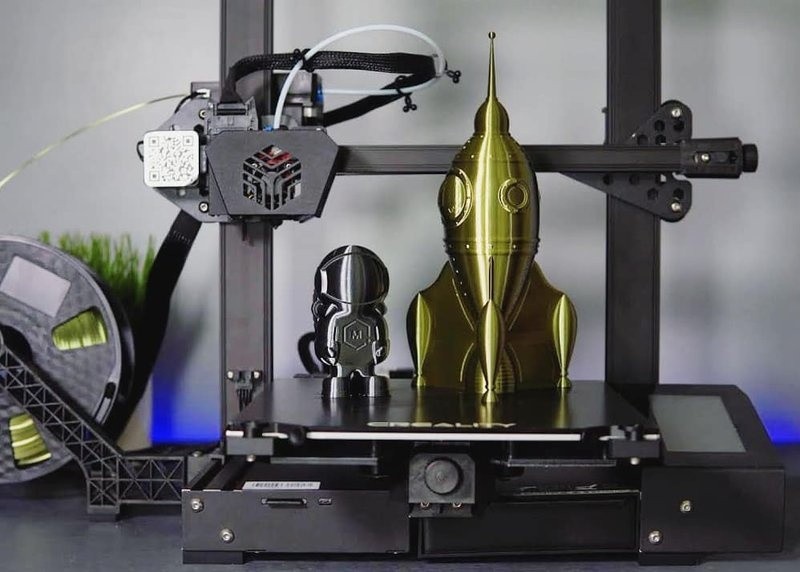
And these models show that the printer is pretty much capable of producing decently-sized results:
Source: instagram.com
Pros
Cons
The Creality CR-6 SE showcases that Creality once again proves that good 3D printers don’t have to be expensive. At a rather low price point, the machine offers a great set of features, including a perforated print plate, automatic bed leveling, filament runout sensor, power resume option, and intuitive interface on a full-color LCD screen. The device manages to provide an impressive (considering its price) level of quality, without compromising on being easy to use.
It’s a great choice for hobbyists and professionals alike.
Update your browser to view this website correctly. Update my browser now

Write a comment