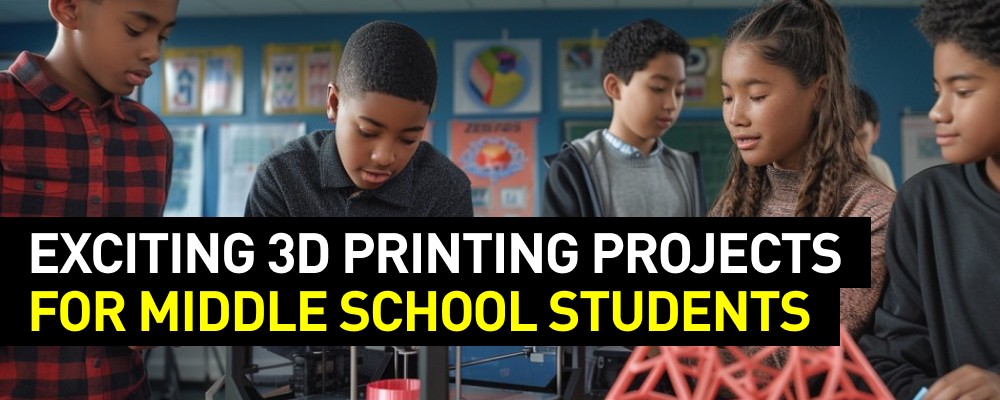
Introducing kids to 3D printing technology transforms learning. It's hands-on creativity. Perfect for classrooms, right? Educators can showcase manufacturing, design, and innovation. Whether new to 3D printers or seeking engaging projects, this guide helps. We explain choosing printers, first projects, and advancing techniques.
First, grasp the varieties of 3D printers. Fused Deposition Modeling (FDM) printers suit beginners - simple and budget-friendly. Stereolithography (SLA) printers offer precision and smooth finishes. Your educational goals and project complexity determine the ideal printer type. Stay updated on evolving 3D printing tech too.
Cost matters when choosing classroom 3D printers. But features like user-friendliness, print quality, speed, compatible materials - crucial too. Balance affordability with functionality for smooth integration. Explore educational discounts, bundles for cost-effective solutions.
Establishing your first 3d printer can be thrilling yet challenging. Begin by picking a dedicated area in your classroom that's secure and simple for students to access. Becoming familiar with the 3d printing software, usually supplied by the manufacturer, is critical as it will be your main tool for designing and managing prints. Tinkercad offers a user-friendly option for beginners, enabling both you and students to easily create and print 3d models. Emphasize safety by educating students on proper handling and upkeep of the 3d printer.
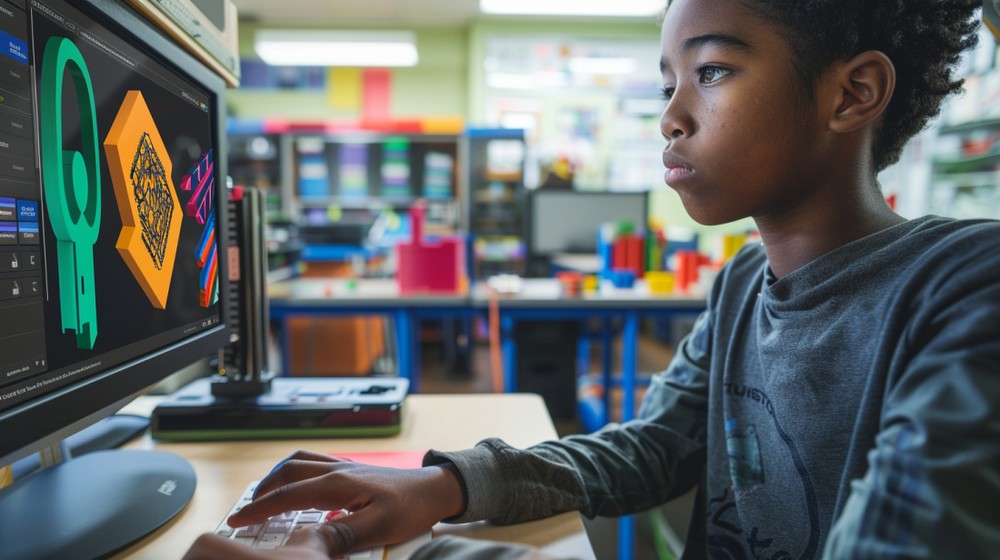
Designing a 3d model from scratch might seem daunting, but with suitable tools and guidance, it's highly fulfilling. Introduce students to simple 3d design programs like Tinkercad first. Encouraging basic shapes initially and progressing to complex designs gradually builds confidence. Simple projects like keychains, name tags, or math manipulatives teach 3d design fundamentals while providing tangible results students can proudly showcase. Creating your initial 3D model needn't be intimidating. By emphasizing hands-on learning, students can rapidly gain skills to bring ideas to reality. Here's a step-by-step guide facilitating this journey.
Step 1: Selecting Software. Tinkercad: Great starter software. It works online. Easy drag-and-drop tools make 3D shapes. No CAD skills needed. Perfect for students beginning CAD.
Step 2: Exploring the Tools. Take time to look around Tinkercad. Find shapes, select objects, group/ungroup. Practice moving camera view. Looking from different angles is key in 3D modeling.
Step 3: Basic 3D ShapesStart with simple forms like boxes, cylinders. See how to resize, rotate, combine. Changing dimensions and adding/removing shapes creates new objects.
Step 4: First Project: Name TagMake a name tag. It uses basic shapes, introduces 3D printing. First, make a flat rectangle base. Next, use the text tool to spell a name on it. Add personal touches like shapes showing hobbies.
Step 5: Design RefinementOnce designed, refine details. Ensure letters align neatly, securely attach to base. Size and usefulness: contemplate carefully. Is it too big or small for keychains or nametags? Sensible size is important. Add holes or loops if attaching to keyrings or necklaces.
Step 6: Prep for 3D Printing. Check for loose bits or unsupported areas - everything must be firmly attached, properly supported for successful printing. Save design in 3D printer-friendly format like STL or OBJ using Tinkercad's export option.
Step 7: 3D Printing. If school has printer, send design directly. Or use local library or online service. Watch printing if you can - very satisfying to see digital design become real object!
Step 8: Review and Ponder. Once done, reflect deeply on what you learned. What worked well? What would you change next time? Share designs, give feedback - promotes collaborative learning, develops critical thinking, constructive criticism skills. Reviewing peers' work sparks new design approaches, solutions to challenges.
Step 9: Advanced Techniques. As basics mastered, introduce advanced methods: fillets, chamfers for smooth edges; hole feature for complex cutouts; experiment with materials, textures. Complex designs await! Encourage learners to look at online guides made just for Tinkercad. Lots of projects shared by teachers and other users can give ideas and push skills forward.
Step 10: Mixing in Other Subjects. 3D designing and printing lets you work on projects connecting to history, science, and math. For example, recreating historical objects, modeling scientific ideas, or exploring geometric shapes.
Challenge kids to think about real problems they could help solve with designs. Have them consider needs at school or in the community where 3D printing could be useful.
Once students feel good making basic 3D models, use a 3D printer to make their creations real. Begin with small, low-risk projects teaching the printing steps - preparing the model, choosing materials, troubleshooting problems. Hands-on practice builds the skills for harder 3D printing later.
Moving from simple shapes to original 3D designs is exciting. Challenge learners to find real-world issues they can address through 3D printing. This could mean a custom pencil holder or an ergonomic aid for disabilities. Such projects sharpen 3D skills while boosting creativity, problem-solving, and empathy.
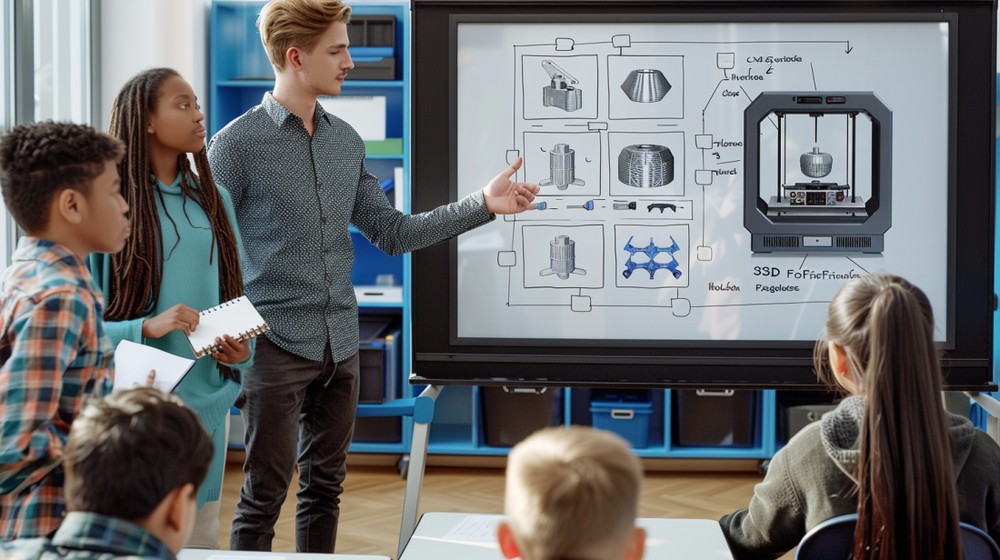
Putting 3D printing into lessons requires thorough schedules. They should cover the origins of additive making, different 3D printer types, design rules, and how to produce a 3D print. Combining studying with hands-on projects engages pupils and reinforces learning. Remember to add safety rules and ethical thoughts about 3D printing to your lesson schedules.
3D printing offers many chances for cross-subject projects. For history, you could 3D print artifacts for a tactile experience. Science classes could use printed atom, molecule, or DNA models, while art classes explore sculpting and design through 3D printing. Not only do these projects enrich the subjects, but also show pupils real uses for what they learn.
One strong part of 3D printing is addressing real problems. Motivate your pupils to use their new abilities to contribute solutions to local issues or global challenges. Whether designing cheap gardening tools or developing drinkable water prototypes, 3D printing can positively change things, empowering pupils to see their creativity and engineering impact.
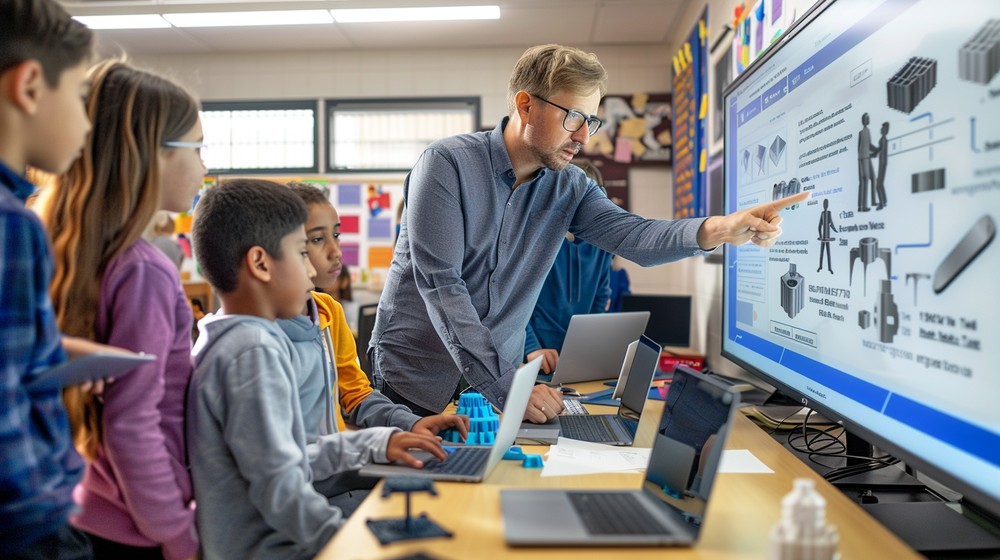
As students improve skills, introduce more advanced 3D printing work. These complex projects might have intricate patterns, multiple parts needing assembly, or movable mechanical elements. Free 3D model websites offer great starting ideas. However, encouraging unique student creations proves even more rewarding.
Many websites offer free 3D models and educational assets for classroom projects. Sites like Thingiverse and MyMiniFactory provide models but also host forums. Students can engage with 3D printing enthusiasts, troubleshoot issues, receive project feedback, and discover fresh printing concepts.
3D printing rapidly advances with new methods and materials regularly emerging. Sharing current news and advancements inspires students to push project limits. Students might experiment with novel materials or incorporate electronics into 3D prints. They thus explore cutting-edge additive manufacturing possibilities.
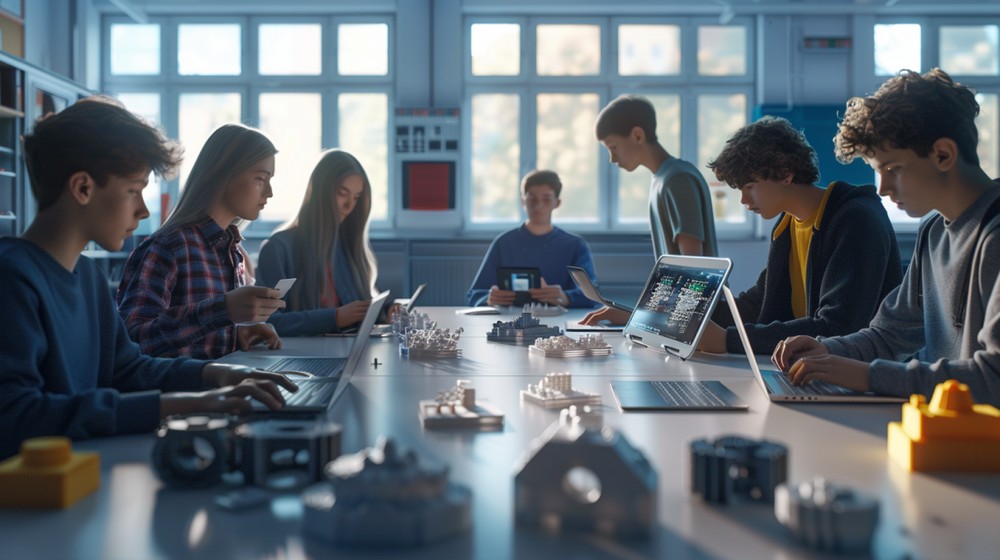
For enthusiasts, educators and pupils passionate about 3D printing, the internet abounds with bountiful resources. Discussion boards, social media gatherings, websites galore – a treasure trove of insights awaits the keen explorer. Many seasoned 3D printing devotees generously dispense guidance and encouragement, fostering a spirit of camaraderie for novices embarking on this thrilling journey.
Delve deeper through workshops, seminars – gateways for educators, students to broaden horizons. Universities, makerspaces, community hubs frequently host events designed to enlighten, unravel 3D printing's advanced artistry, unveiling pioneering technologies. These immersive experiences bestow hands-on learning, keeping educators abreast with the field's latest evolutions.
As you and your pupils' prowess blossoms, continuously seek innovative printing technologies, materials to enrich projects. Flex filaments, captivating color-changing substances, smart electronics integration – a kaleidoscope of possibilities awaits. This perpetual exploration fuels the learning odyssey with dynamism, captivating pupils' imaginations, ensuring enduring fascination with 3D printing's boundless realms.
The journey into 3D printing yields endless possibilities in creativity, learning, and innovation for educators and students. Carefully choosing the ideal 3D printer, grasping fundamentals, then progressively tackling complex projects unlocks a realm of classroom potential. The aim extends beyond teaching coding or printer usage to empowering critical thinking, design, and innovation. Embrace this thrilling 3D printing world, witnessing students breathe life into incredible ideas.
Online schools are being transformed by 3D printing's impact. These printers have become indispensable not only for tech-savvy high schools but also younger students. Imagine igniting learning excitement by integrating 3D printing activities into curricula. One day, students learn about dinosaurs; the next, they create their own T-rex skulls for study. Incredibly engaging!
Consider teaching complex subjects like fractions or geometric shapes. These concepts can be abstract and tedious. However, with 3D printing, students can touch and visualize them, revolutionizing understanding, especially for those with sensory needs or ADHD. It prioritizes accommodating sensory requirements through tangible learning aids like holding a 3D-printed bookmark while reading, making the experience far more captivating.
Creating art at school goes far beyond using markers and brushes. Nowadays, students can design 3D projects. It's amazing how kids progress from simple paintings to designing solutions for real problems. Investing in 3D printing tech helps kids learn in an interactive, memorable way.
Update your browser to view this website correctly. Update my browser now
Write a comment