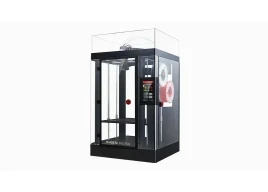
In this article, we will review yet another masterpiece of 3D Engineering. Here it is, Raise3D Pro 2 Plus, a newly-minted brainchild by Raise. The anticipation around the release of the Raise3D Pro 2 Plus was really high because its previous version proved its worthiness, so the greater the hopes for the fresh model. Let’s see whether the manufacturer managed to live up to customer expectations.
The Raise Company managed to gain a good reputation at the 3D printers’ scene in quite a short time.
One of the niftiest features the novel product got is that the device supports dual-material printing, which, for example, allows you to print supportive structures with water-soluble plastic or printing in two colors simultaneously.
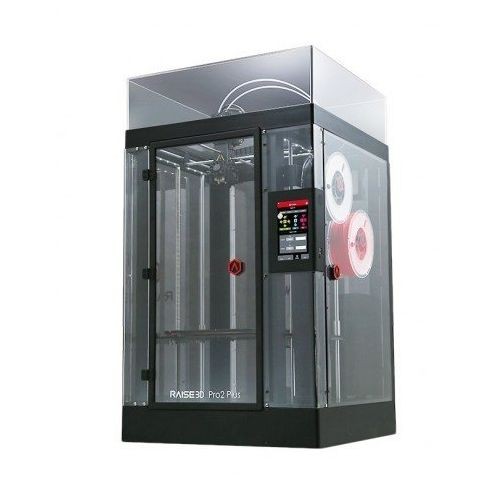
The second allure behind this machine is its impressive print area: 305 × 305 × 600 mm, which is 30 cm higher than in the previous version of Pro. However, when printing with two materials at once, the working area gets slightly reduced, namely up to 280 × 305 × 600 mm, which is due to the extruder design. The printer’s height is more than a meter, so it is not the most compact solution at the market.
Like any FDM printer, Raise 3D Pro 2 Plus creates objects by applying molten plastic to the working platform layer by layer. The machine can work with various types of plastic.
Some manufacturers implant chips into their filament reels so that their printers can only work with these chipped reels. But it is not the case with Raise 3D Pro 2 Plus, and you can use the filament of any producer. However, Raise also produces its own plastic, and the printer’s factory tests were, surely, carried out with the use of proprietary filaments.
The layer thickness is adjusted in the slicer, and the producer claims that its layer thickness is as small as 10 microns, which sounds very optimistic because photopolymer printers generally deliver a layer thickness of 10-20 microns.
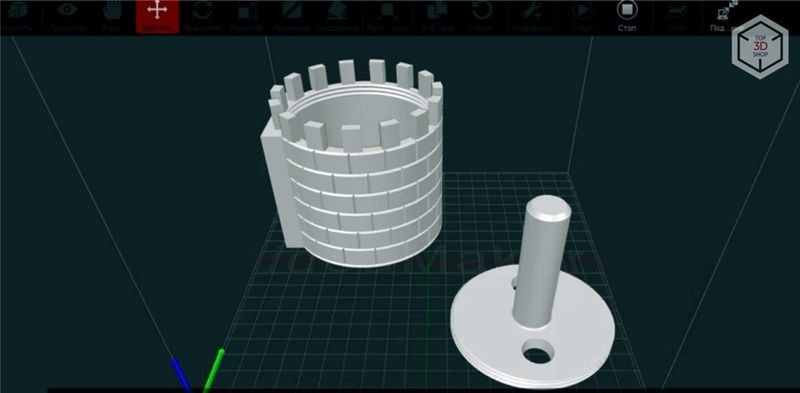
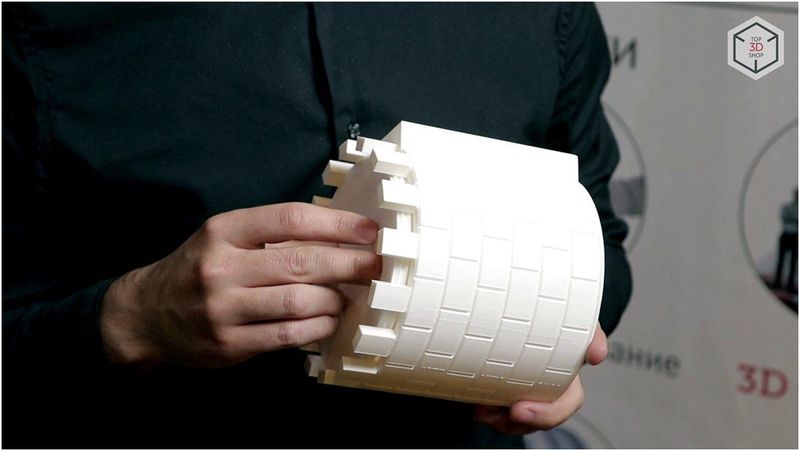
Also pay attention that if you print a model of 60 cm high with 10-micron layer thickness, the creation process will take a pretty long time to complete. For example, if it is a pipe with a diameter of 10 cm without a lid and a bottom and with a wall thickness of one layer, at a maximum printing speed of 150 mm per second, it will take you over 33 hours to print, and at a normal speed of 30 mm per second, the whole building process will last nearly 166 hours. You can imagine how long it will take you to print something more complex!
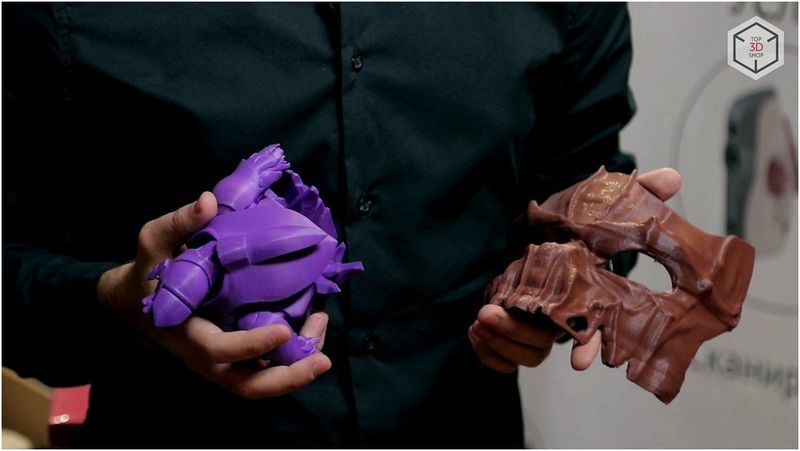
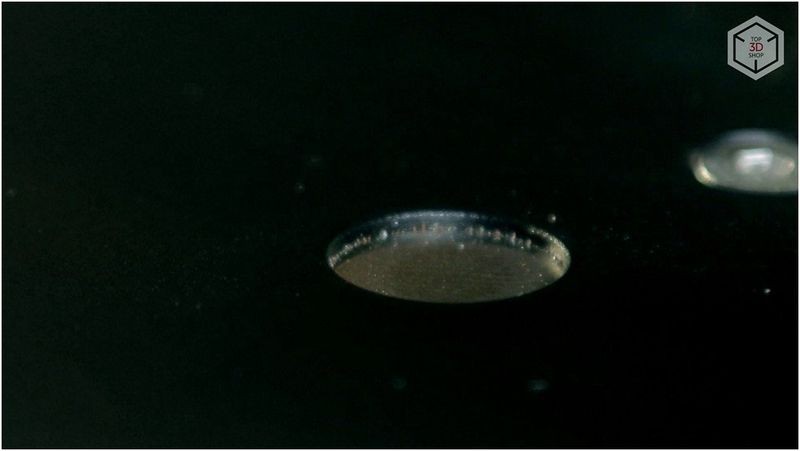
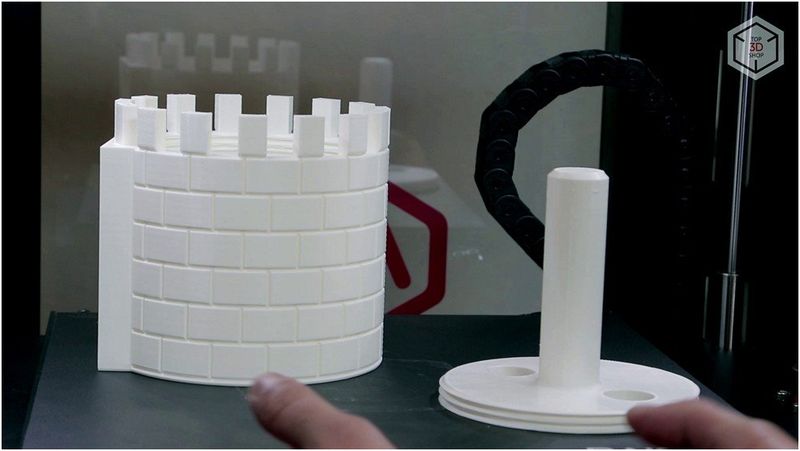
Let’s compare objects printed with a layer of 10 microns and 200 microns.
The used nozzles have diameters of 0.2 to 0.8 mm; the delivery set includes nozzles of 0.4 mm in diameter.
The platform heats up to 110 degrees, which is very good, especially when printing with thermoplastics with strong shrinkage. The extruder itself warms up to 300 degrees. This is not a record high, but more than enough to print with most modern plastics.
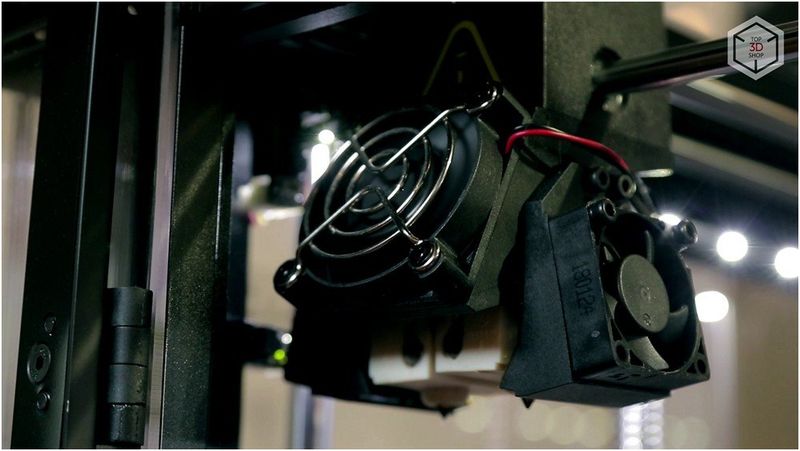
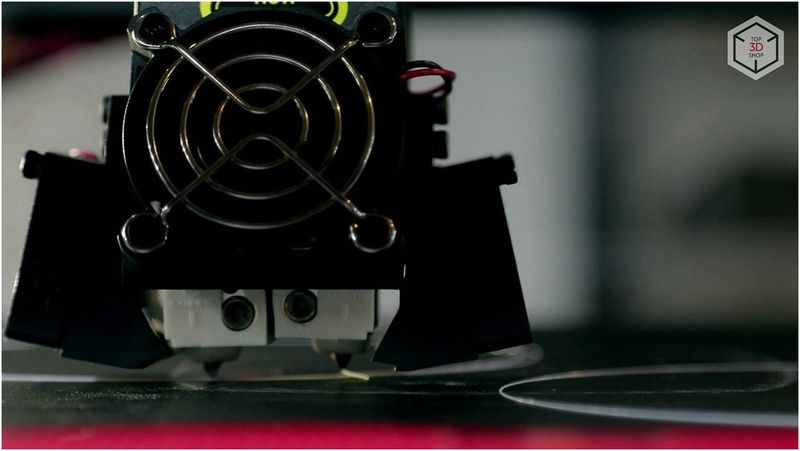
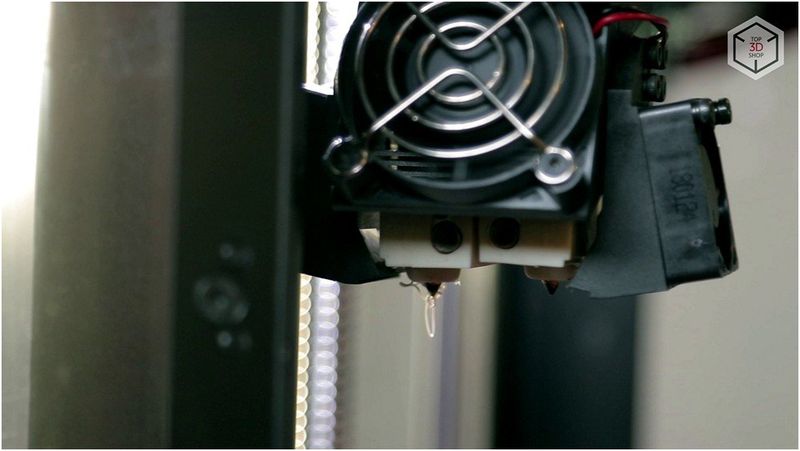
The machine boasts a double extruder. When switching, one nozzle rises by 1.5 mm – pretty enough for not interfering with the work of the second, and this also does not spoil printing with flexible materials which may clog the extruder’s nozzle. Nozzle switching takes only a second.
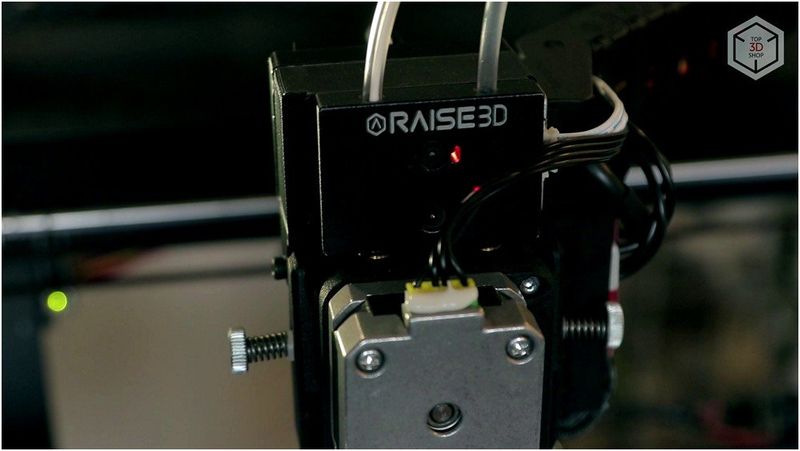
Another remarkable feature of the extruder is the thread breakage sensor. According to the specification checklist, this sensor is optical and located right here, at the top of the extruder.
If the filament thread breaks, the printer pauses until the user fixes the problem.
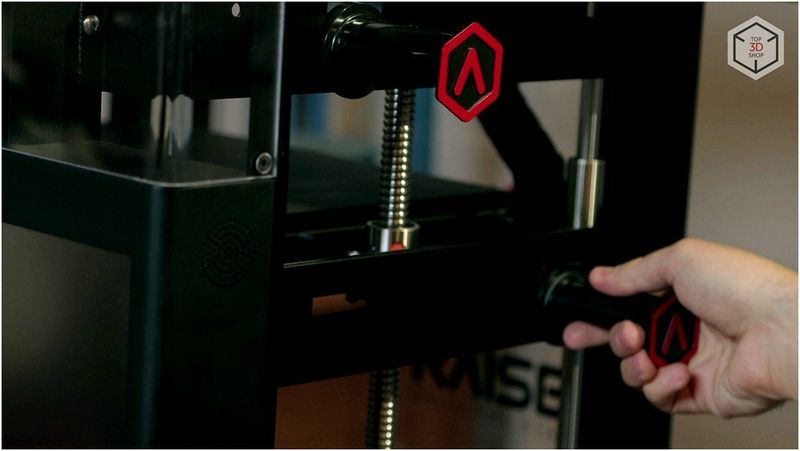
Unlike the previous version, all calibrations now run automatically.
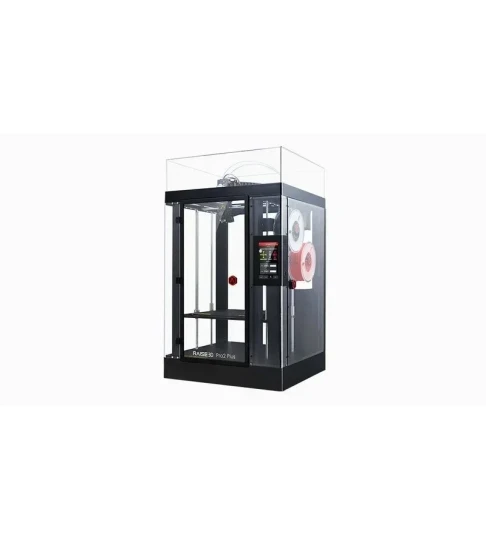
And, of course, the biggest advantage behind Raise 3D Pro 2 Plus is its work area size, that, actually, presents a cube of 30 × 30 cm or even a little narrower when printing with two nozzles. Such working space is significantly higher compared to most other desktop printers. In fact, it is exactly a large camera and a dual extruder that make this printer so interesting.
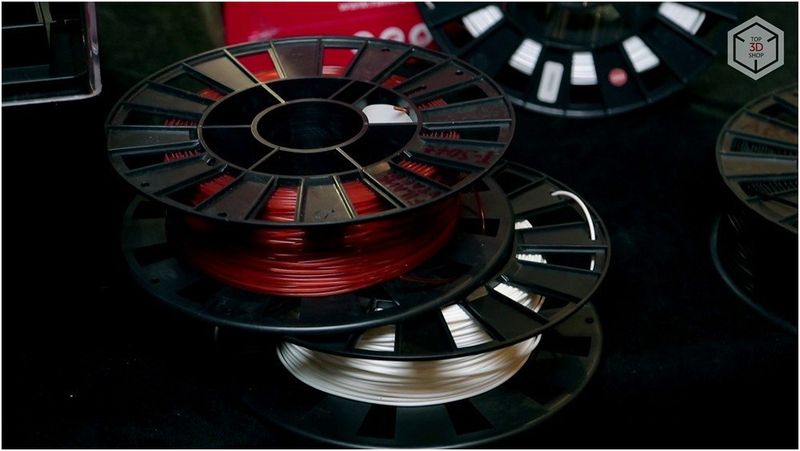
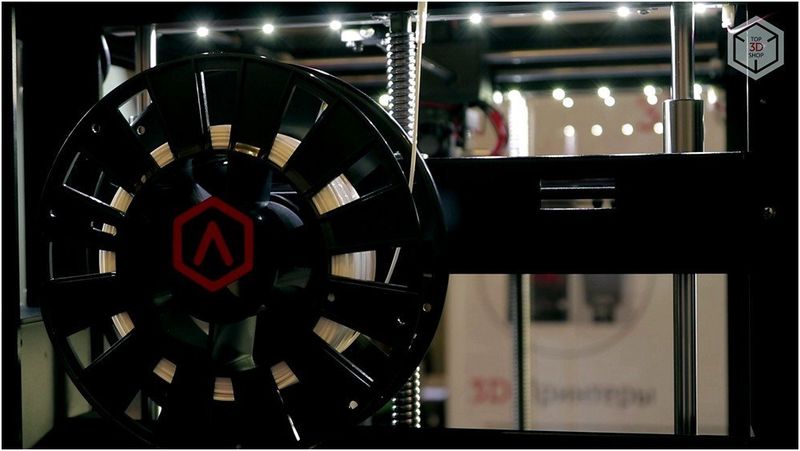
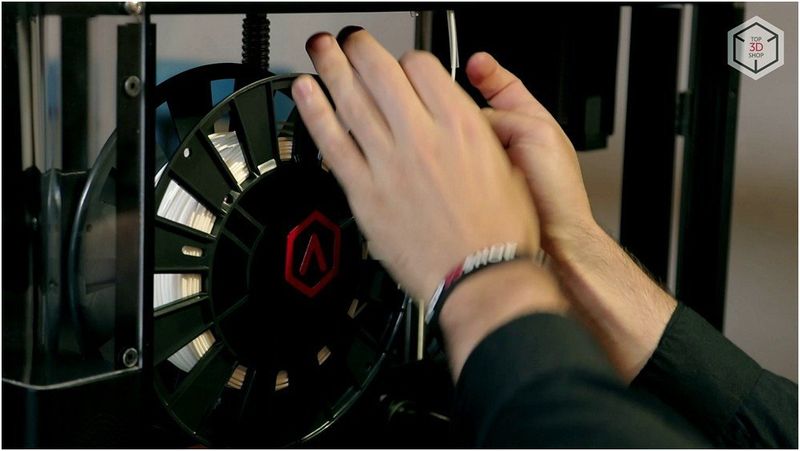
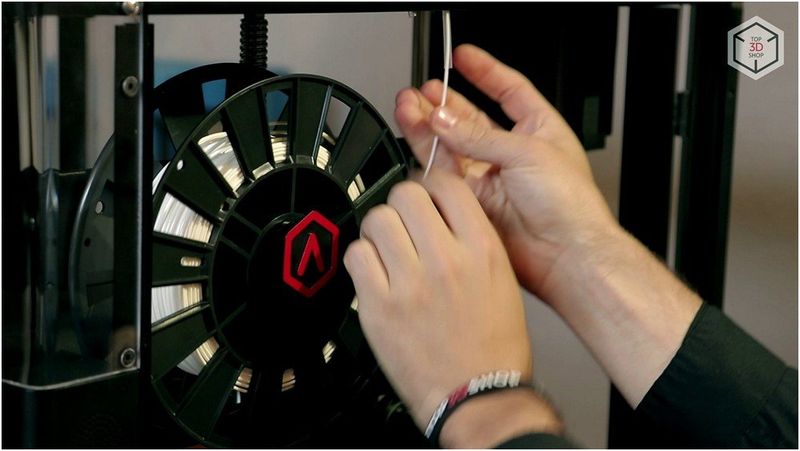
Filament reels are installed in a special side compartment, one above the other.
A few words about coils: the given printer is multi-material – it prints freely with either standard plastics such as ABS and PLA and exotic materials ranging from wood-filled composites to flexible materials like FLEX.
The extruder can heat up to 300 degrees, but you hardly will need a higher temperature, perhaps, only when working with rare hyperthermal plastics. It is better to print with exotic filaments using nozzles of, at least, 0.4 mm in diameter to prevent the nozzle clogging.
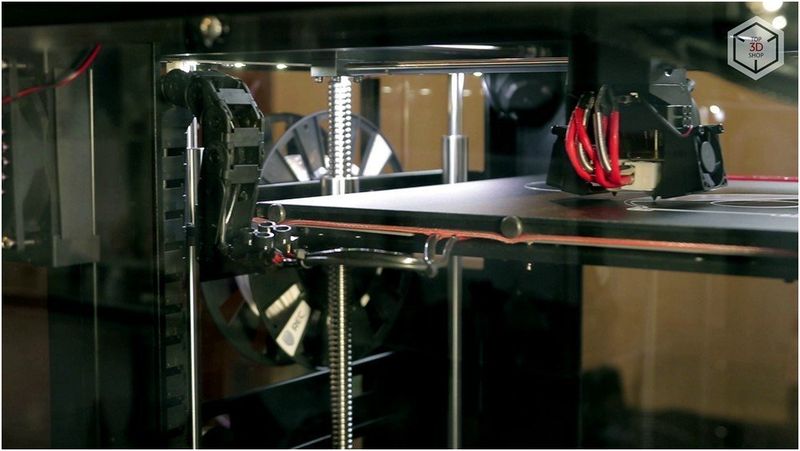
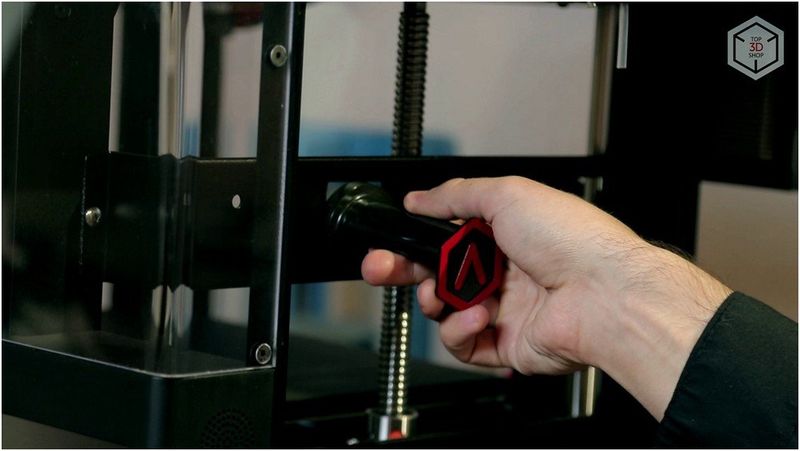
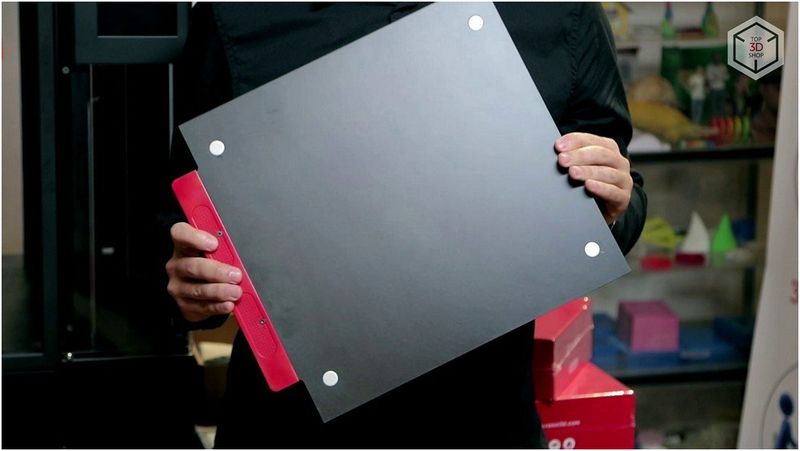
The printing platform is aluminum with magnetic connectors, and can be removed in one movement.
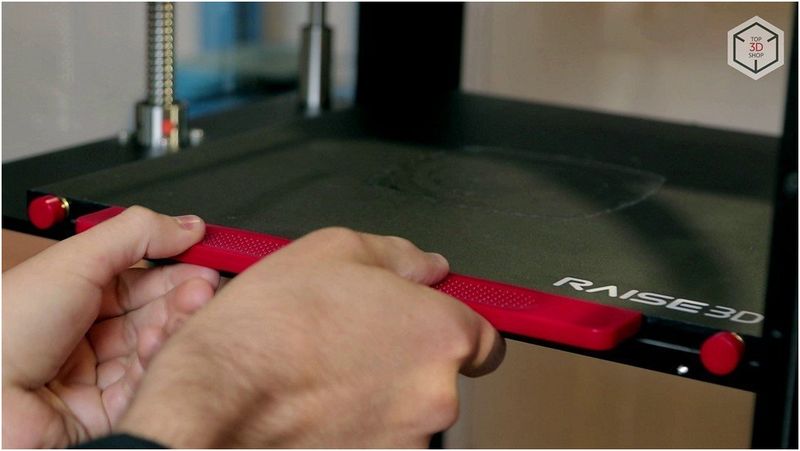
The magnets are arranged in a very interesting way: four large magnets are used in the corners, which prevents the platform from slipping and bending when working.
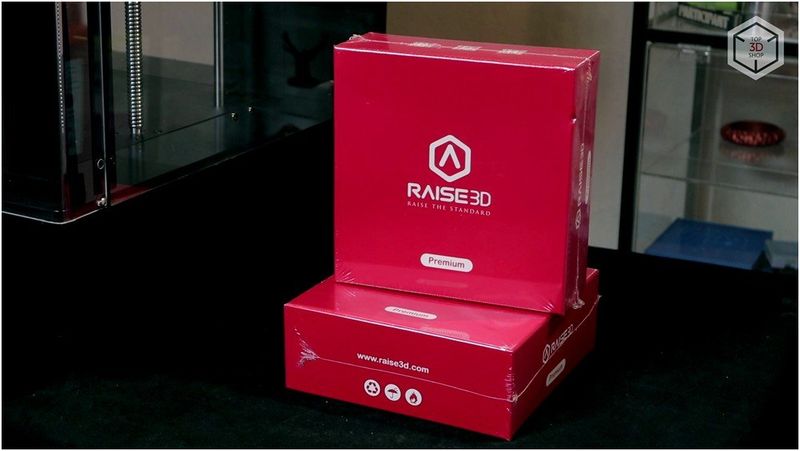
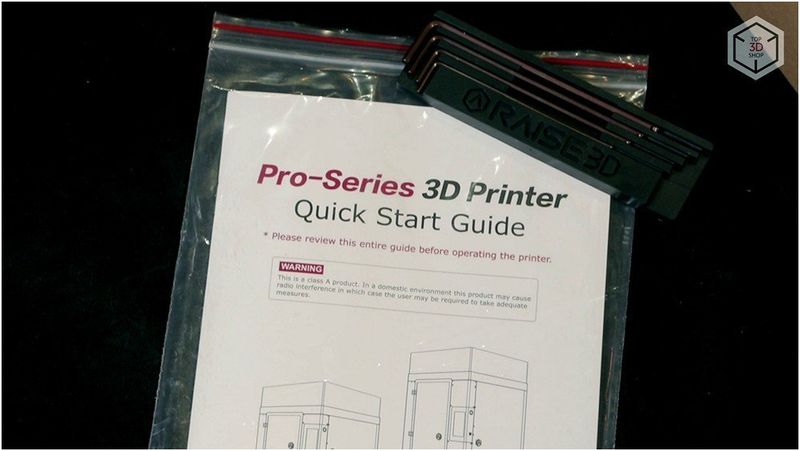
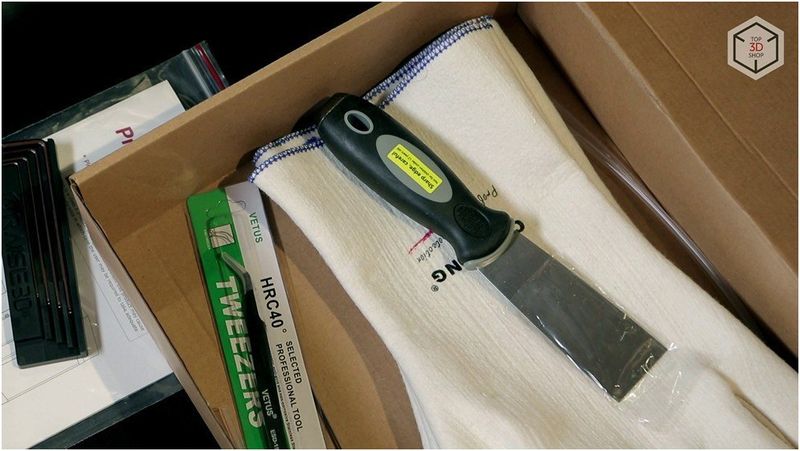
The printer is delivered in a large cardboard box generously stuffed with polystyrene foam inside; all moving parts are firmly fixed with plastic holders and clamp bands. The scope of supply includes a set of hexagon wrenches, a putty knife, protective gloves, and plastic for printing.
The printer’s design was not greatly modified compared to previous Raise products; it expectedly follows the dark color scheme with a lot of transparent parts. The printer’s frame is all about aluminum, plastic, as well as steel and cylindrical guides. The kinematics is the same as that used in Ultimaker.
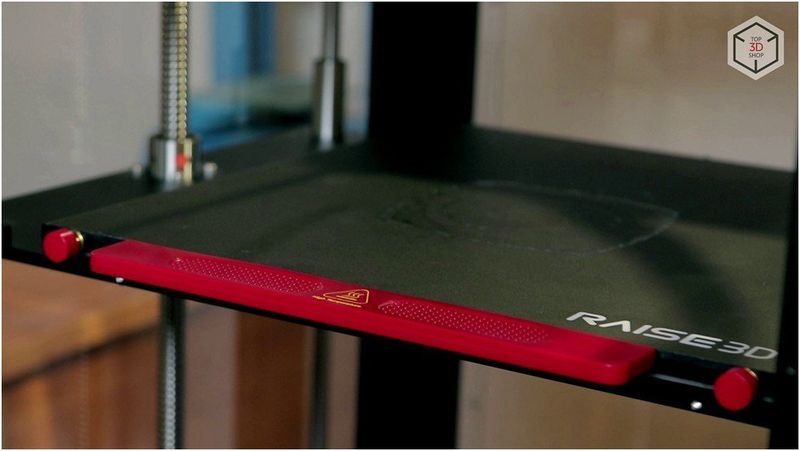
The platform is rather unusual – it is not made from traditional glass, but from a thin aluminum sheet with a special coating, similar to the MakerBot’s table. The platform’s base is steel. The removable part of the platform is fixed by magnetic holders.
In general, such an approach to the 3D printer’s table material is not very common, though handy because it does not require the use of adhesives such as glue or spray.
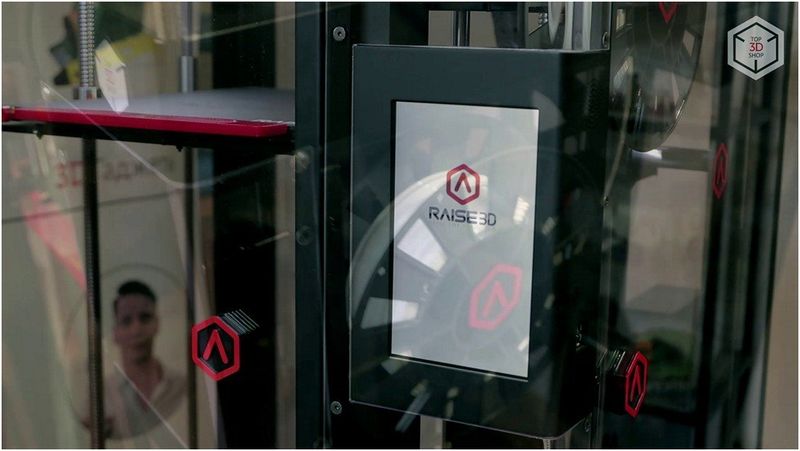
There is a camera in the printer so that you can observe the printing process from your smartphone or computer. You even can connect to the printer’s camera remotely via Wi-Fi.

Print files can also be sent to the machine through Wi-Fi, an SD card or USB.
A large seven-inch touch screen of the printer comes with the resolution of 1024 × 600.
The printer also has a HEPA filter for fine air filtration. Not many people will need this feature in practice, but it will be a weighty argument for purchasing this device for educational purposes, for instance, for Tech lessons at school.
The printer works with the proprietary IdeaMaker slicer. It looks like a standard closed slicer designed tailored to a certain line of printers.
This slicer supports the profile system, and the number of available print settings was significantly increased.
On the whole, the slicer allows for preparing executive programs for other printers too. Other interesting features of this software include an integrated system for checking and correcting polygonal models.
When loading a damaged model, the printer will display an alert that the model needs repairing, and you can run the repair directly in the slicer, without using any additional software.
Surely, the slicer features an integrated set of profiles for Raise 3D printers, basic plastics, and printing modes settings such as “maximum quality” or “maximum speed”.
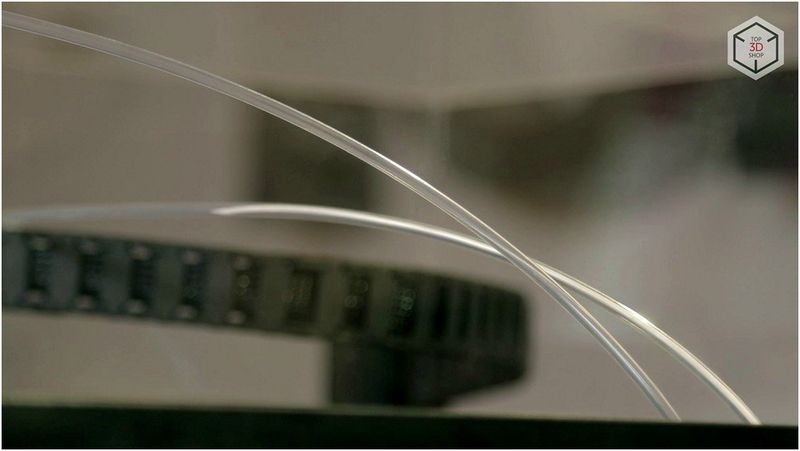
Before you begin, you need to take the reel of the plastic that you selected in the slicer and place it in the printer. Thread in the plastic.
It's time to launch calibration. It serves to ensure that the printer applies the first layer at the right height, and in this model, the process of calibration is automated.
You can send a file to the printer via Wi-Fi or via a USB flash drive.
It is also possible to initiate the file printing directly from the software, across the wire, but this may cause problems if the operating system suddenly starts updating. It doesn’t matter how you delivered your g-code to the printer - just start printing when it is in place.
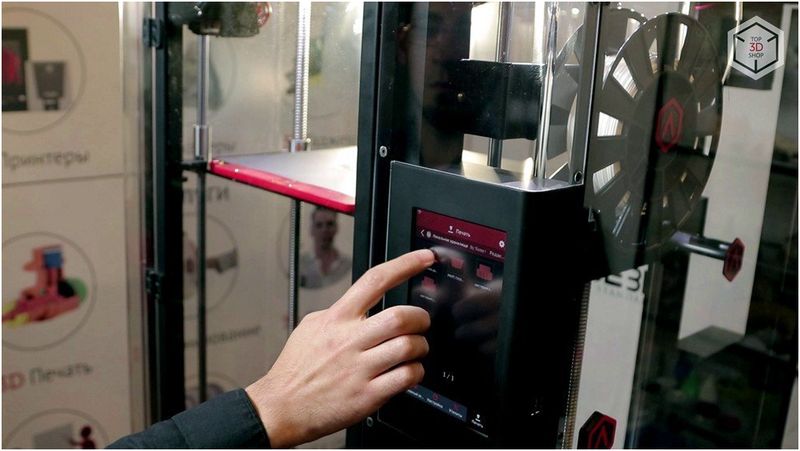
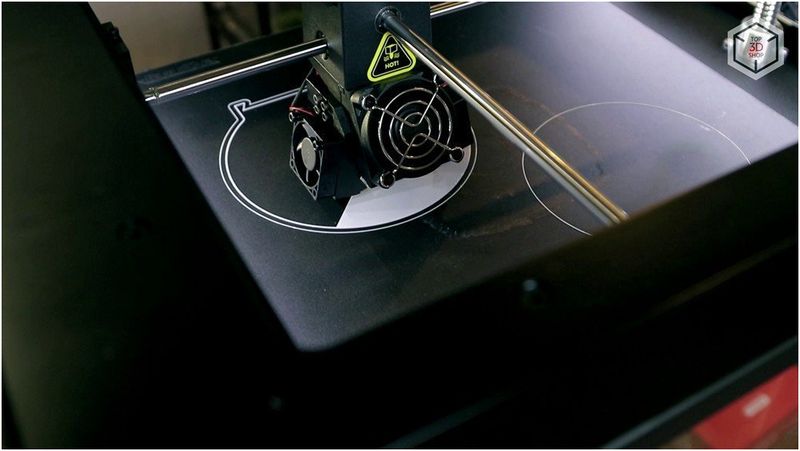
Printing is accomplished in a way standard for all FDM printers; the progress of printing is reflected on the display.
When printing is finished, you can remove the model from the platform. Since the surface is not glass, there should be no problems with the removal of the model, but if you doubt, you can use the putty knife provided in the delivery set.
The novel Raise 3D printer does not shift away from the concept of its predecessors, it is simply an advanced version of previous models. The list of improvements includes automated calibration and a more convenient fixture of the platform. This is all the same high-end printer for constructing models of impressive sizes.
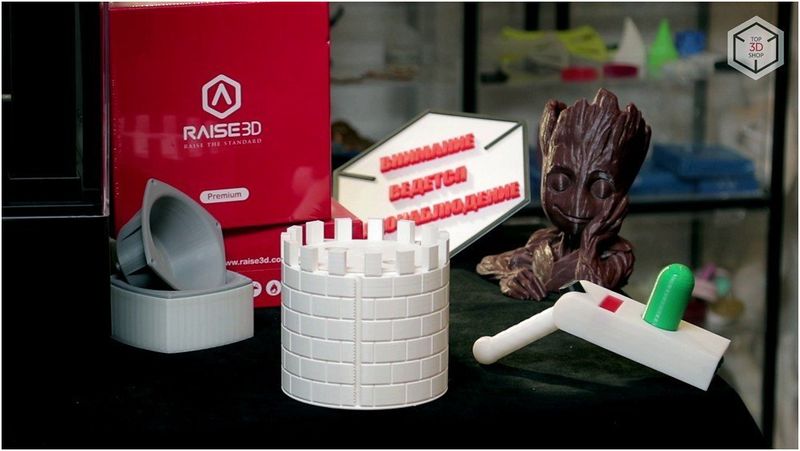
High print quality and a dual-material printing feature make it possible to create large objects with soluble supports in a single session, which dramatically simplifies post-processing.
We recommend Raise 3D Pro 2 Plus for prototyping, creating functional household and decorative art objects, accessories for cosplay costumes, and much more.
A large build volume and a transparent case ensure a highly demonstrative printing process, which makes it possible to use the machine as a training aid - it will be appreciated in educational institutions as well as for engineering courses and clubs for kids and teens.
Update your browser to view this website correctly. Update my browser now
Write a comment