Source: creality3dofficial.com
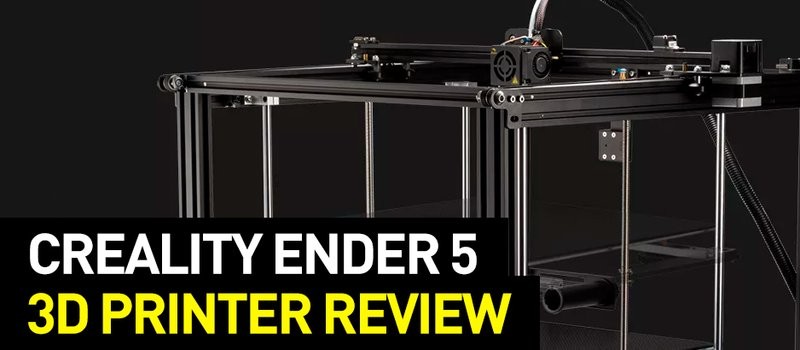
The Creality Ender 5 is a budget 3D printer produced by the Chinese company Creality. Well-built and with a set of thoughtful features, this cube-shaped FDM 3D printer is considered one of the best 3D printers under $500 - but also under $400. At the time of writing, the price for the Ender 5 ranges from $319 and $350.
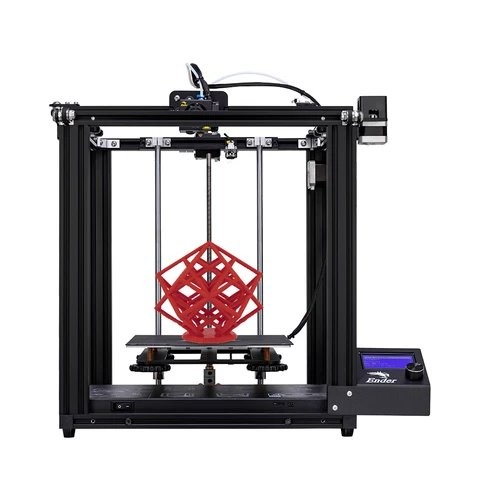
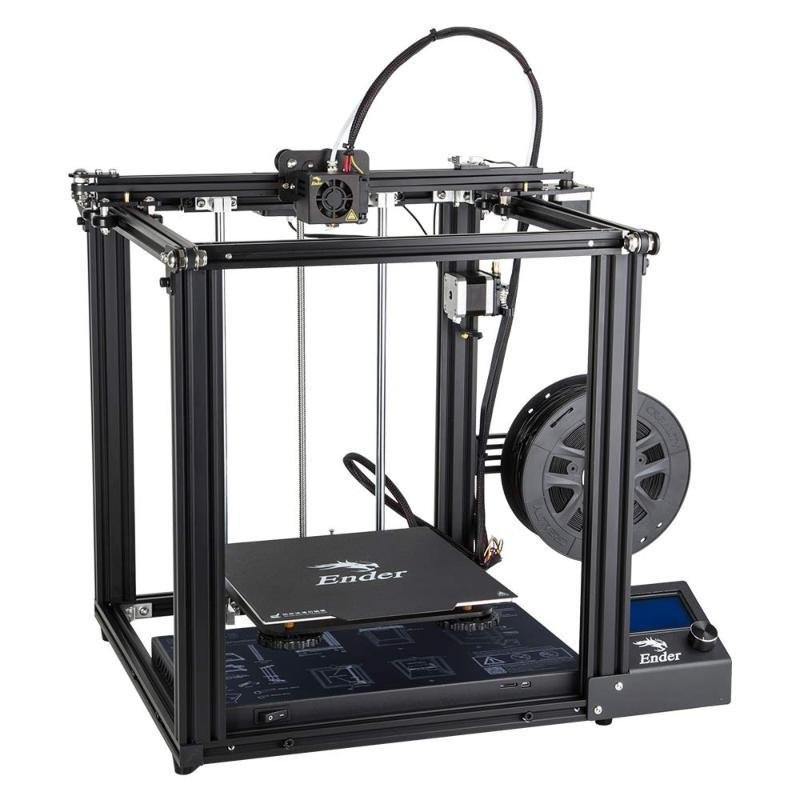
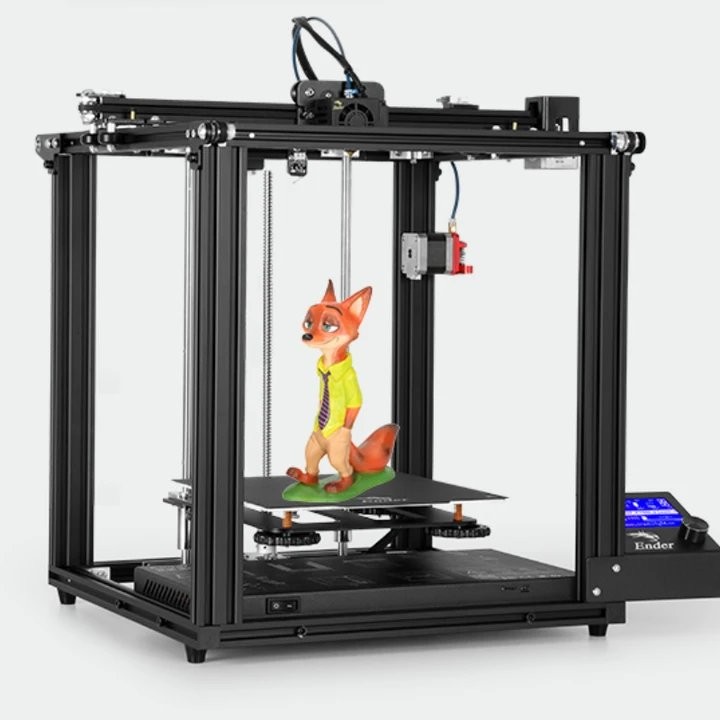
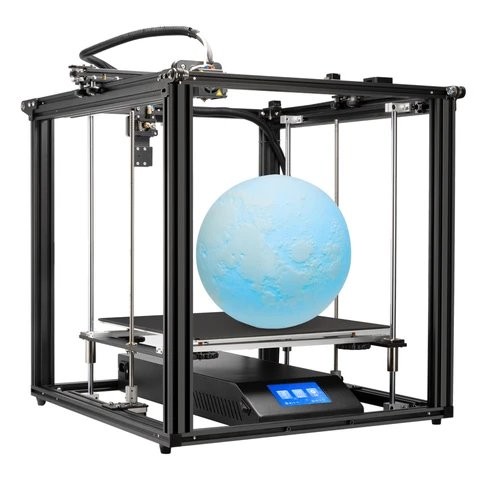
The Ender 5 is part of the popular Creality Ender series, which also includes the Ender 5 Pro and Plus, the Ender 3 lineup (3, 3 Pro and 3X), and the Ender 4 (now discontinued). Like all the Creality Ender models, the Ender-5 relies on an open-source system. This means it can be easily hacked and upgraded to enhance its features. With a cubic design similar to the Tronxy X5S, the Creality Ender-5 combines the best features of the Ender 3 Pro while offering a bigger build volume of 220 x 220 x 300mm and more stability.
Yes, it is. That’s our short answer. But why? Well, the Creality Ender 5 is a cost-effective 3D printer kit that delivers high-quality prints out of the box. As part of the Ender lineup, it benefits from the same upgradability and affordability of its predecessors of the Ender 3 series. This means that with the right upgrades and a bit of tweaking, it can turn into a semi-professional device able to produce prints with the same resolution of more expensive FDM printers.
The Ender 5 is a larger and better version of the Ender 3 Pro. It is engineered with a magnetic heated bed, an 8-mm-rod for the Z-axis, a dual Y-axis engine, and a dedicated stepper motor for each of the axes. It features an auto-resume function aimed at preventing printing failures due to power loss. This lets you complete your print jobs at any time. The Ender 5 can print as fast as 80mm/s without affecting the quality of the model. It features a build area of 220 x 220 x 300mm.
The heated platform lets you successfully print with PLA and PETG straight out the box. Even if showing some warping issues, printing with ABS and ASA is also possible.
Source: top3dshop.com
The Ender-5 has some cons, of course, but nothing more than any other budget filament printer. One of the main issues is related to the magnetic bed. While it can heat up to 125°C, the magnetic surface is easily damaged when printing at more than 90°C for a long time. If you are planning to print at higher temperatures, upgrading the stock bed would be ideal.
Considering its low price and printing capability, the Creality Ender 5 is totally worth it. It is the right pick for makers, designers, hobbyists, and 3D printing enthusiasts who like tinkering.
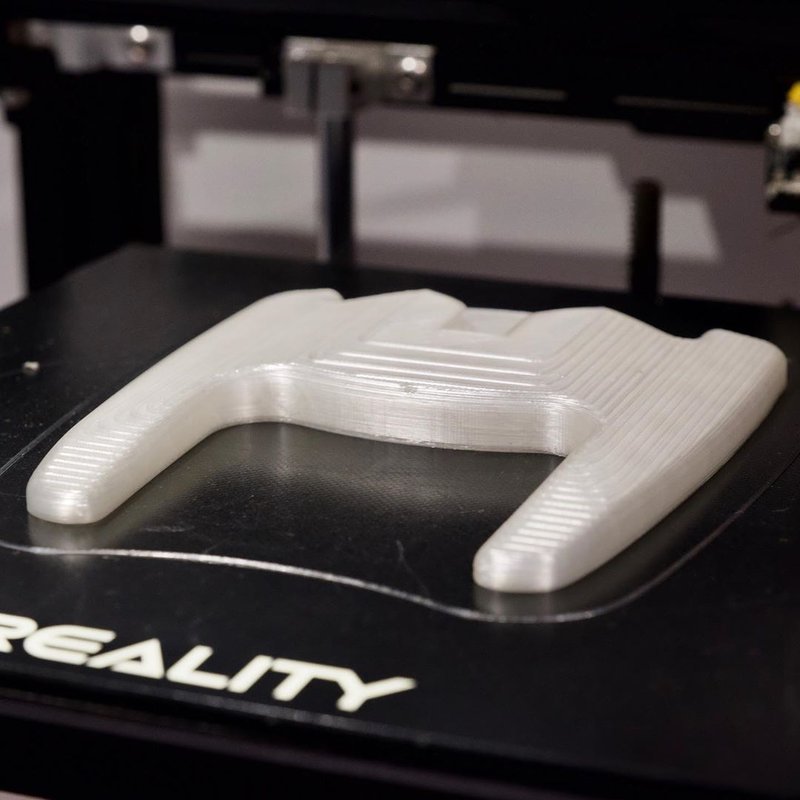
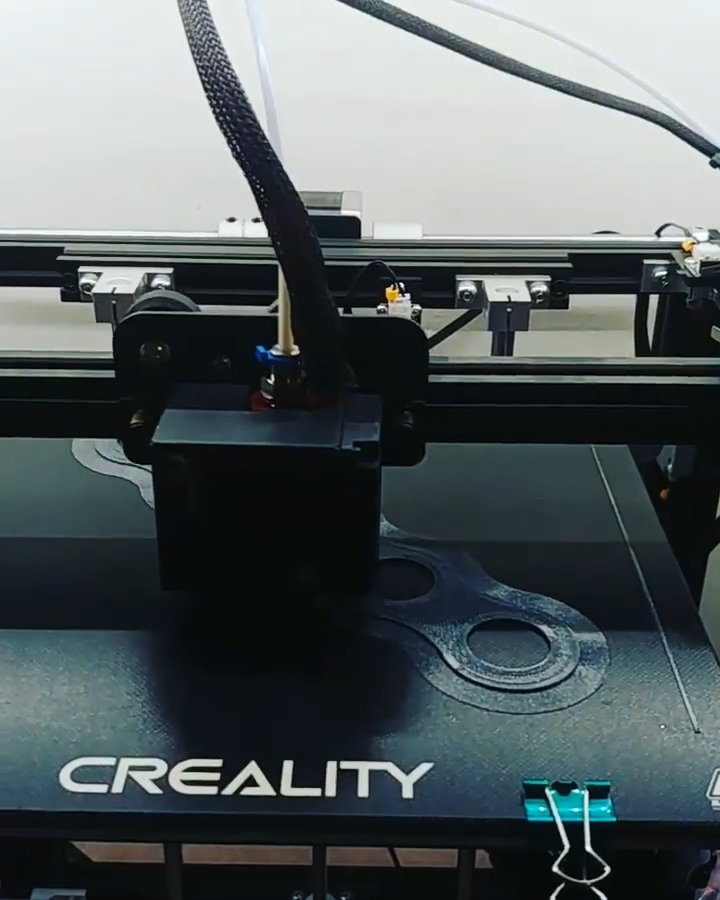
The Creality 3D Ender 5 is an FDM 3D printer kit. It uses Fused Modeling Technology, an additive manufacturing method that consists in melting a filament of thermoplastic and depositing it layer by layer in a pattern. The filament is pushed through a heated single extruder via a Bowden feeder mechanism. The tight entry of the Bowden tube makes it difficult to insert the filament into the route. Cutting the consumable in a steep angle might facilitate the task.
The extrusion module supports filaments of 1.75mm in diameter. It comes stock with a single 0.4mm nozzle. Depending on your project requirements, you can swap to a 0.2 or 0.3mm nozzle with ease.
Source: instagram.com
Despite its box-shaped design, which is typically used by CoreXY 3D printers, the Creality Ender 5 is a Cartesian device with the X-axis motor attached to the carriage. Its tool head moves along the X and Y axes, while the print bed travels along the Z-axis. While moving, the hot end deposits the melted filament on the build platform. Depending on the printing settings, it can produce layers from 100 to 400 microns in height, with a print accuracy of around 100 microns.
The maximum print speed of the Ender 5 is 180 mm/s.

Source: instagram.com
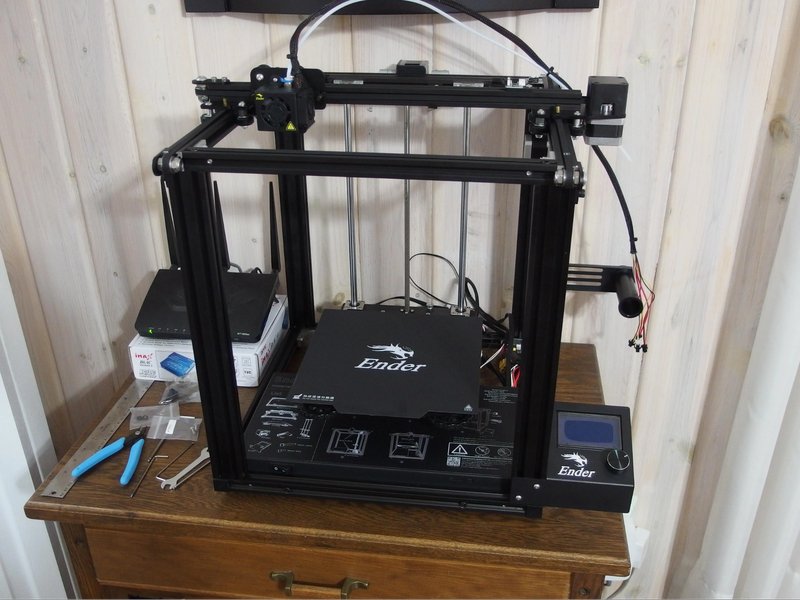
The Ender 5 structure is composed of easy-to-assemble aluminum profiles. It has a build volume of 220 x 220 x 300mm. It comes with a heated bed covered with soft magnetic stickers, which are supposed to provide a good surface adhesion. However, many users suggest replacing the stock platform with a glass or polypropylene one for greater first layer adhesion and easier print removal. This is one of the first upgrades you should make.

Source: instagram.com
Easier to build up than the Ender 3 3D printers, this semi-assembled kit comes with most of the parts pre-assembled. By following the clear instructions included in the package, you will get your Ender-5 up and running in around 30 minutes.
Source: of3lia.com
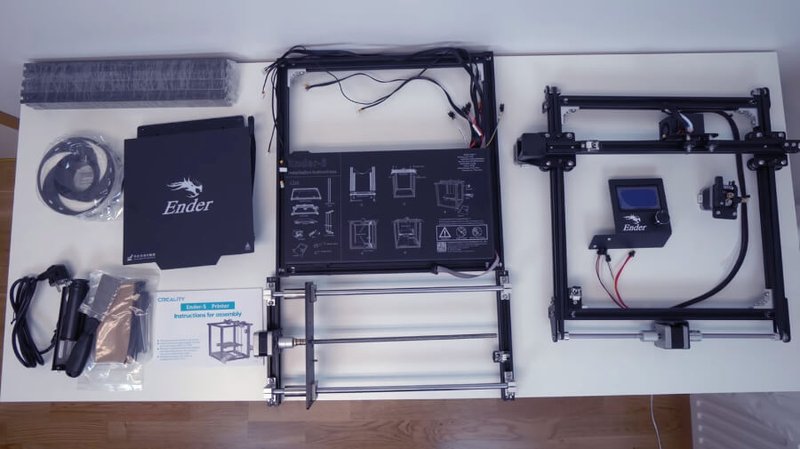
The kit ships with all the parts required to assemble the printer, including:
Source: of3lia.com
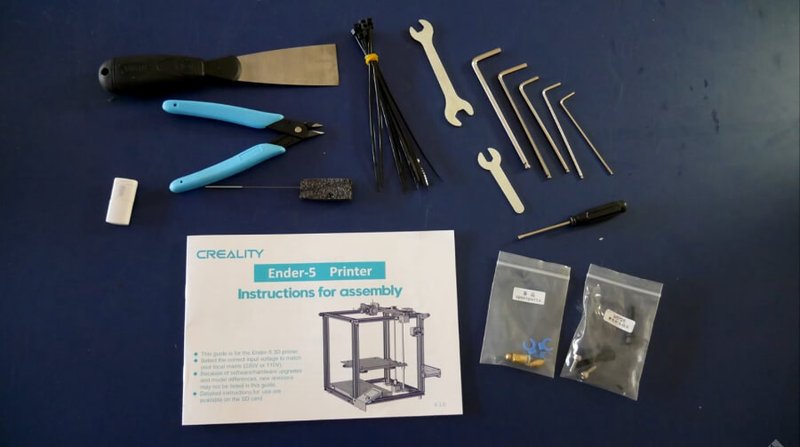
In addition, it generally comes with a bunch of additional tools and accessories:
The printer mechanics have been improved to deliver the highest level of precision achievable. That’s why the Ender-5 has been equipped with a dual Y-axis motor, a double-sided timing belt, and an 8-mm rod that connects the down-shift Z-axis to the center of the bed. Perfectly synchronized, the dual Y-axis engine is capable of driving the two sides of the gantry simultaneously. The printer also adopts a dedicated stepper motor for each of its axes. This makes for smoother and steadier movement.
The Ender 5 comes with the axes already assembled. To build it up, you’ll only need to screw the Z-axis and the base unit together and do the wiring. Generally, the whole process takes 30 minutes.
The assembly instructions packed with the machine clearly explain the steps to follow. However, for a better experience, you can have a look at this video tutorial. It starts from the unboxing process, so if you already have the printer components ready, just skip to minute 5:48 and start building your brand new Ender-5.
The Ender 5 shows an open-frame extruded aluminum cubic structure. When properly assembled, it results in a rigid and sturdy construction. The open design eliminates the risk of collision between the hot bed and the frame, an issue frequently encountered when printing with the Ender 3.
The printer mechanics have been improved to deliver the highest level of precision achievable. That’s why the Ender-5 has been equipped with a dual Y-axis motor, a double-sided timing belt, and an 8-mm rod that connects the down-shift Z-axis to the center of the bed. Perfectly synchronized, the dual Y-axis engine is capable of driving the two sides of the gantry simultaneously. The printer also adopts a dedicated stepper motor for each of its axes. This makes for smoother and steadier movement.
Source: instagram.com
The device sports an industrial circuit board, which grants stable performance and high-load safety inspection. Also, it enables continuous printing for over 200 hours.
Both the motherboard and the wires are integrated into the printer base unit. This makes for a cleaner look. The built-in Meanwell 355W / 24V power supply enables quick bed heating. It lets you heat the platform to 100°C in 5 minutes.
Source: reddit.com
The flexible magnetic print bed has been engineered to improve print adhesion and make print removal easier. Unfortunately, it rapidly deteriorates when printing at high temperatures for a long time (more than 90°C). This means you might need to buy a new one earlier than expected.

Source: instagram.com
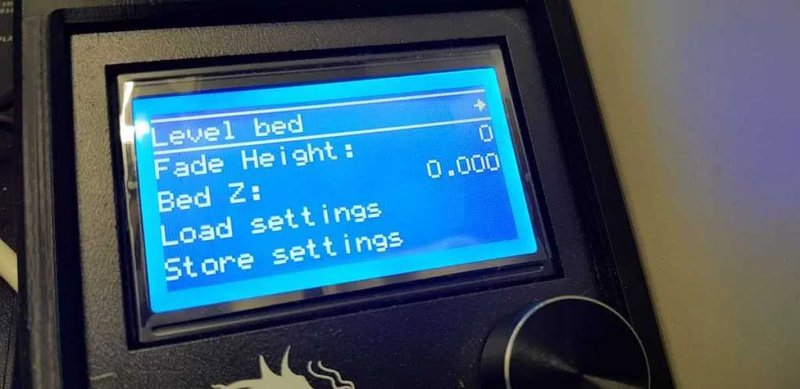
The bed is manually calibrated. The easy-to-turn large dials placed at the corners of the bed makes the process faster. If you want to automatize the operation, you can mod the printer by installing a BLTouch auto bed leveling system.
On the right side of the printer, an LCD display attached to the gantry lets you directly operate the device. The rotating dial lets you navigate the menu and select the printing settings in just a few steps.
Source: www.do-it-neat.com
The Ender 5 includes an SD card slot and a USB port for both computer-controlled and independent operation.
Larger than the Ender 3 3D printers, the Ender 5 measures 552 x 485 x 510 mm and features a print area of 220 x 220 x 300mm (50mm higher than the Ender 3 build area). Its net weight is 11.8 kg.
The printer comes with an SD card with a Windows version of the Cura slicer and an Ender 5 Cura profile (.json). Recent versions of the program offer a pre-set profile for this printer.
Source: facebook.com
If you run an old version of the software and don’t want to update it, you can manually add the Cura profile included in the SD card to the program. The following video briefly shows you how to do that.
If you are a Mac or Linux user, you can download Cura for free here.
If you prefer using a different slicer, you are free to do it. The open-source system of the Ender 5 makes it compatible with any type of free or paid slicing software currently available, including Simplify3D. Different software might not offer pre-set profiles for the Creality Ender-5. In those cases, you can manually add the data to create a custom profile.
The printer runs a custom Marlin firmware. Depending on the version of the firmware, you might need to update it in order to benefit from the thermal runaway protection (not available in old versions). If this is your case, we strongly suggest upgrading the firmware for safety reasons.
You can download an updated version of Ender 5’s firmware and all the necessary drivers on the official Creality website.
As we have already said, the Ender 5 is capable of delivering high-quality prints right out of the box. By the way, its open-source nature is a great opportunity for making the printer better than it already is.
Some upgrades can be easily 3D printed on your device. Usually, these are the first changes that Ender 5’s owners make. We are talking about self-printable accessories that won’t cost you much.
The most popular 3D printable mods for the Creality Ender 5 are:
Filament Guide: this mod makes for a smoother extrusion keeping the filament away from the feeder.
Extruder Arm: this add-on shortens the Bowden extruder to lighten the weight of the direct extruder on the moving components.
Cooling Duct: it is a useful upgrade to effectively cooling the printed models.
Bed support: composed of two support arms, this add-on has been designed to increase the print bed stability, reducing the risk of shifts in long-time printing.
Bed Strain Relief: it is a support structure for the heated bed wires. It reduces the risk of damage while increasing printer safety.
Silent Auto Home: it is an end stop switch developed to prevent the collision between the X and Y-axis and the printer frame. It fixes the lack of the stock auto-home limit switch.
Cable Chain Adapters: this mod lets you protect and keep all your cables tidy.
X-Axis Belt Cover: print 4 of these parts to cover the X-axis belts on top of your printer.
If you have some extra money to spend, you can start looking at some advanced upgrade kits provided by Creality and other third-party vendors.
Here is a list of some of the tools you might look after:
As we have already anticipated, the Ender 5 is an upgraded version of the Ender 3 Pro. Unlike its predecessor, it features a large Cartesian-type cube frame with the print head traveling along the X and Y axes. The redesigned mechanics makes for better performance and quality. The Ender 5 is easier to assemble and calibrate than the 3 Pro. Also, it delivers higher quality parts just after assembly. But what are the differences between the Ender 5, 5 Pro, and 5 Plus?
Source: creality3dofficial.com
Although sharing similar features with the standard model, the Pro version comes stock with the V.4.2.7 Silent Mainboard and the Marlin 1.1.8 firmware with Bootloader and thermal runaway protection pre-installed. This enables quiet and safe operation as well as high printing precision.
It adopts a metal extrusion frame with a Capricorn Bowden PTFE Tubing and an adjustable bolt. The Capricorn tube reduces the odds of jams, while the bolt lets you vary the pressure of the extruder gear according to the filament used. The improved extrusion system makes for better flexible and exotic filaments printing.
Source: creality3dofficial.com
The Ender 5 Plus is the larger printer of the Ender 5’s family. It has a build area of 350 x 350 x 400 mm. The bigger print bed is supported by four rods and two lead screws, while the Ender 5 only adopts two rods. This enhances the overall stability of the Z-axis.
Besides the larger volume, the Ender 5 Plus also includes a BLTouch auto bed leveling sensor and an end-of-the-filament sensor.
All three models can be conveniently upgraded for further improvements. Depending on your printing requirements you can choose the printer configuration that best meets your needs. Nevertheless, the Ender 5 Pro seems to be a great bang for the buck. In its price, it includes some of the most popular Ender 5 upgrades you might want to implement.
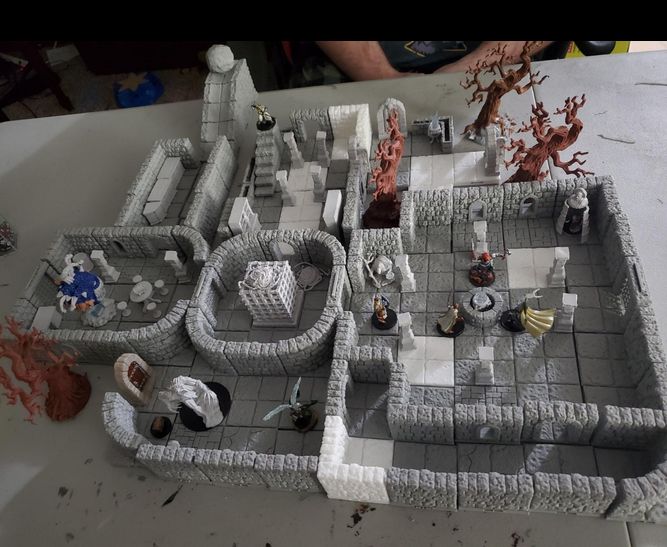
Several small models done in great quality come together as a nice piece of landscape.
Source: amazon.com
It shows a great design, high level of detail and impressively smooth surfaces.

Source: instagram.com
In this example, the visible layers printed at 0.12mm height add mood to the whole scene well-representing the skin of the dragon.

Source: instagram.com
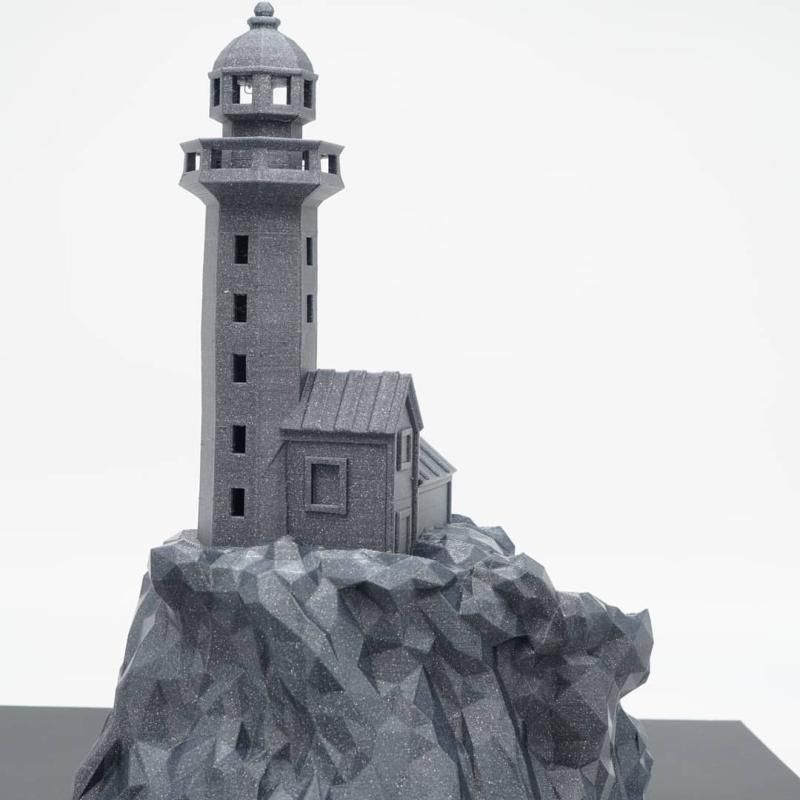
Look at this lighthouse. The layers went down so smooth.
Source: instagram.com

Source: instagram.com

Source: instagram.com
Pros:
Cons:
The Creality Ender 5 is a cost-effective DIY 3D printer kit. Its modular design makes it easy to assemble and improve. This lets you enhance its features according to your needs. In addition, the open-material system lets you experiment with a board selection of filaments from different brands.
The low price tag makes it accessible to almost anyone. If you are a tinkerer, a maker, or just a hobbyist, the Ender 5 might be the printer for you. You can buy it at Top3DShop.
Update your browser to view this website correctly. Update my browser now


Write a comment