Hi everyone! Today, we will talk about the FlashForge Hunter 3D printer. This is a desktop SLA printer that prints using resins. We tested the device, produced many prints and now we can share what we’ve learned about this machine in practice.
\n \n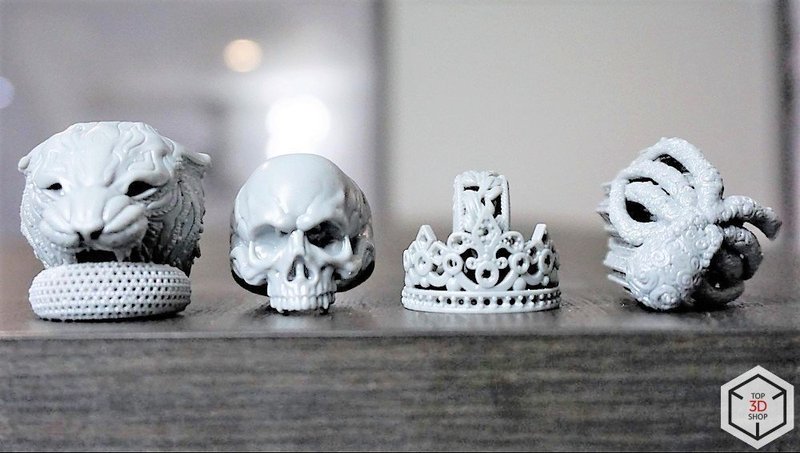
\n \n
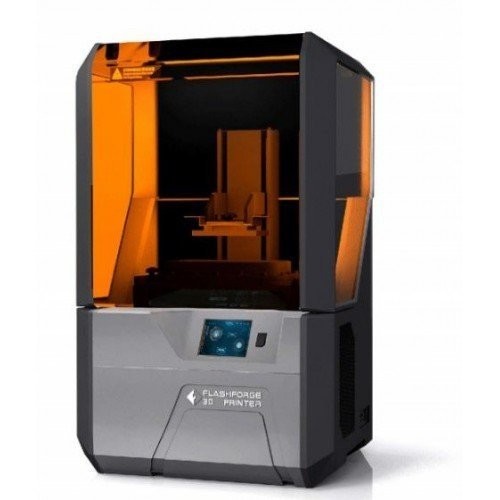
The printer looks interesting: the futuristic design looks as if it was inspired by the sci-fi movies of the 90s: from the shape of the case to the control menu. The platform and the laser don’t require calibration — running automatic focusing, adding resin, slicing a model and starting printing will be enough. Preparation and the initial part of printing happen fast and without caveats.
\n \n\n \n
\n \n
The device is controlled using the power button and the touchscreen.
\n \nThe menu consists of two submenus: Print — preparation and control of printing and Settings.
\n \n
The interface of the menu is rather simple and stylized. In the Settings, you can set up the Wi-Fi connection as long as your PC and the printer are connected to the same network.
\n \n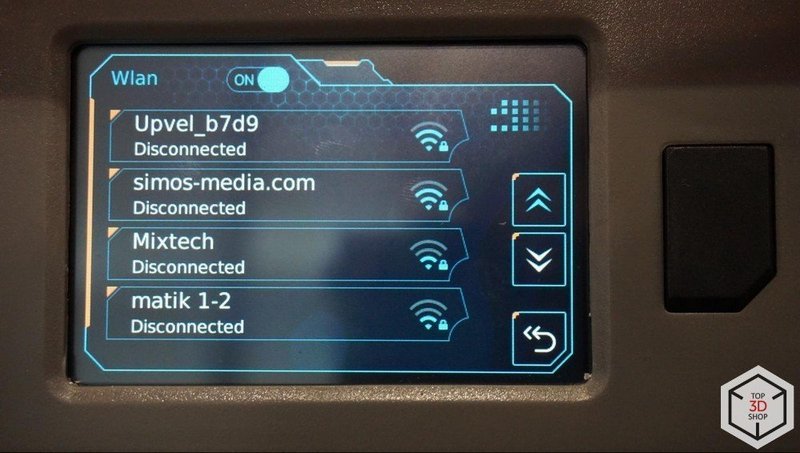
Standard password input is provided.
\n \n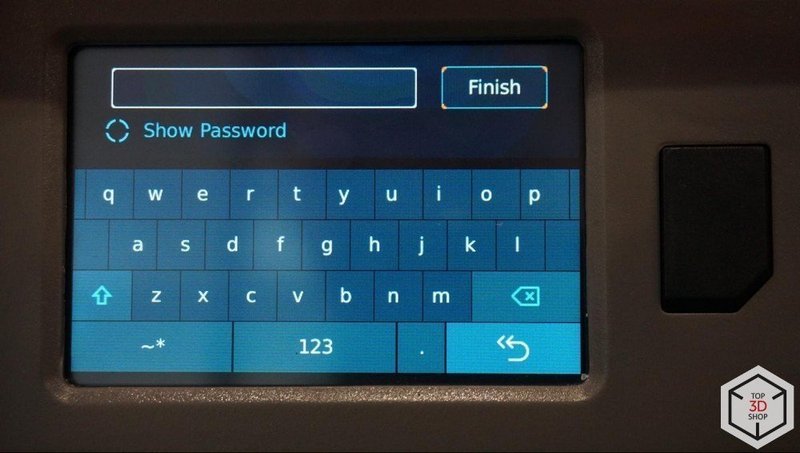
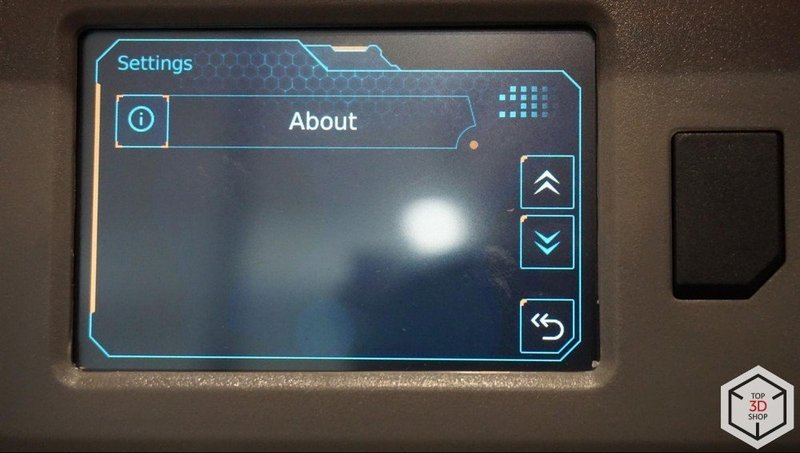
There are other options in the menu: the autofocusing system can be configured, the platform can be lifted or lowered. You can also change the language, upgrade the firmware, and check the information about it.
\n \n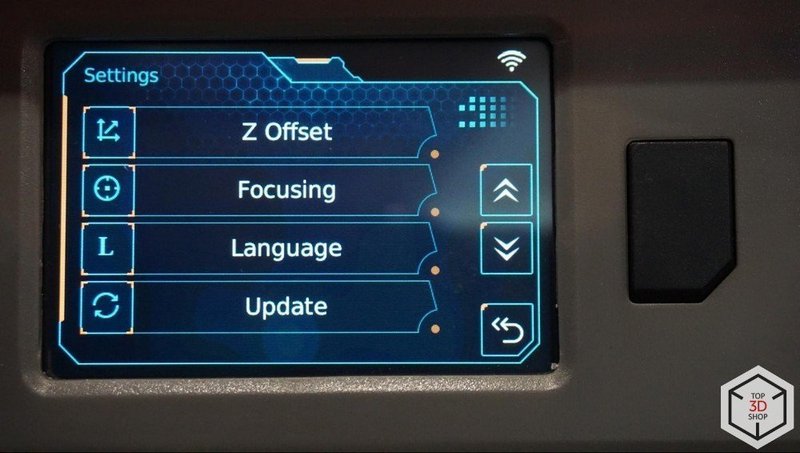

\n \n
There are several ways to get the print files to the printer: wired connection via USB cable, using USB-dongle and a Wi-Fi connection.
\n \n\n \n

The lid is made of orange polymer that protects the resin from overexposure.
\n \n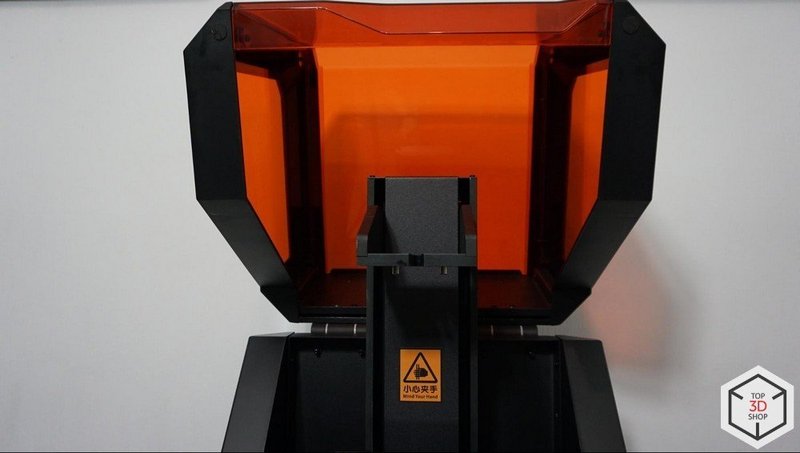
The platform’s mount lacks any screws to regulate — there’s no need for manual calibration thanks to the automatic leveling system.
\n \n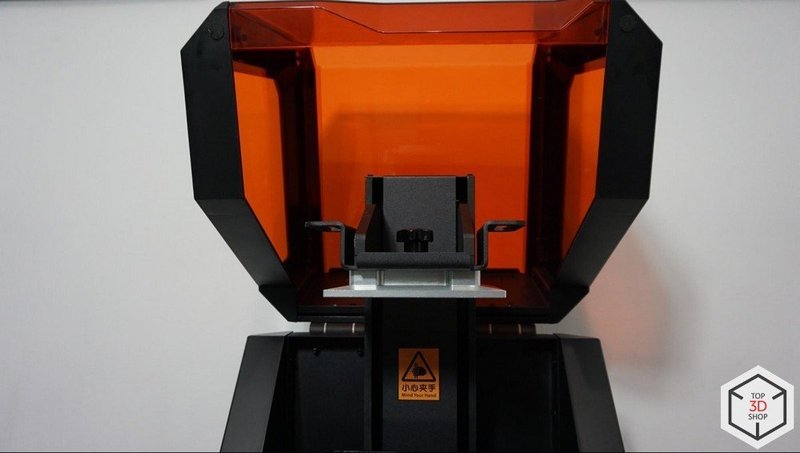
The resin tank is quite complex. You can call it a sophisticated device, since disassembling it requires some experience.
\n \n
Its installation doesn’t require any calibration either.
\n \n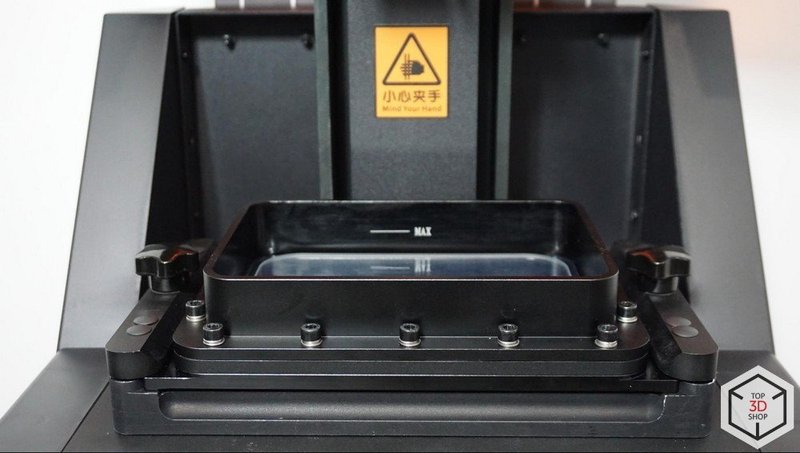
There are proprietary Z-rails. They are significantly stiff and accurate.
\n \n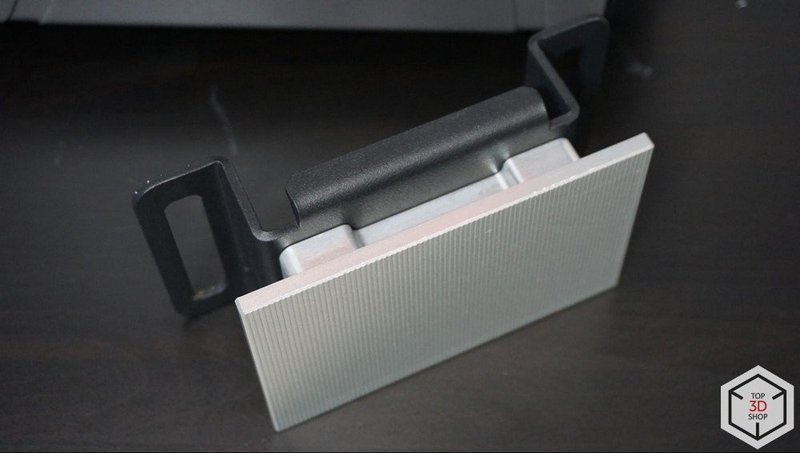
The platform has a textured surface that provides better adhesion for printing.
\n \n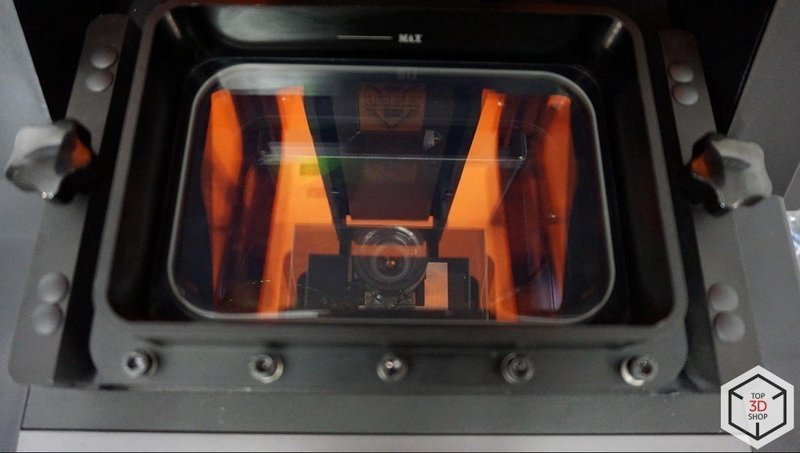
The LED projector is shielded from leakages even when a film is torn. But unfortunately, nothing prevents the resin from leaking into the inner parts of the 3D printer.
\n \n\n \n
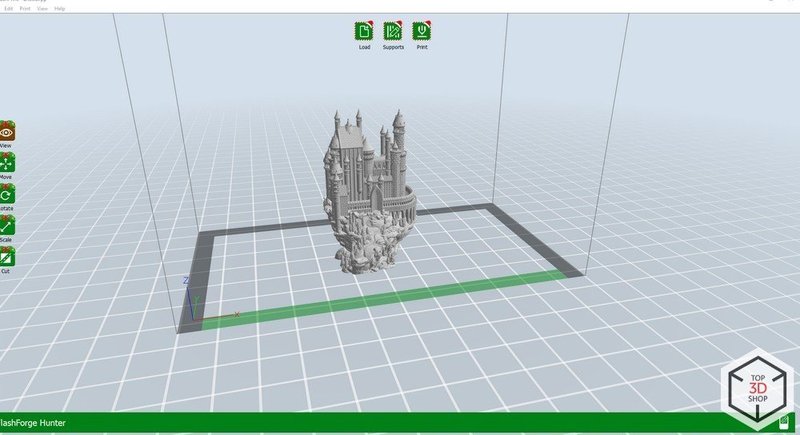
Simple minimalistic interface.
\n \nOn the left, there are icons that allow you to view, rotate, scale, and slice the model into several parts. 3 main icons are located on the upper side of the screen: loading, supports, and final slicing.
\n \n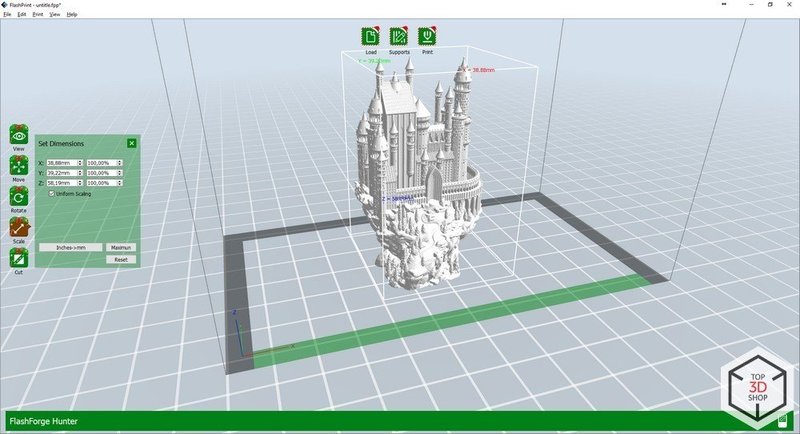
A model can be moved in 3 directions, as well as dragged just across the X and Y axes.
\n \n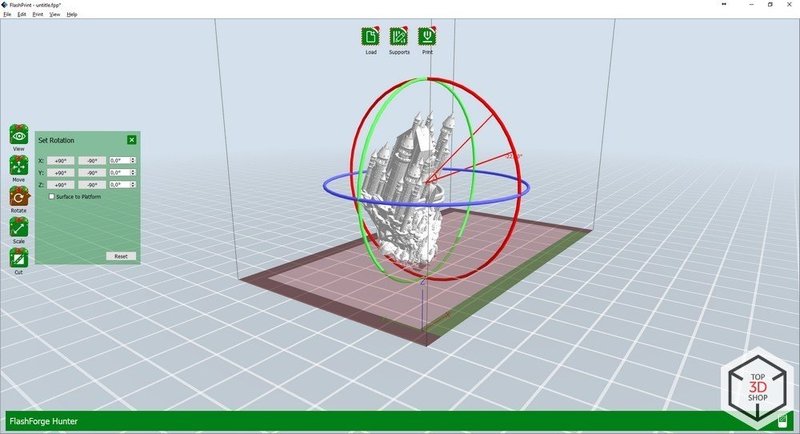
Rotation can be done manually, but the user can also just set a degree. Press CTRL + Z to undo.
\n \n
Scaling can also be done in both modes: manually or by setting the value.
\n \n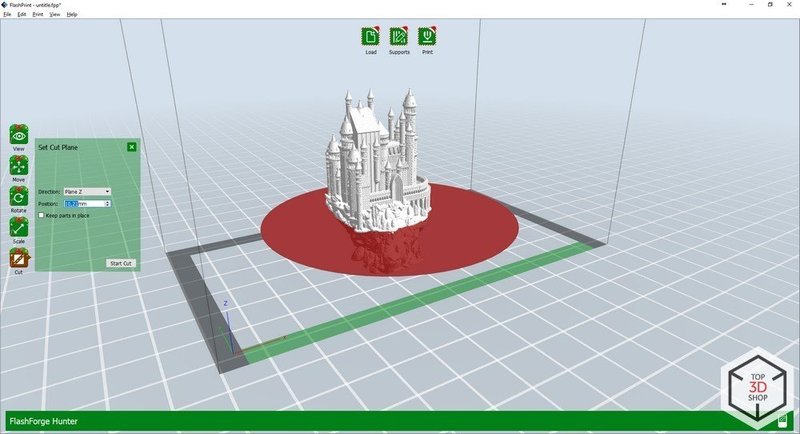
The slicing mode allows cutting the object into several parts working in three axes or just by adding the direction using a mouse.
\n \n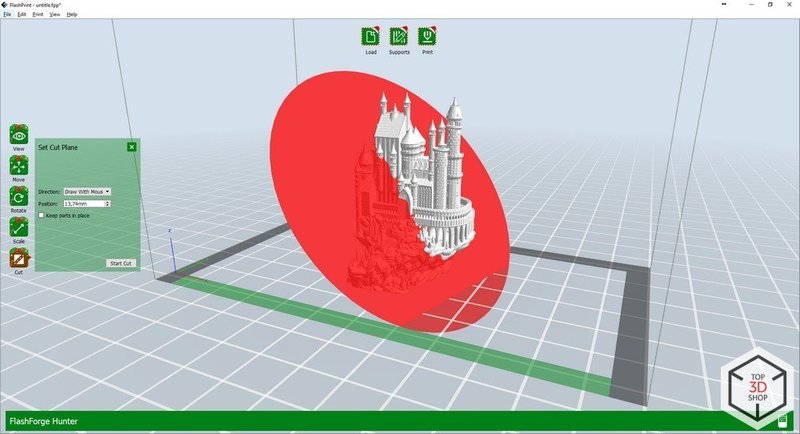
In the supports mode, we can see the slicing scale on the right side of the screen. It’s very useful and can help to find all of the vertices and add needed supports manually.
\n \n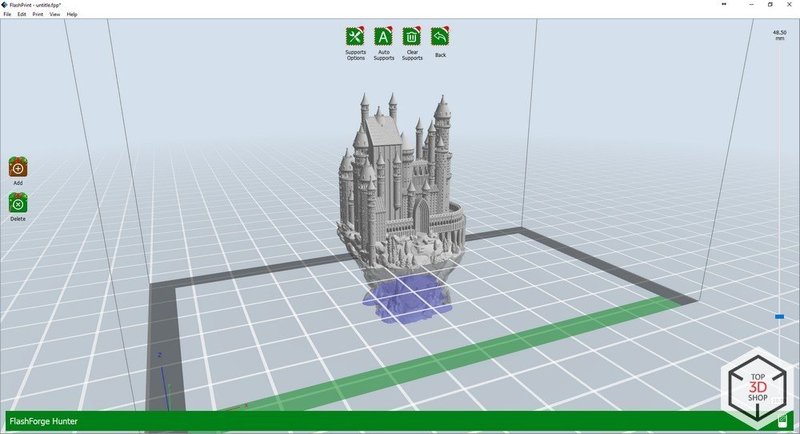
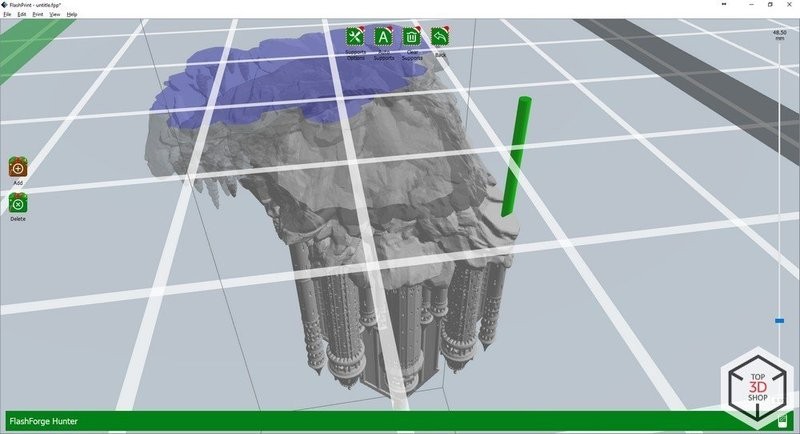
If we look closer, we can find out that this model is hollow. We can see how thick the walls are and locate the vertices.
\n \nEach vertex requires support generation.
\n \nThe supports can be configured with a wide range of properties.
\n \n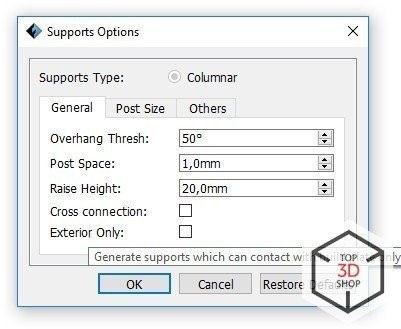
From the angle of the model and the thickness of the supports to the type and thickness of the raft.
\n \n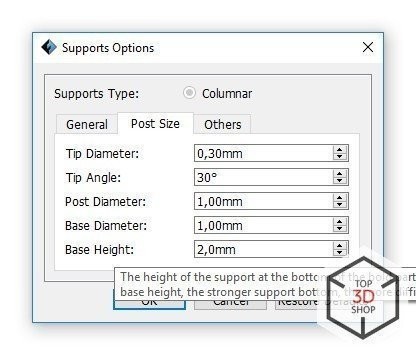
If you hover the mouse above the functions, you will get a description in English.
\n \n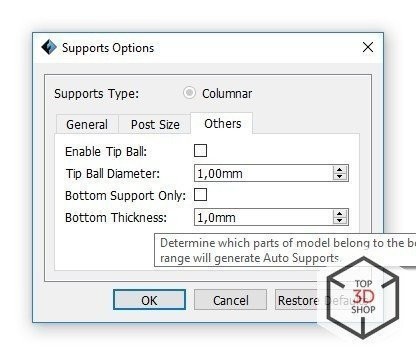
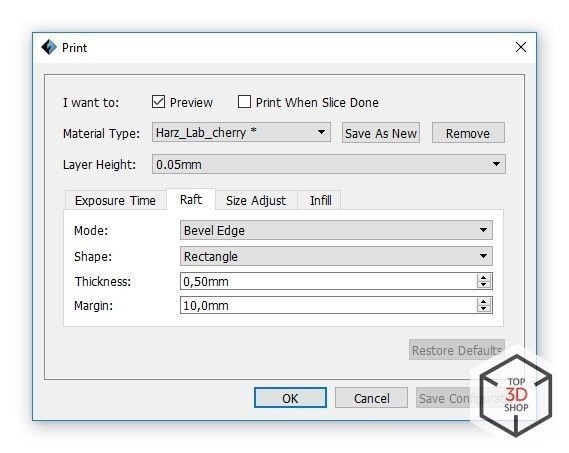
The slicing menu allows selecting from pre-installed profiles and adding the custom ones. We were glad to see the profile for popular resins called Fun to Do.
\n \n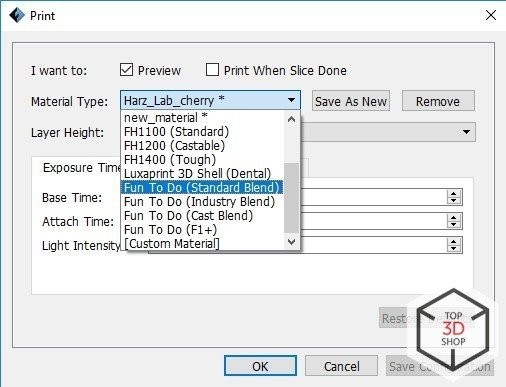
You can configure the time of exposure, the size, shape and thickness of the raft, as well as many other properties.
\n \n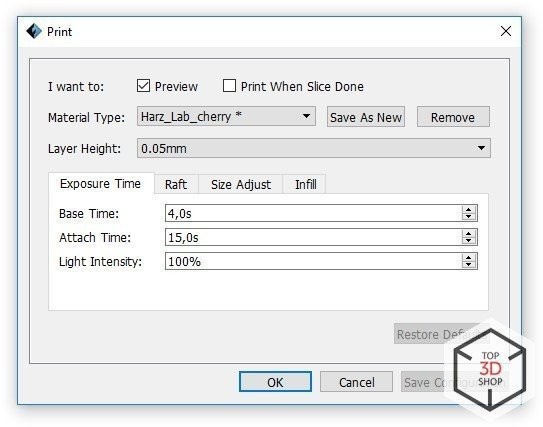
The settings allow rescaling the object.
\n \n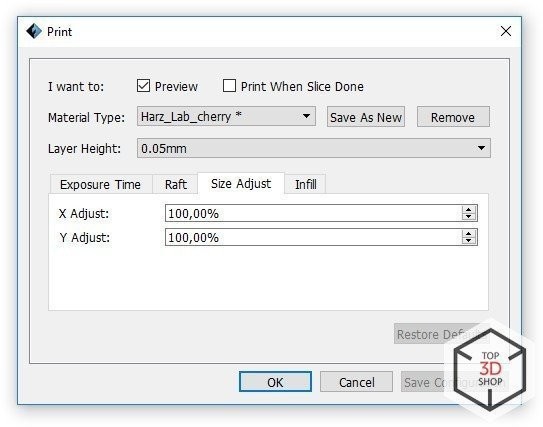
As well as setting the infill density or even make the model hollow, which will make it lighter and save some resin.
\n \n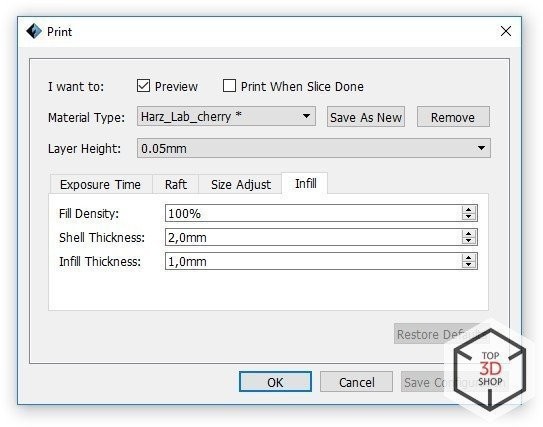
\n \n
The printing process is no different from the majority of resin 3D printers.
\n \nUnlike the Creator B9 and Form printers, this machine doesn’t have additional valves. Film deformation allows the models to detach.
\n \nThe exposure is uniform across the whole area. The LED projector can change exposure intensity without compromising its life expectancy. The device doesn’t feature a mixer, so don’t leave the resin in the tank for a week unattended. But if you left it, then mix it with a soft brush.
\n \n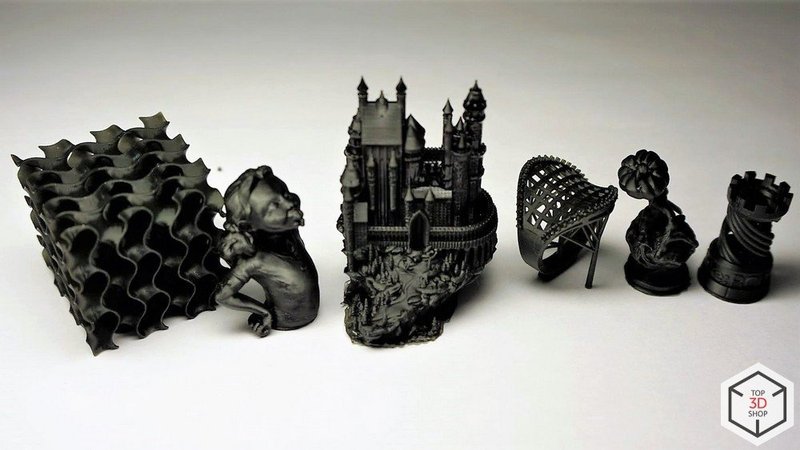
\n \n
Maintenance of the FlashForge Hunter consists of adding resin and changing film. Using thin film instead of thick glass was a step forward higher print quality, but a step back for maintenance.
\n \nThis film is the only thing that can cause difficulties. Changing it requires some precision and skill.
\n \nIf the film was placed incorrectly, it will wrinkle and prevent the printer from working properly.
\n \n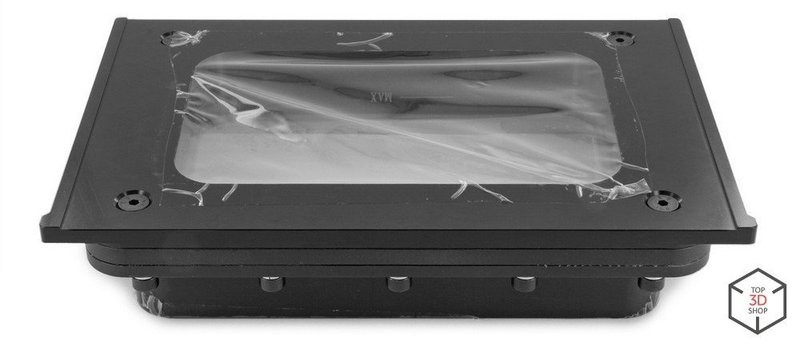
It also can cause the resin to leak inside the machine. The cleaning process won’t be pleasant.
\n \n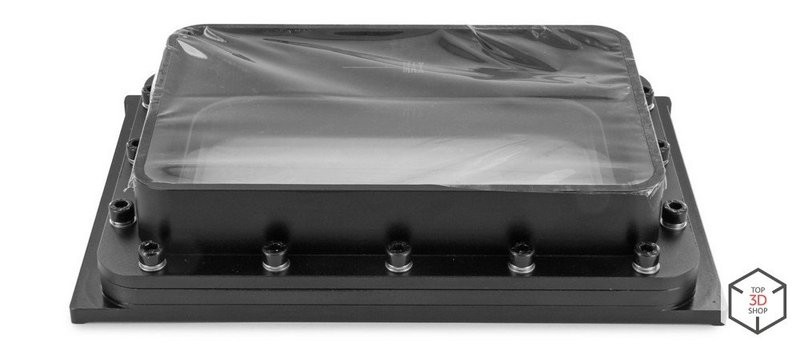
The resin tank consists of glass, film, and three mounting plates connected by screws. The screw-thread is not easy to damage since the metal is of high quality. But the film replacement process is quite inconvenient, to say the least.
\n \nIf everything isn’t assembled correctly and the film is not evenly tensioned, it will stretch or break during the first print.
\n \n\n \n
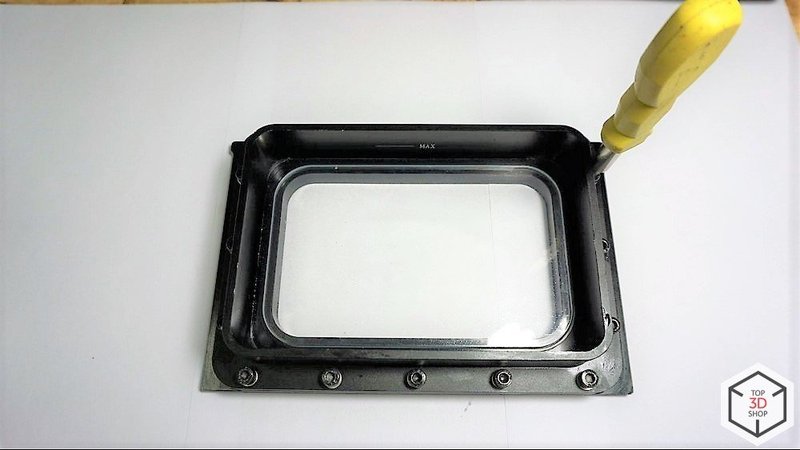
Unscrew the main screws.
\n \n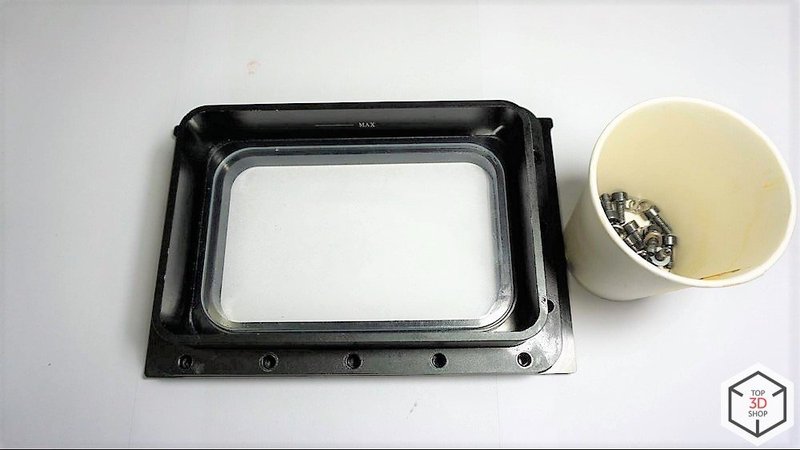
Separate the plates.
\n \n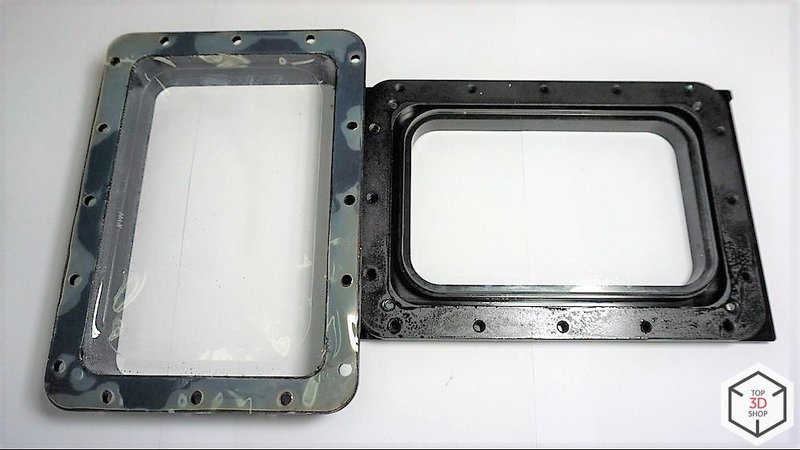
Remove the old film and throw it away!
\n \n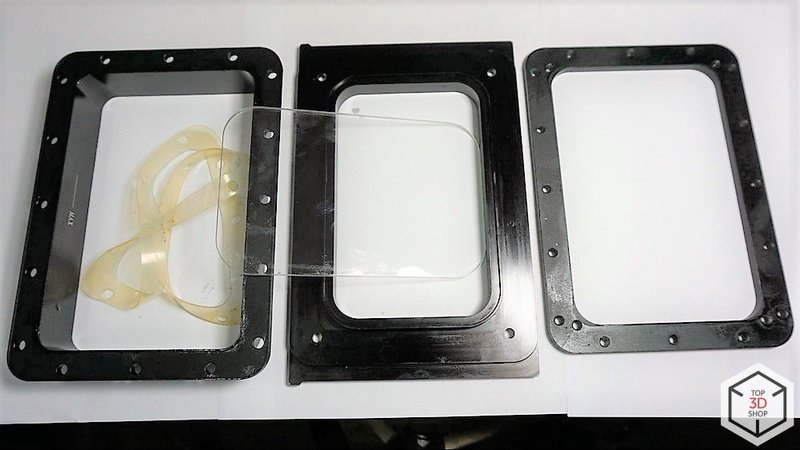
Remove the bottom plate glass. It’s not mounted but can stick due to solidified resin.
\n \n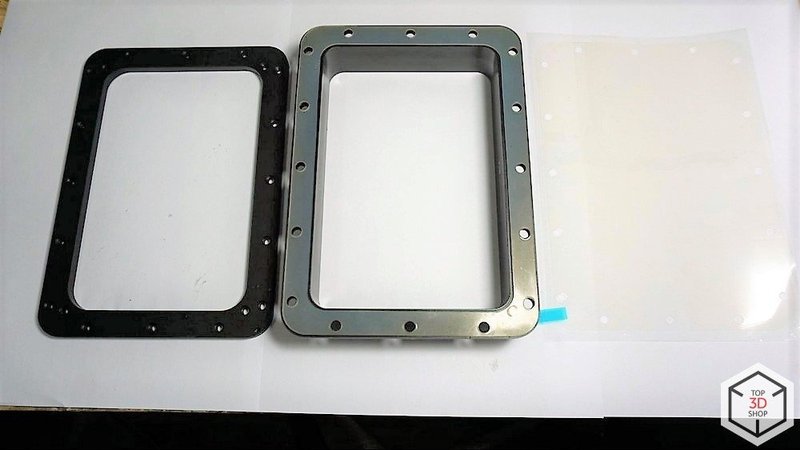
Wash all the parts and then assemble the first part.
\n \n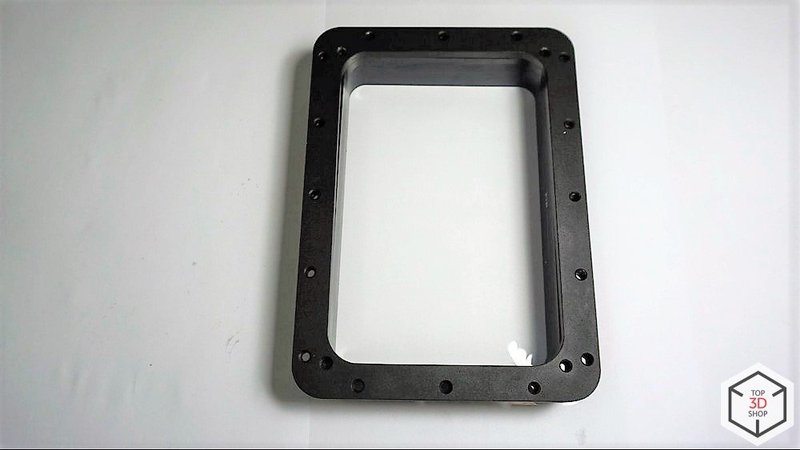
Flip over, screw the main screws.
\n \n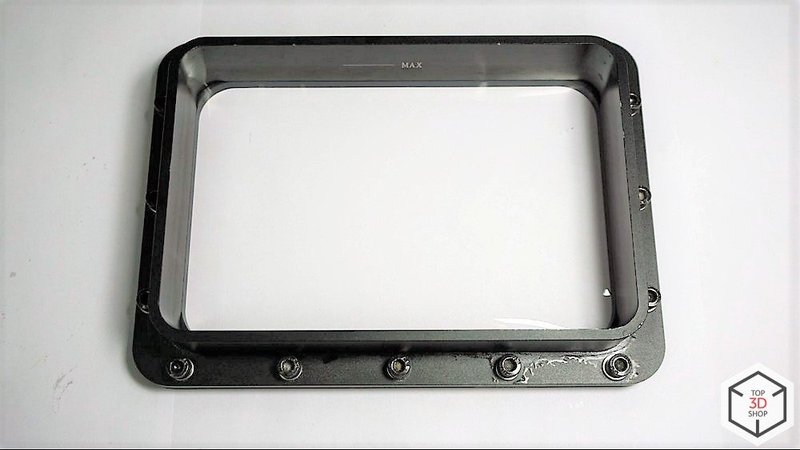
Take the second part and install the glass.
\n \n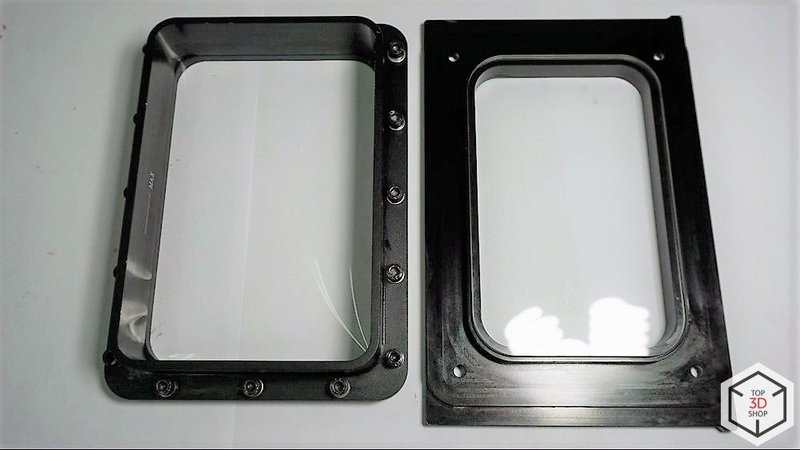
Connect everything, the glass should hold the film in place.
\n \n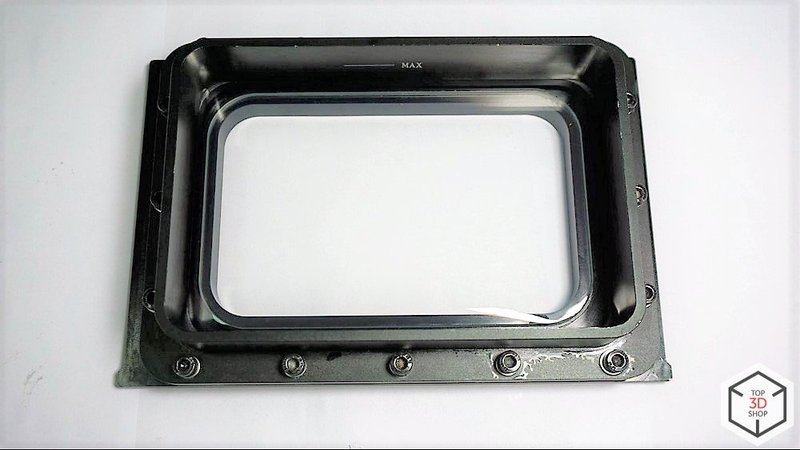
Note: if the upper plates are incorrectly installed and the film sticks to the glass, it might cause the uneven tension across the film, which reduces its life and might break it.
\n \n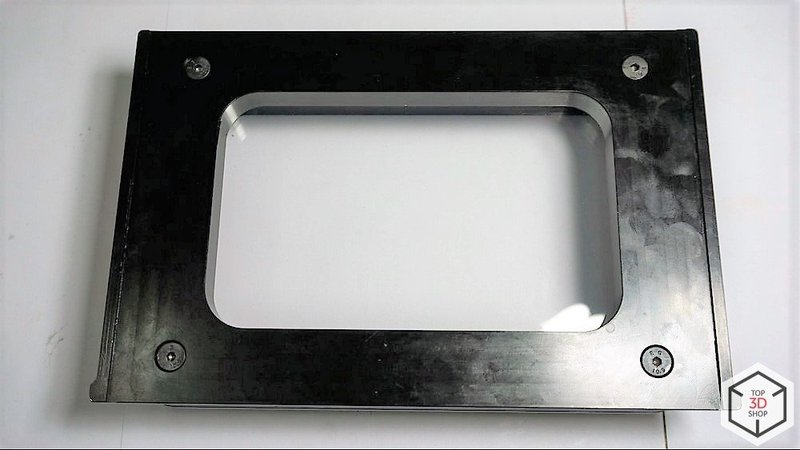
Gently flip everything over and tighten the screws tensioning the film.
\n \n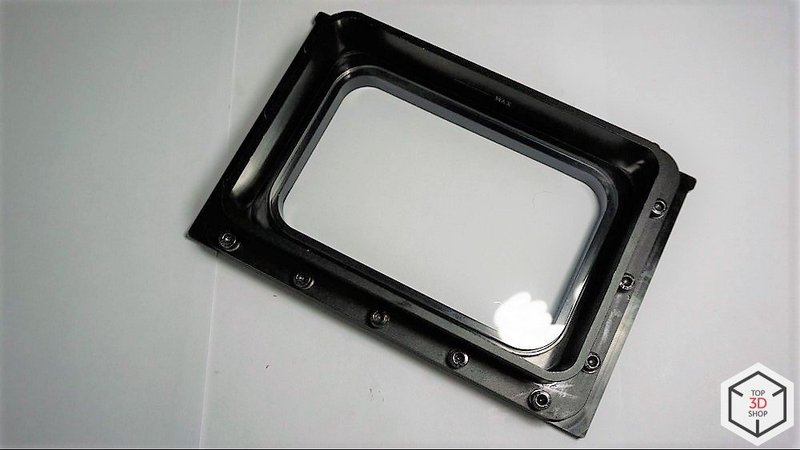
All done! We finally managed to replace the film!
\n \n\n \n
We used various resins from different manufacturers to test the FlashForge Hunter.
\n \nFlashForge FH1100 Snatdart
\n \n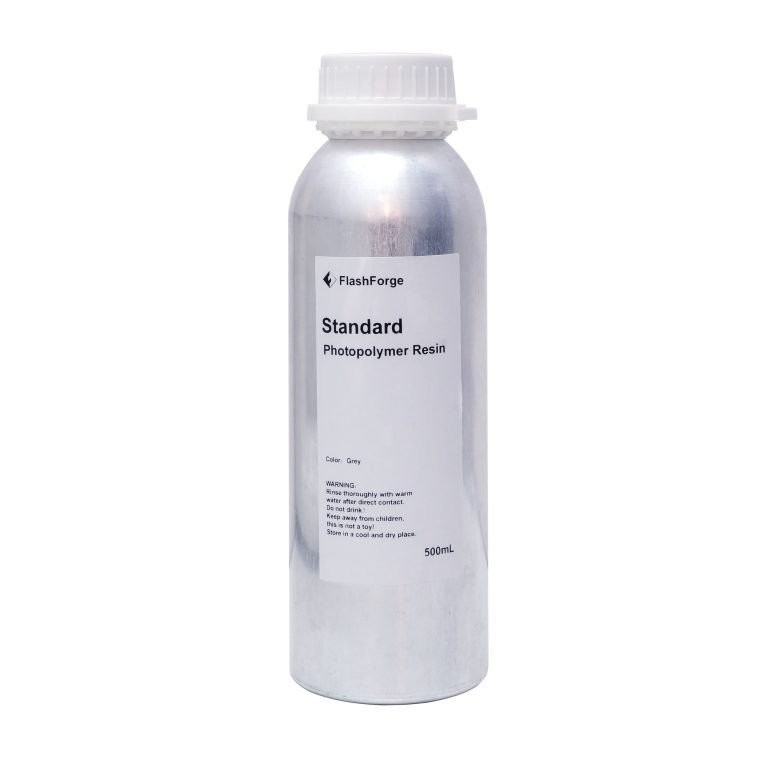
A standard resin that comes with a printer. Made for prototyping.
\n \n
NextDent C&B
\n \n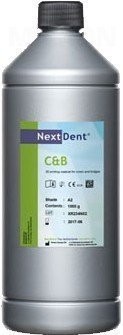
It’s a dental resin for 3D printing temporary dental bridges and crowns.
\n \n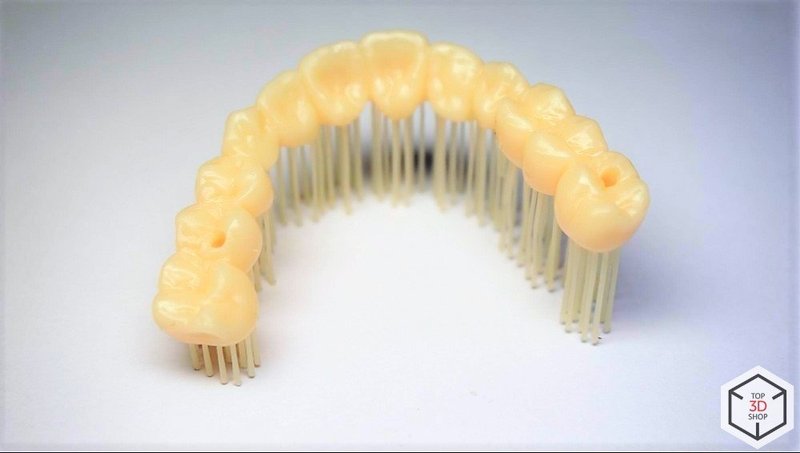
Fun to Do Standart Blend Black
\n \n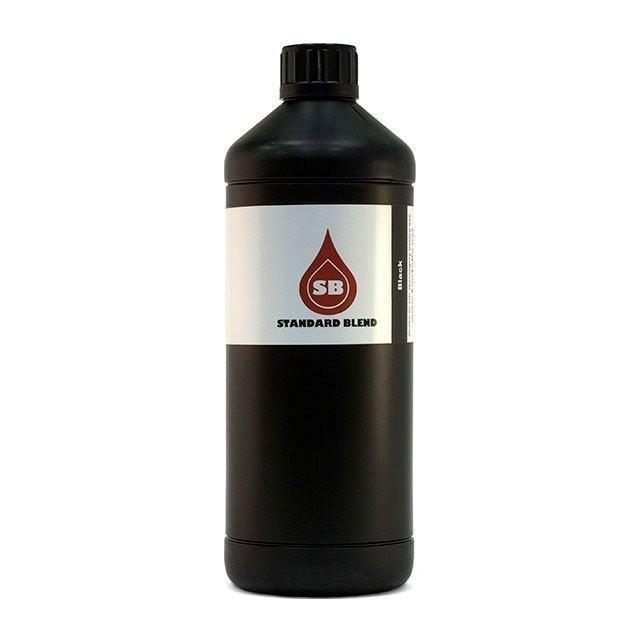
It’s a standard resin for prototyping and modeling.
\n \n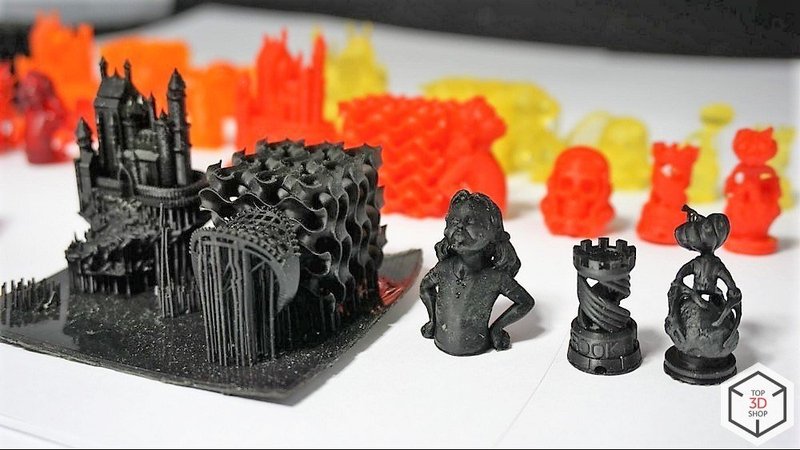
Harz Labs Model
\n \n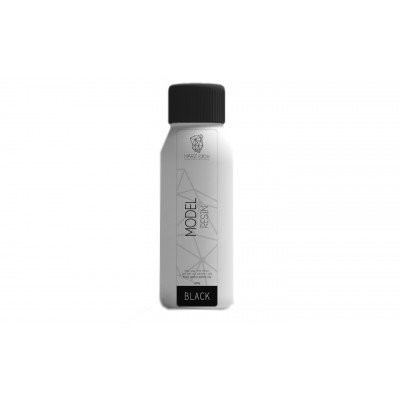
The Harz Labs Model resin is available in orange, black, white, blue, transparent colors.
\n \n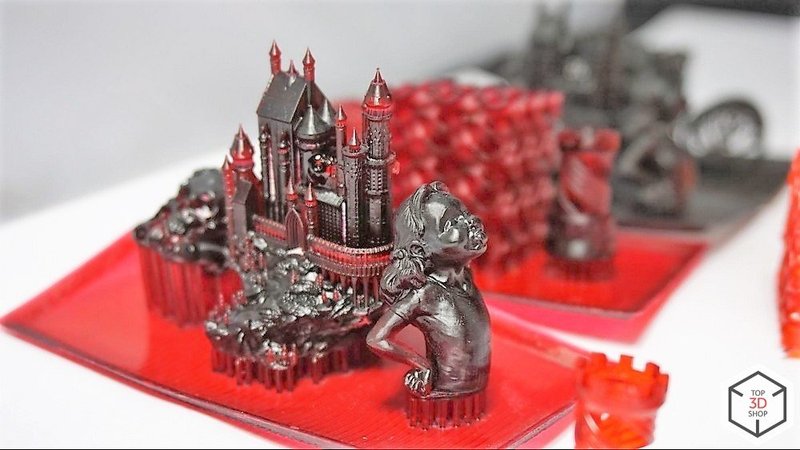
UVRes M001 Red and M111 Orange
\n \n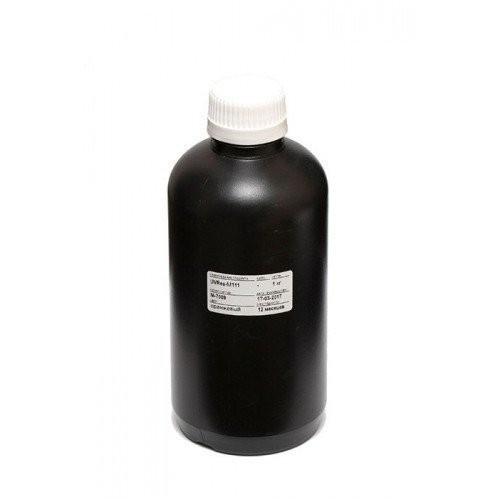
UvRes M001 and M111 resins can be used for printing models for various purposes.
\n \n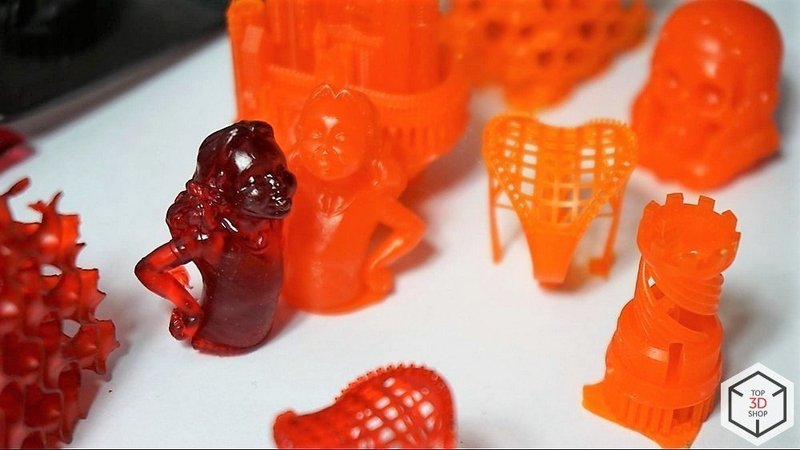
3Dsla Red
\n \n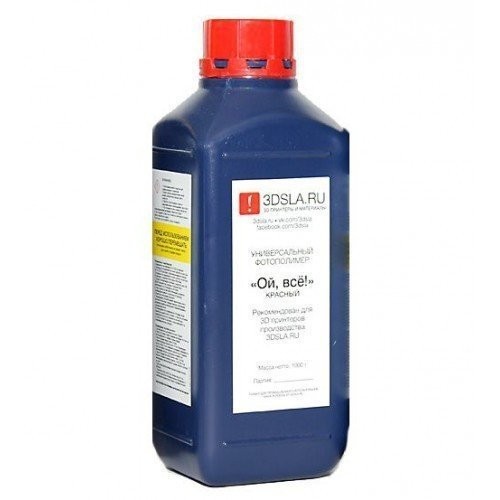
3DSLA Red is used for the rapid printing of 3D models in red color.
\n \n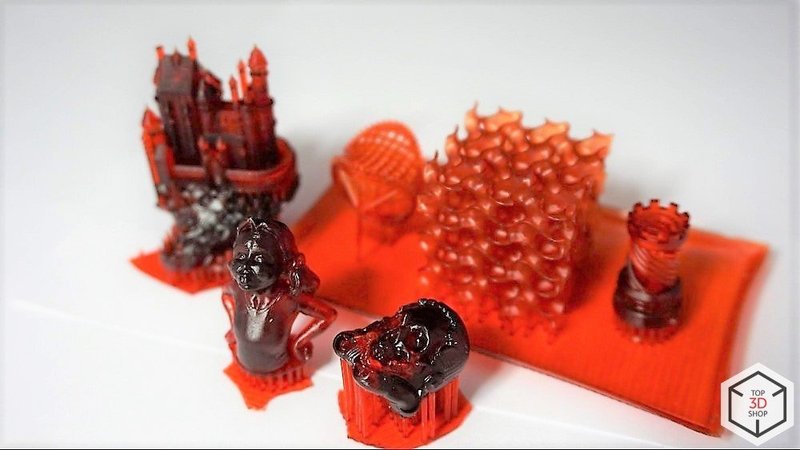
Using these materials, we found the printing quality is quite high, visually indistinguishable from each other.
\n \nThe most convenient and easy to work with was Fun To Do, since the proprietary slice already had a pre-built profile for these resins.
\n \n
\n \n
The 3D printer has proven to leave diametrically different impressions in separate areas. On the one hand, there are solid advantages:
\n \nAlso, the Hunter looks unique. Depending on the user, it can be a serious advantage.
\n \n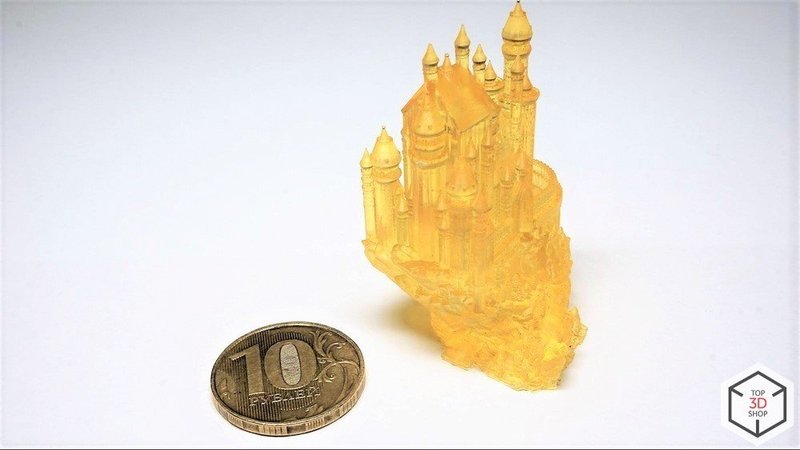
On the other hand, there’s a con.
\n \nThis disadvantage is the weird and inconvenient film replacement system that can discourage inexperienced users and mess up the printer. To tear the film and leak the machine with resin is not a great thing to do.
\n \n\n \n
Unlike the vast majority of resin 3D printers, the FlashForge Hunter has some advantages that allow it to produce high-quality prints.
\n \nIf not for the inconvenient film replacement process and the chance to break the film, the printer could be called the best SLA printer of its class.
\n \nDespite having difficulties with the tank, we are satisfied with the printer. Print quality, ease-of-use and the ability to use the majority of resins on the market are worth the hard times.
\n \nWe can recommend the FlashForge Hunter as a worthy machine with excellent print quality. The device can assist both hobbyists and professional jewelers and engineers.
\n \nYou can get the FlashForge Hunter 3D printer at Top 3D Shop.
\n \n\n
Update your browser to view this website correctly. Update my browser now
Write a comment