Greetings, dear reader. In this article, we’ll be telling you about Flashforge Adventurer 3, covering the most important features and characteristics of the device.
Flashforge is a Chinese-based company established in 2011 as Zhejiang Flashforge 3D Technology Co., Ltd. Nowadays, the company is regarded as one of the largest 3D printer manufacturers in the world. The Flashforge devices are considered to be in line with the most reliable ones, while also featuring optimal price for their quality.
One of the most important advantages of the Adventurer 3 is its functionality. Capable of fulfilling a great number of purposes, this machine is a really efficient, yet affordable one. In our opinion, the creation of the Adventurer 3 was the first successful attempt at combining high-performance and low-cost options in one device, resulting in a truly innovative 3D printing solution.
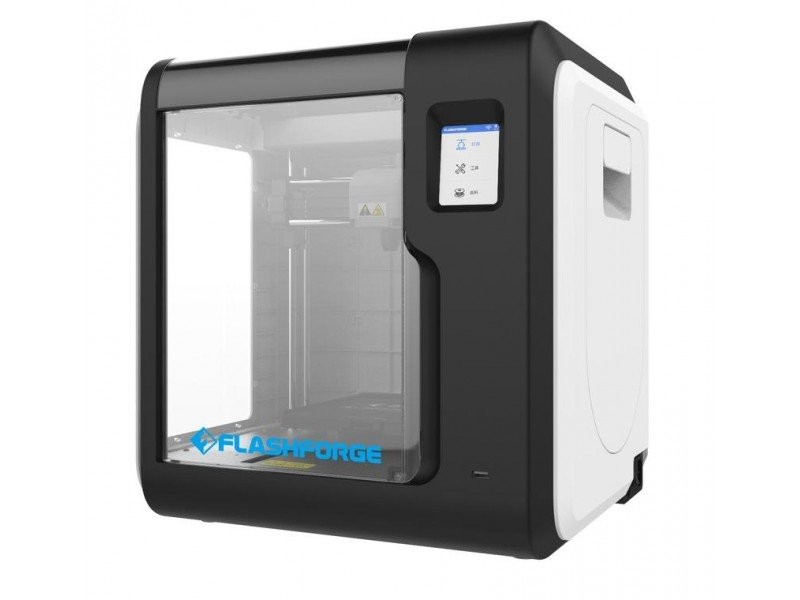
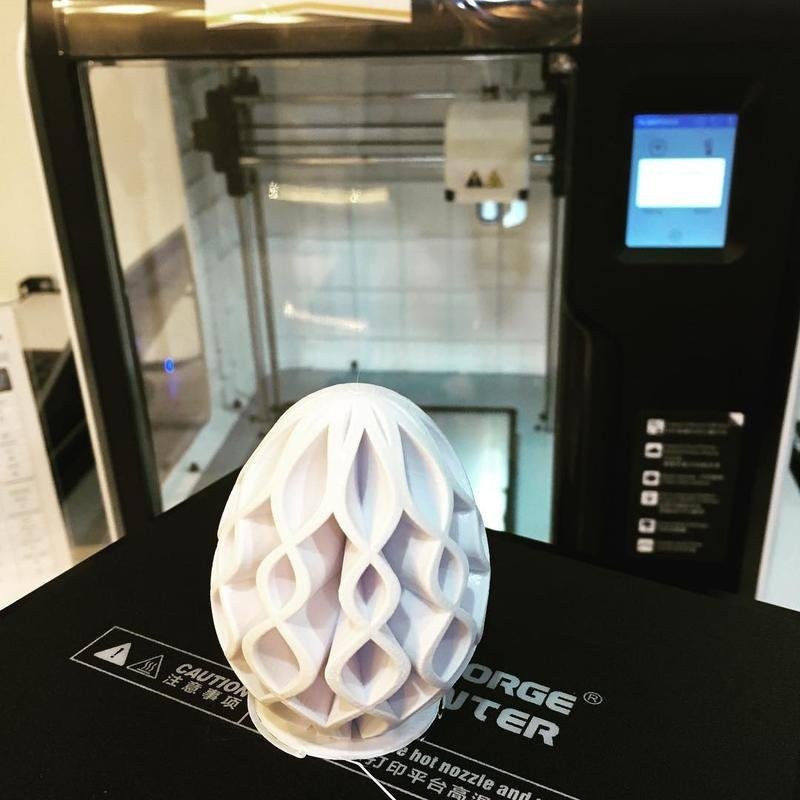
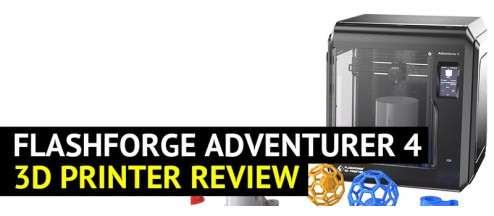
The Flashforge Adventurer 3 is a compact, neatly-looking 3D printer that features a fully enclosed print chamber. Three sides of the device body are transparent, providing a safe but demonstrative opportunity to observe the printing process.
Located on the right side of the printer, there is a smartly-covered filament spool compartment, which is easy to open.
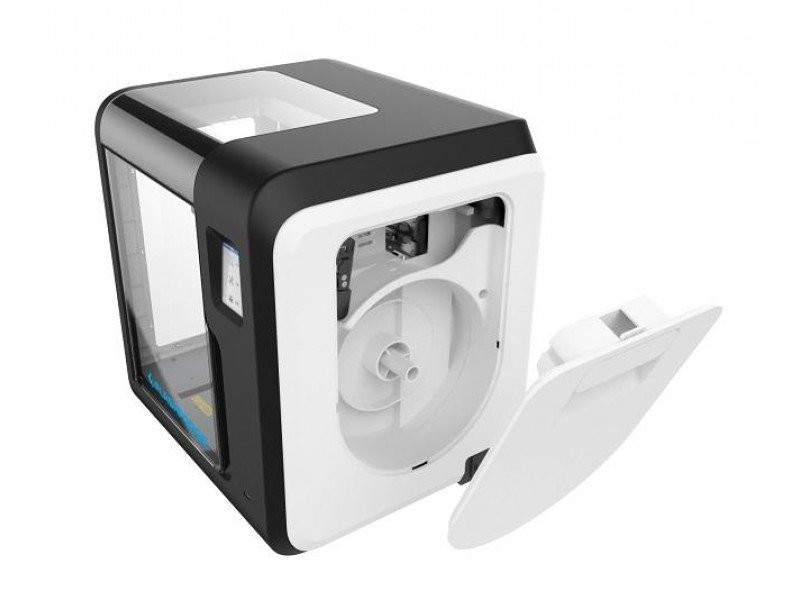
Even though the compartment isn’t designed to contain every kind of filament spool inside (at least, we couldn’t fit a 1kg spool by ESUN in here), there is always an option to place the spool near the printer, or to craft an extended holder.
Although the machine is labeled as compatible with ABS plastics, it is important to note that the maximum nozzle temperature of 220°C limits the filament variety, making the Adventurer 3 compatible only with low-temperature ABS filaments.

The printer is supplied with the most necessary components:
The Adventurer 3 is controlled via a small touch screen.
Credit: 3D Printing Nerd / YouTube
The built-in display is highly responsive and precise. Featuring a number of understandable and neatly-designed icons in addition to English labels, the interaction is made as user friendly as possible.

Credit: voltNik / YouTube
The printer kinematics are represented by a smaller version of the system featured in the renowned Prusa printer, meaning that the Z-axis lead screw has to be equipped with 2 relatively small trapezoidal nuts.

Credit: The 3D Print General / YouTube
The heated bed is paired with a sticker for additional print adhesion. Moreover, the platform is flexible and removable, ensuring hassle-free detachment of printed models.
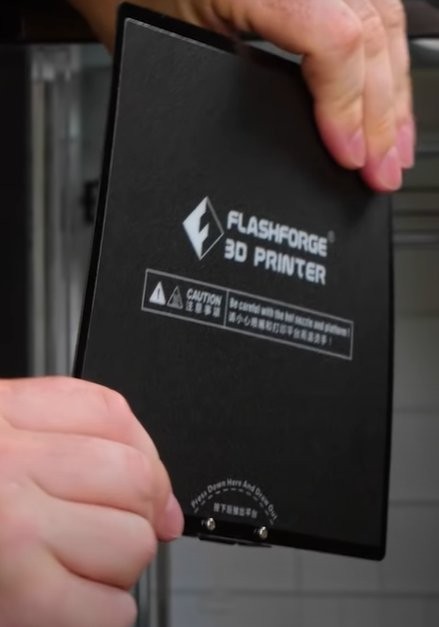
Credit: 3D Printing Nerd / YouTube
The extruder can’t be disassembled, is really compact and easy to detach. In order to remove it, just press and hold two flaps located on the opposite sides. Simplifying the matters even more, it is unnecessary to unload the filament before the procedure.

Credit: The 3D Print General / YouTube

Credit: The 3D Print General / YouTube
The nozzle resides inside the plastic casing. On the one hand, it prevents the extruder from being disassembled. On the other hand, it provides additional safety by making it impossible to get burns from touching the extruder.

Credit: @thegreatharrybarnett / Instagram
Moreover, the bottom side of the extruder is equipped with two LED lights, providing an additional light source and making it possible to enjoy the printing process inside underlit premises.

Credit: Ed Ricker / YouTube
In addition to its compact size, the Bowden-type extruder of the Adventurer 3 ensures fast and high-quality printing. It is also equipped with a filament runout sensor, meaning that the printing process will be automatically put on hold in case there is no more filament to use.

Credit: The 3D Print General / YouTube
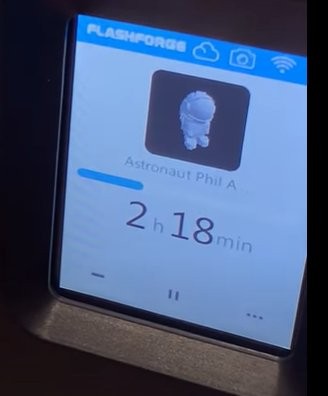
Nevermind the minimalist design ― the printer has a lot of useful features to offer. For starters, there are options for cloud printing, Wi-Fi connectivity, and even an HD camera mounted inside the chamber, providing an opportunity to observe the printing process remotely by connecting to the cloud system.
The best practice would be to use FlashPrint, a proprietary software solution recommended by the manufacturer. Depending on the requirements, the FlashPrint features a number of ready-to-use printing profiles designed to serve different user needs.
Credit: The 3D Print General / YouTube
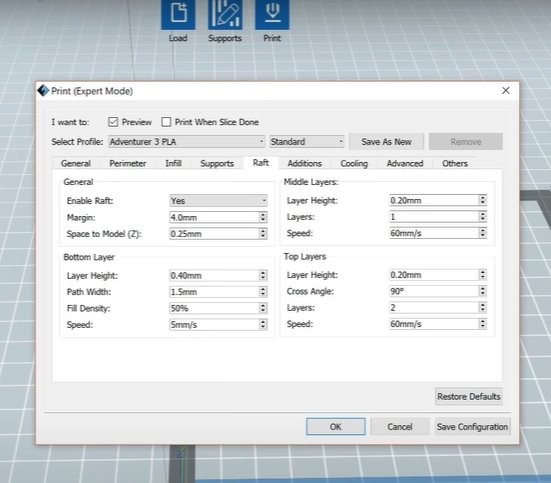
In case you are an advanced user, all of the profile settings can be re-adjusted by using the Expert Mode.

The slicer also features a bunch of useful functions, such as manual editing of support structures, the ability to slice a large model, or transform images into three-dimensional models.
Before printing your first model, you’ll have to calibrate the printer, which is quite easy. In order to do this, interact with the touch screen and choose the calibration tool, which will lower the extruder.

Credit: The 3D Print General / YouTube
Then, use the arrows in order to place the nozzle alongside Z-axis so that it just touches the platform (you can use a piece of paper and slide it under the nozzle until you get a bit of resistance) and press OK. Congratulations, the calibration is finished.
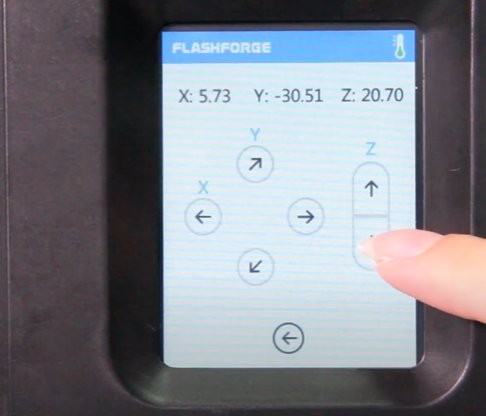
Credit: FLASHFORGE 3D PRINTER / YouTube
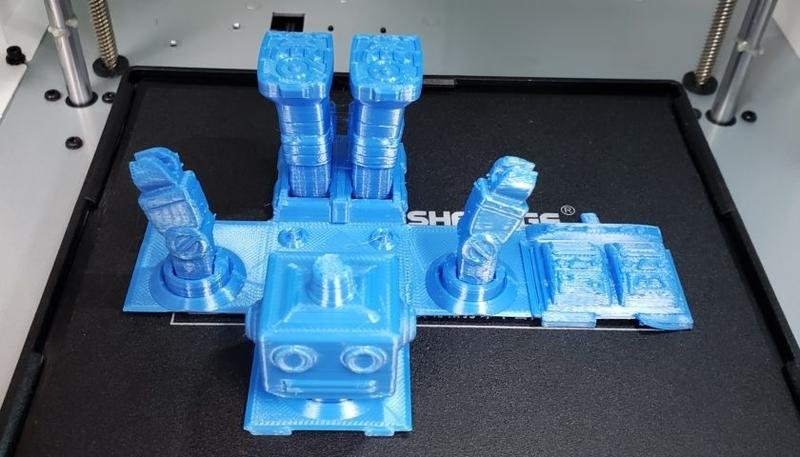
In order for the prints to pop right off and prevent warping, the best practice would be printing with the raft, while also using the proprietary software with prearranged profiles.
Then, proceed to load the filament. The image below demonstrates an extended spool holder.

Credit: The 3D Print General / YouTube
Finally, the printer is fired up and ready to serve.
Another important advantage of the Adventurer 3 is a number of options for wireless connectivity. For example, the printable models can be uploaded via Wi-Fi, FlashForge cloud, or USB, making the printer outstandingly accessible.


Credit: @gourmandebr / Instagram
The Flashforge Adventurer 3 is a neatly designed device that features a number of truly useful options. For instance, the transparent casing sides and additional illumination source provide a detailed overview of the printing process. In addition, the HD camera mounted inside the chamber will let you enjoy the process in real-time whenever you want, no matter how far away. Moreover, the device calibration and initial setup are really easy. You’ll definitely enjoy the broad spectrum of options provided by the FlashPrint slicing software.
Unlikely to be the best choice for advanced 3D makers or small industries, this printer will be perfect for entry-level enthusiasts, kids, or students. The Adventurer 3 is compact, reliable, easy, and safe to use. You can get the printer at Top 3D Shop.
Update your browser to view this website correctly. Update my browser now

Write a comment