The Chinese-based Flashforge company has been developing 3D printing equipment, materials, and software since 2011. Today, the company is well known among 3D printing enthusiasts for its extensive lineup of machines of various types and grades, in which consumer FDM devices play a prominent role.
This is Top 3D Shop, and in this article, we are going to review the Flashforge Finder 3, a user-friendly FDM 3D printer designed for hobbyists, students, and 3D printing beginners.
Designed for beginners, the Finder 3 comes fully assembled, so that the user could start printing almost right on the spot. The printer features an open cubic design and black-and-red color scheme typical of all Finder models. The build volume is considerably larger than that of the Finder 2.0 and measures 190 x 195 x 200 mm, which meets the needs of most consumer and student projects. The printer is made of high-quality plastic with several metal sheets for rigidity. All the wires are hidden and the overall appearance is neat and safe.
The Finder 3 comes well-packed in a large box containing everything the user may need for printing.
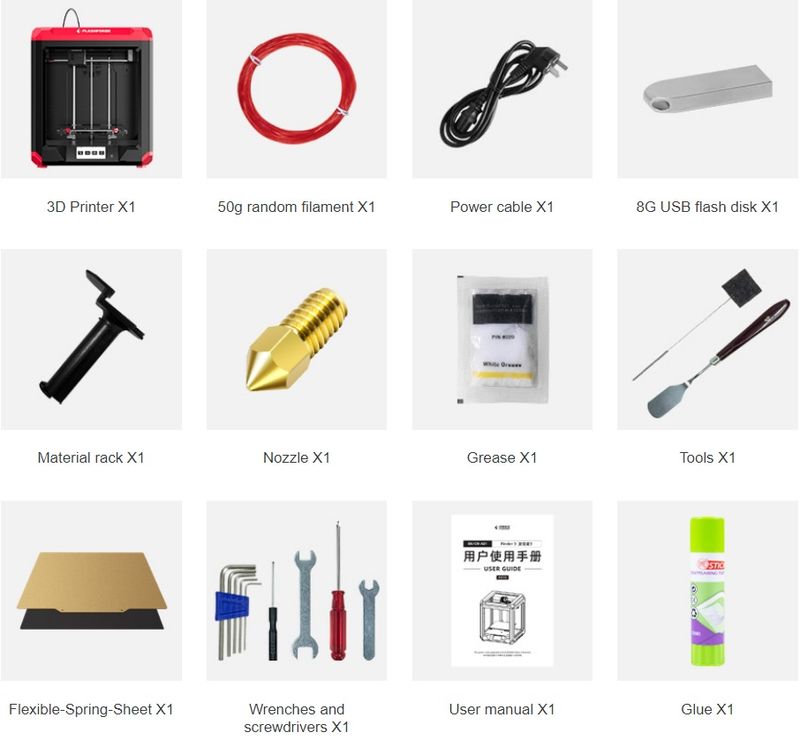
For some items, package content may change. In case of any questions, please get in touch.
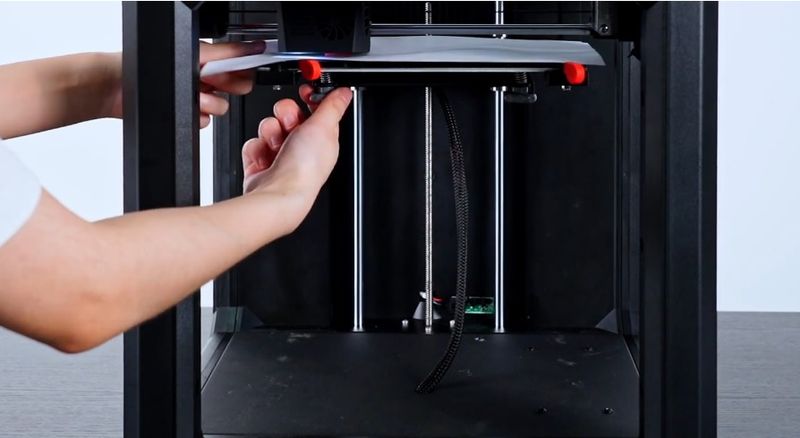
Before you get started, there are a few simple steps to be accomplished. After you take the printer out of the box and remove all the package, including numerous clips and zip ties, it is important to check the voltage switch on the bottom right panel of the machine.
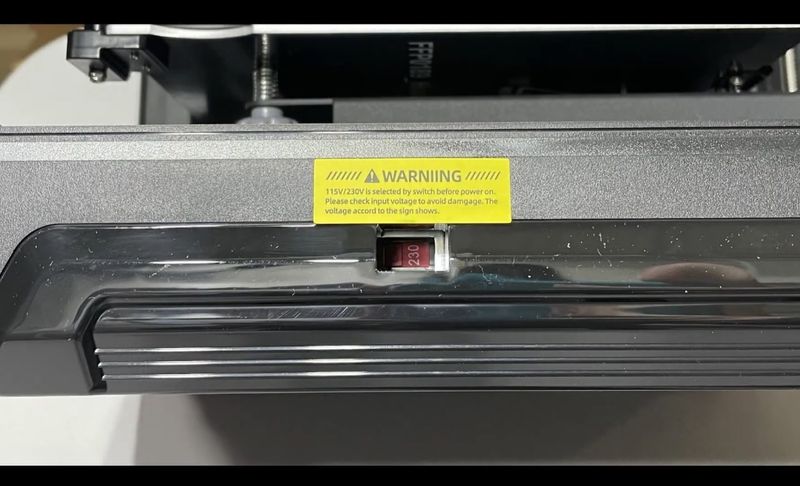
Credit: CD-Soft Educational Resources / YouTube
Now you can safely connect the power cable and turn on the printer with a switch on the back panel.
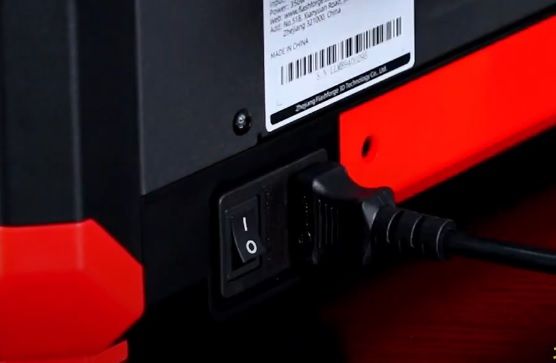
Credit: CD-Soft Educational Resources / YouTube
The next step is bed leveling. The Finder 3 does not feature automatic calibration like more advanced, expensive models, but it does have the assisted bed leveling function which makes the process quick and easy. Use a sheet of A4 paper to verify the distance between the nozzle and the build plate in three points, following the prompts on the screen. When done, click Complete to finish leveling.
Credit: CD-Soft Educational Resources / YouTube
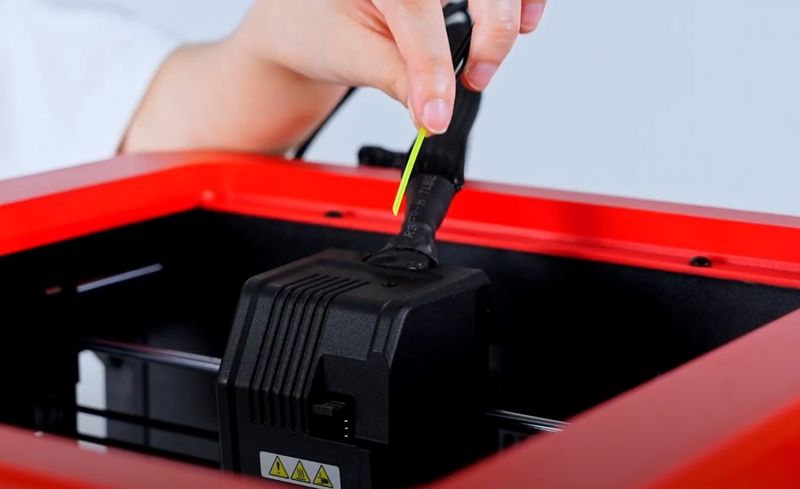
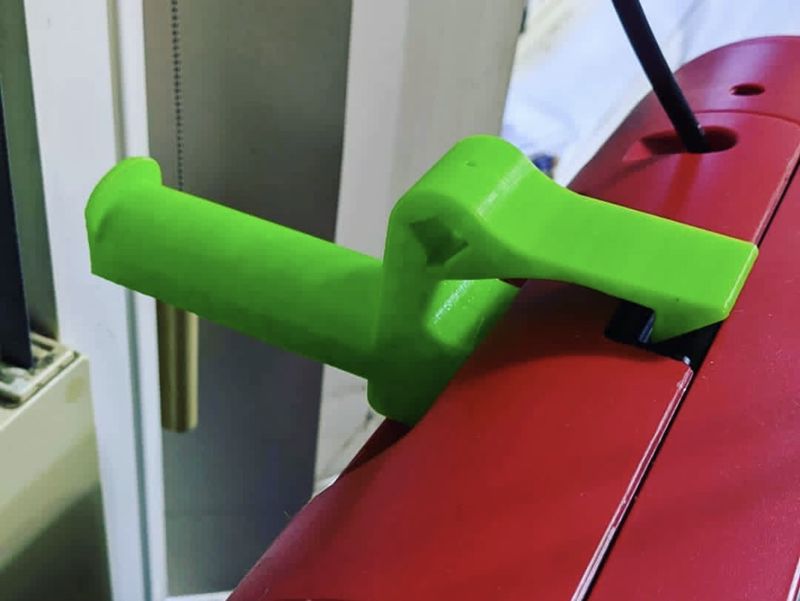
You only left to mount the filament holder onto the back panel, install a filament spool and feed the filament into the direct drive extruder. Click Load, wait for the nozzle to heat up, and cancel loading when you see the filament coming through the nozzle. Now you are ready to print.
Credit: CD-Soft Educational Resources / YouTube
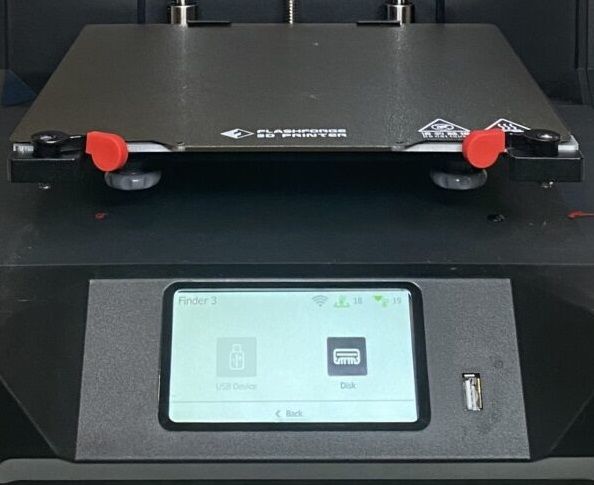
The Flashforge Finder 3 is packed with a lot of useful features which are a big step forward compared to its predecessors. Apart from a larger build volume, yet more compact footprint, the printer is equipped with a larger 4.3" touchscreen which makes operation more convenient. Read on to learn about other improvements to the Finder 3.
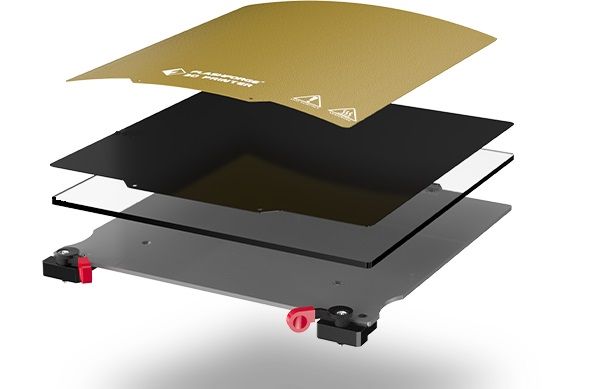
Like the industrial Guider 3, the Finder 3 features a swappable build plate. The printer comes equipped with a glass plate which can be replaced with a flexible PEI sheet with a magnetic base. While the glass plate ensures a smooth model base surface, the PEI panel can be bent for easy part removal. The user can choose between the two options according to the filament type, the model specifics, or just their own preferences, as in fact, both plates of the Finder 3 show good adhesion and hassle-free part removal.
A very important upgrade to the Finder 3 — the print bed can now heat up to 110 °C, which makes working with temperature-sensitive filaments, such as ABS, more comfortable and reliable.
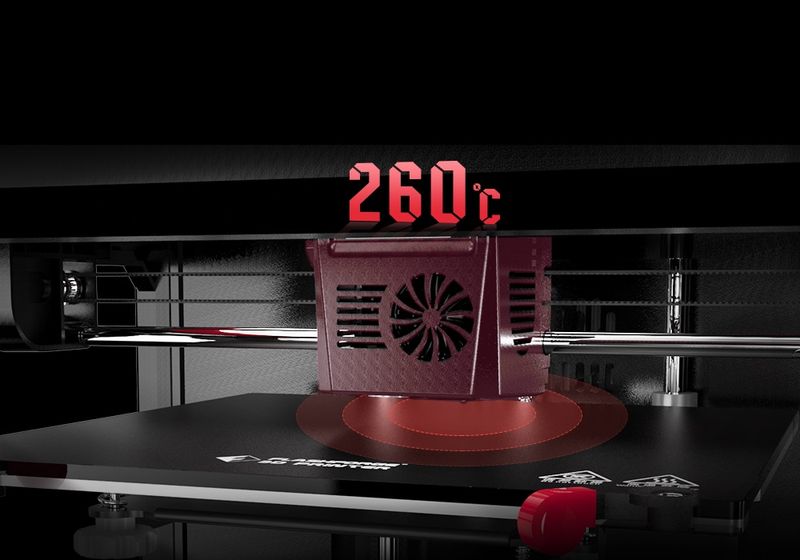
The Finder 3 is equipped with a direct drive extruder with a maximum nozzle temperature of 260 °C. It allows printing with PLA, ABS, HIPS, PETG, PETG PRO, and other filaments no matter the manufacturer. A direct extruder generally provides smoother filament feeding than a Bowden tube, and it seems reasonable to use it in a beginner-level device. Besides, it allows working with flexible filaments such as TPU 95A.
There is a lamp mounted on the print head and lighting up the print area.
The Finder 3 features a filament runout sensor and print recovery function that allows you to resume printing after a sudden power outage. These features greatly add to the convenience and reliability of printing and are almost a must for a modern 3D printer.
One more advantage of the Finder 3 is quiet printing with the noise level not exceeding 50 dB.
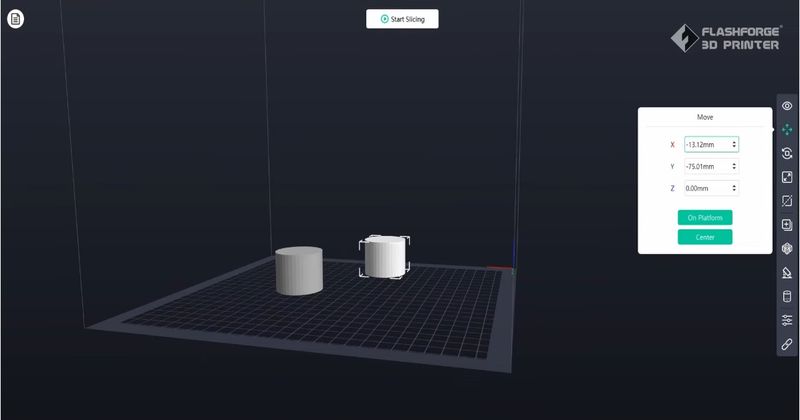
The Finder 3 comes with the dedicated FlashPrint software. You can find the latest FlashPrint 5 version on the USB stick or download it for free from the manufacturer’s website. The slicer features a lot of useful tools and is constantly updated, yet having a clear and user-friendly interface. It supports all popular file formats such as 3MF, STL, OBJ, FPP, BMP, PNG, JPG, and JPEG.
Apart from FlashPrint, you are free to use the popular Cura and Simplify3D slicers.
As for connectivity options, the Finder 3 supports nearly all possible variants, including Wi-Fi and USB connection, the possibility to transfer print files on a USB stick, and besides, it has 8 GB of internal memory. The printer can also connect to cloud-based services such as FlashCloud or Polar Cloud.
Printing with a minimum layer height of 100 microns, the Finder 3 creates accurate models with smooth surface and a lot of details. The video below shows the process of printing vases with the Flashforge Clear PLA filament.
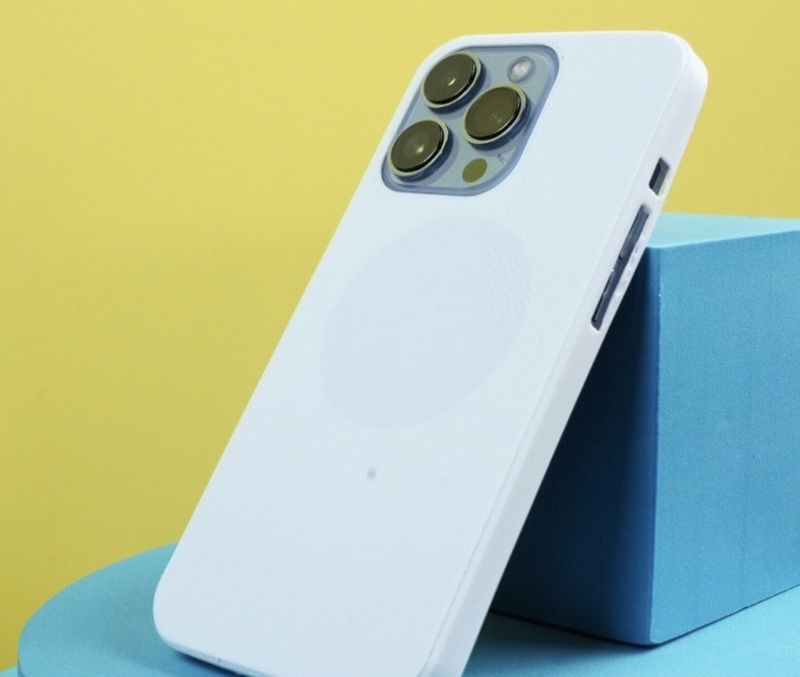
This iPhone case was printed with Flashforge TPU.
A few more models printed with different filaments.
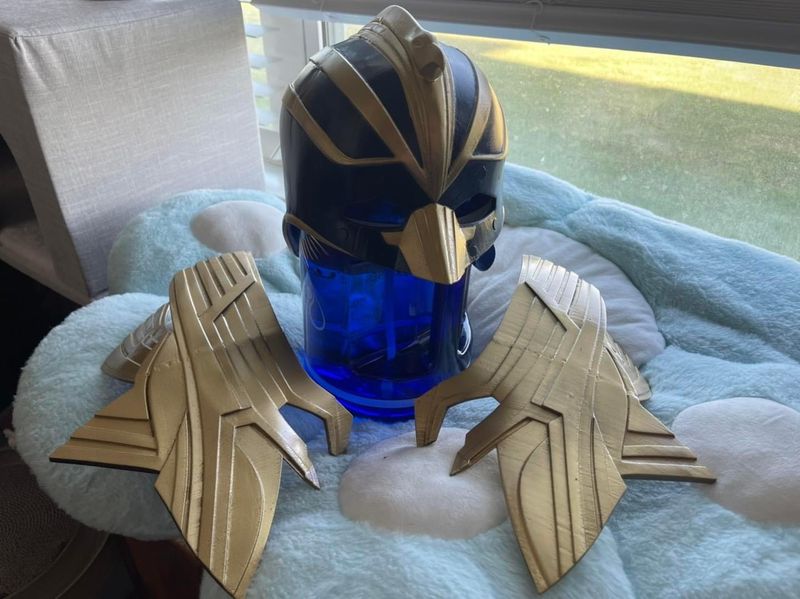
Credit: Reddirt3D / Facebook
Credit: @3drfrankenstein / Instagram
To sum it up, one could say that the Flashforge Finder 3 is definitely worth it. Being extremely user-friendly in terms of operation and software, the Finder 3 is a great option for schools and home use. The printer is capable of high-quality prints that would satisfy not only a beginner but a more experienced maker as well.

Update your browser to view this website correctly. Update my browser now


Write a comment