The most known advantage that the FFF/FDM 3D printers hold over the resin ones is a cheaper price. But it’s not the only one. For example, FDM printers on average are safer to use (their filaments output less harmful fumes in smaller amounts than the resins do).
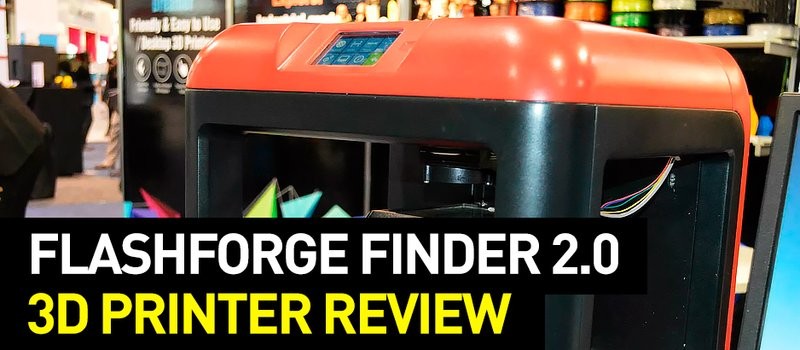
This is the reason why FDM ones are often used for educational purposes. Some of the devices are completely focused on providing a safe and simple workflow. Flashforge Finder 2.0 — an update to the first iteration — is one of these machines.
Source: flashforge.com
FlashForge (officially named Zhejiang Flashforge 3D Technology Co., Ltd) is a Chinese 3D equipment and manufacturing company founded in 2011. The brand is quite popular and well-respected both locally and around the world. Most of their 3D printers are industrial-grade ones but there are some aimed at the consumers.

Source: flashforge.com
FlashForge also provides its own proprietary slicer and printer control software: FlashPrint.
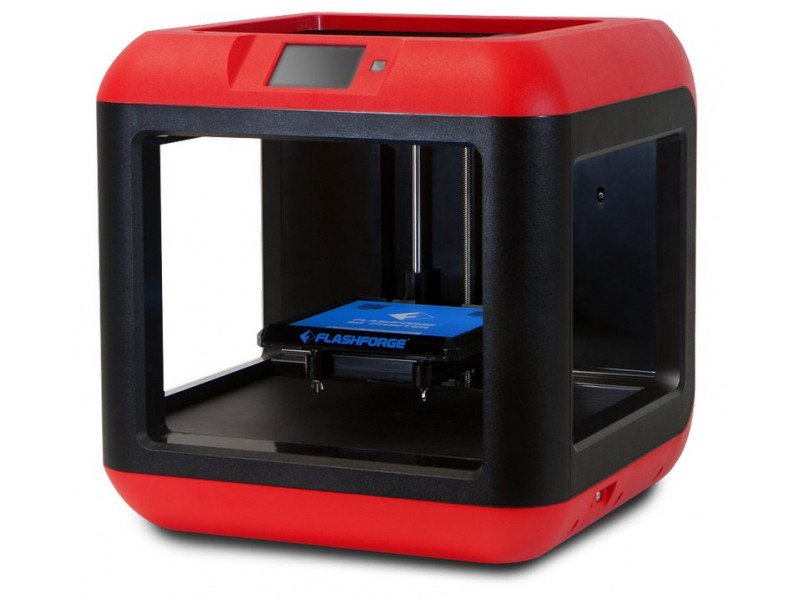
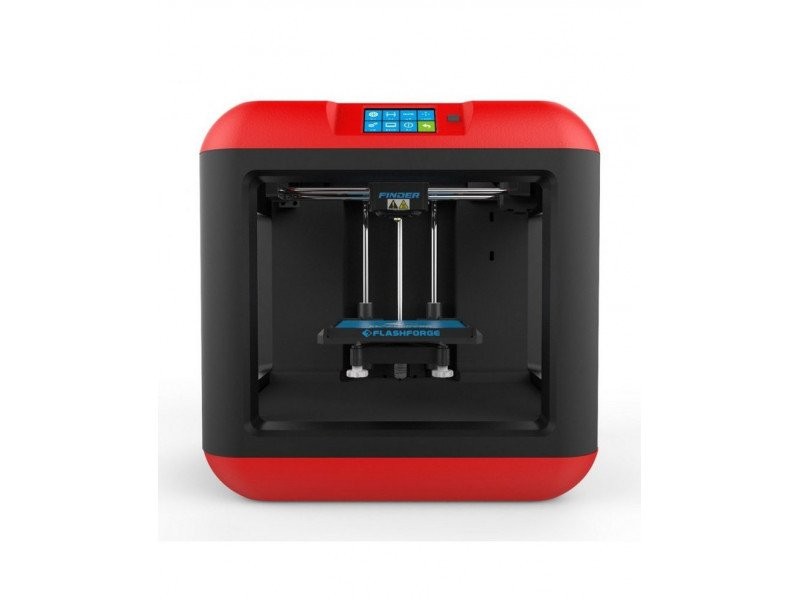
Flashforge Finder 2.0 is a consumer-friendly compact FFF/FDM 3D printer aimed at the beginners and students. Its design is focused on safety and ease of use. The machine comes pre-assembled in a fully enclosed case. Not only does it offer good protection, but also reduces noise, making the device extremely quiet — the manufacturer claims its levels of noise to be around 50 dB and lower.
As the machine aims to be safe even for kids, the nozzle extruder that can reach a temperature of 240 °C is protected from touch. The corners of the case are rounded. The set of cables that connect everything is hidden as well. This safety-focused approach has some drawbacks: the print bed is not heated. Another thing to mention is that the machine only prints with non-toxic filaments: mostly PLA, but also WOOD and TPU 95.
Regarding other features, there are plenty. The print bed is removable and can be easily automatically leveled. The filament runout sensor helps to prevent being out of material. : The controls include the touchscreen with an intuitive UI. It’s placed on the frontal top side of the device. The Finder 2.0 also boasts a Wi-Fi connectivity option which is rare among the 3D printers of this price range. It allows wireless printing, as well as using cloud features provided by Flashforge.

Source: flashforge.com
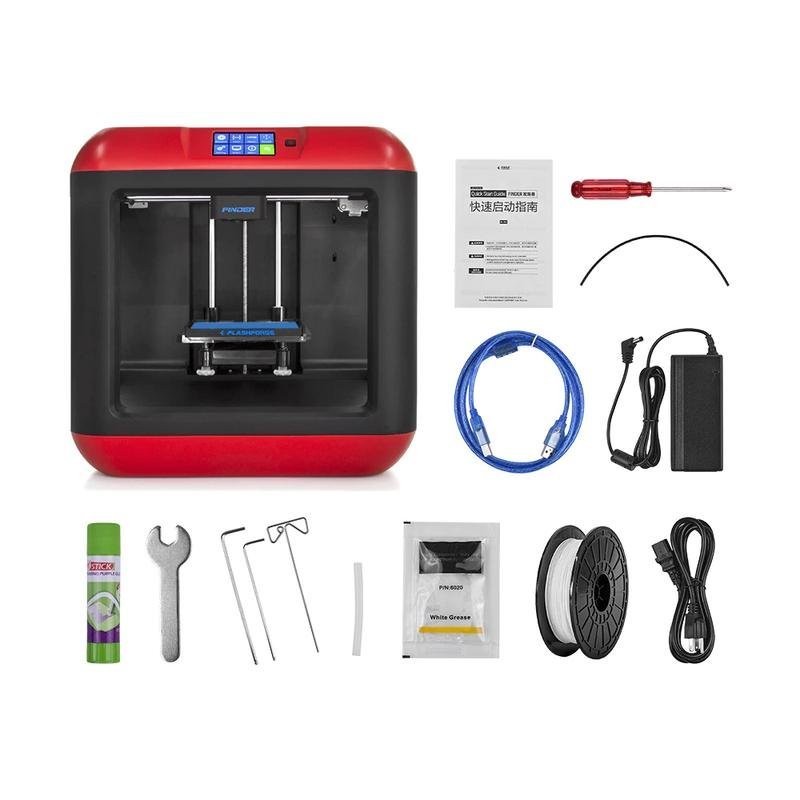
The printer comes in a cardboard box with the parts protected by foam plastic.
Aside from the printer, the contents of the box include:
For some items, package content may change. In case of any questions, please get in touch.
The device comes fully assembled. A user guide that comes with the printer covers the basic preparation steps.
The first thing to do after unpacking is to remove the blue tape and then cut the zip ties from the guides. They hold the print head in place and there are two of them.
The picture below shows a zip tie.
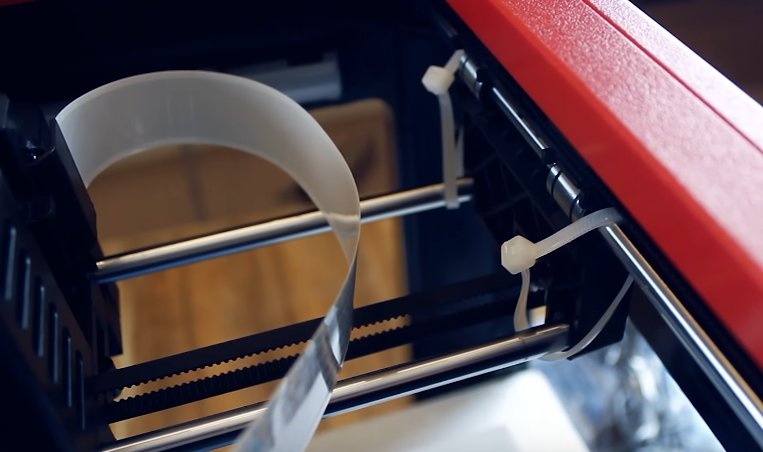
Source: youtube.com
Then you should raise the build plate manually. Just put your hand underneath the bed and lift it slowly.
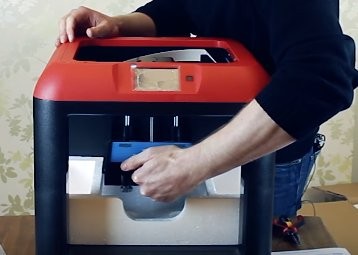
Source: youtube.com
Remove the foam plastic that was placed under the bed.
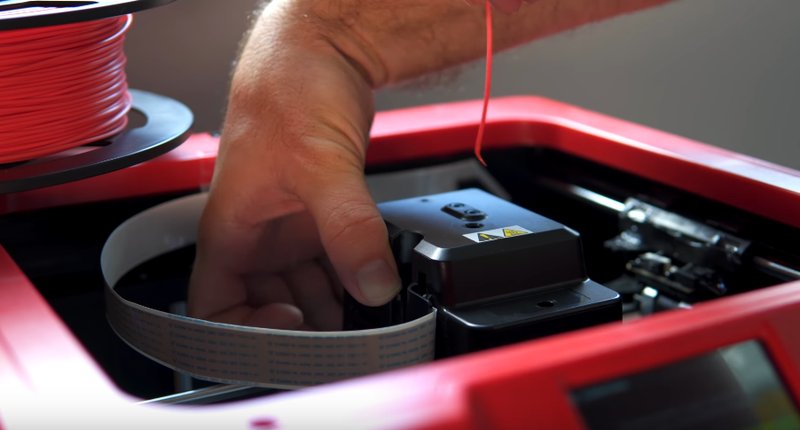
Loading the filament would be the next step. The printer comes with proprietary filament by Flashforge. Putting the filament spool inside the printer is easy. The less obvious part that is not mentioned in the guide (that comes with the device) is that two holes on top of the device are meant for the filament tube.
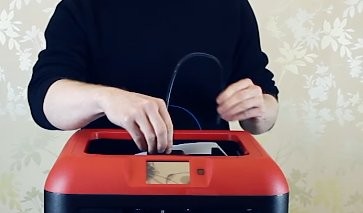
Source: youtube.com
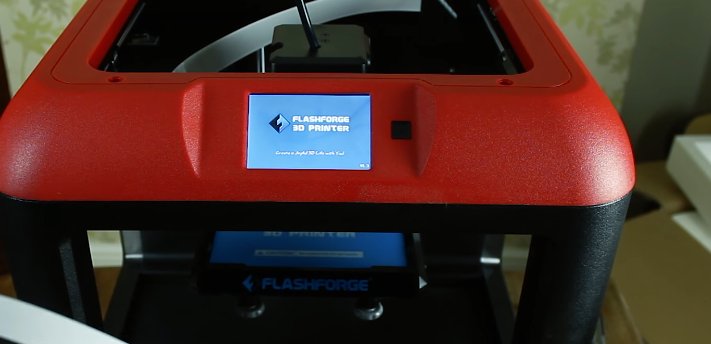
Now you can turn the machine on.
Source: youtube.com
Source: youtube.com
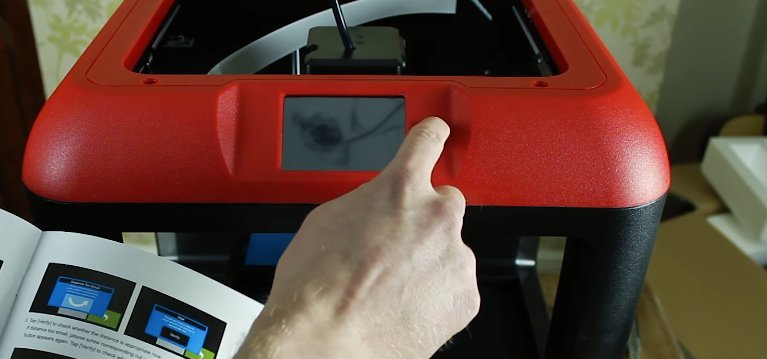
The next thing to do is to level the bed.
Go to the ‘Tools’ tab in the main menu and press ‘Level’.
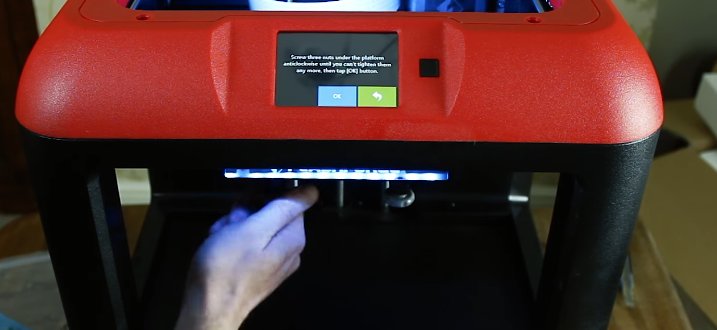
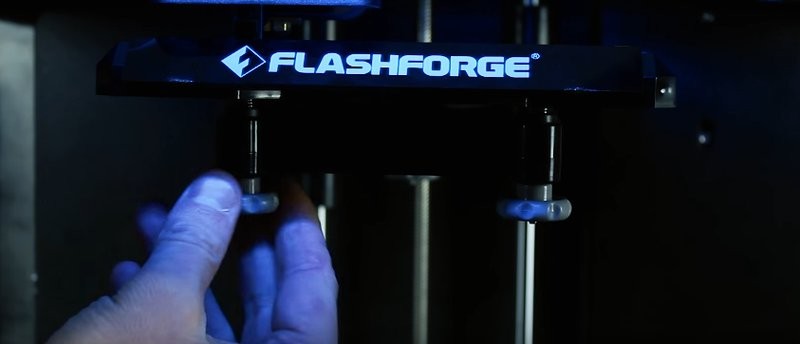
The bed will go down and then up and the set of instructions will be shown on the display. It consists of tightening 3 screws underneath the platform counterclockwise.
Source: youtube.com
Press ‘Ok’ and let the printer verify the distance between the plate and print head. Then you will need to unscrew the screws until you can hear the beeping sound.
Source: youtube.com
The next step is to load the filament into the nozzle. Go to the Main Menu and press ‘Filament’.
Source: youtube.com
Then press the ‘Unload’ button.
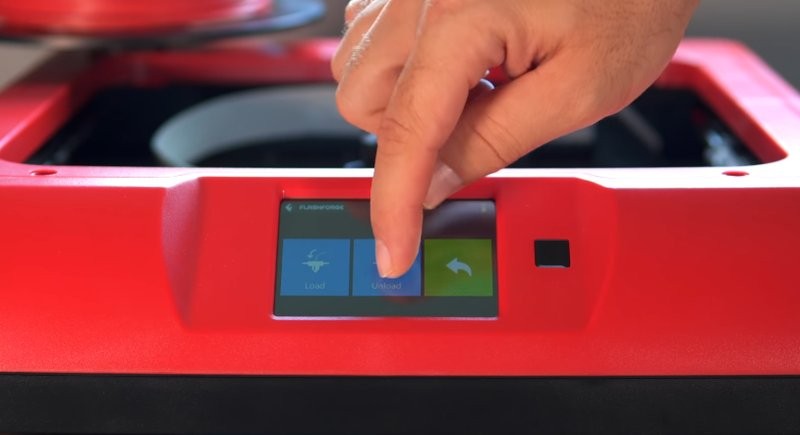
Source: youtube.com
It will heat up the nozzle.
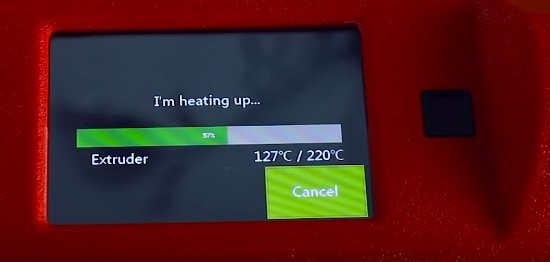
Source: youtube.com
Press the button on the extruder arm part, push the filament through and then pull it back.
Source: youtube.com
The preparation process is over.
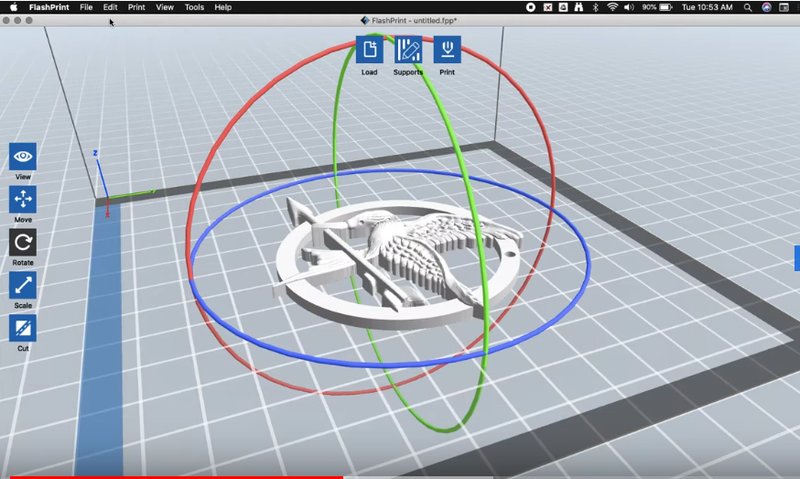
Flashforge 3D printers including the Finder 2.0 are compatible with proprietary software: FlashPrint. This is a slicer with more powerful printing control options. It’s available for macOS and Windows and can be downloaded from the official website.
The interface is clean, simple and intuitive. The functionality is powerful enough to prepare models for printing. It should be noted that this slicer works exclusively with the STL file format.
Source: youtube.com
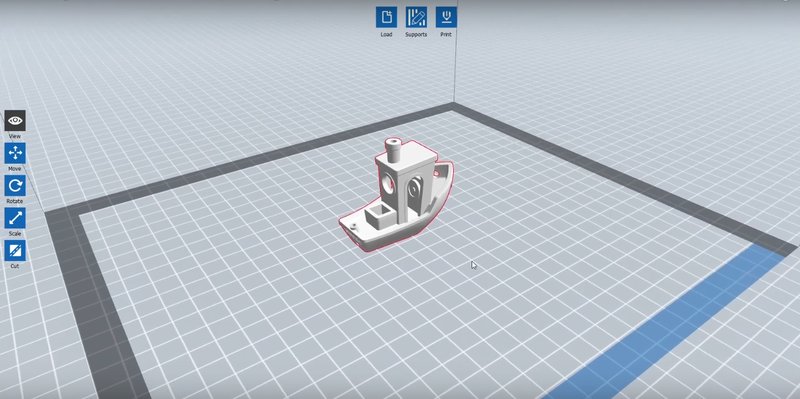
The interface won’t take long to describe. Most of the tools are located on the left. On the top of the screen, one can see three buttons: ‘Load’, ‘Supports’, and ‘Print’. The ‘Load’ button offers a way to load an STL file to the program (although FlashPrint supports a more direct way of basically drag-and-dropping the files). The ‘Supports’ provides abilities and features to work with the support structures. And then there’s the ‘Print’ button. Pressing it simply means sending the file for printing.
Source: youtube.com
The intuitive interface makes FlashPrint a great choice for beginners but if you want more customizability, it’s better to use more open solutions such as Cura.
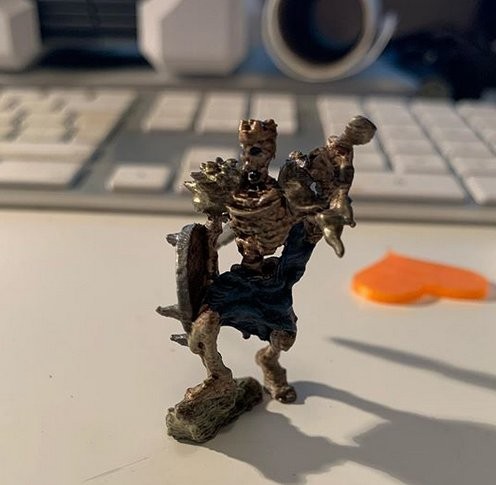
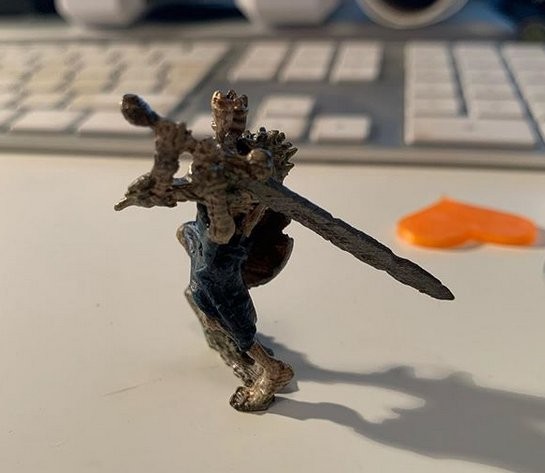
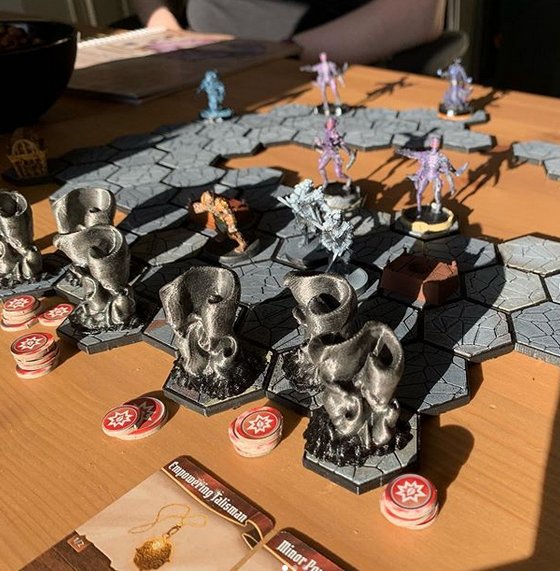
This model for Gloom Haven was printed and then painted by 97marno. Look how detailed it is!
Source: instagram.com
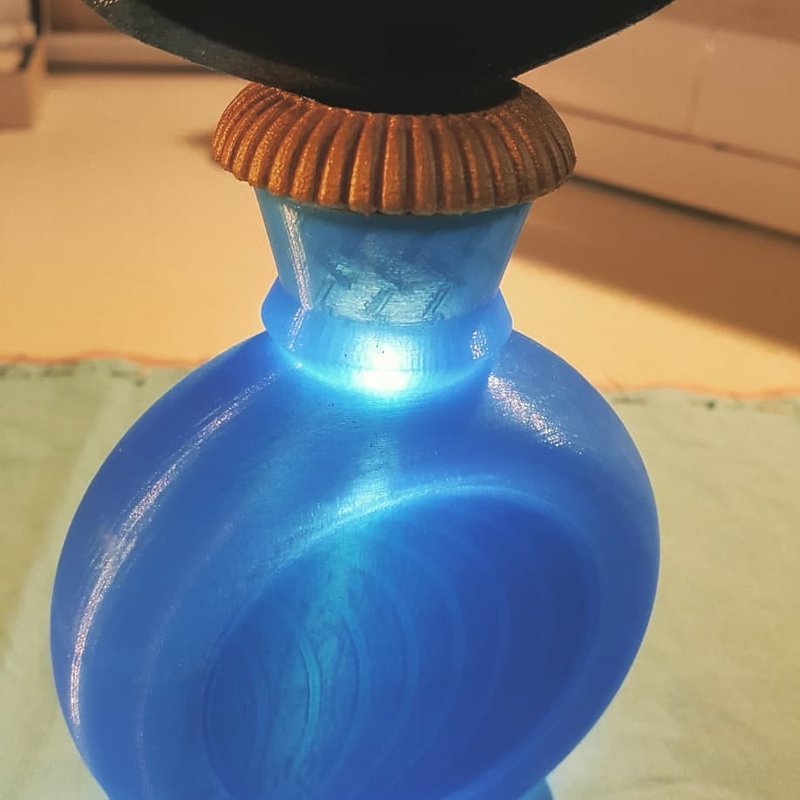
This is not an easy model to print but the result is still impressive.
Source: instagram.com
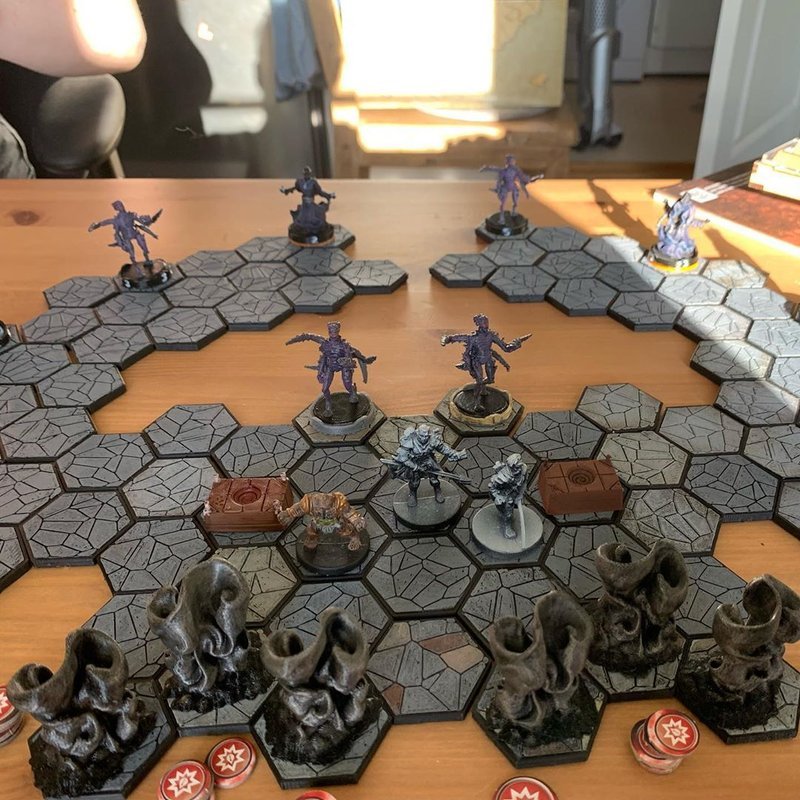
An Instagram user 97marno has printed enough tiles to play a Gloom Haven scenario on them. The tiles were painted afterward.
Source: instagram.com
Source: instagram.com
This was printed for Nordic Cosplay Championship. It shows good quality and smooth surface finish.
Printed on the Finder 2.0, it shows decent quality and surface finish.
Source:instagram.com
Pros
Cons
Affordable, safety-focused, and designed with simplicity in mind, the Flashforge Finder 2.0 aims to be a great choice for amateurs, students and beginners. The device works right out of the box, its controls feature an intuitive UI and the number of connectivity options is impressive for the device this cheap.
Flashforge devices usually provide great quality of prints and the FInder 2.0 is not an exception: the resulting models are highly detailed, feature smooth surfaces, and overall look like they were produced on a more expensive machine.
The Flashforge Finder 2.0 is a great first printer for beginners and even kids, as well as a good device for those who want a straightforward experience without a lot of tinkering and with a great quality of the prints. The machine is safety-oriented and is very easy to use, provides enough connectivity options, and even cloud integration. The Printer produces highly detailed prints. What’s more to ask for if you want to dive into the world of 3D printing without spending a fortune?
Update your browser to view this website correctly. Update my browser now
Write a comment