In this review, we will cover the usability and performance of the Flashforge Adventurer 4, a large desktop 3D printer with a closed chamber, rugged design, and an array of useful features.
The Adventurer 4 is the flagship of Flashforge’s Adventurer FDM lineup of 3D printers, with a print volume of 220 x 200 x 250 mm, a flexible removable build plate, power outage print recovery function, built-in filament spool holder, video camera and air filter, based on a beefy steel frame that feels very solid and stable.
Let's go through all the pros and cons of the Flashforge Adventurer 4, and see how this machine will perform on some basic test prints.
The Adventurer 4 arrives in a 38 kg cubic box. The weight of the 3D printer with filament and power cord is above 20 kg, which is almost two and a half times heavier than the Creality Ender 3 Pro carrying virtually the same print volume.
The machine comes fully assembled and doesn't take much time to set-up and connect, but it can be tricky to unpack as it's heavy, bulky and has no handles or grip points to help get it out of the box.
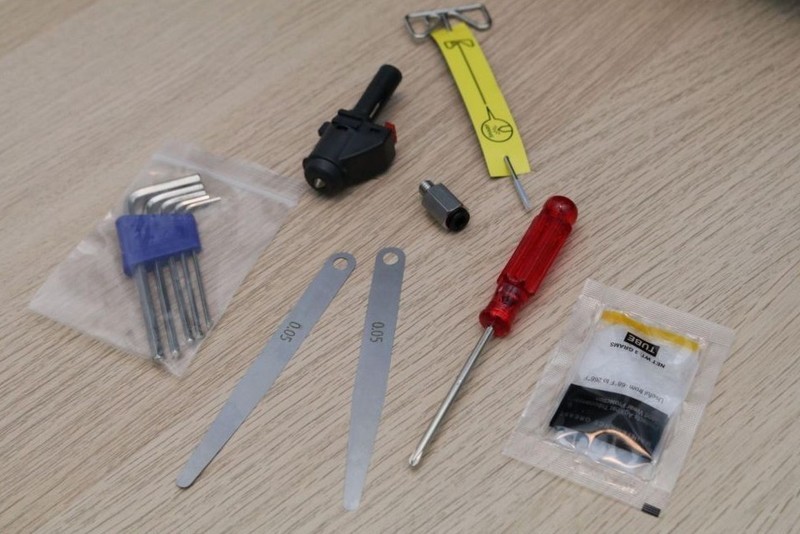
The Adventurer 4 package includes:
The included USB flash drive contains a copy of the user manual in .pdf format, several test models in .stl (3D model) and .gx (printable format), and Flashforge's proprietary FlashPrint slicer software.
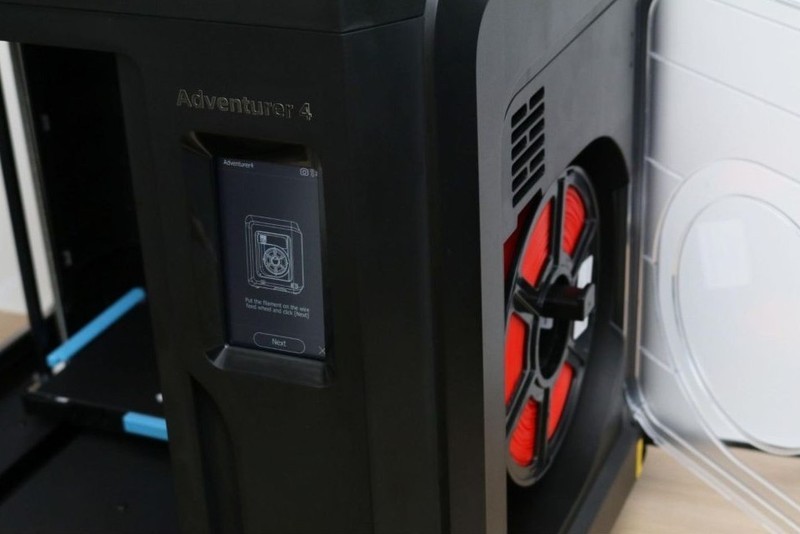
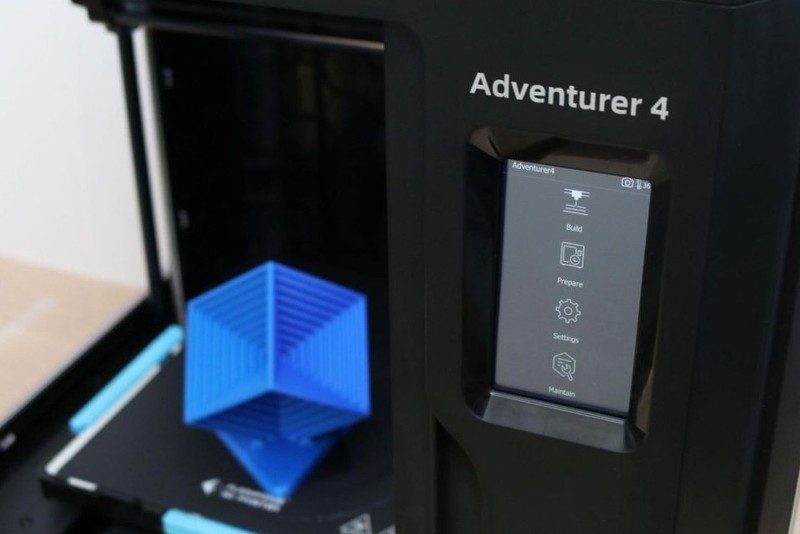
After unboxing and removing the protective shipping films, the machine can be connected and loaded with filament, following the instructions on the 4.3-inch LCD color touch screen.
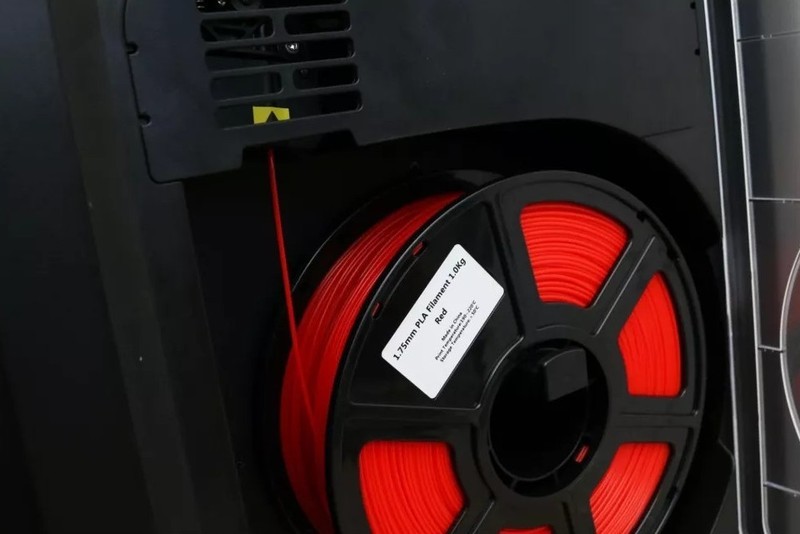
A full 1 kg spool of plastic fits into the built-in spool holder on the right side of the printer. This is a great upgrade compared to the Adventurer 3 Lite which could only handle smaller spools.
The filament is fed into the extruder through a PTFE tube that connects the extruder assembly to the hotend carriage. The tube is semi-transparent so you can see how the filament travels through it and feeds into the extruder.
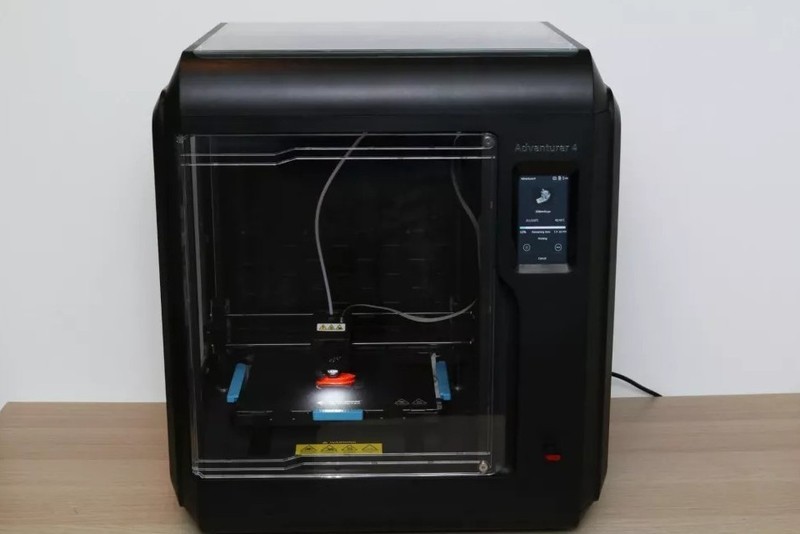
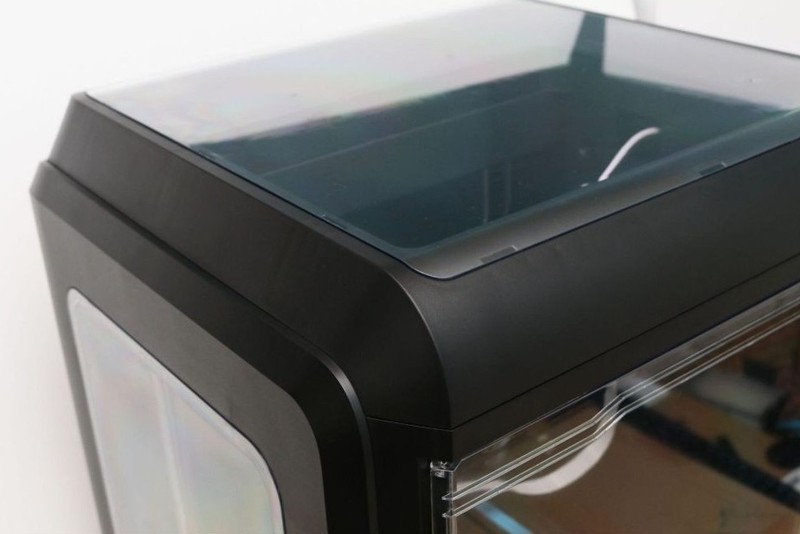
The Flashforge Adventurer 4 is an enclosed 3D printer covered with acrylic exterior panels that prevent internal airflow without compromising visibility. The front panel is held in place with magnets and has a handle cutout made for it in the body for easy access.
The closed chamber also provides some protection from children and pets curious to lend a hand or paw to your project, although an unattended toddler is still capable of opening the machine’s door which will not pause the printing process.
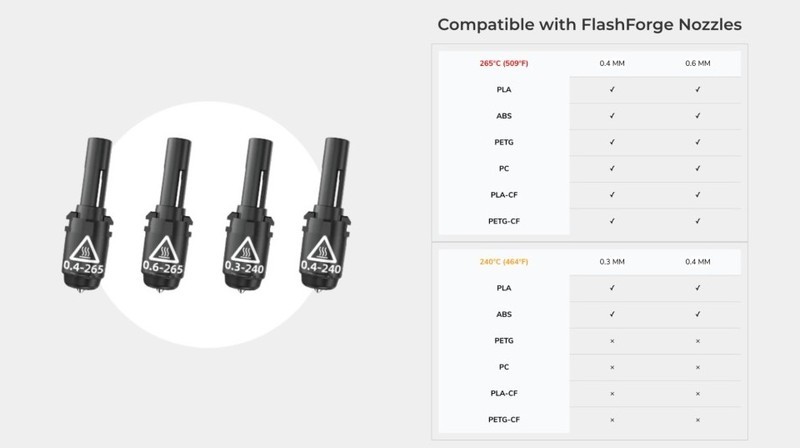
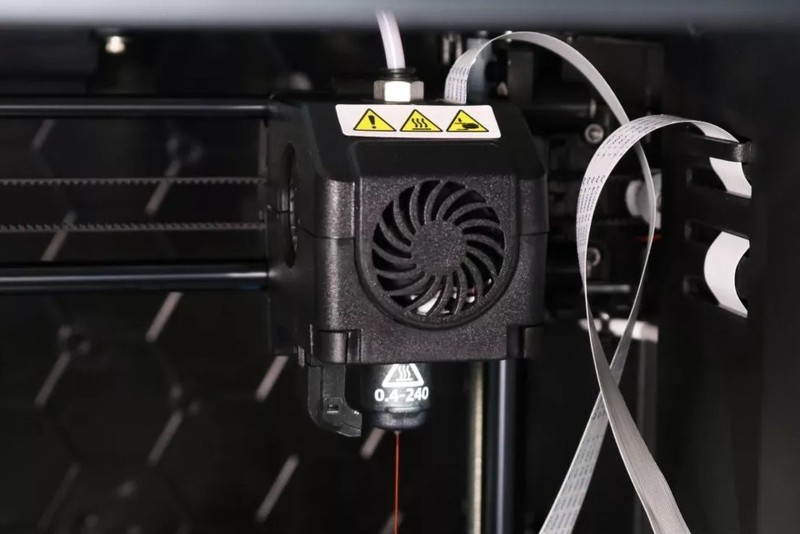
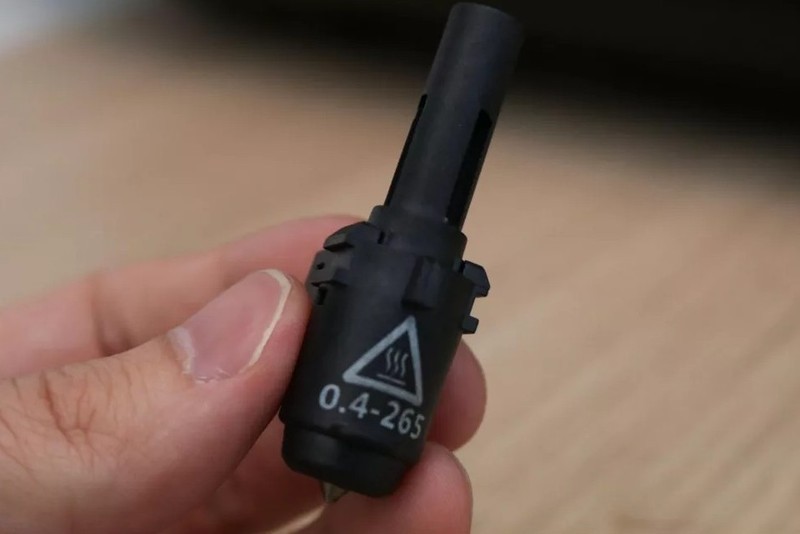
The Adventurer 4 uses the same detachable hotend as the Adventurer 3 Lite and Adventurer 3. This nozzle assembly is available in various gauges and temperature limitations, while the machine comes with two 0.4 mm nozzles, one for 240 °C and one for 265 °C. These interchangeable nozzles are ideal for printing models of different shapes and sizes.
The 0.3 mm 240 °C nozzle (optional) is a better fit for printing smaller and more detailed models, while the 0.6 mm gauge 265 °C nozzle (optional) speeds up the time spent on printing large models.
The swappable quick-release hotend is an in-house development for the Flashforge Adventurer series. Changing the nozzle is extremely simple and takes no more than a minute.
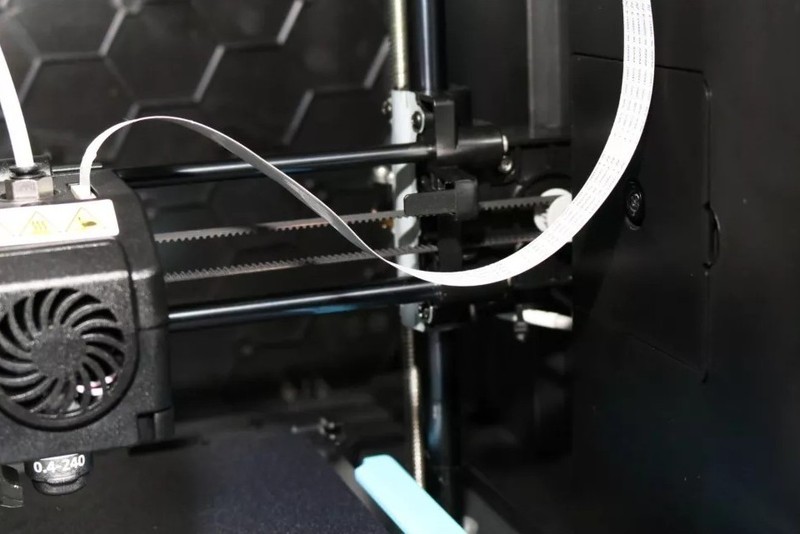
The Adventurer 4 has a built-in webcam for direct monitoring and time-lapse recording. Unfortunately, the webcam is located close to the ribbon cable, which partially blocks the view when the print starts. The camera also supports cloud monitoring via FlashCloud software.
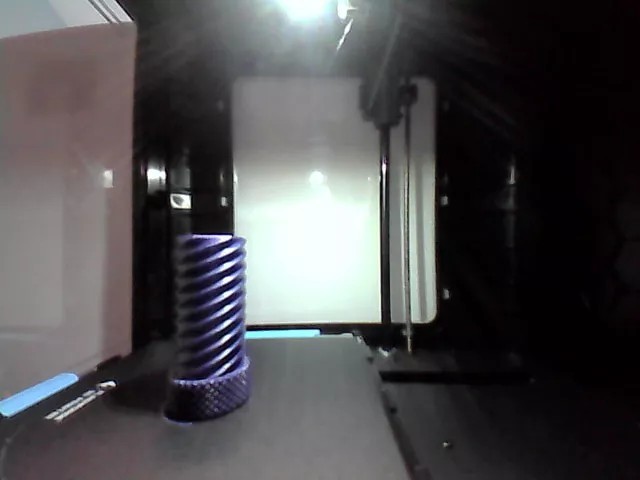
The webcam shoots with 640 x 480 resolution, which is not impressive even compared to the front webcam of a modern laptop or a smartphone, and serves mainly to keep track of the progress and check for failed prints.
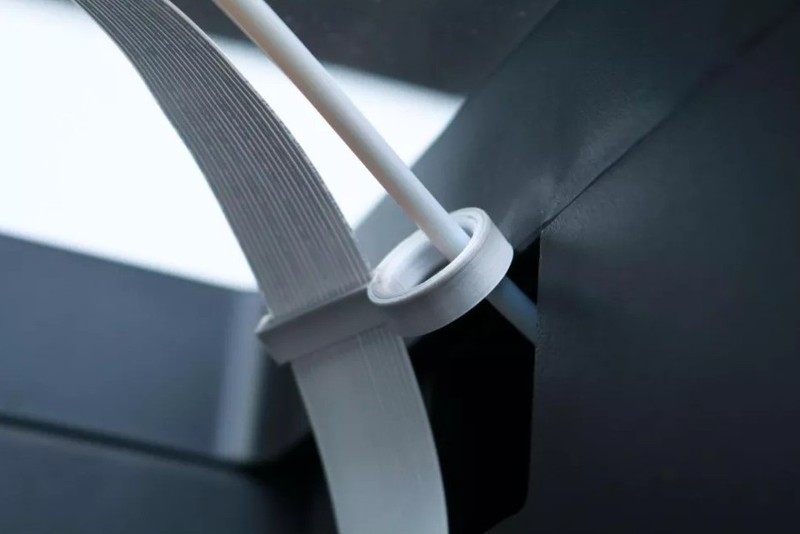
The issue with the dangling cable obscuring the view of the camera was addressed by Flashforge, so they shared a clip model to fix the ribbon cable in place.

The kinematics of the Adventurer 4 is based on two linear guides for each of the axes. The Z-axis is set on double-threaded ball screws, increasing stability and print speed.
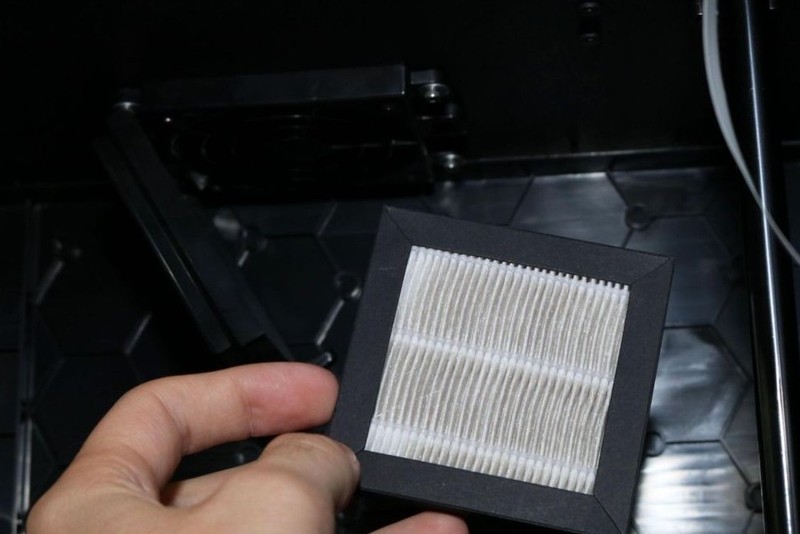
The air filter is located at the rear of the machine and uses a replaceable cartridge to filter out plastic fumes. The device makes the printing process almost odorless, but the fan noise is quite loud. The printer uses silent stepper motor drivers, yet the fan overdubs the sound of the hardware and electronics, and is noticeable in the workspace. A silent or a less noisy fan would be more in line with a printer carrying upgraded low-noise stepper drivers and a closed print chamber. When printing PETG, the filter did not cope with canceling all of the odor, unlike the cases with PLA and ABS.
The Adventurer 4 provides the ability to resume printing after a power blackout. After turning on the power again, the interface screen prompts you to continue printing from where you left off, heating up the nozzle and bed before resuming operation.
Unfortunately, this pause left a defect on the side of the test model where the print stopped.
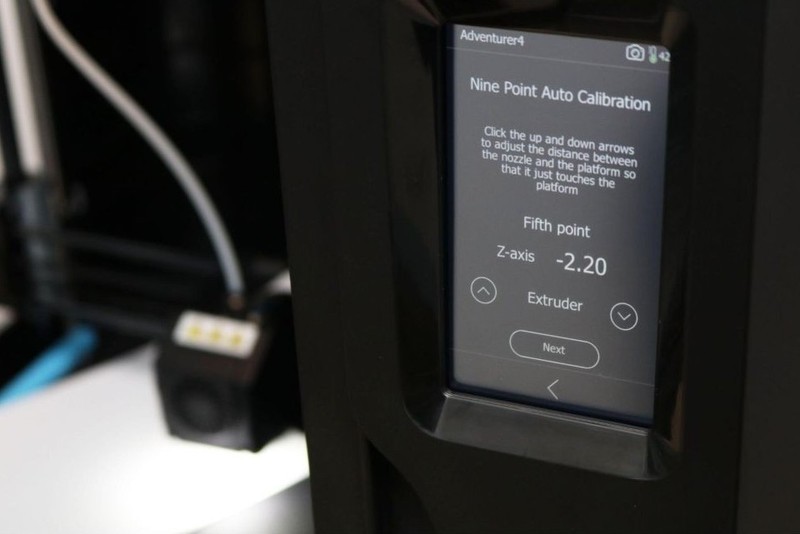
Flashforge Adventurer 4 is equipped with a semi-automatic bed leveling system which measures nine points on the platform with the user confirming the Z-height on each of them.

The printer is marketed as having high bed flatness precision, due to the CNC-machined 8 mm one-piece aluminum bedplate and base frame.
After setting the offset height on the Z axis, the printer checked nine points on the platform and they were all at the same height. This shows that time and attention has been devoted to factory calibration and quality control, but adding a tension or a BLTouch sensor to the nozzle assembly would make this printer fully automated.

The Flashforge Adventurer 4 uses a textured, removable, flexible, magnetic print plate cover that is somewhat improved over the Adventurer 3 Lite. The cover is held by a magnet and snugly fits into two slots at the back of the platform. The textured surface provides excellent adhesion. The bed leveling confirmed a difference in height of no more than 0.1 mm at any of the nine calibration points.
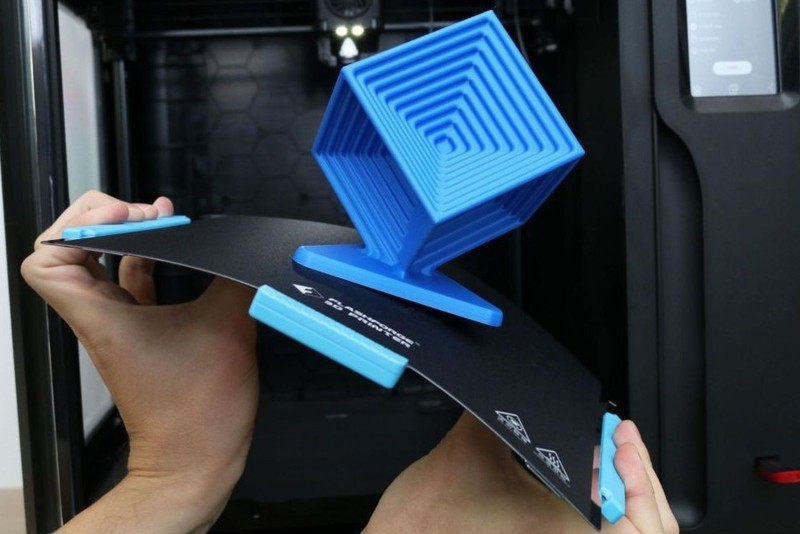
Handles are added to the edges, which makes removing the cover plate without touching the heated base easier. Unlike the flexible platforms in other printers, this one can be bent without leaving fingerprints or other contamination on the surface.
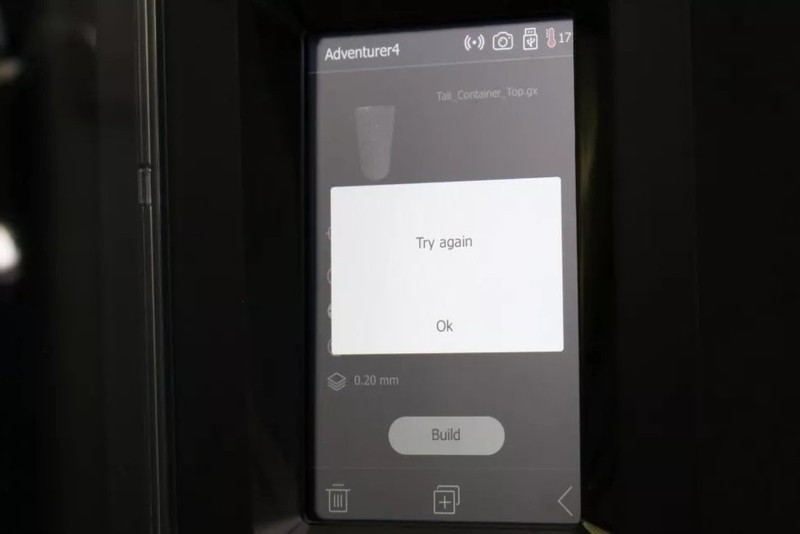
The Flashforge Adventurer 4 kit included several test print files in the USB drive, but somehow not all of them worked. Selecting "Tall_Container_Top.gx" or "Tall_Container_Bottom.gx" files resulted in a "Try Again" error that persisted even after restarting the computer and copying the files to another drive.
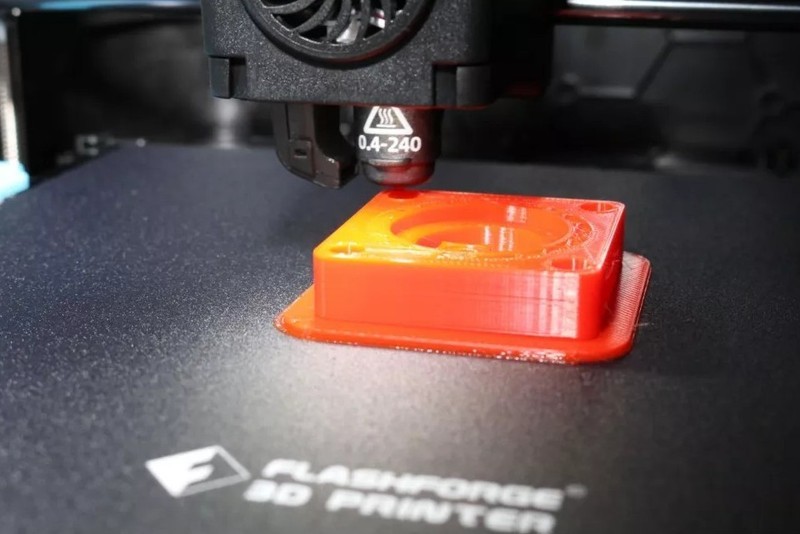
The "tool_changing_station.gx" model, which prints in an hour and a half and consumes less than 15 grams of material, was printed out successfully, but the quality of the included plastic was insufficient to ensure surface accuracy of the part.
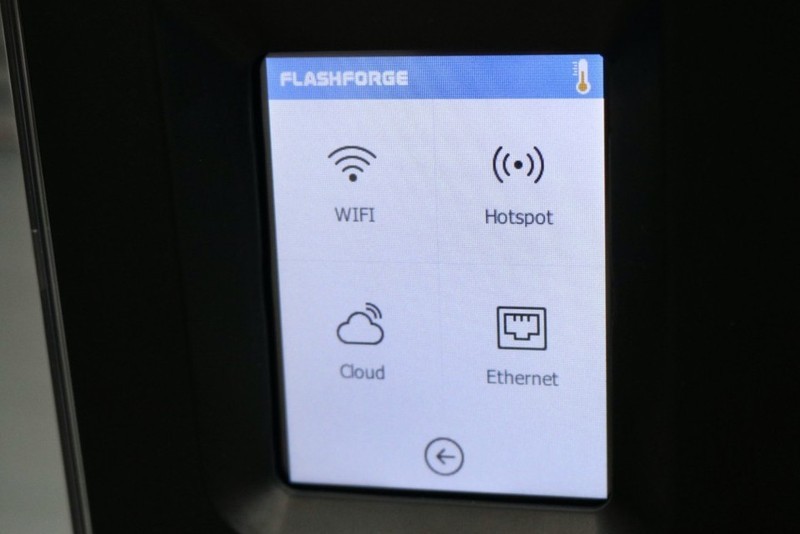
Flashforge Adventurer 4 supports printing over Wi-Fi, Ethernet, and from a USB flash drive. The FlashPrint software allows you to manage multiple machines, which will be useful in a 3D print farm setting. This feature is available both via Wi-Fi and Ethernet.
There were reports that the Wi-Fi connection did not work on the first units of the Adventurer 4 series, but the manufacturer seems to have fixed this firmware issue.
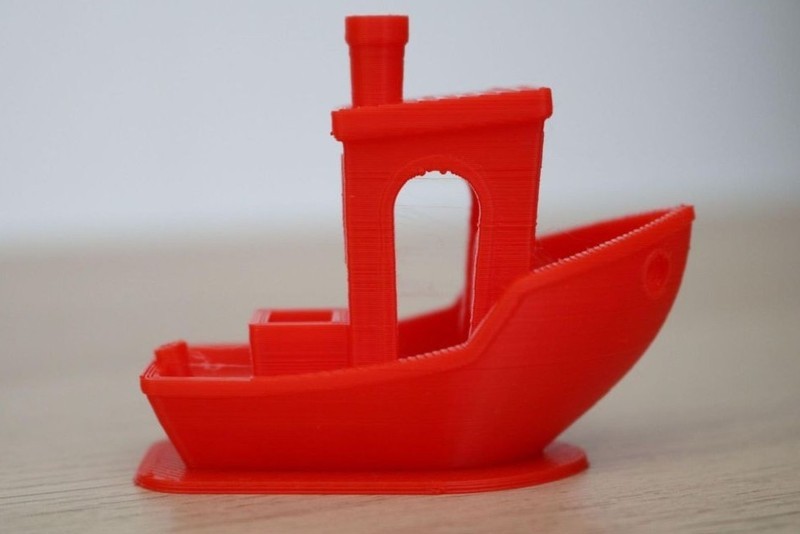
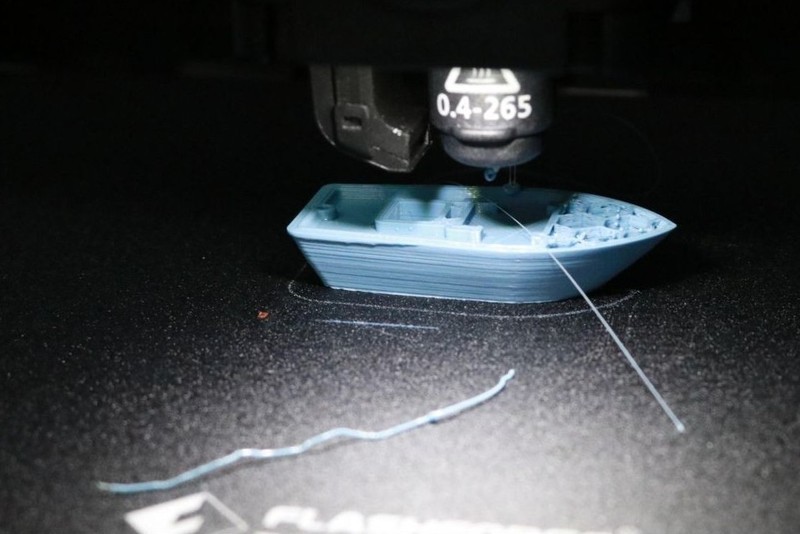
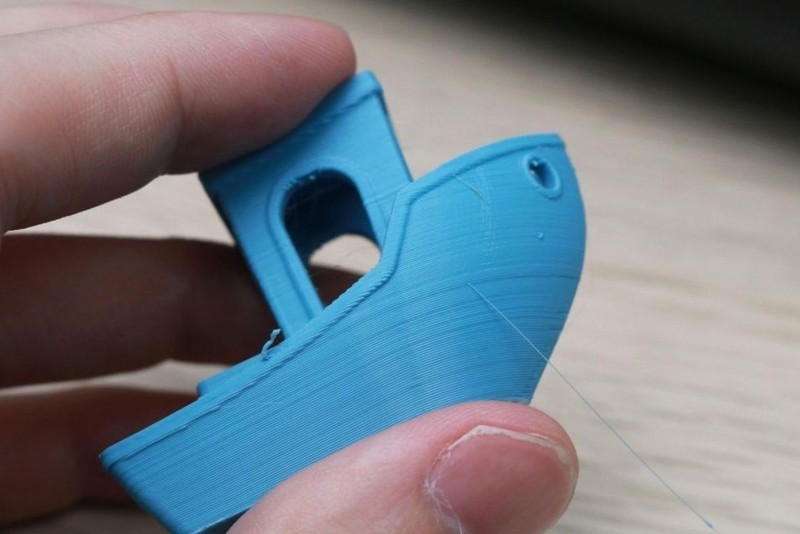
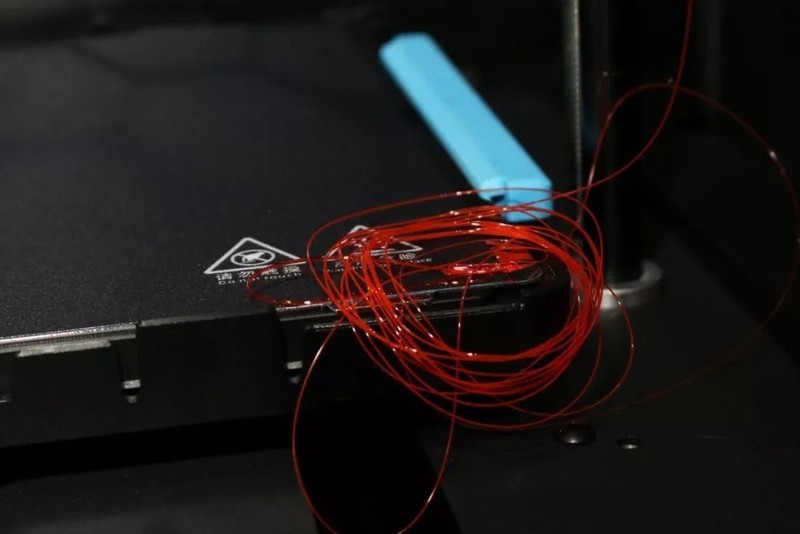
Printed using the included spool of red PLA, the 3DBenchy test model demonstrates some quality issues. As with the first test print, the Benchy got rough inconsistent surfaces, and the raft was difficult to detach from the bed. Such issues are more often related to the quality of the filament rather than to the print settings.
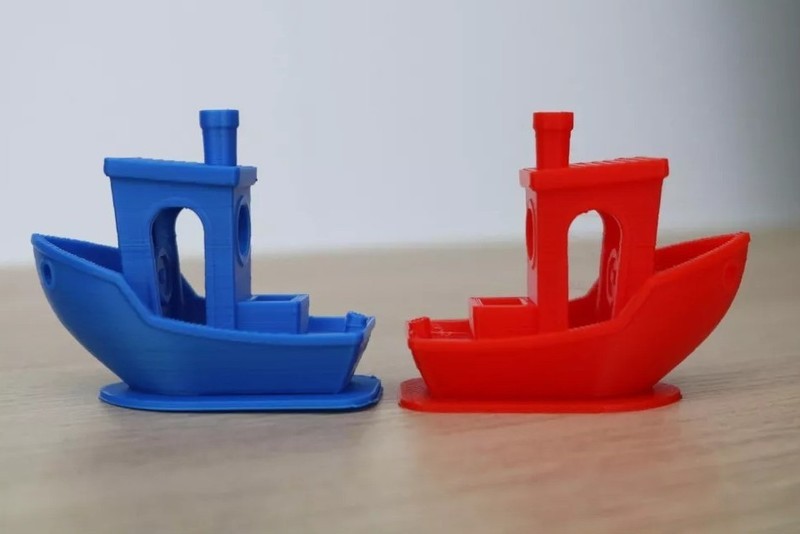
The second Benchy was printed with a different filament and turned out very well while also detaching from the build platform with no extra force needed. The printer is clearly capable of producing high-quality parts, but the filament provided in the package is evidently not the best material to use.
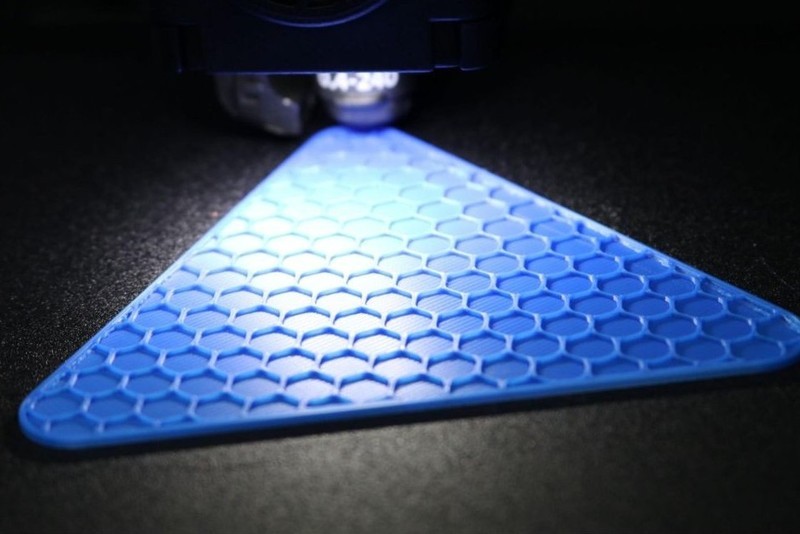
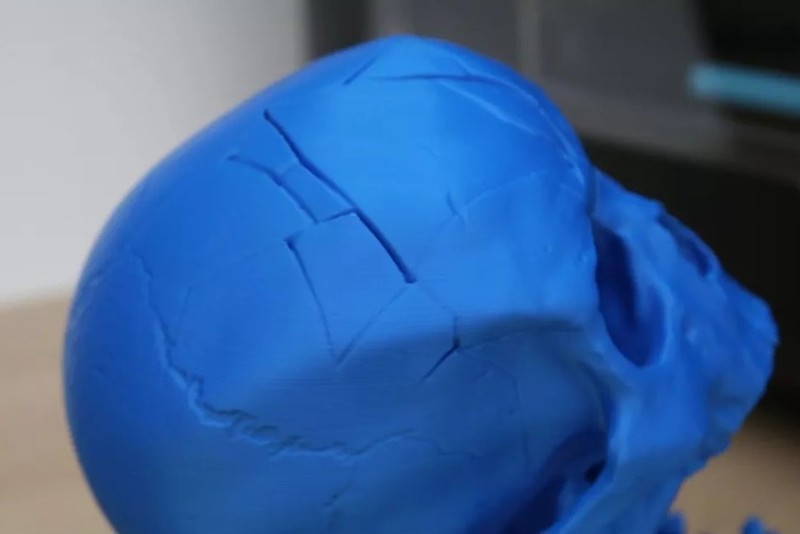
The photo shows the platform of the cube (model below) in the process of printing.
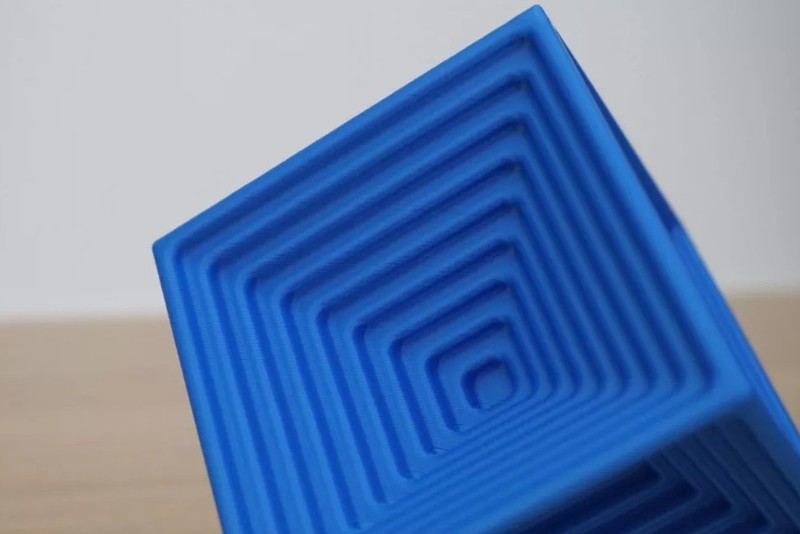
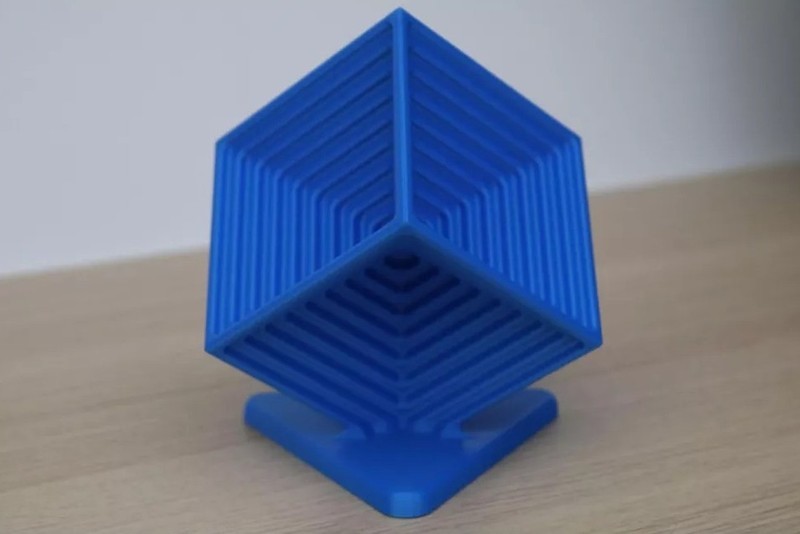
The cube, which took just under 12 hours to print with default settings, has uniform and consistent layers. The Adventurer 4 is equipped with a hardware solid motion control system, and this print definitely shows what the machine is capable of.

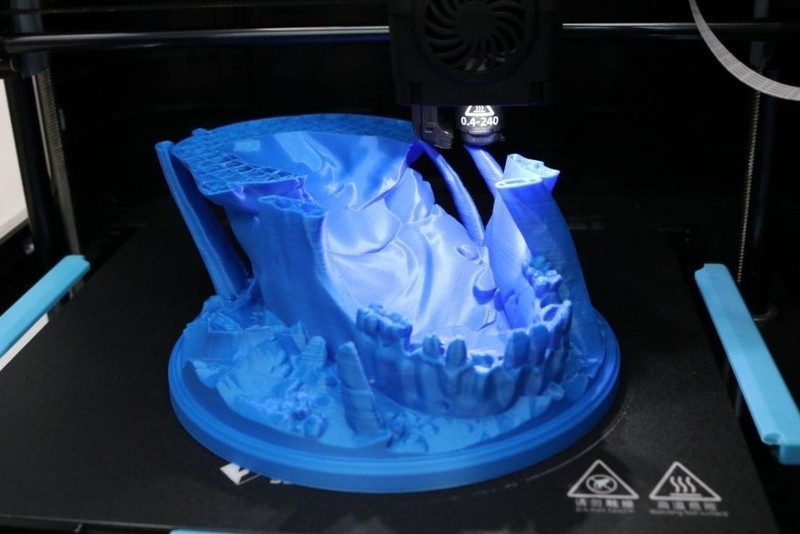
Desert's Kiss Dice Tower Diorama by Ars Moriendi 3D took 25 hours to print. It showed that while the Adventurer 4's hardware is reliable, the software may require some tweaking. The model is quite detailed, the surface quality is high, but the default printer settings are questionable.
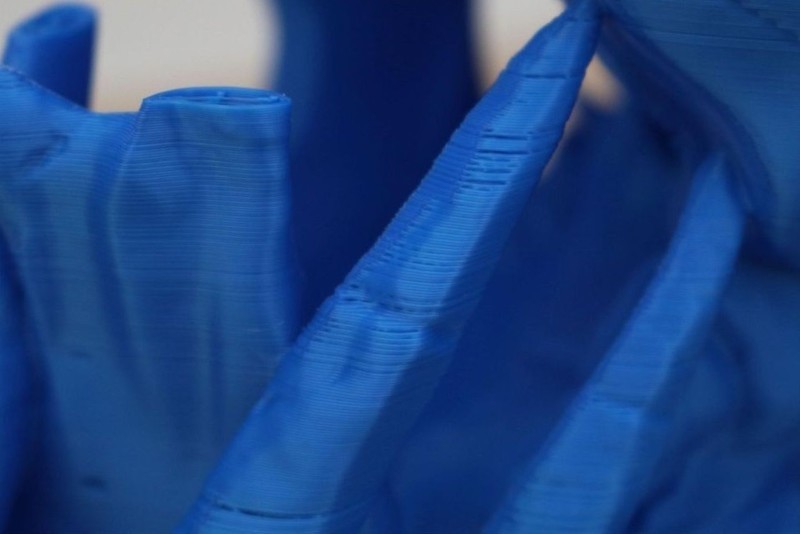
Under-extrusion is evident in some areas, which led to the detachment of one of the small columns and holes in some places mid-print. The reason for this was found in FlashPrint's expert mode settings, with the default extrusion speed on the printer set to 96%, which had prevented the machine from extruding enough material and caused the defects described above.
As for the rest of this test part, the quality turned out to be very high.
Flashforge Adventurer 4 is a very robust and powerful printer with an impressive print area for a desktop machine. The closed print chamber, upgraded magnetic plate, and well-thought-out kinematics give it advantages over many peers. At the same time, there are several not very important, but annoying omissions, limiting the machine in performance.
The machine uses proprietary nozzle assemblies which are somewhat more expensive compared to generic E3D compatible nozzles, but do a great job at ensuring print quality and serviceability.
The overall impression of the Flashforge Adventurer 4 is definitely positive. We can recommend this FDM 3D printer to anyone who needs quality plastic parts within the 220 x 200 x 250 mm build volume.
The printer can be used for prototyping consumer goods, electronics cases, mechanical parts, accessories and toys, souvenirs and interior items, as well as for printing functional parts that will not be subject to extreme conditions and mechanical stress.
Photos credit: tomshardware.com, all rights to images belong to their respective owners.

Update your browser to view this website correctly. Update my browser now

Write a comment