3D Printing Technologies in the International Lomonosov School

Hi everyone! In this article, we will tell you about implementation of 3D printing in education and share the experience of using Implementa’s Hercules in a private school.
About the school
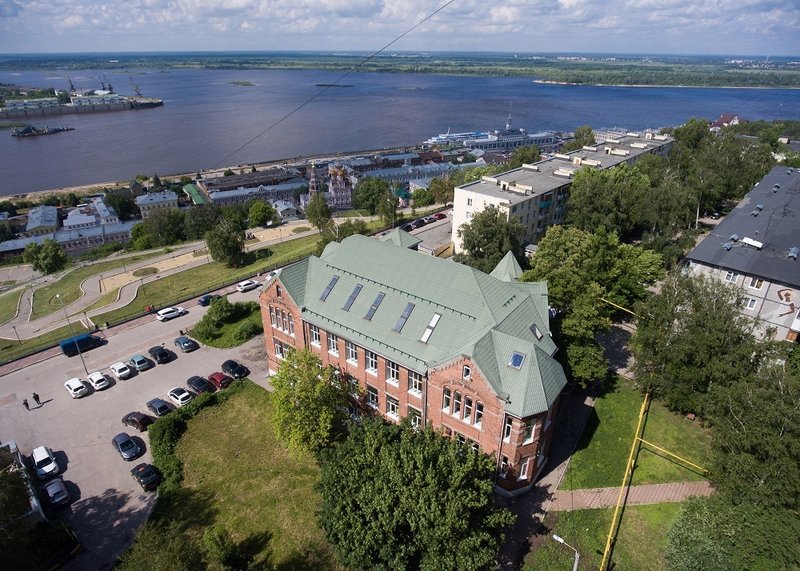
This beautiful more than a century-old red-brick building is located in a picturesque area at the meeting of the rivers Volga and Oka in Nizhniy Novgorod. You would think that this is a mansion of a rich industrialist or a shipping company's headquarters, but you’d be wrong. This building is actually a school.
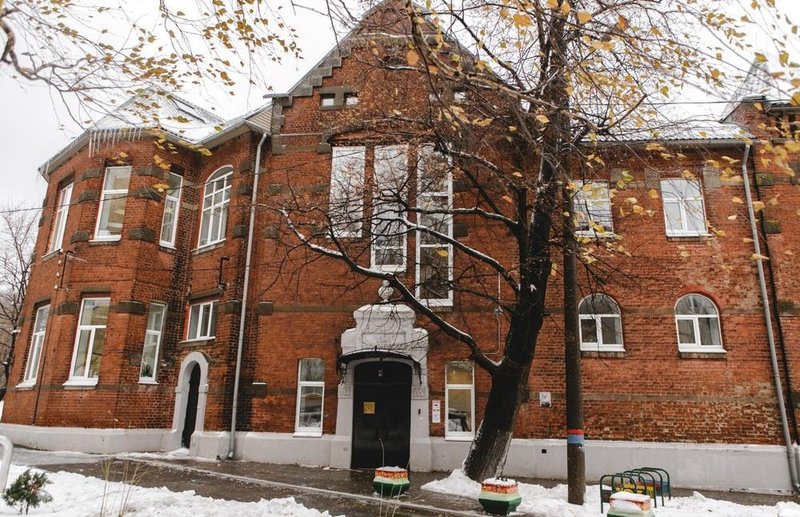
Legend has it that a group of Nizhniy Novgorod’s merchants chipped in to build this school as a gift to the city for the 200th anniversary of Mikhail Lomonosov’s birth. It was founded in 1911, and in 1913 the school opened its doors for the first generation of students. To this day this building serves as an educational facility - since 1992 it has been a private secondary school named after M. V. Lomonosov, also known as Private Lomonosov School.
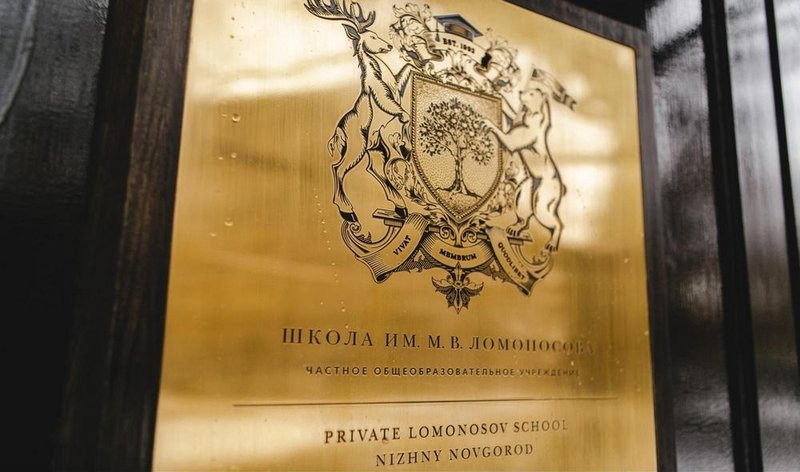
This international school is certified to teach students according to the Primary Years and Middle Years programs of the International Baccalaureate system. The school is available to attend for both Russian and foreign students.
The teaching process is conducted in Russian, with the active support of English language provided by assistant teachers and teachers of native languages for foreign students.
The school is accredited and licensed in the Russian education system as well and conforms to the newest state standards. This school actively implements project-based learning and modern equipment in education. One of the school’s most prized possessions is a Hercules 3D printer acquired from the Top 3D Shop.
Hercules
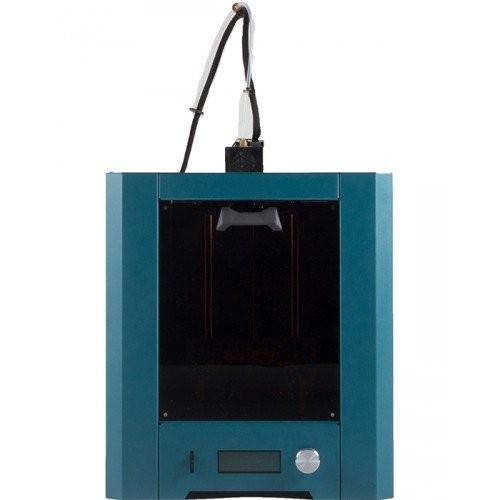
Characteristics:
- Printing technology: FDM
- Layer thickness: starting from 20 microns
- Maximum print platform temperature: 125°C
- Maximum extruder temperature: 260°C
- Table heating: removable glass
- Build chamber: 200x200x210mm
- Noise factor: 48 dB
- Supported materials: ABS, PLA, Flex, Rubber, SBS, BF Bronze, Carbon, Nylon, HIPS, PET
- Filament diameter, mm: 1.75
- Nozzle diameter, mm: 0.2, 0.3, 0.5, 0.8, 1
- Power Consumption: 500W
- Capacity: 34-50 cm3 / h
- Dimensions, mm: 391x380x496
- Weight, kg: 18.9
- Case material: steel
- Software: Slic3r
- Country of origin: Russia
- File formats: STL, OBJ
- Calibration: mechanical
- Interfaces: USB, SD
- Number of printheads: 1
- Print speed: 100mm / s
- Compatible operating systems: Windows, Linux, MacOS
Why the school chose Hercules
“Professionals from Top 3D shop recommended this printer to us. The shop’s website was one of the top search results, during a phone call we managed to define the educational goals we want to achieve and picked the appropriate equipment. Our choice was the Imprinta’s Hercules. Russian origin of the 3D printer seemed like a definite advantage to us, and more than a few times since we have started to use the printer our choice has proven to be the right one.
For instance, when we first tried 3D printing on the device we had a lot of questions. Top 3D Shop team managed to come up with the solutions quickly and efficiently via phone or e-mail.
Six months later the 3D printer belt wore out - it was the first serious equipment breakdown we experienced. We contacted Top 3D shop and they quickly sent us a new one. We were able to instal it with ease and continue to use the printer right away.

With our first order we asked Top 3D Shop employees to assemble a set of different types of filaments for us to try out. Along with PLA and ABS, we tested FLEX, Filamentarno!’s SBS and Rubber.
Things we loved

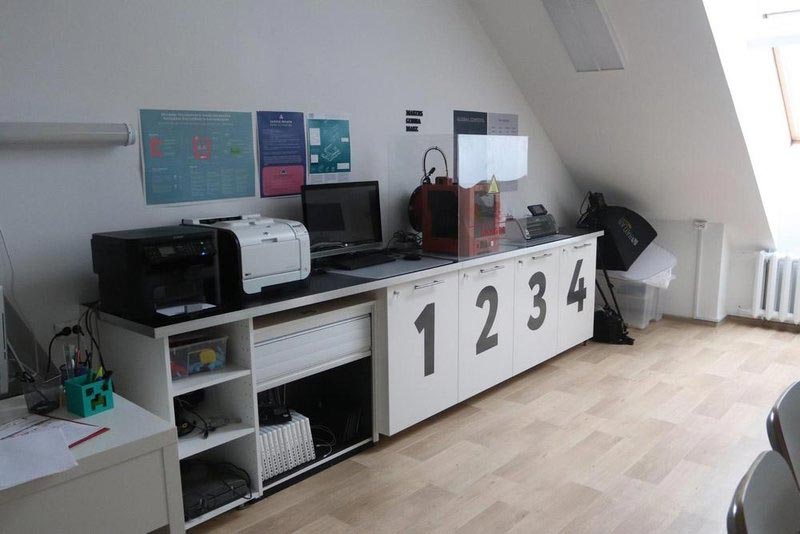
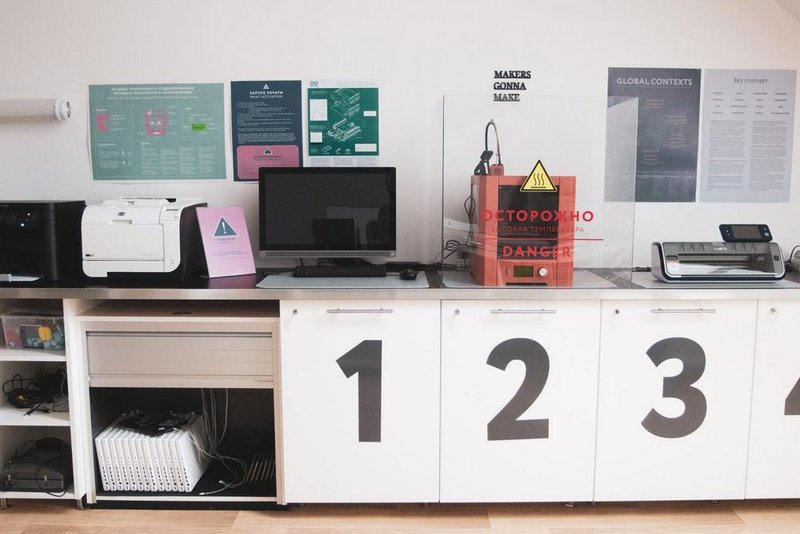
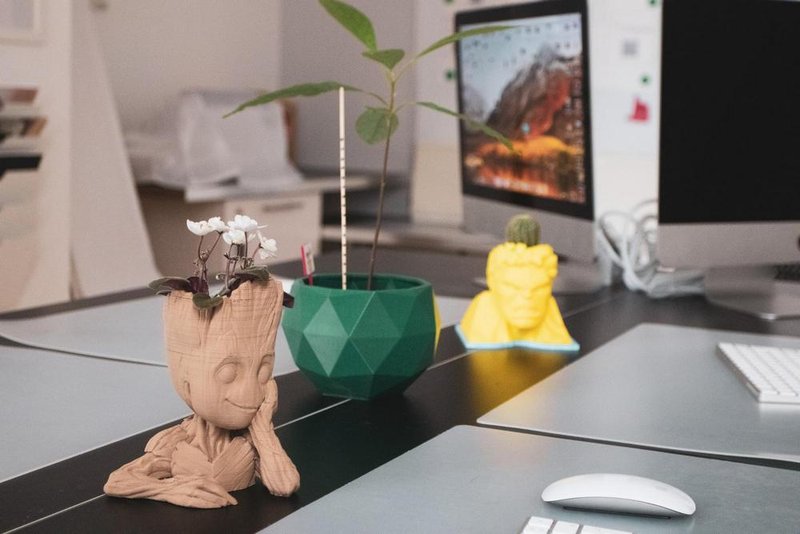
This is our first attempt at 3D printing and, thanks to this printer, we can safely say that 3D printing is easy and affordable. The printer itself is rather safe, but since children as young as six years old attend our school, we decided to make a protective box for the device. The printer has a good balance between open and sealed elements - this way you can monitor the progress and study the principles of 3D printing.
3D printer benefits and purposes
The 3D printer gave us a possibility to greatly extend the opportunities of our students in several different areas of the learning experience at once. For example, in the Middle Years program, in the subject area of Design, we encourage our students to find solutions to various problems.
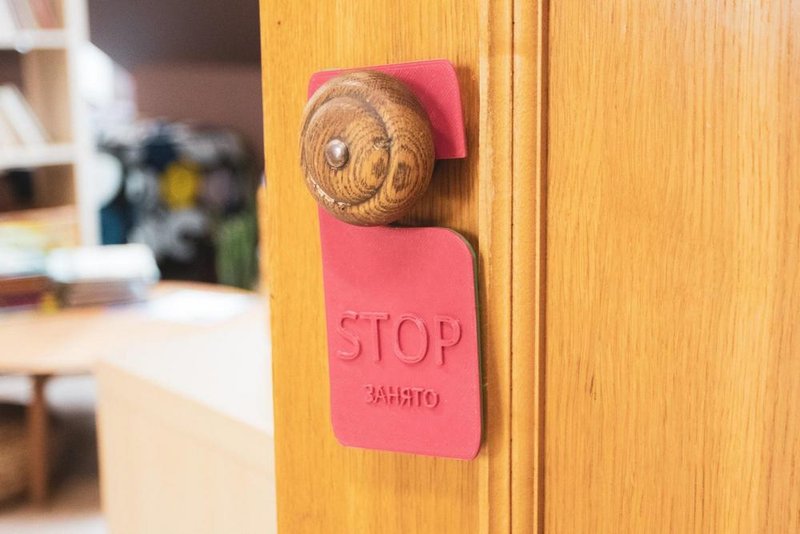
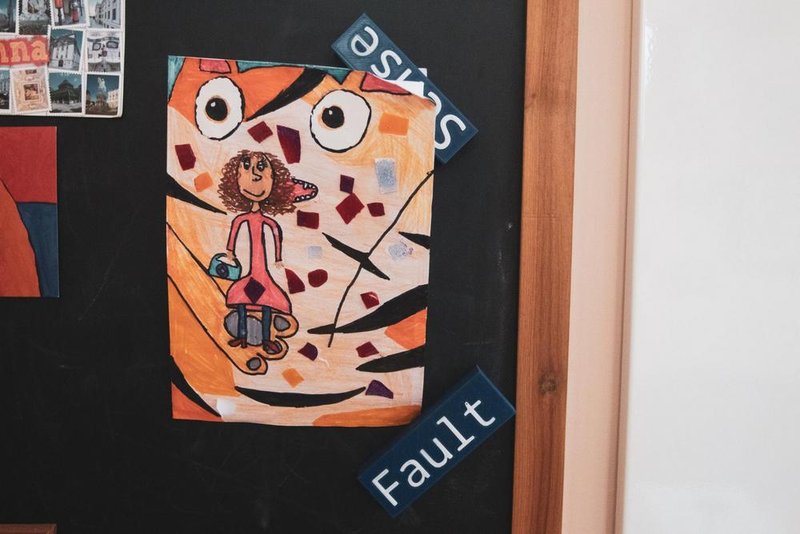
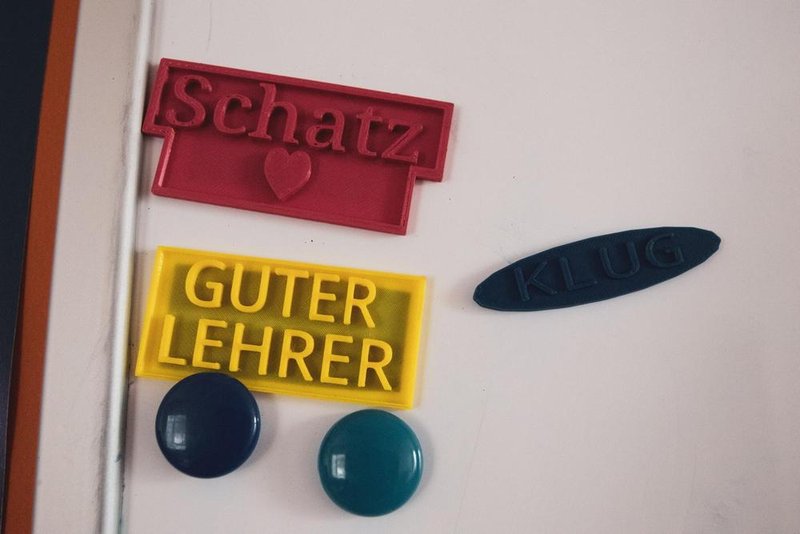
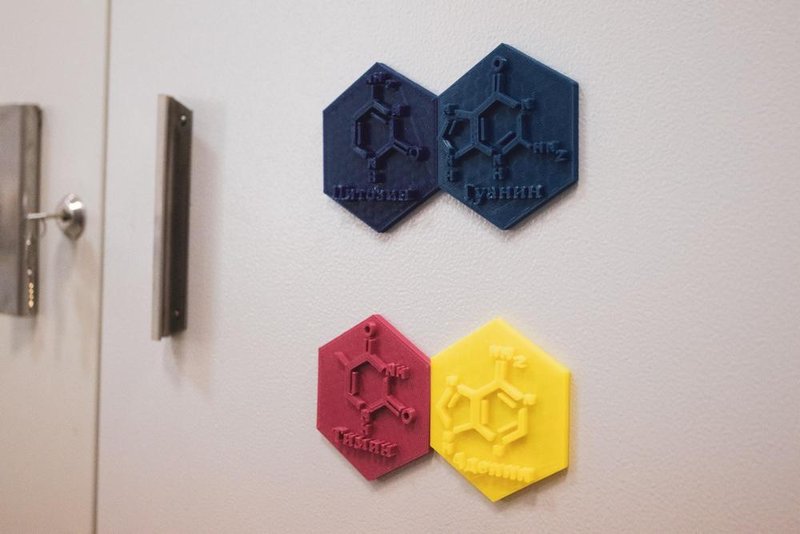
This particular example is one of the best experiences we’ve had so far. The majority of our teachers use board magnets in the educational process. They use them to showcase exemplary works, attach to-do lists, as well as display visual aids and illustrations.
We took this situation as a premiss for a design challenge for our students. We encouraged them to come up with prototypes of topical magnets for teachers. This work seamlessly combined tasks in several areas. The first one was communication: it imitated real-life work with clients. Moreover, they had to make personalized magnets that can "speak" for the teacher. The challenge also involved geometry, since the students had to calculate the surface area and the size of magnets. In addition to that, they had to work out possibilities of future use for their prototypes.
During the two months, they had to create these prototypes, our students had to communicate with their “customers”, accept corrections, and make adjustments to the project. They managed the whole process, from the sketches and up to the final products.
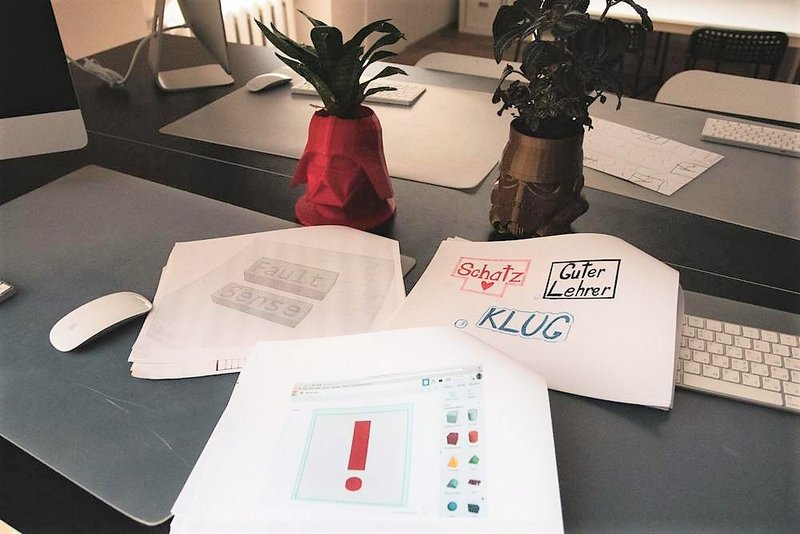
Students interviewed teachers, drew sketches, printed prototypes, and put them to use. Then teachers gave the students feedback on the prototypes, so they could introduce changes to their models according to their findings. One of the most important challenges for us was to show to the students that 3D printing is one of the fastest ways to make a prototype and evaluate it.
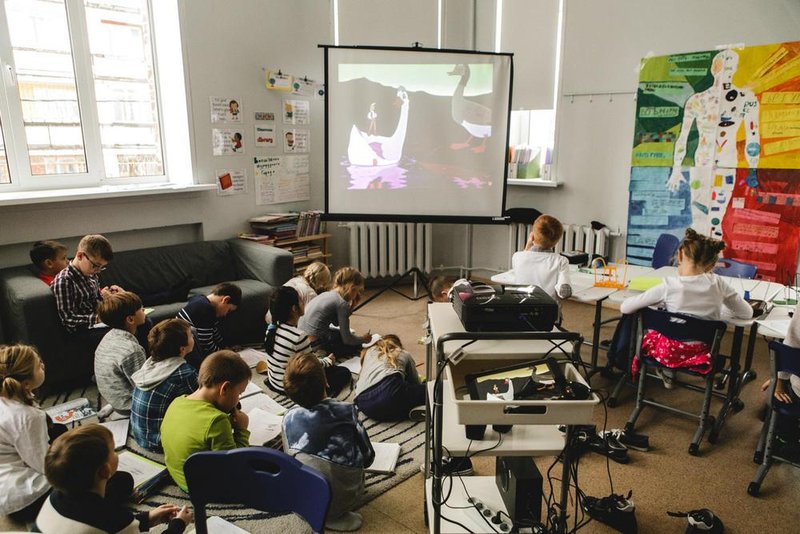
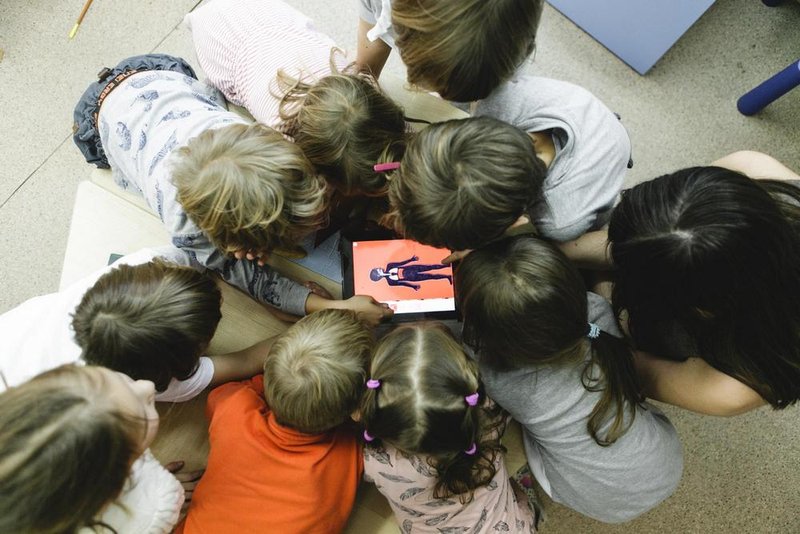
In order to engage as many students as possible, they used the printer in the following way: students sent their models for printing by themselves, and streamed what they were doing online using the webcam installed on the printer. This way, all of the other students had an opportunity to watch the whole printing process.
This example shows that before we got this printer, this project would have just included making prototype drawings, and the number of forms and materials we’d have to use would’ve been much less diversified.
Once students complete their first printing job from start to finish, they learn about the main benefits and drawbacks of 3D printing. This enables them to use 3D printing technologies in other projects in different subjects. For example, they can print small dinosaur skeletons for the diorama of the geochronological scale for geography, or make a 3D model of a refrigerator demonstrate the work of the Peltier element for their physics classes.
The fact that we have professional equipment like this at our disposal gives our students an opportunity to explore different areas of research. They can calculate the economic dimensions of their prototypes. For our high school students, a project for a 3D-printed exoskeleton hand was a good starting point for studying the Digital Health section of the Information Technologies in a Global Society diploma program.
Challenges
We had to face some difficulties while using this printer. The vast majority of the school computers and tablets run on MacOS and iOS. For this reason, we had to purchase a Windows-based computer specifically for the slicer. This problem is resolved now, since on the Imprinta’s YouTube channel they break down how to set up Cura. Now the printer can be compatible with MacOS as well.
Ins and outs
Size of the build area. When we were choosing the equipment, we made sure to opt for the 3D printer with the largest build area. After a year of constant use, we came to the conclusion that the area of 180x180x180 mm is enough for the majority of printing tasks. It enables the simultaneous printing of several prototypes, which allows maximizing printing time considerably and introduces additional tasks for students (for example, making several chess pieces at once).
Adhesion. The easier it is to use the material in printing, the better. In larger, more time-consuming projects we have to reduce the printing time, which is best achieved when working with PLA:
-
The adhesive applied to the platform can last a long time, up to two weeks.
-
After 2 to 3 cycles of printing, it becomes very easy to remove the model from the platform. You don’t have to wait for the table to cool completely - at 104 degrees you can safely remove the model and start printing the next one.
-
The table quickly heats up to the operating temperature of 150 degrees, for other materials the temperature is higher.
-
PLA is non-toxic, unlike many other plastic materials. This enables students to watch the printing process very closely even without the protective box, and be completely safe from toxic fumes”.
Conclusions
Judging from this school’s experience, having a 3D printer at school enables students not only to study modern prototyping technologies, but also to find out more about other elements of the production cycle.
Such experience can be useful in further education, regardless of the chosen profession, as it covers a great variety of industries and positions, from managers and production engineers, to designers and maintenance personnel.
![[CASE STUDY] 3D Tech in Architectural Prototyping](https://top3dshop.com/image/cache/catalog/blog/review_2/3d_tech_in_architectural_prototyping/image_39-494x216.jpg)
![[CASE STUDY] Agricultural 3D Printing, VIM Center](https://top3dshop.com/image/cache/catalog/blog/review_2/agricultural_3d_printing/image_37-494x216.jpg)
![[CASE STUDIES] Printing of Complex Airport Models](https://top3dshop.com/image/cache/catalog/blog/review_2/printing_of_complex_airport_models/image_55-494x216.jpg)
Write a comment