
Greetings and welcome to Top 3D Blog, your trusted source of additive manufacturing insights. In this article, we are going to review the Artillery Sidewinder X1 — a budget-friendly desktop FDM 3D printer with quite an impressive build volume, sturdy build, and a number of other noteworthy features that will be reviewed throughout the article. But is the Sidewinder X1 as good as they advertise it to be and are there any downsides? Read the article to find out.

Artillery is a relatively young Shenzhen-based additive manufacturing company that was established in 2018. Its current lineup consists of three consumer-grade FDM 3D printers. The company entered the 3D printing market in January 2019 by launching the Sidewinder X1, a budget-friendly 3D printer that was largely recognized by the 3D printing community. After such success, the company launched their second machine, the Genius, another budget-friendly 3D printer with a slightly smaller build volume than that of its predecessor. The latest 3D printer Artillery made was the Hornet — an entry-level educational machine that was launched in 2020. All in all, 3D printers made by Artillery can be characterized as powerful machines that bring good value for their money.

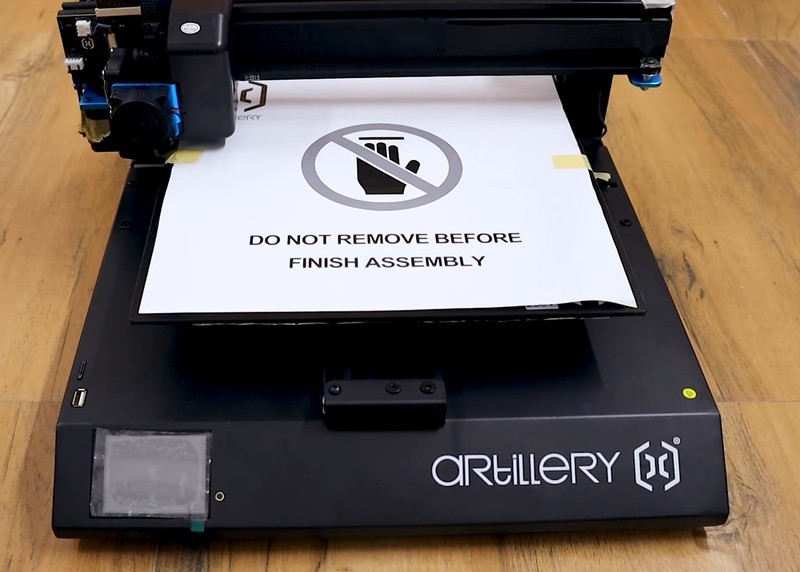
The Artillery Sidewinder X1 is a desktop consumer-grade FDM 3D printer that offers an impressive build volume of 300 x 300 x 400 mm (11.8 x 11.8 x 15.7 inches), so it can be employed for large-format 3D printing projects. The machine comes at a sub-$450.00 price and has to be assembled and calibrated manually. The supply package comes in two parts. It includes the main print base that houses all the electronic components and two gantries that hold the extruder, so the printer can be up and running in less than twenty minutes if assembled by an experienced user. It prints at a minimum layer height of 100 microns, a typical value for a 3D printer of this price category. Despite some visual layering, such layer thickness lets you create well-detailed outputs with a quite decent surface finish. You can check out what the Sidewinder X1 is capable of printing by navigating to the Use Cases subsection of this article.
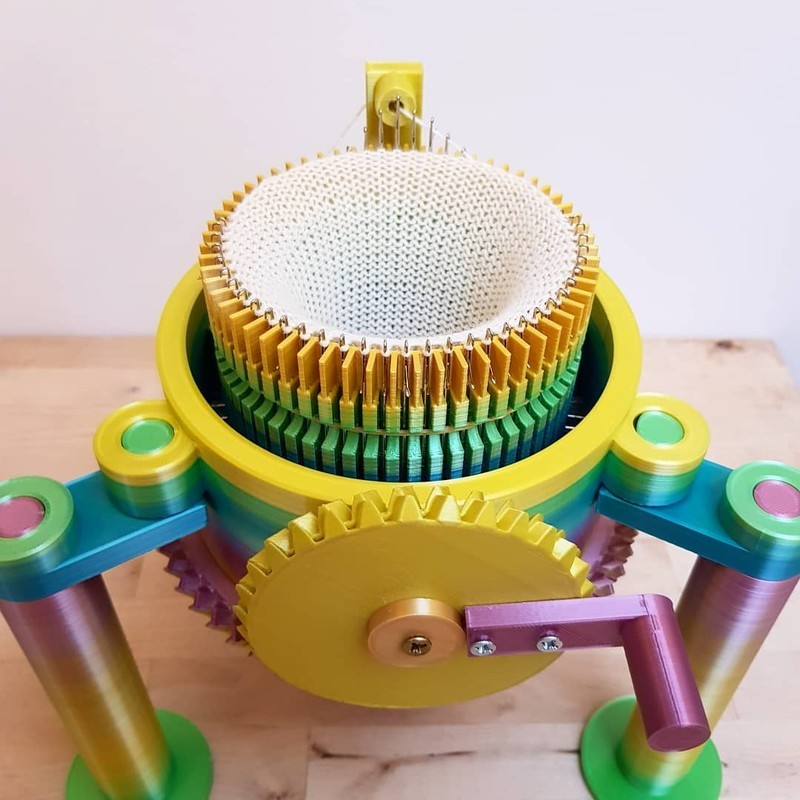
Knitting machine by yarnstudiouk / Instagram
Due to its large build volume, single direct drive Titan extruder, and a heated bed, the Sidewinder X1 can print with PLA, ABS, TPU, Wood, PVA, and flexible materials. It prints at a maximum speed of 150 mm/s, which, paired with wide material compatibility, makes this machine a good choice for personal and semi-professional applications. The Artillery Sidewinder X1 can be successfully used for rapid prototyping, creation of props, accessories, figurines, household items, and much more.
Please note that you won’t be able to reliably print with ABS until you upgrade the machine with an enclosure that will prevent unwanted temperature fluctuations and misprints on upper layers. You can make the enclosure yourself or order it online. In any case, one of the key advantages of not enclosed FDM 3D printers is their endless upgrade potential. The main point is you can improve your machine with different features like an enclosure, stepper motor dampers, BLTouch probe for automatic bed leveling, and so on. These and other noteworthy upgrades will make your 3D printer even more powerful and convenient to use.
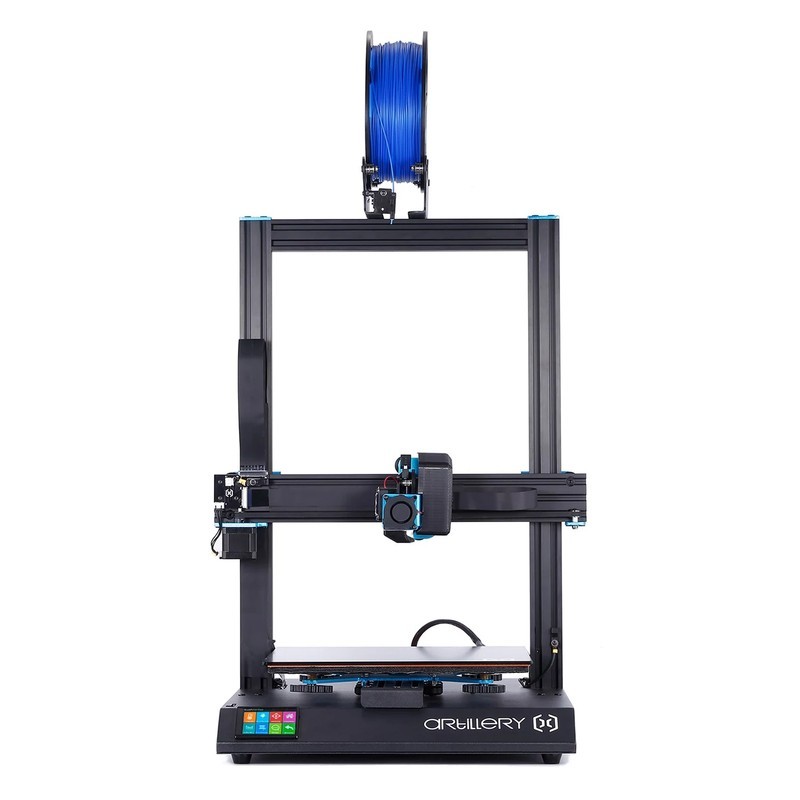
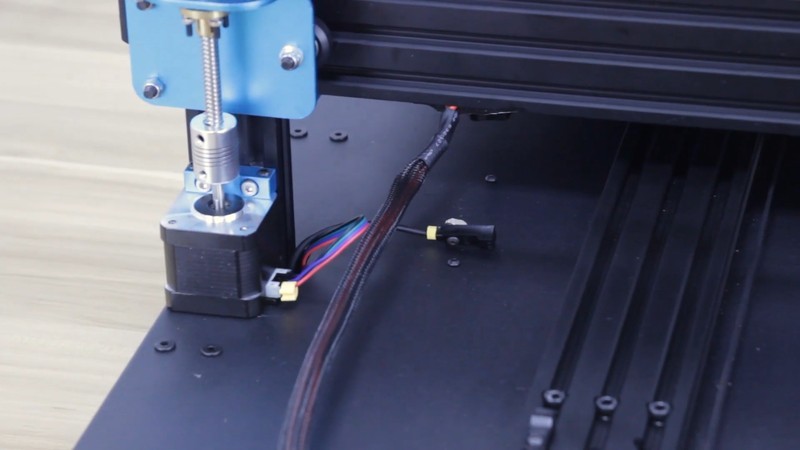
As you can see, the Artillery Sidewinder X1 is a quite tall black-colored 3D printer with blue trims. It features a classic and somewhat minimalistic appearance, which makes it a nice addition to a home workshop or office. The machine dimensions are 550 x 405 x 640 mm (21.2 x 15.9 x 25.2 inches) and it weighs 14 kg (30.8 lbs), so it can be placed on almost any kind of table. Its frame is made from high-quality aluminum alloy while the Z-axis is reinforced by 40×20 aluminum extrusions and equipped with dual motors with dual lead screws, which makes printing consistent, fast, and precise. The rods are supported by clamping shaft couplers and a high-precision belt pulley for improved stability and accuracy. There is also a built-in color touch screen located on the front side of the printer. The logic behind menu options is understandable and won’t likely cause any problems.
The Artillery Sidewinder X1 stands on an all-metal base with ventilation holes located on its sides. There is also a 24V 80mm cooling fan on the bottom that provides enough cooling for the machine to work as intended. In light of the fact that the whole assembly is cooled by this particular fan, it indeed is a quiet and efficient one. The extruder is powered by just one cable, so there won’t be any wire management issues. Besides, the absence of the cables makes the printer look neater and more refined.
Build Volume and Heat Bed
Source: DIY Builder
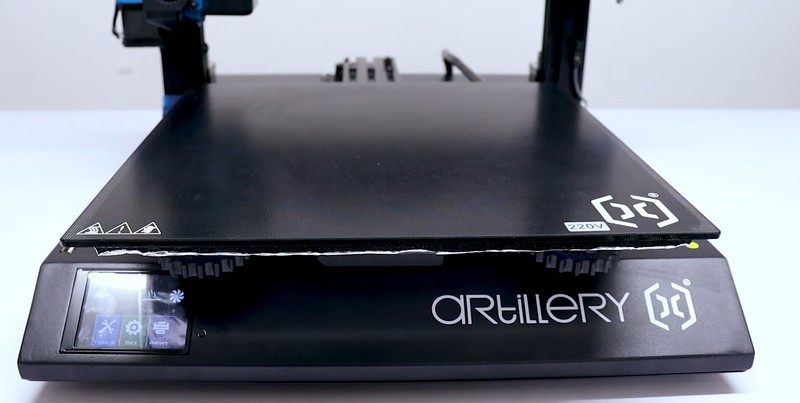
The Artillery Sidewinder X1 is equipped with a large 310 x 310 mm glass-coated textured heat bed that allows for large-format 3D printing. It accounts for improved layer bonding and provides just enough adhesion to create PLA prints without heating the bed. Besides, it offers impressive heating speed and can heat up to 60°C in just 50 seconds and reach 100°C in less than two and a half minutes. Taking into account that the bed is quite large, it offers excellent heating speed. The maximum build plate temperature is 130°C.
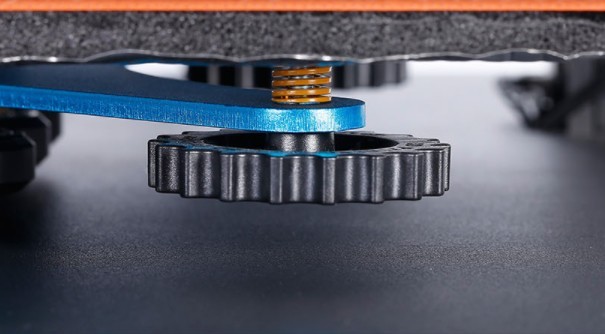
The surface of the build plate is even and there are large leveling knobs installed underneath it. This makes for a fast and hassle-free calibration once the printer is assembled.
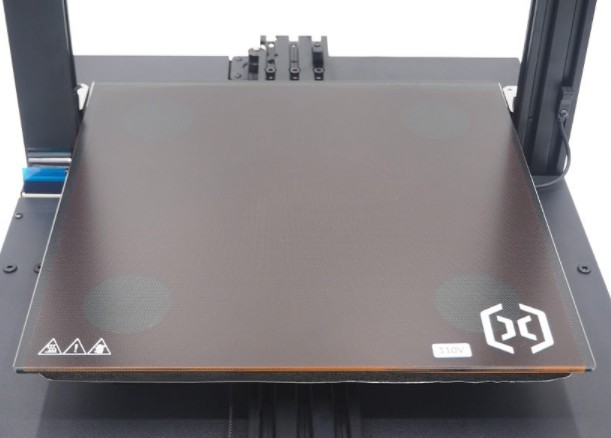
The only “downside” of the heat bed is that some prints stick too well to it and can become hard to detach. To remove such prints, heat the bed up to 70-80°C and leave it for a minute. Then, place a knife or scraper underneath your print and wait until the build plate cools down. The print can be easily detached afterward.
Direct Drive Extruder
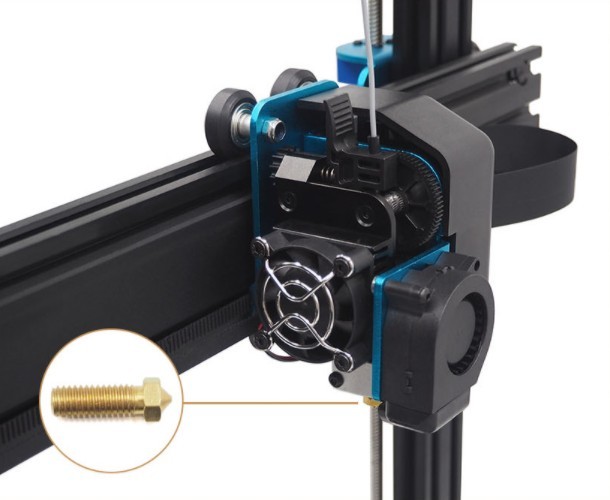
Being equipped with a direct drive titan extruder and a nozzle that can heat up to 240℃ in less than 3 minutes, the Artillery Sidewinder X1 offers wide material compatibility and is particularly good when printing flexible filaments. A direct drive extruder ensures better retraction and responsiveness and minimizes backlash. Besides, it requires less torque and ultimately leads to better extrusion. Moreover, it reduces stringing and oozing as well as other commonly encountered FDM 3D printing issues.
Credit: 3D Printing Nerd / YouTube
However, the Sidewinder X1’s Titan extruder is not as good as it could have been. The cooling performance isn’t perfect because it is powered by an ordinary aluminum-based heatsink bolted to the mount. While this doesn’t cause any particular difficulties and doesn’t make the whole printing process harder or worse, the solution itself seems somewhat outdated. By the way, did we already mention that the main advantage of not enclosed FDM 3D printers is their remarkable upgrade potential? Due to the fact that the extruder is easy to reach, it can be disassembled and equipped with a new heatsink in the blink of an eye. You can keep using the default one until it wears out and then replace it with a better counterpart.
Resume Printing Function and Filament Runout Sensor
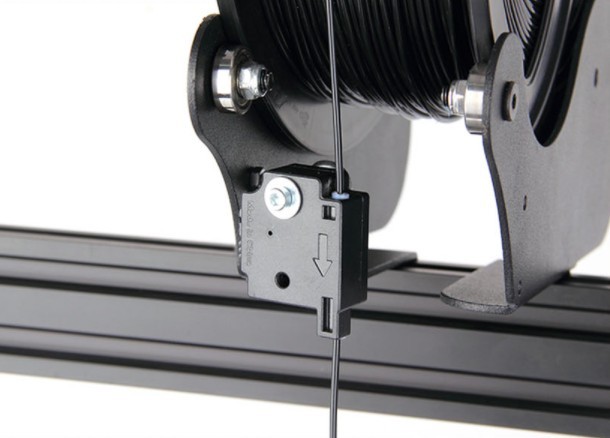
As per more essential features for a streamlined 3D printing journey, the Artillery Sidewinder X1 has a filament runout sensor and the resume printing function. The sensor is installed just below the spool holder. It oversees the filament feed-in and stops the printing process if there is no more filament or it becomes tangled or broken.
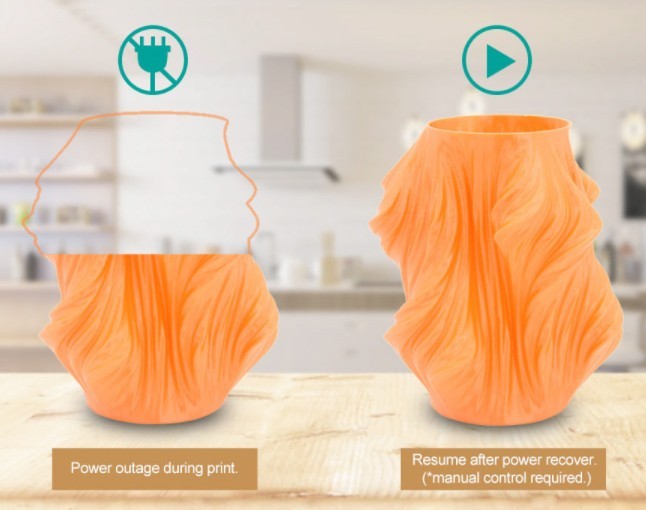
Just as the name implies, the resume printing function lets you resume printing after a sudden power outage. The printing process gets paused and can be resumed when the power is back on again. This particular feature is especially useful in case you want to print big and don’t want to worry about blackouts that could possibly make you reprint a large model from scratch.
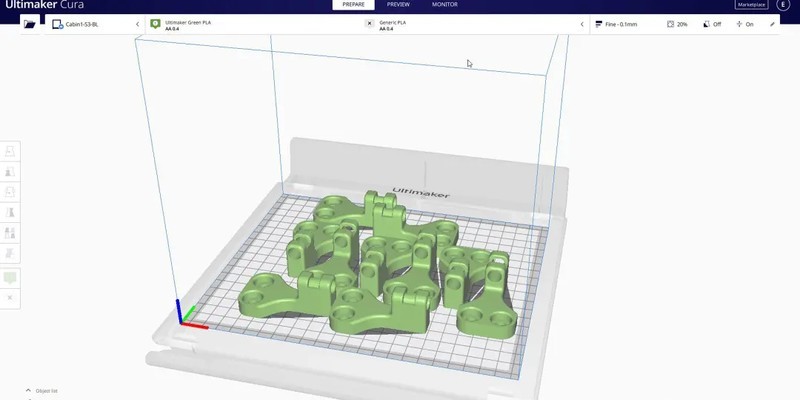
Source: ultimaker.com
The Artillery Sidewinder X1 can be used with Ultimaker Cura, an incredibly fast and easy-to-use slicer that guarantees optimal performance when used with FDM 3D printers. This trusted software suite lets you rotate, edit, one-click print your models, build supports, and tinker with other print settings to fine-tune the machine. You can learn more about this powerful solution by navigating here.
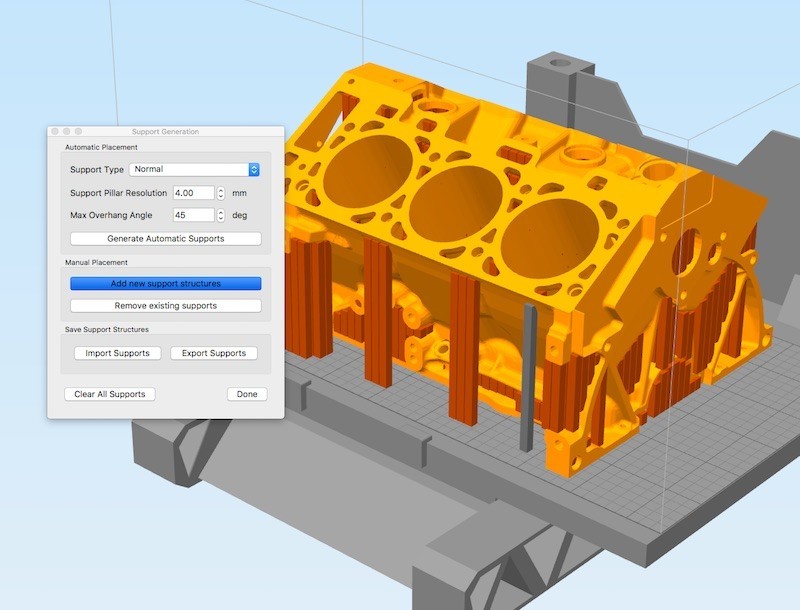
Source: simplify3d.com
Simplify3D is yet another software option you can use to control the printer. With this, you can easily switch between multiple machines, run pre-print simulations to detect design flaws, build supports automatically or customize them, and tinker with a plethora of professional tools and advanced options to fine-tune the machine.
Source: DIY Builder
Source: DIY Builder
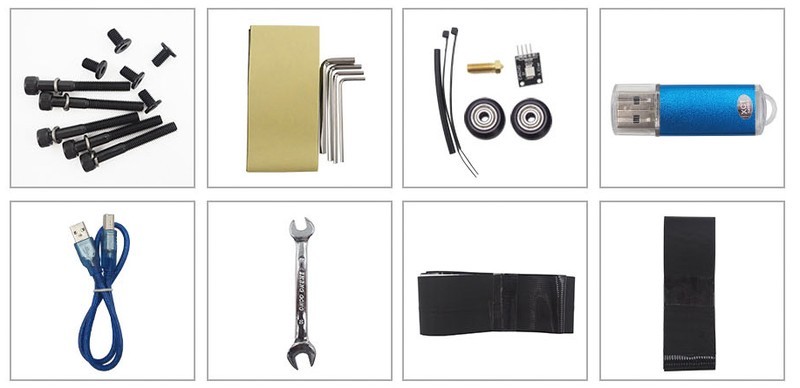
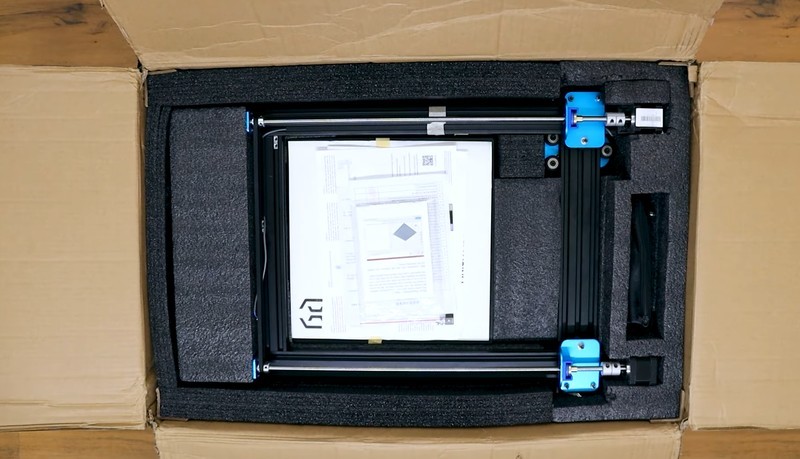
The 3D printer kit is supplied in a standard cardboard box. The contents are reliably packed and include the main print base, gantry, spare toolbox, and other items. Inside the box you can find:
For some items, package content may change. In case of any questions, please get in touch.
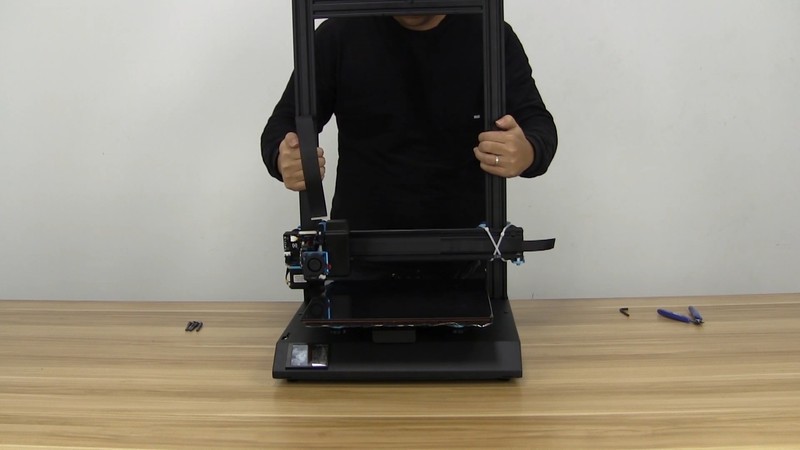
After unboxing the Artillery Sidewinder X1, you’ll need to put it together and calibrate to begin printing.
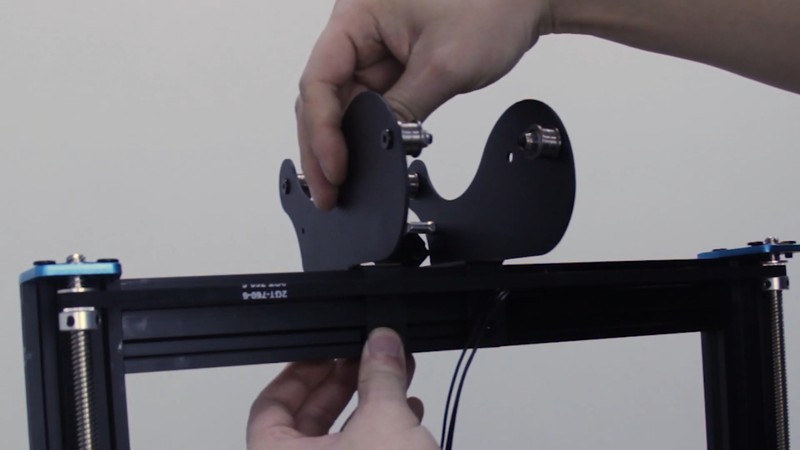
First things first. Install the gantry atop the main base.
Then, tighten four screws located underneath the base so the gantry is reliably fixed.
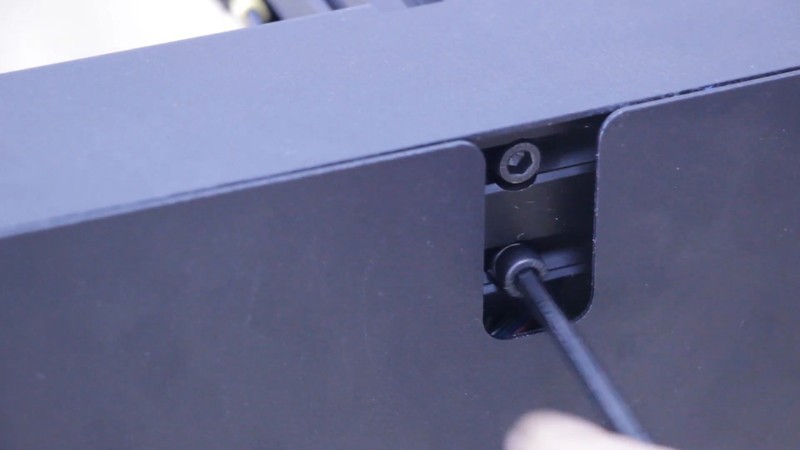
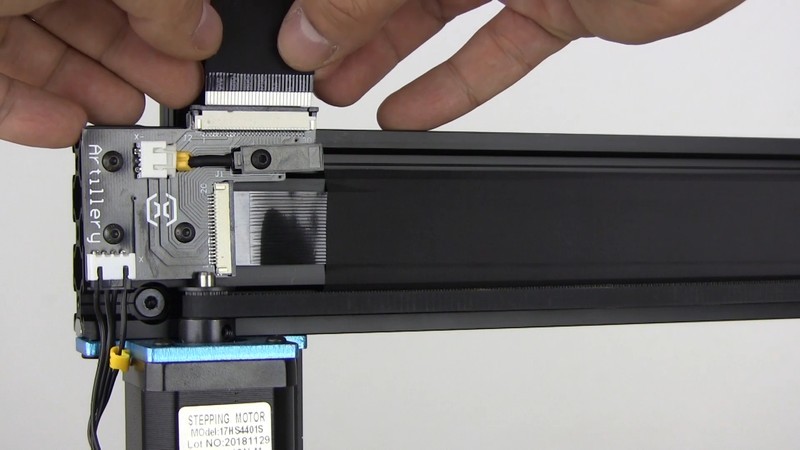
Connect the Z-axis wires, detach the extruder cover and connect the ribbon cable.
Then, mount the spool holder atop the gantry and install the filament runout sensor. Plug the device in, install the filament spool, and begin the calibration process by using the touchscreen.
Make sure to create a couple of small test prints before printing big to ensure that everything is finely tuned.

Credit: 3dprintkings / Instagram
The whole assembly and calibration business can be dealt with in less than 20 minutes if performed by an experienced user. In case you didn’t assemble a 3D printer before, we advise you to re-check every step twice as you assemble your machine according to the user manual.
Pros
Cons
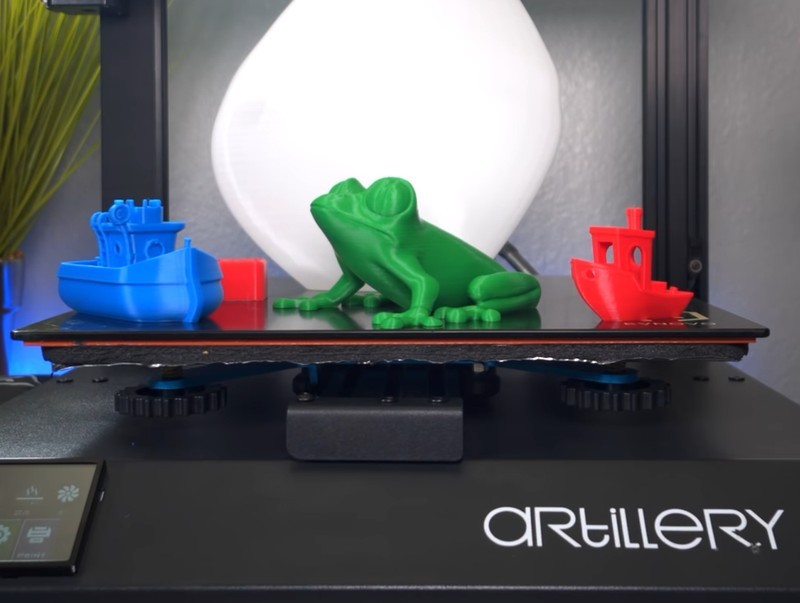
Take a look at some of the models 3D printed with the Artillery Sidewinder X1 to see what it's capable of.
Credit: Just Vlad / Youtube
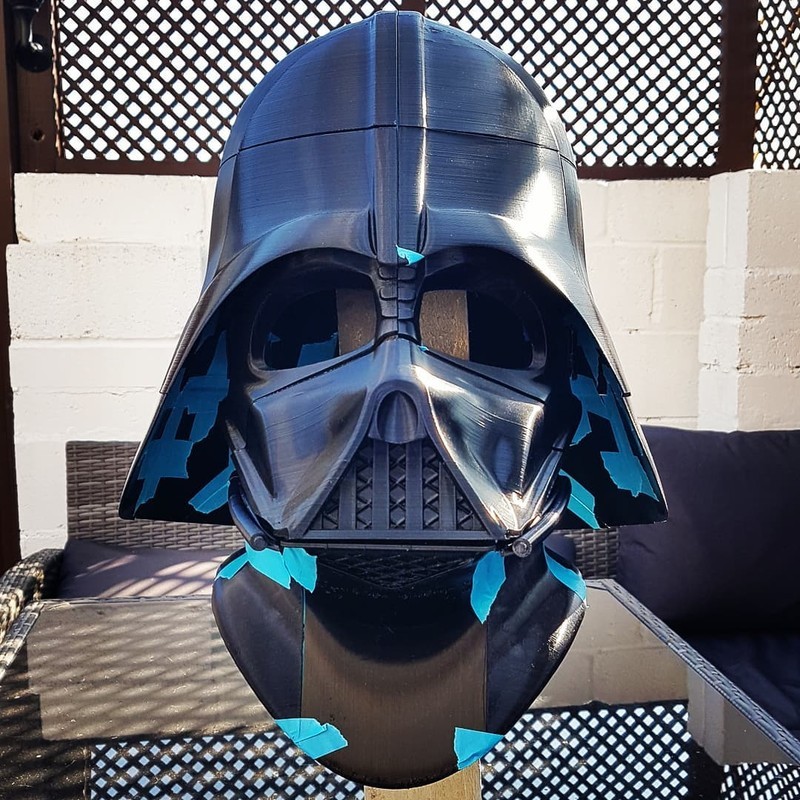
Credit: re3_1983 / Instagram
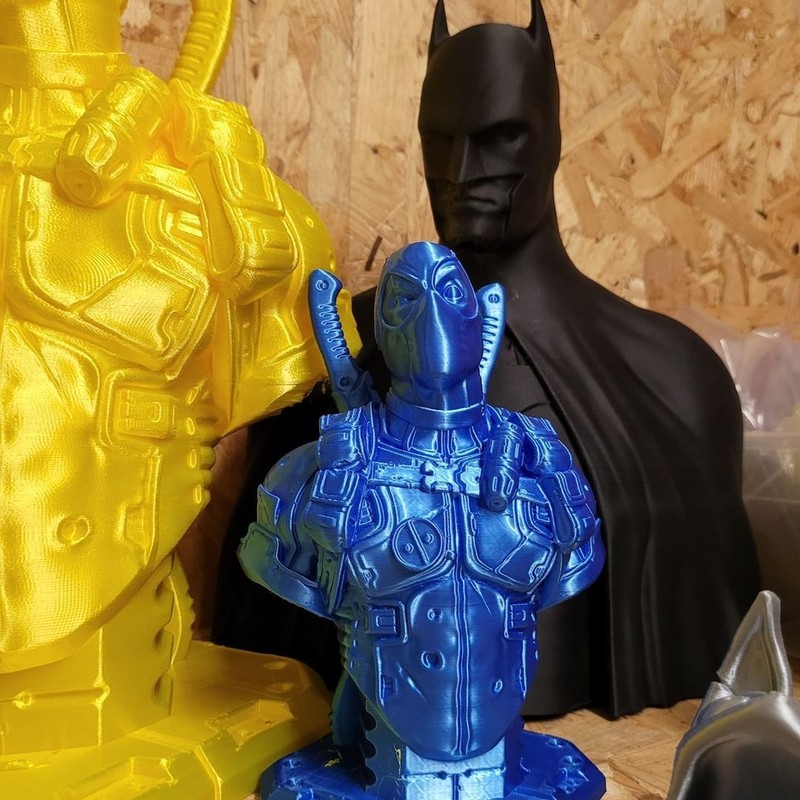
Credit: 3d_dez / Instagram
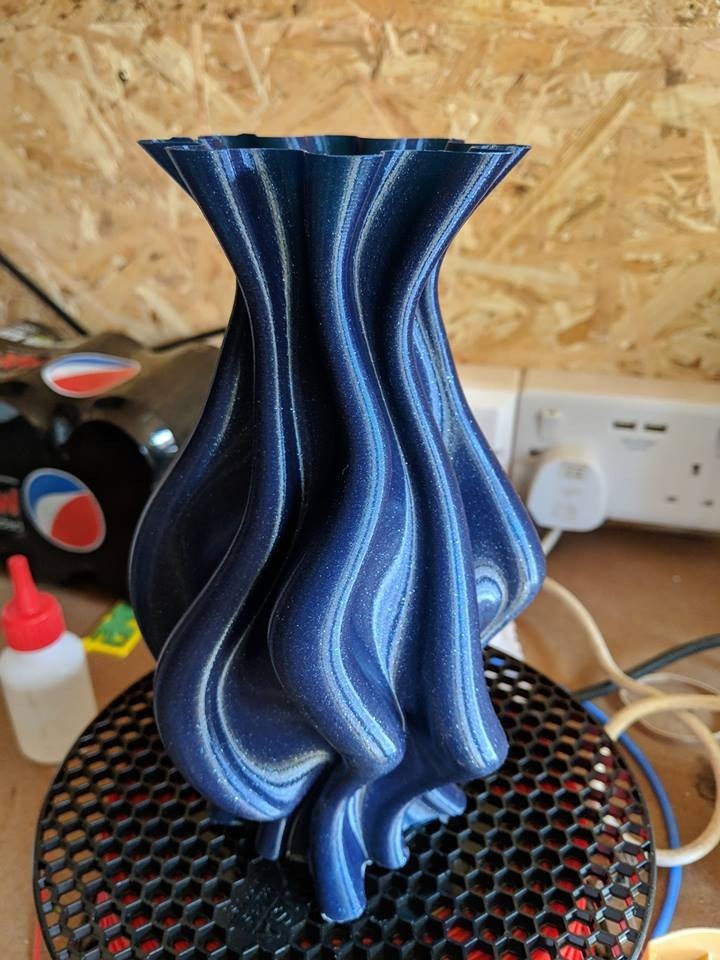
Credit: Jenny Xie/Twitter
The Artillery Sidewinder X1 is a sturdy desktop FFF/FDM 3D printer that is supplied in a semi-assembled state and has to be leveled manually. It offers a large build volume, wide material compatibility, and a handful of essential features for a streamlined printing experience. Besides, it is equipped with a powerful direct drive Titan extruder and a heated build plate. The Sidewinder becomes really straightforward and easy to use once it is assembled and calibrated properly. It has some flaws in its design, but overall brings good value for its money. This 3D printer would be good for both entry-level and experienced makers as well as some small businesses because it can print dimensionally accurate hard-to-break parts. You can use the Sidewinder X1 to print uniquely designed household items, tabletop figurines and miniatures, cosplay accessories, props, and much more.
You can purchase the Artillery Sidewinder X1 at Top 3D Shop. This large-format FDM 3D printer comes with the manufacturer’s warranty. Besides, our team will make sure to provide the best service possible, just like we always do.
Update your browser to view this website correctly. Update my browser now


Write a comment