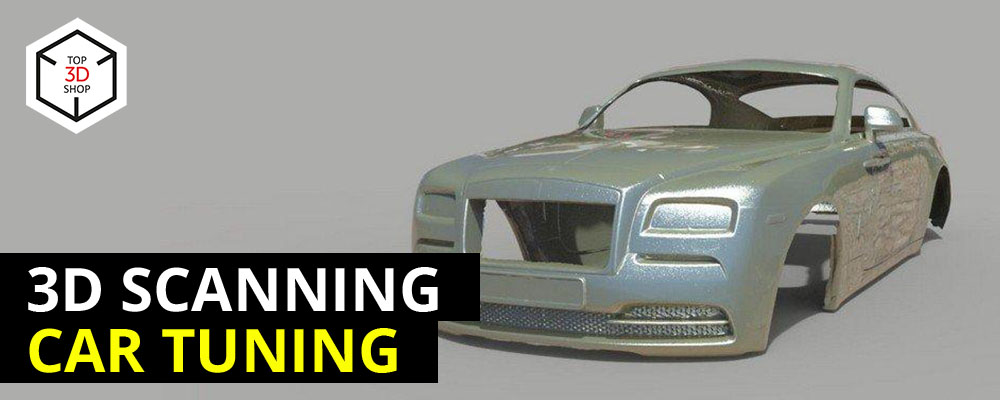
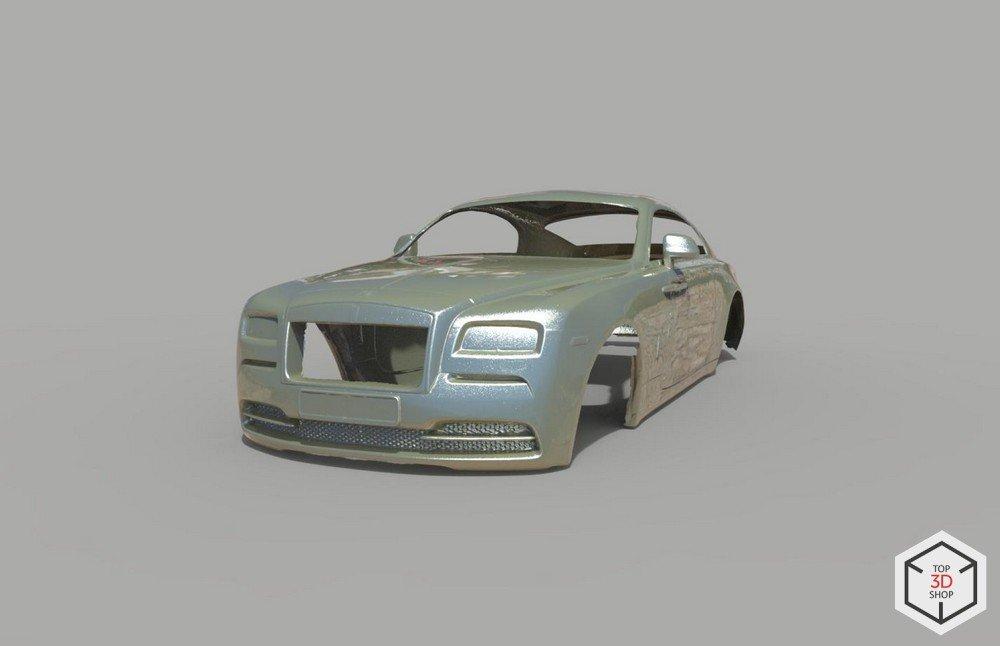
We scanned a Rolls-Royce Wraith to create a digital model for a tuning shop. Using the handheld Artec Eva scanner, the team captured the car’s body in about three hours — twice as fast as using a tripod-mounted scanner. Here's how we did it.
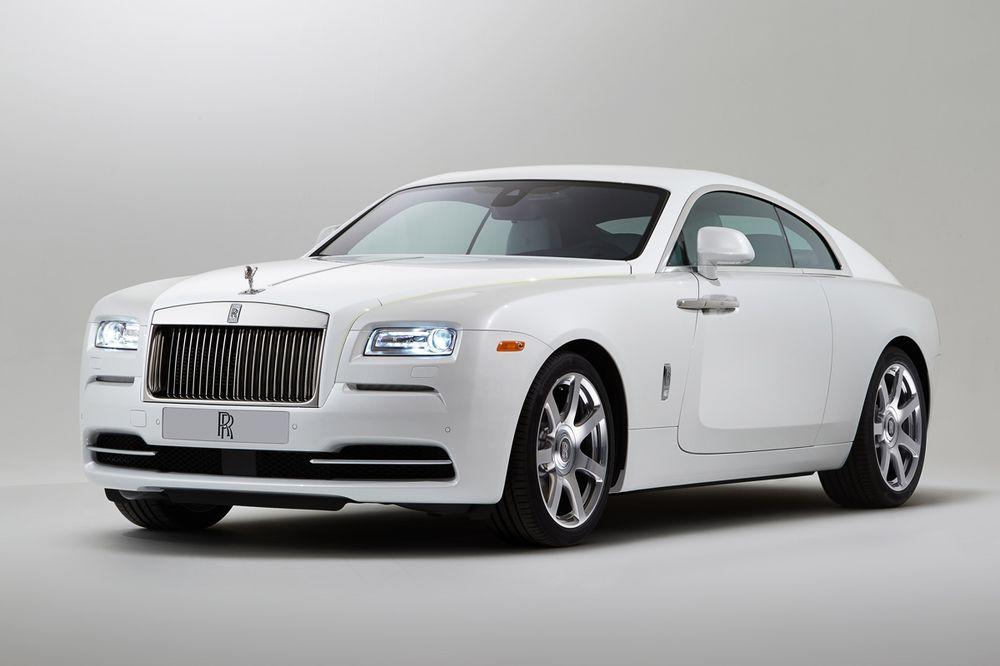
A Rolls-Royce Wraith like the one we scanned.
Artec Eva
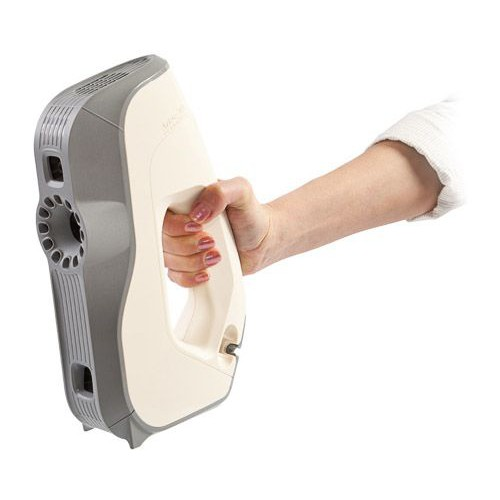
- Linear field of view: 214 mm × 148 mm to 536 mm × 371 mm
- Point accuracy: 100 μm
- Colors: 24 bpp
We could have used a stationary structured light 3D scanner for greater accuracy, but for large objects a handheld scanner is a much faster solution, and the Artec Eva easily provides the required surface accuracy of one to two millimeters.
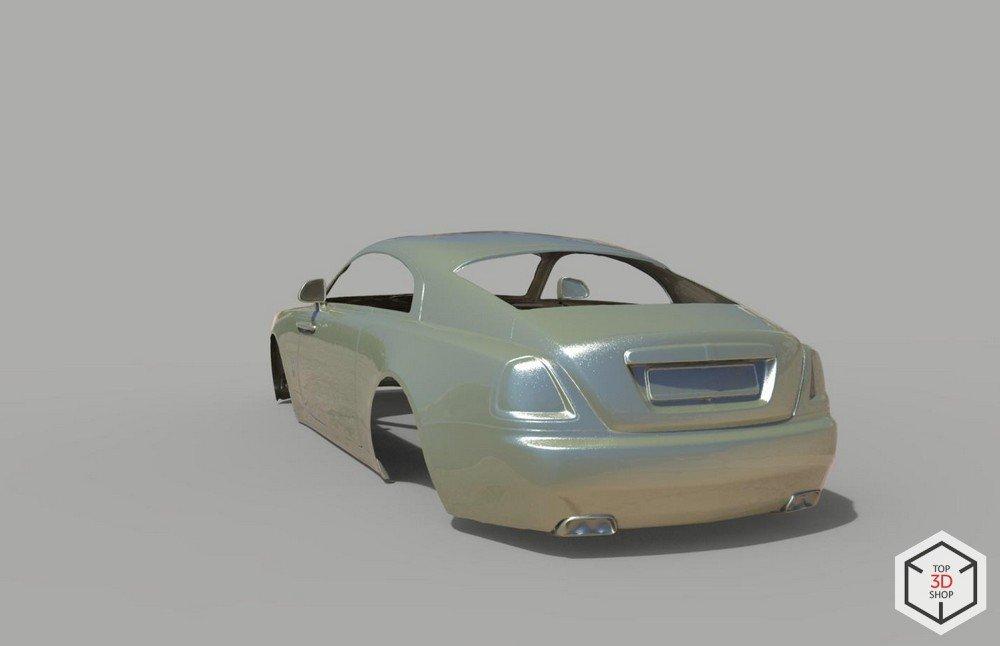
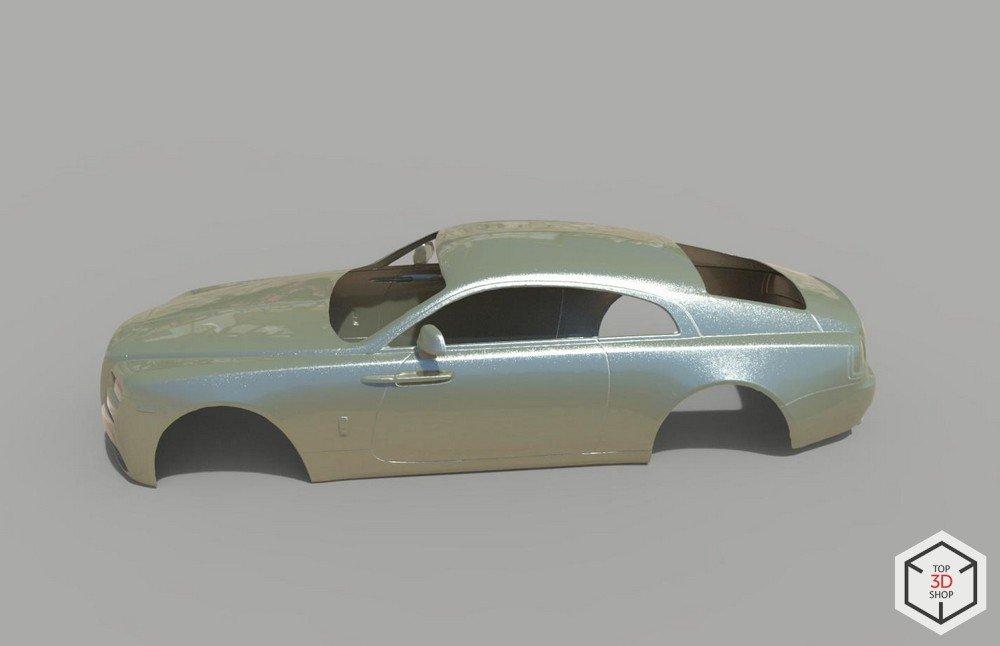
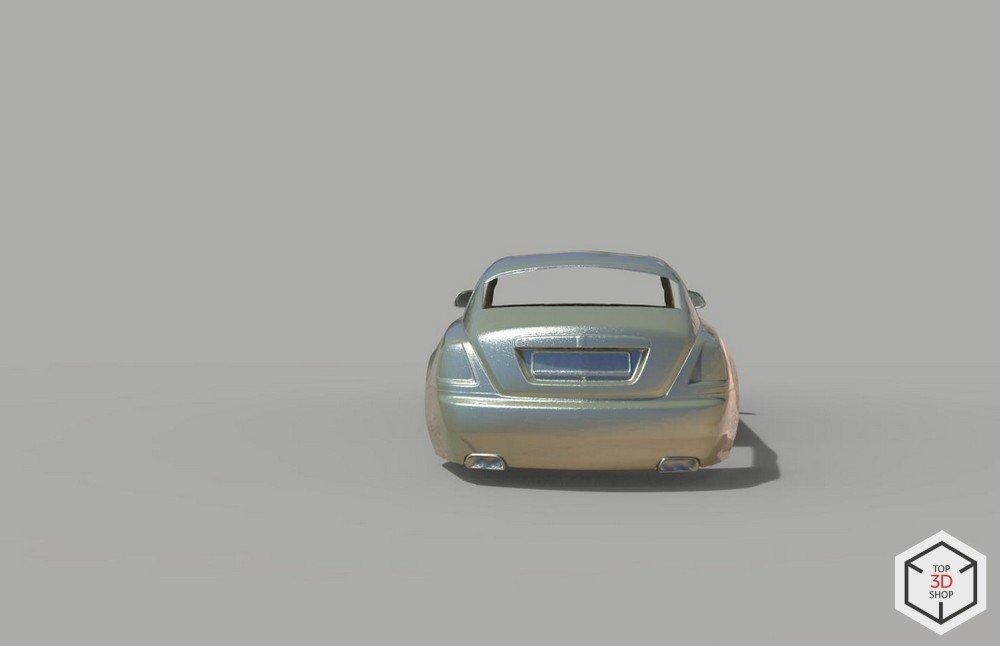
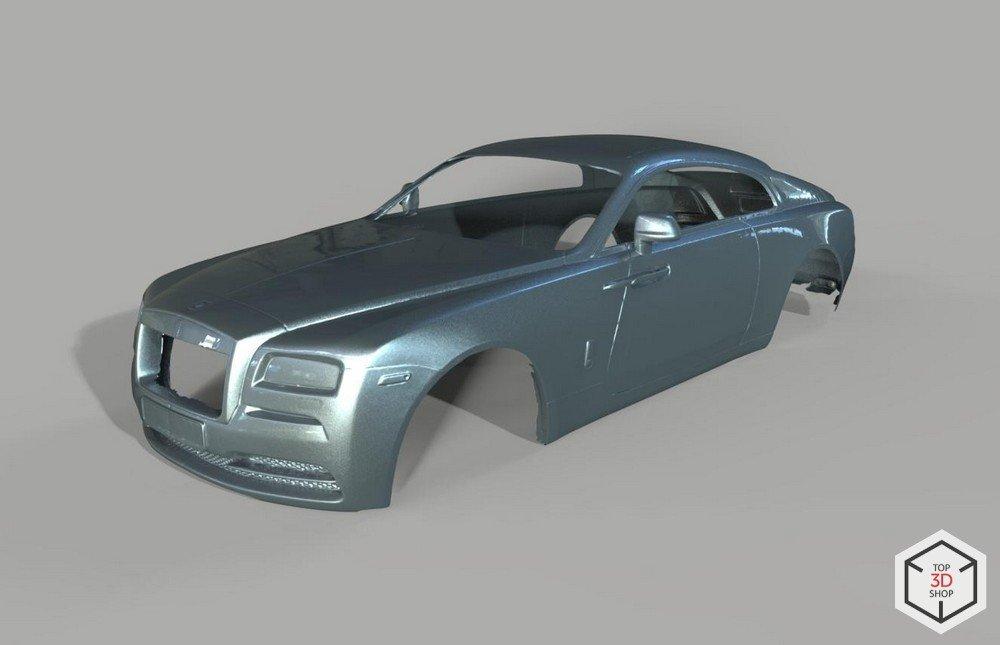
A digital model generated from the 3D scan.
Why Use 3D Scanning?
Before 3D scanners, digital models were manually built in CAD using blueprints and measurements. Photogrammetry was too costly and labor-intensive, so work relied on manual methods with limited accuracy. 3D scanners transformed the industry with faster, higher-quality modeling.
Pre-Scan Setup
We scanned the car indoors to avoid issues with daylight interfering, though we could’ve done it outside since the Eva scanner compensates for lighting. Once the car arrived, we gave it a light dusting but didn’t wash it — road dust helped create the matte surface we needed. We would’ve only washed off heavy dirt to avoid misalignments in the scan, if such dirt was present.
We only needed two 220 V outlets — one for the laptop, one for the scanner — which connects via a single USB cable.
Since cars are symmetrical, we scanned one half plus the full width of the front and rear fenders, then mirrored it later to create the full model. This is faster and helps define the car’s centerline. We also applied a thin coat of Helling anti-glare spray to cut reflections — it's alcohol-based, leaves a washable matte finish, and improves scan accuracy.
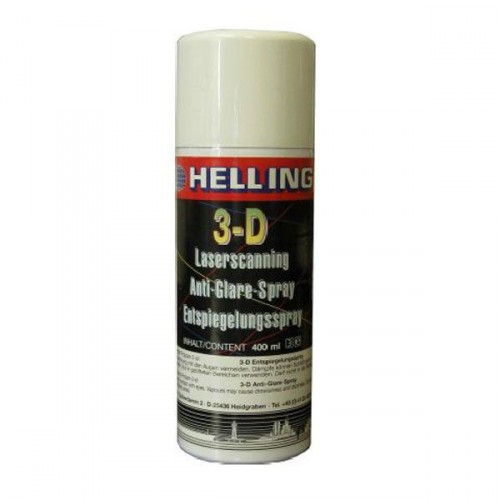
Some sprays evaporate on their own, leaving no residue, for example, the AESUB scanning sprays. We also placed markers on the car to help the scanner track featureless areas like the hood and doors, preventing stitching errors later.
3D Scanning Process
During scanning, we slowly moved the scanner about 50 cm from the car’s surface while data streamed to the laptop. We took frequent breaks — mainly to let the scanner cool down and give the laptop time to process the data.
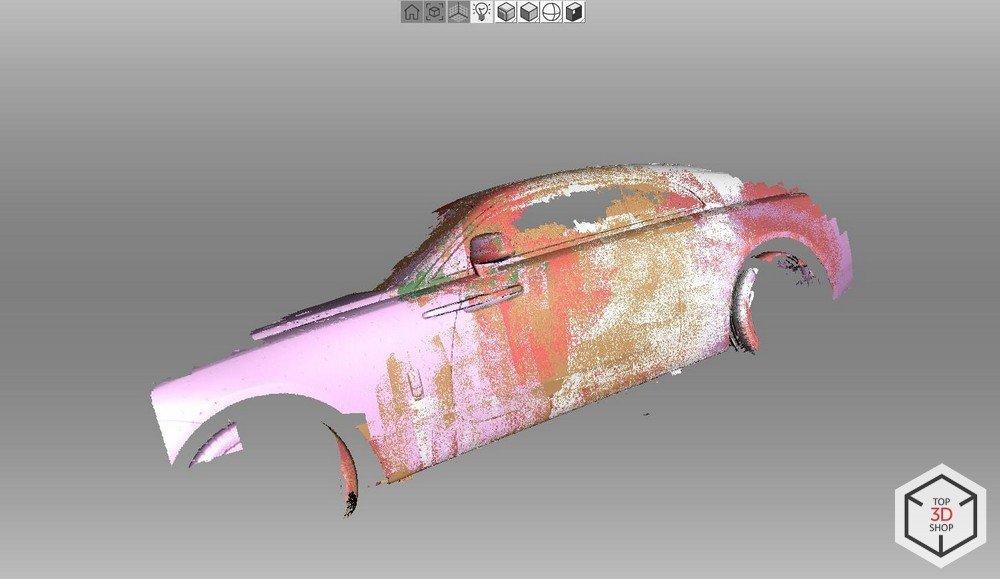
Scans viewed in the scanner software.
Cars are large objects to scan, and the Wraith is especially big. The scanner generates so much data that even a high-end laptop can’t keep up, so we scan in sections and stitch them together later. After scanning, we wash off the spray and markers. Most scans align automatically, though some areas may need manual adjustment.

The model is compiled from a multitude of separate scans.
We first assembled the front and rear halves of the scan, removed noise like floor artifacts, and deleted unneeded details such as wheels and windows. This gave us a clean polygonal model of one side of the car.
To complete it, we mirrored the model in 3D software and aligned both halves using Artec Studio’s geometric alignment tool. Once aligned, I stitched the halves together in Geomagic, where I’d continue the next steps anyway.
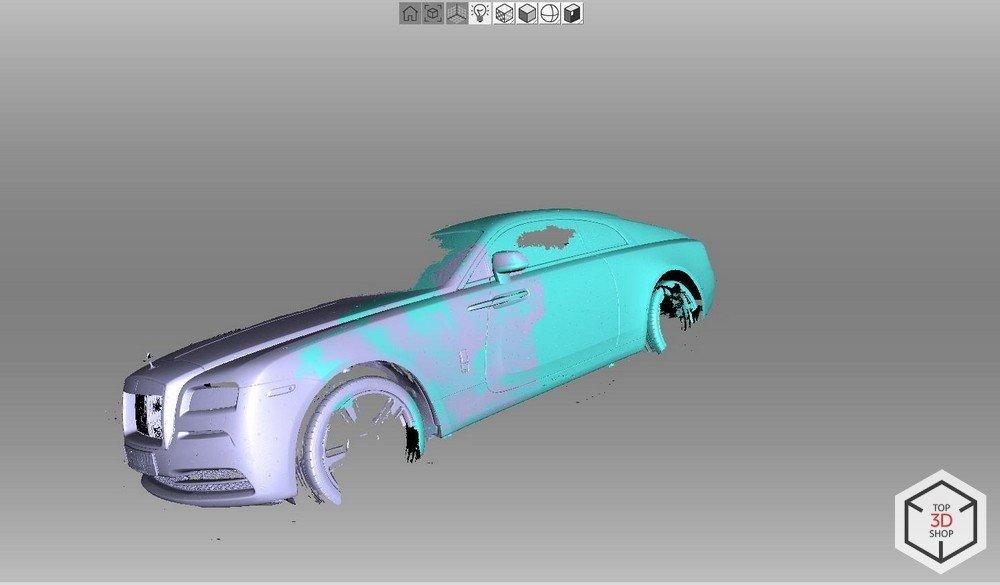
Stitching together two large scans.
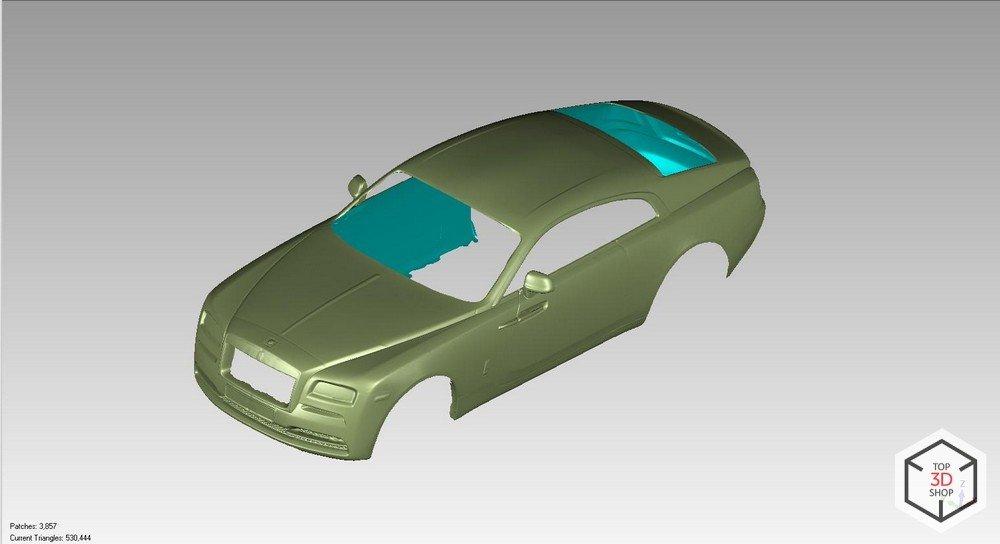
Converting a scan to a parametric CAD model is usually complex, but in our case, Geomagic Studio offered a faster solution. It uses NURBS to turn polygonal meshes into parametric surfaces—ideal for car bodies, though not for fine details like threads.
The process takes hours but is quicker than modeling from scratch in Rhino or SolidWorks. While the result isn't CNC-friendly due to its many surface patches, it’s still usable — unlike raw polygonal models, which can overwhelm g-code compilers.
The completed model ready for use.
In the end, the customer got a 3D model of the Wraith body, ready to use as a template for custom parts.
Top3DShop offers professional 3D scanners and expert technical support. Explore the full range of 3D scanners on our website.
Write a comment