
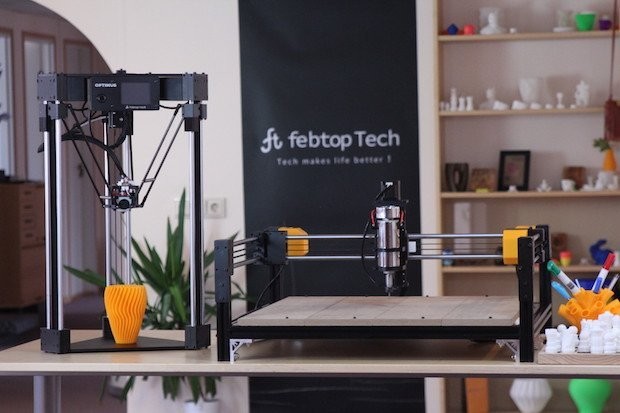
Not so long ago, additive manufacturing technologies could only be used by large manufacturing companies, and every 3D printer used to cost a fortune. Luckily, the tides have turned, and 3D printers became much more affordable. At the moment, even small businesses can benefit from integrating FFF/FDM/resin 3D printers into their workflow, reducing costs per product, and thus increasing the company’s income. In addition, 3D printed prototypes provide the opportunity to detect any flaws and downsides of a part and fix them before proceeding to batch production. Some of the professional FFF/FDM 3D printers, such as the Optimus P1 that will be reviewed in this article, even offer large-format 3D printing along with laser engraving and a number of other useful features, providing the utmost degree of flexibility.

Credit: Febtop Tech
You can easily create a variety of uniquely designed products by using slicing software employed by 3D printing devices. More importantly, there’s no need to know some advanced design rules and techniques. Thanks to modern software solutions, you can let your creativity run wild and transform your ideas into real-world objects in a swift and hassle-free manner.
Source: tctmagazine.com
Febtop Tech is a Swedish-based company of passionate makers, engineers, and designers that aims to create easy-to-use and efficient tools for the needs of businesses all around the world. It is a team of talented individuals dedicated to the development of versatile additive manufacturing solutions along with building a strong and proactive community of makers around them.

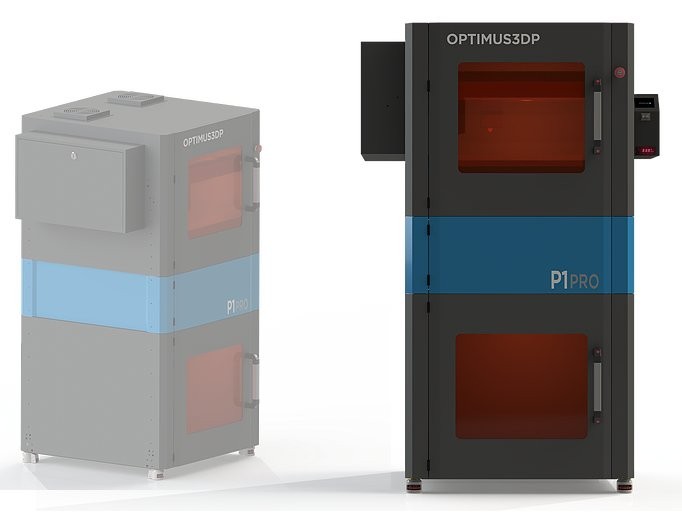
The Optimus P1 is a professional large-format FFF/FDM 3D printer. It is a powerful all-rounder that comes at a relatively affordable price tag considering its astonishingly large, extra-tall build volume of 600 x 600 x 1100 mm, industrial-grade high-precision outputs, reliability, and a laser engraving function. We consider the P1 to be one of the best deals for a professional large-format 3D printer on the contemporary market. Continue reading the article to find out why.
Credit: Febtop Tech
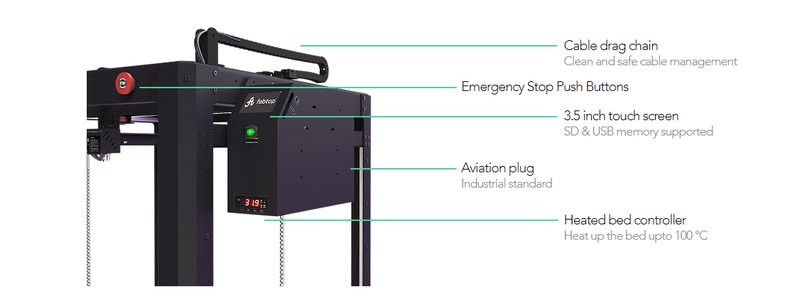
The Optimus P1 features a modular easy-to-assemble design that comprises 6 aluminum parts engineered for fast assembly and ultimate reliability. The manual that comes with the machine provides clear assembly instructions, so you can get the printer up and running in less than an hour and a half. Moreover, it features an automatic bed leveling system that facilitates the setup procedure even more. The device can be controlled via a 3.50-inch touchscreen with a user-friendly interface and intuitive logic behind the menu options.
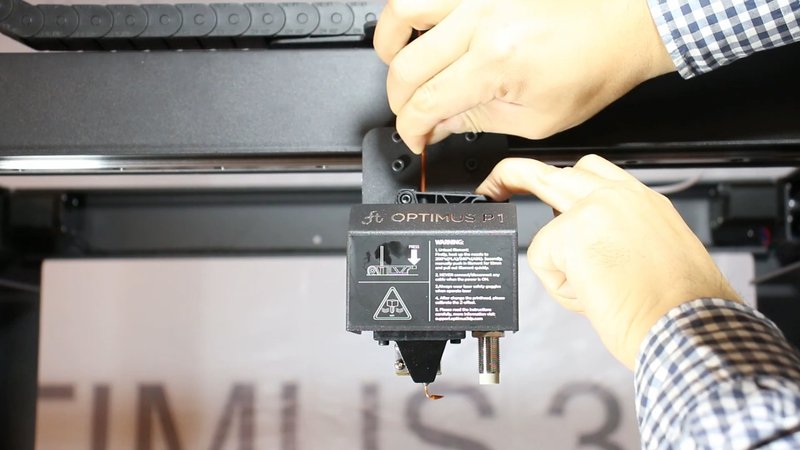
One of the major advantages of this machine is the ability to provide industrial-grade laser engraving. Thus, the Optimus P1 can engrave highly detailed pieces of artwork even on steel surfaces, genuinely making it a professional solution. Moreover, it is really easy to switch between 3D printing and engraving modes — all one needs to do is to untie four screws, change the 3D printing head to a laser engraving one, and tie the screws again. As a rule, such a simple procedure can be completed in just 5 minutes.

Credit: Febtop Tech
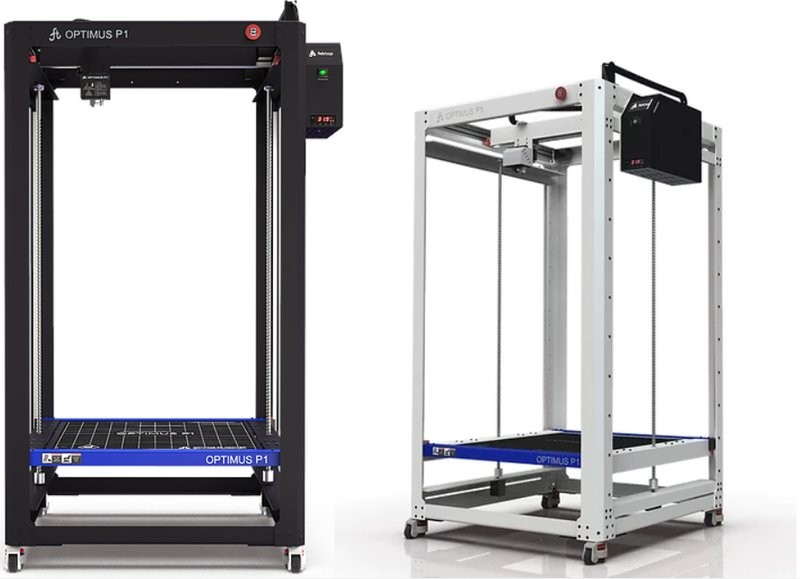
The P1 is a pretty large and heavy 3D printer that weighs 55kg and boasts its reliable and robust all-metal frame with total dimensions of 850 x 900 x 1500 mm. Therefore, the Optimus P1 has been equipped with wheels in order to effortlessly move the machine around.
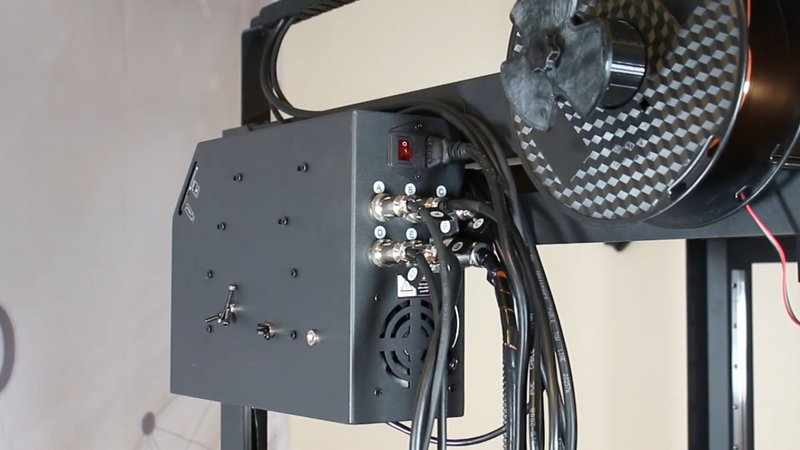
Despite being such a big machine, it is a really quiet and reliable one. The reason is that it is powered by an MKS Gen V1.4 mainboard with ultra-quiet TRINAMIC stepper motor drivers.

Credit: Febtop Tech
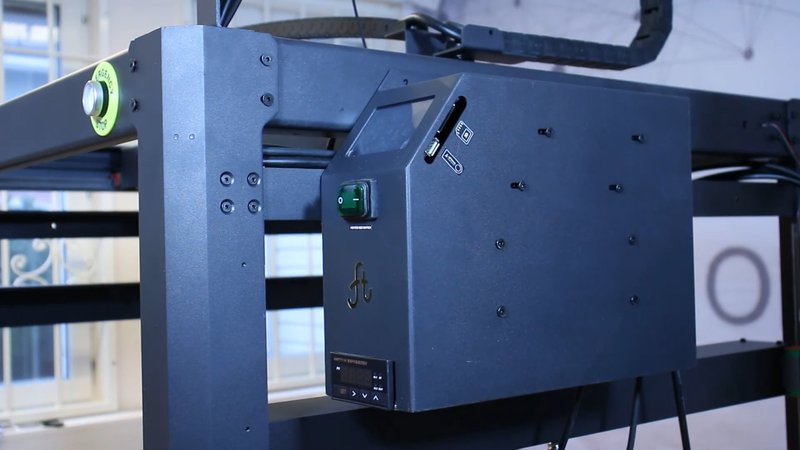
The Optimus P1 features a reliable CoreXY direct drive extrusion system with a powerful cooling system, which is perfect for such a large device. In addition, it offers a handful of useful features such as drag chain, emergency stop buttons, and USB/SD card-based 3D printing, making for a smooth 3D printing experience. The P1 is equipped with a heated bed and is compatible with a broad range of 1.75 mm filaments, such as PLA, PETG, ABS, TPU, and other materials.
Credit: Febtop Tech
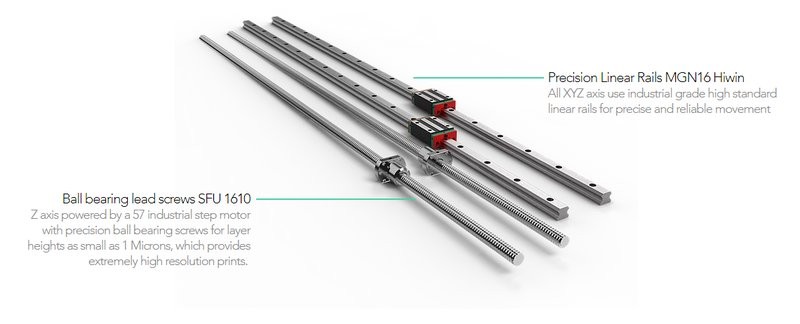
It is equipped with high-grade dual Z-axis SFU 1610 ball-bearing screws and MGN16 Hiwin precision linear rails, eliminating any unwanted wobbling and providing industrial-grade quality and consistency during printing and engraving sessions. In addition, it boasts an unbelievable precision of 1 micron on the Z-axis.
Credit: Febtop Tech
There is also an option to provide a factory enclosed housing of your Optimus P1. The enclosure will be made of a thick 1.5 mm aluminum sheet and a transparent acrylic cover, eliminating temperature fluctuations and providing even heat distribution, ensuring the consistent manner in which the products will be manufactured. In addition, the enclosure comes with a pre-installed high-grade air-filter that helps to fight off any potentially dangerous and noxious fumes. In addition, the enclosure benefits overall safety during printing or engraving by restricting access to the build chamber and helps to keep fingers at bay. Two transparent acrylic doors will allow you to observe the printing at any time, allowing you to always stay on top of the process.
If you’d like to learn more about enclosures and find the best deals for fully enclosed 3D printers, make sure to check our list of the best enclosed 3D printers of 2020.
Credit: Febtop Tech
General specs
3D printer specs
Laser engraver specs
Source: youtube.com
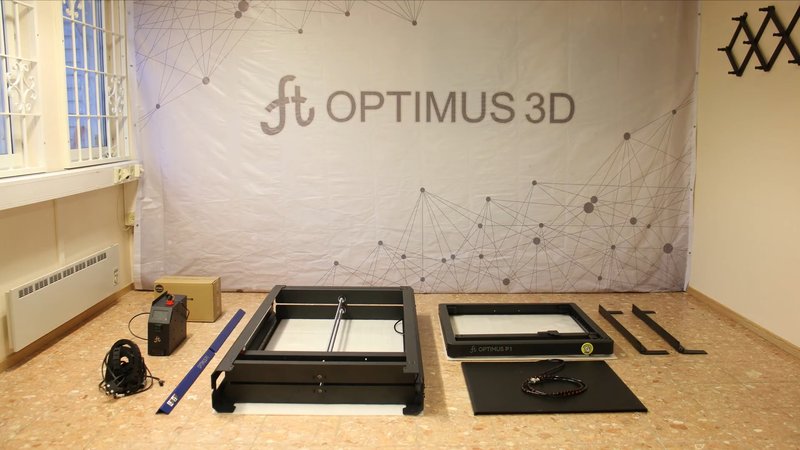
The printer comes in quite a large package. Make sure to have a lot of free space for unboxing and installation procedures.
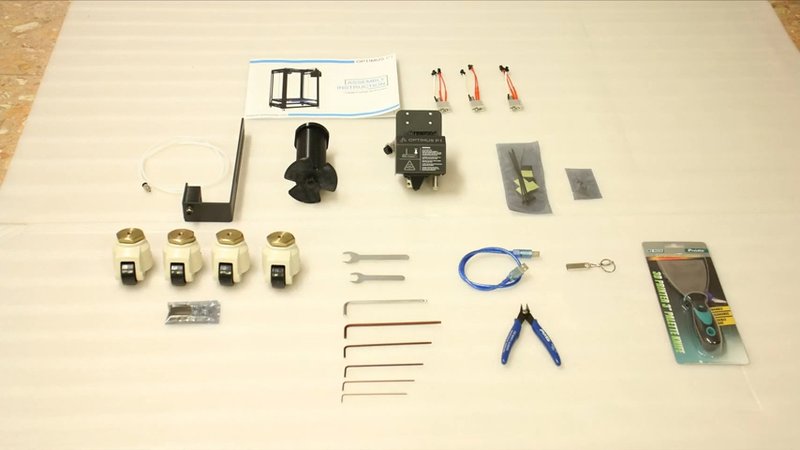
Inside the box you can find:
For some items, package content may change. In case of any questions, please get in touch.
Source: youtube.com
The Optimus P1 comes with a user manual that goes over all the assembly steps. For more details and a step-by-step video guide, you might want to visit the Febtop Tech support center. All in all, the machine features a modular system, which makes it quite easy to assemble.
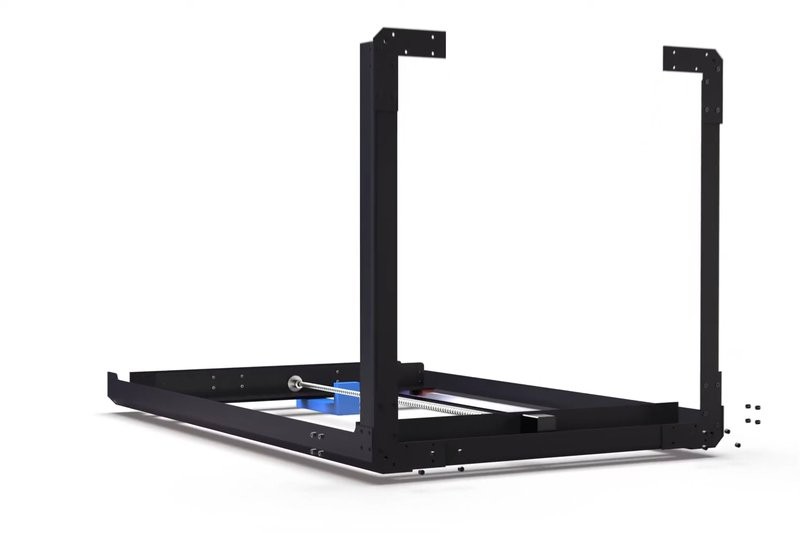
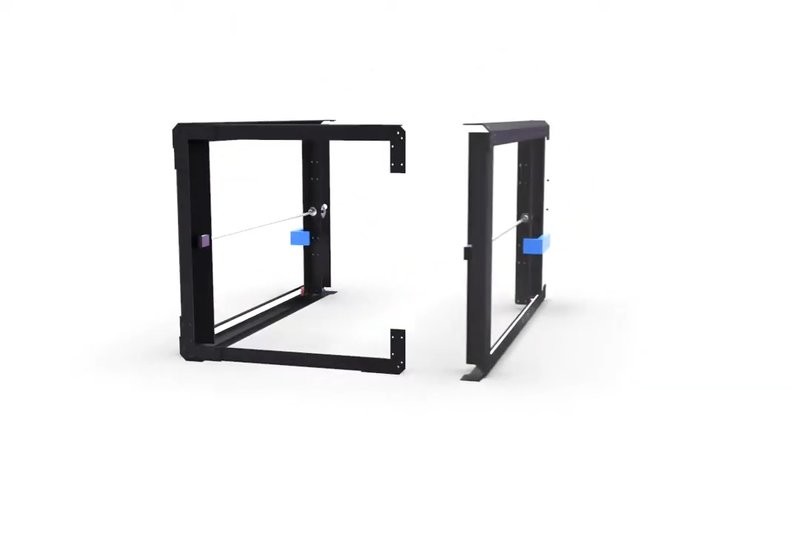
In order to prepare the Z-axis, remove the four connection plates, and separate two Z-axis frames.
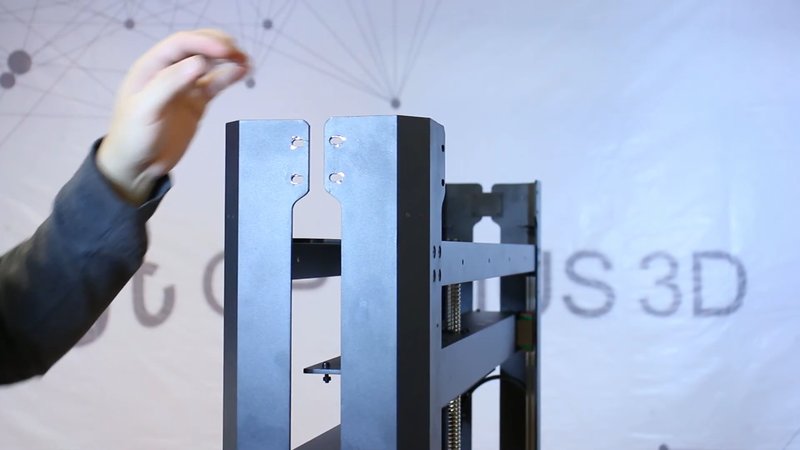
Source: youtube.com
Source: youtube.com
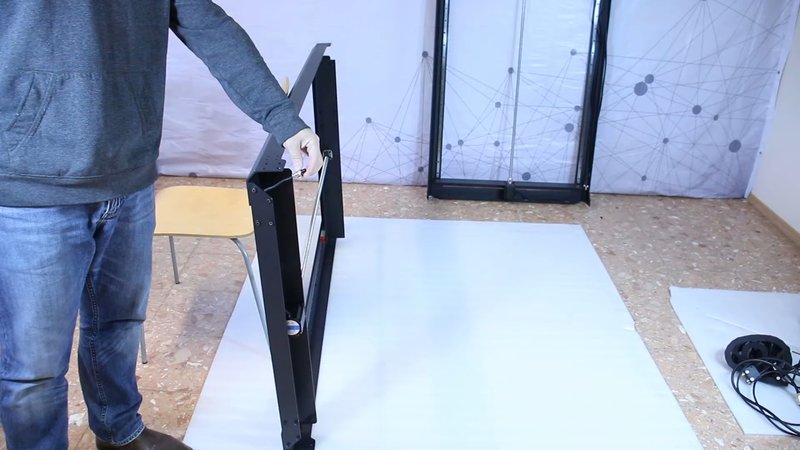
Take out the Z-axis with a cable on the left.
Source: youtube.com
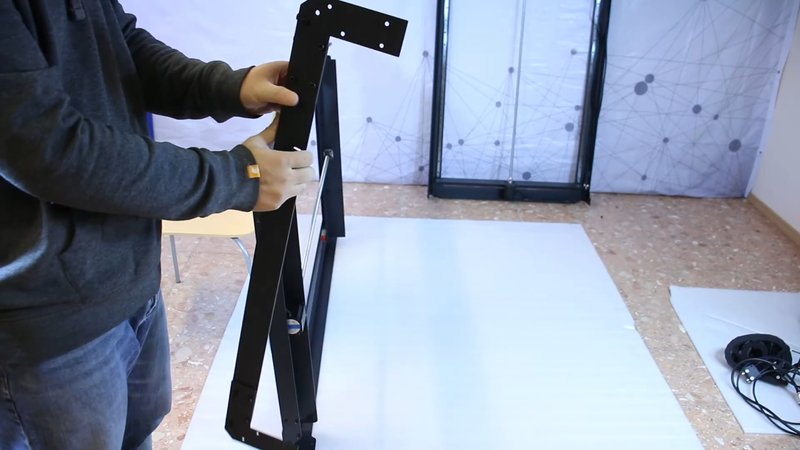
Then, take out the bottom frame that has no cable, and remove eight pre-tightened screws.
Source: youtube.com
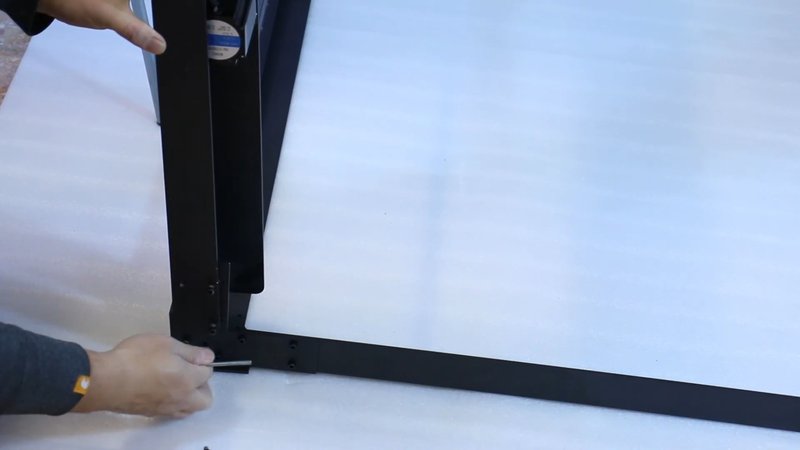
Connect the parts together by using the same eight screws.
Source: youtube.com
Source: youtube.com
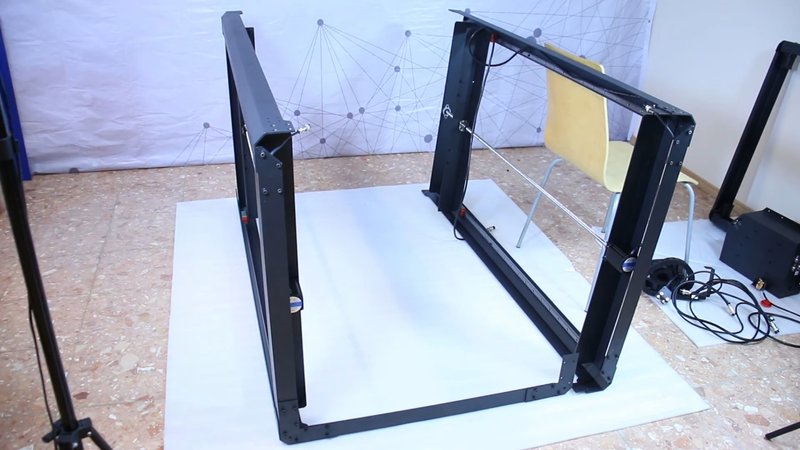
Place the right-side Z-axis to the right side of a previously assembled construction.
Source: youtube.com
Take the other bottom frame that has a cable and install it next to its counterpart.

Source: youtube.com
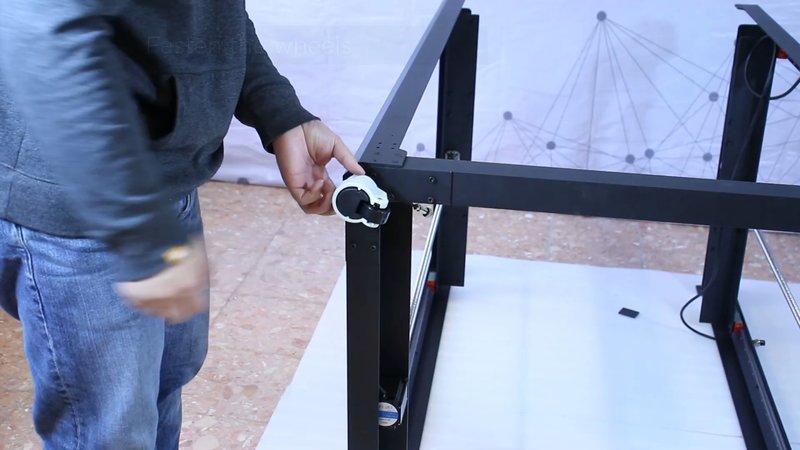
Install the wheels to their corresponding places and fasten them.
Source: youtube.com
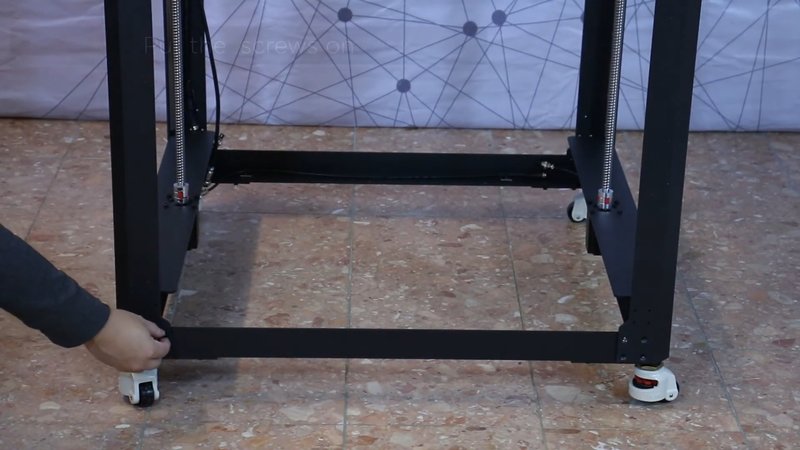
Lift up the P1 and place it on its wheels. Make sure to put on all the screws.
Source: youtube.com
Install the XY Plate.
Source: youtube.com
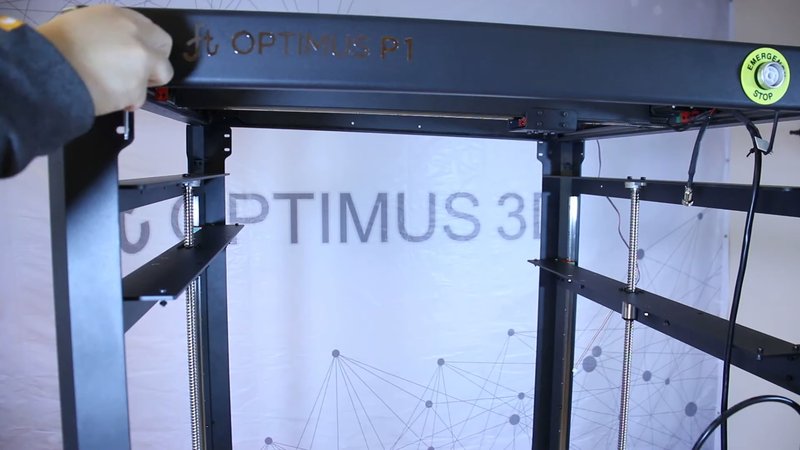
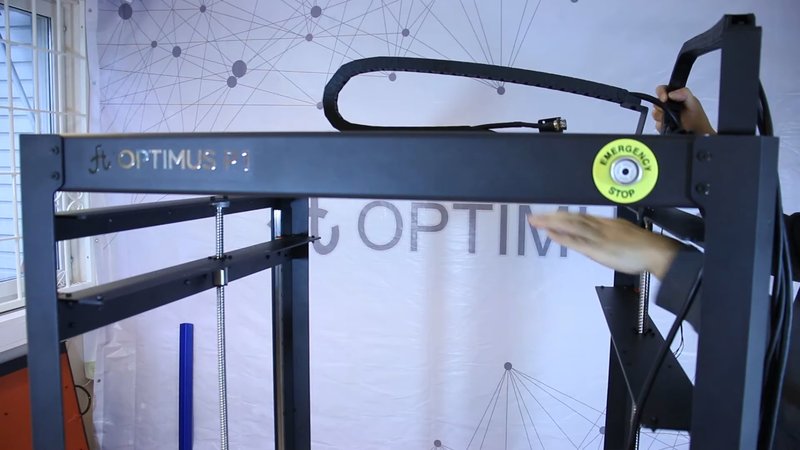
Mount the cable chain atop the printer and fasten the print head side.
Source: youtube.com
Source: youtube.com
First, push both Z-axis sliders to the STOP position. Assemble the heated bed and install it into the printer. Make sure to install the front and back support bars as shown in the photo below.
Source: youtube.com
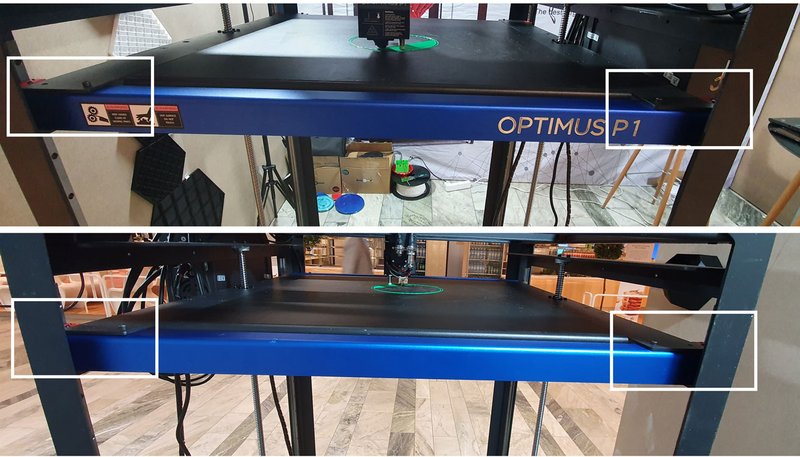
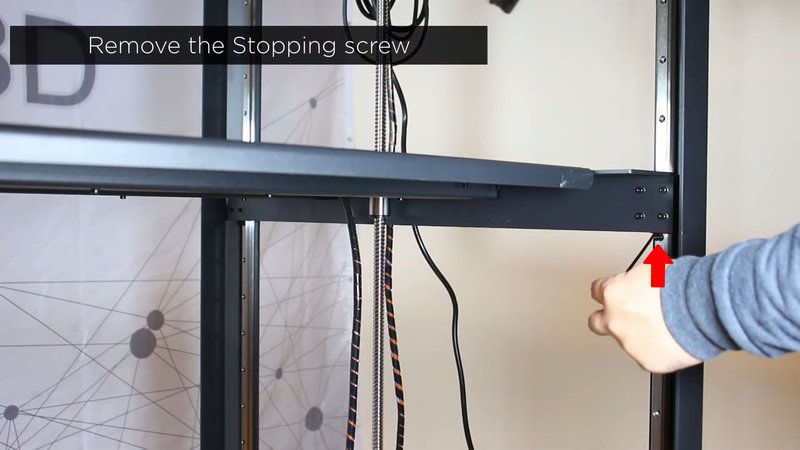
Make sure to remove the stop screws on each side.
Source: youtube.com
First, put the filament onto the spool holder. Then, cut the end of the filament and insert it into the tube. Release the emergency stop button by rotating it clockwise. Pre-heat the nozzle up to 200℃ for PLA or 230℃ for ABS. Finally, insert the filament into the extruder and push it until it starts to come out of the nozzle.
Source: youtube.com
3D models can be printed from the computer via a USB cable. In addition, you can use the built-in touchscreen with an SD card to control the printer.
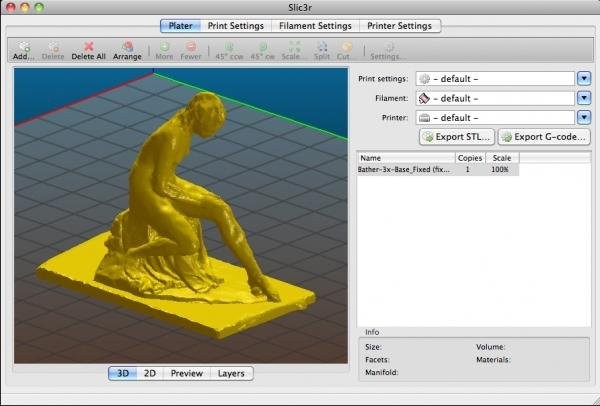
The 3D printer and the laser work with Cura and Slic3r software.
Optimus P1 supports TypesSTL, OBJ, IGS, and GCODE files and runs on Windows and Mac OS.
The Optimus P1 is perfect for a number of professional applications. For instance, it is successfully used in prototyping, sculpting, decoration, fine arts, large and small-scale manufacturing, batch production, and other applications.
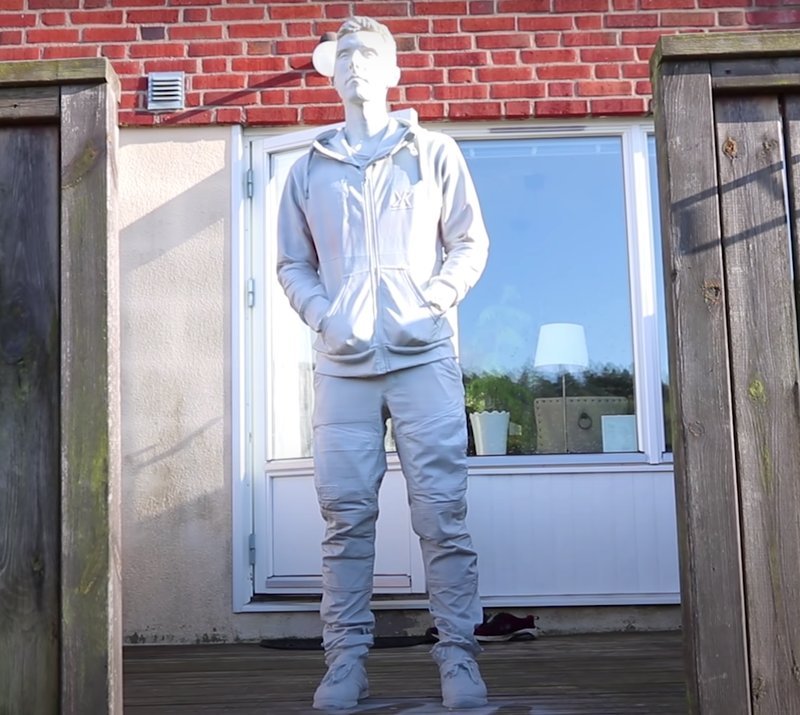
Have you ever dreamed of cloning yourself? Try printing your twin with Optimus P1. With a surface finish this smooth, a lot of people won’t even be able to tell the difference.
Credit: youtube.com

Credit: youtube.com
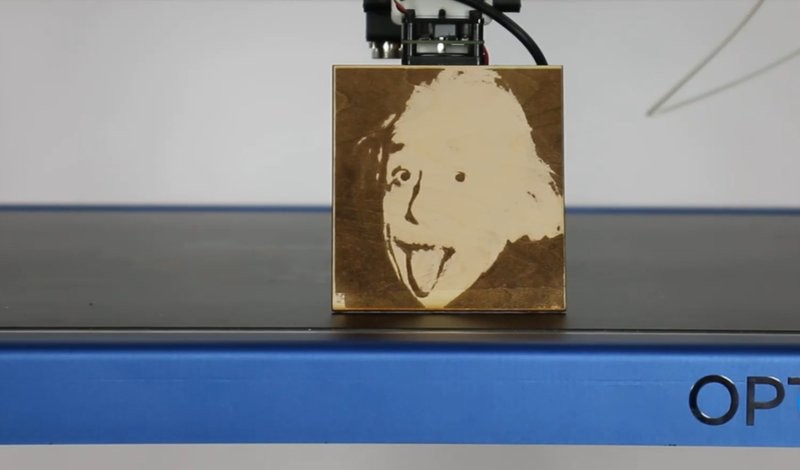
Using the P1’s laser engraving mode, you’ll be able to make astonishingly precise engravings on a variety of different surfaces, including steel.
Credit: Febtop Tech
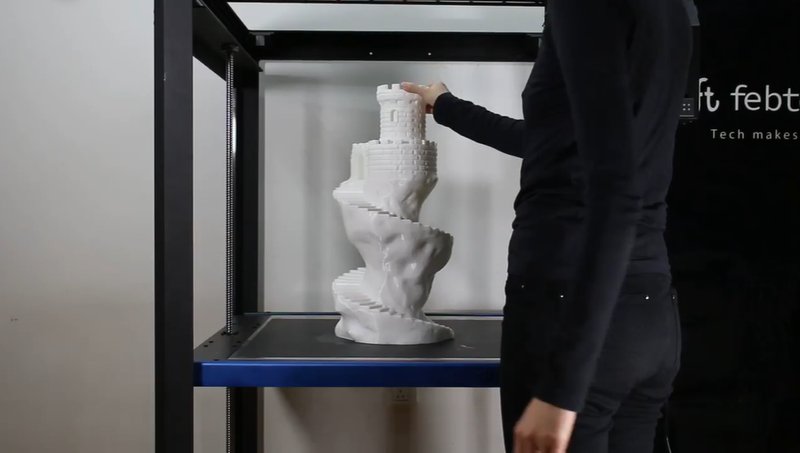
Take a look at this well-detailed 3D printed castle. Featuring a height of 50 cm, it has been printed on a layer height of 50 microns and 15% infill. It took 30 hours to be completed.
Credit: Febtop Tech
Pros
Cons
The Optimus P1 is the latest addition to the Febtop Tech’s lineup. It is a professional large-format FFF/FDM 3D printer that offers a modular design, reliable performance, and industrial-grade outputs. Depending on your requirements, it can be used as a 3D printer, or as a laser engraver. The Febtop Tech Optimus P1 will be a perfect choice for experienced makers and professional applications. This massive machine features a robust all-metal frame and provides an optimal price-performance ratio.
You can purchase the Optimus P1 at Top 3D Shop. This exceptional multi-purpose device comes with the manufacturer’s warranty. In addition, our team will make sure to provide the best service possible, just like we always do.
Update your browser to view this website correctly. Update my browser now
Write a comment