
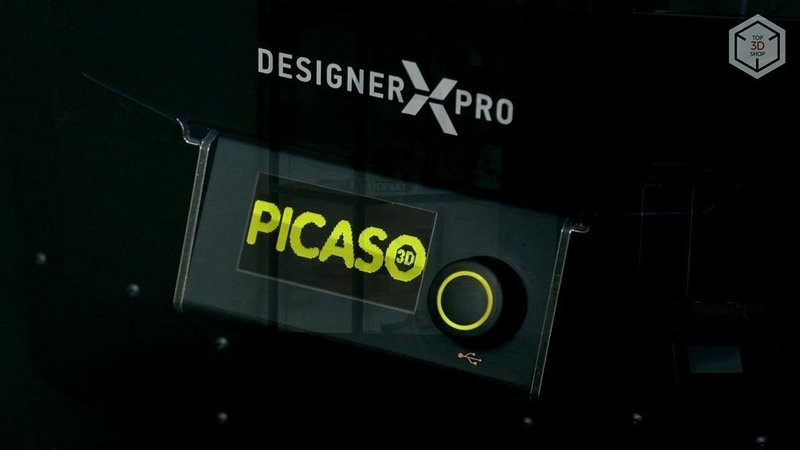
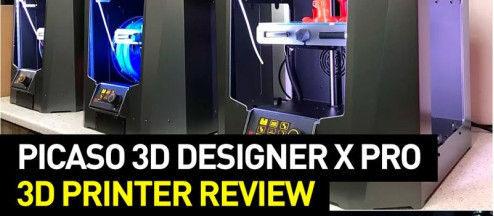
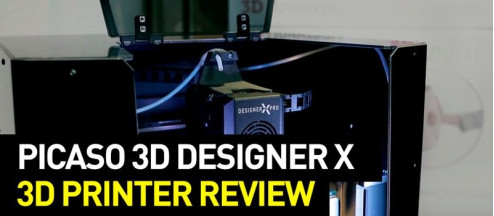
Hey everyone! Today we will review a new 3D printer by PICASO 3D — the PICASO 3D Designer X PRO. It’s an updated and revised version of the original PICASO 3D Designer PRO 250. The device can also print with two materials simultaneously. For example, this can allow for printing the supports with the water-soluble PVA or work with two different colors
The device features the same build volume as do other additive manufacturing products by Picaso: 200 x 200 x 210 mm. Overall, the machine is a personal modern FDM 3D printer that has all of the needed technological solutions onboard.
Technical Specifications:
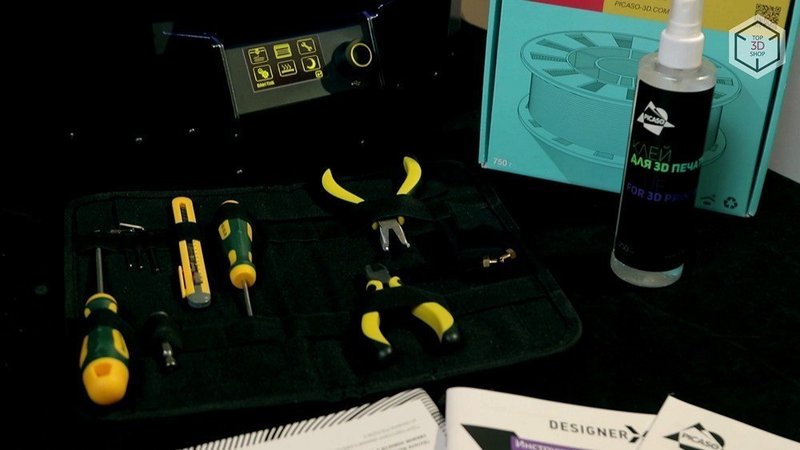
The packaging contents include: the printer itself, a USB flash drive, a power cord, a glue bottle, a set of tools and a filament spool. There’s also documentation: an instruction, technical passport and a warranty.
The layer height can be set between 50 and 200 microns.
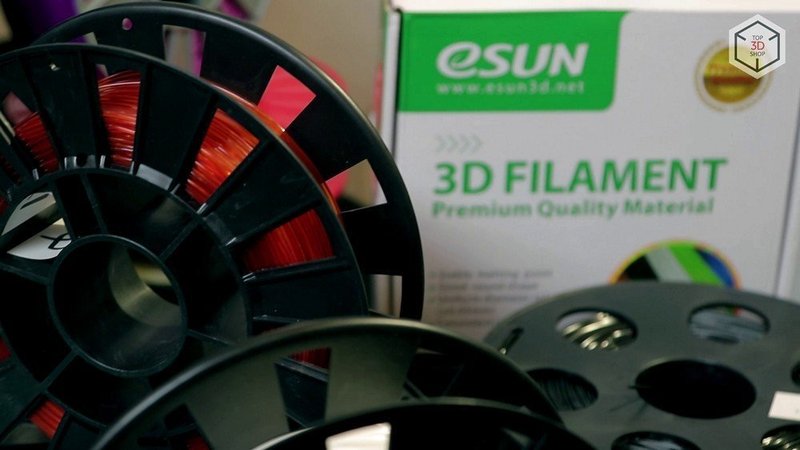
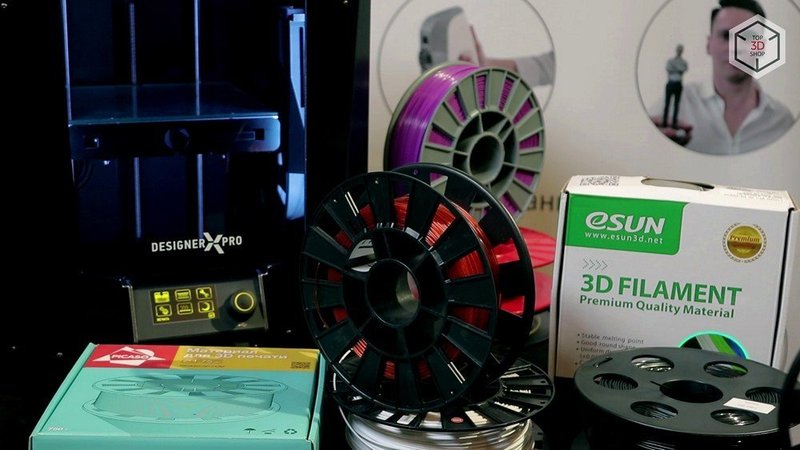
The 3D printer utilizes filament of the standard size of 1.75 mm, it’s a very common diameter and the third party materials are also available, since the machine isn’t limited to proprietary filaments.
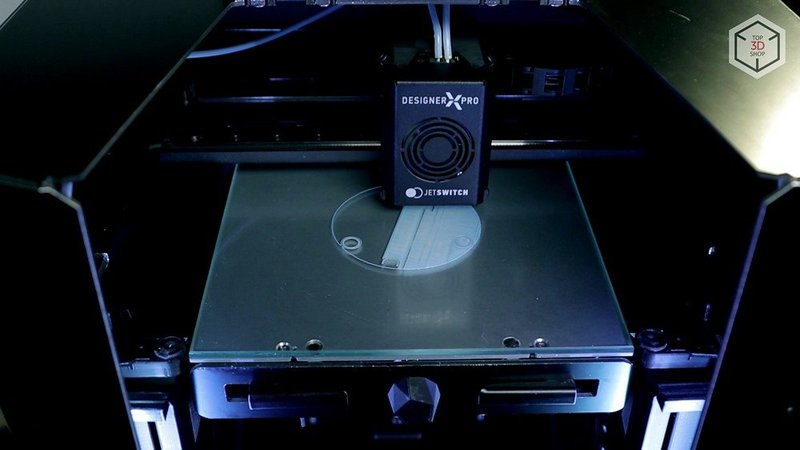
The print plate is made of glass, it isn’t covered by films, and its recommended to use glue or spray for better adhesion.

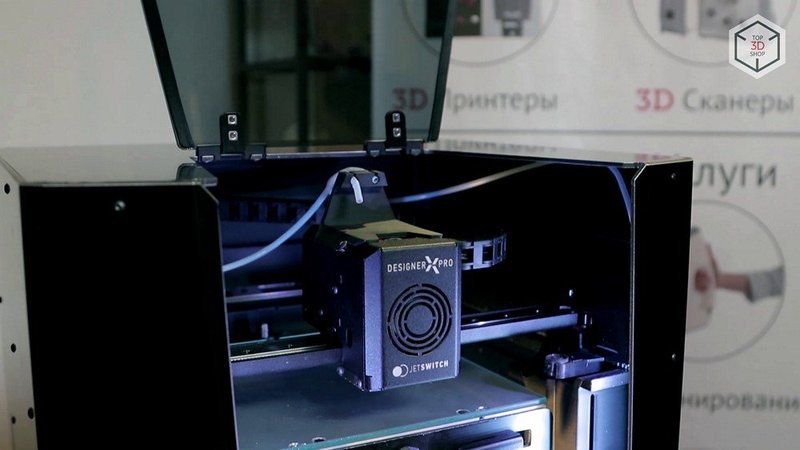
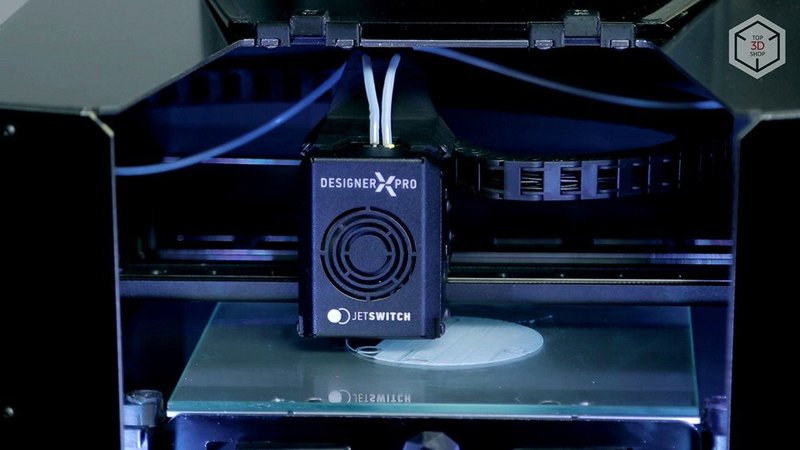
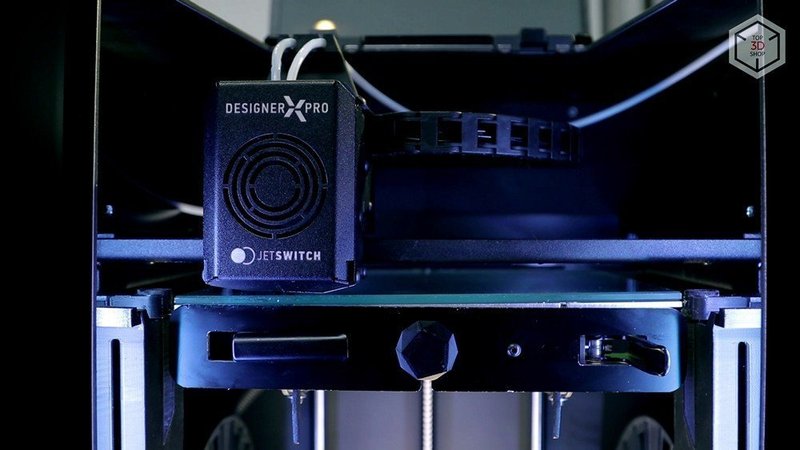
The platform is heated which is needed for printing with the ABS filament (as an example). The extruder is made with the JetSwitch technology that was also used in the previous version of the device. This allows for faster switching between the materials. The system includes two moving nozzles, a single stepper motor to move the filament through, and a valve that blocks the inactive nozzle. This prevents filament leakage and allows for changing the extruders within 5 seconds.
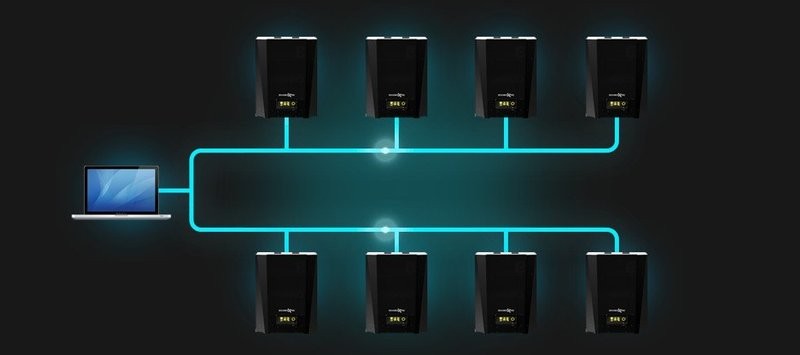
The microSD card slot is gone now, the printing can now be started from either the USB flash drive or an Ethernet cable.
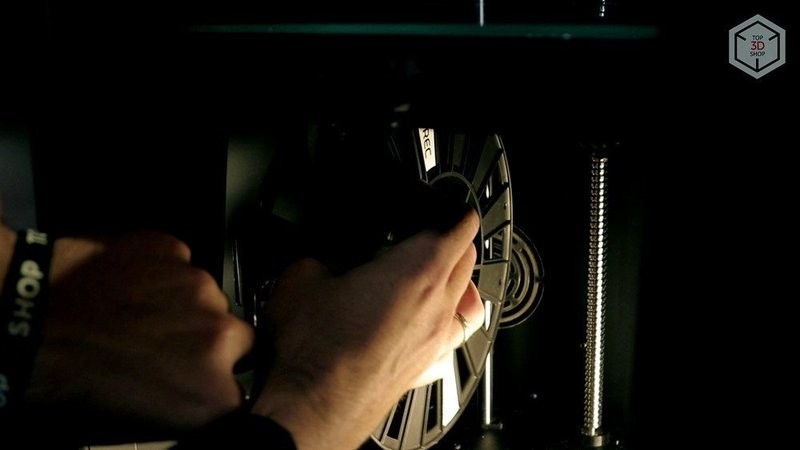
Filament spools are traditionally installed inside the printer, the device utilizes the special holders.
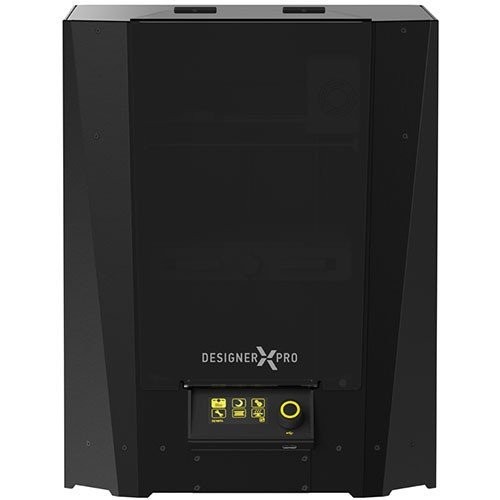
As was the case with the Pro 250, the machine is available only in black. The exterior has slightly changed, but the main differences are hidden inside the case — the linear rails are now connected to the special steel frame inside the printer, instead of the case itself. This allows the structure to be more rigid and improves precision during the calibration and printing processes. This also makes the 3D printer heavier by a kilogram, so the total machine weight is now 16 kg.
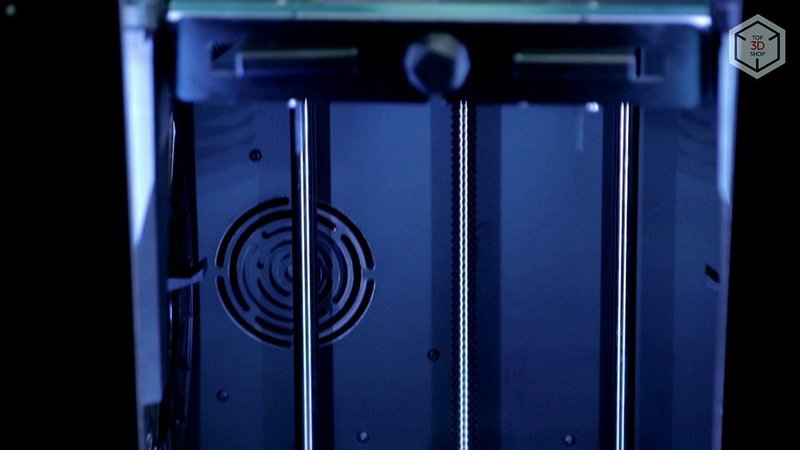
The printer has a Cartesian design: the platform moves across the Z-axis up and down, while the extruder moves across the X and Y axes. The device features H-bot kinematics: the most common one among the modern FDM 3D printers. The outer frame is made of aluminum alloy, as is the case with the predecessor, the rails and the inner frame are made of steel. The X and Y rails are linear while the Z-ones are of the cylindrical type.
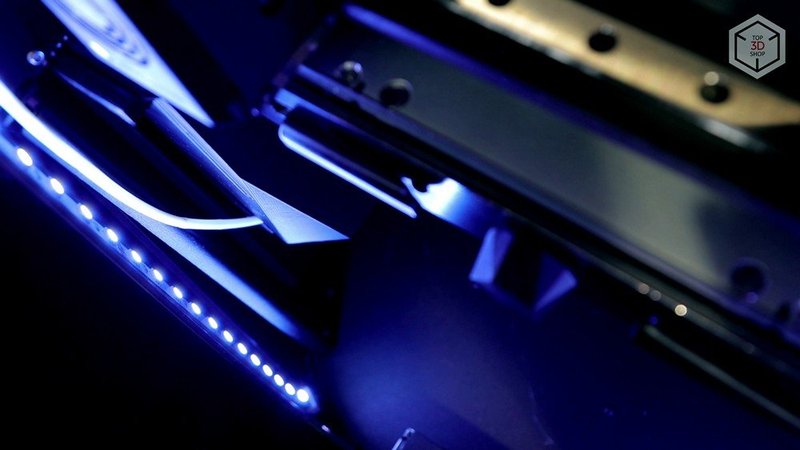
The lights have been upgraded, they now have functional purposes: the white light turns on when the machine is printing, the green one lights up when the device has finished printing and the yellow one indicates failures.
The printer can now detect the blockage or filament runout. The machine controls the filament motion and starts to try clearing the nozzle using a special algorithm in case of failure. If this doesn’t help, the printer stops working and will inform the user about the problem.
The proprietary internal software of the 3D printer has been improved.
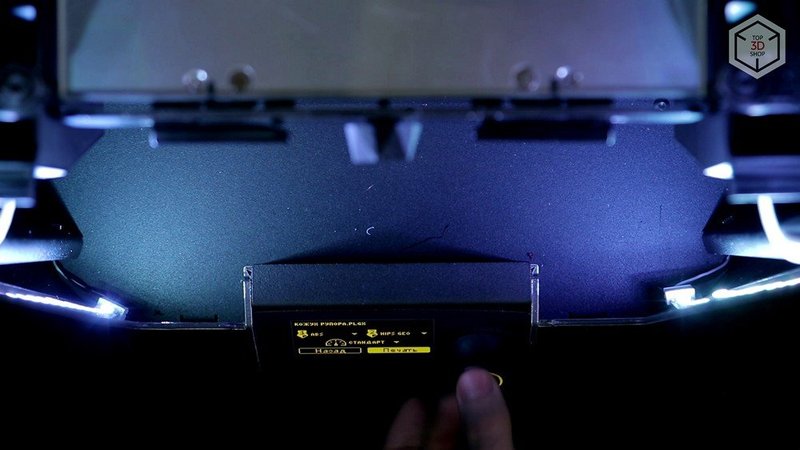
The profiles are now available. Each of them is a number of settings for printing a certain type of plastic. It’s saved in the printer’s memory and this means that you can control the printing settings within the device’s internal software, while a slicer will be used strictly for the slicing process.
For example, you can slice a model only once and then use it for printing with different materials only changing the profiles in the software without modifying the G-code.
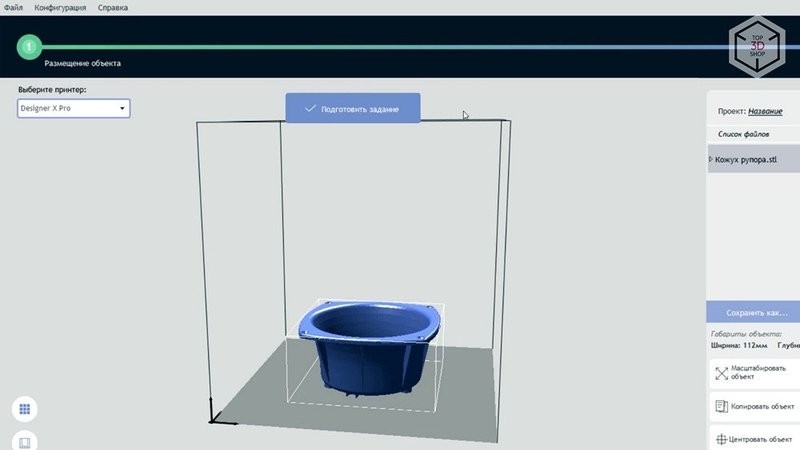
The proprietary slicer is called PolygonX, it replaces the older version named Polygon 2.0. It has a simple interface and settings. Slicing and profiles are configured in different windows. The program allows controlling the printer using the Ethernet cable.
An important thing to mention is the first layer control. This is a built-in system that analyzes the profile, the filament extrusion speed and the distance between the platform and the nozzle. It can utilize this data to change the height of the print plate during the printing process, aiming to get the perfect first layer, which is a very important part of FDM printing.
After the file preparation is finished in the slicer, the model can be sent for printing using two methods: either by moving the g-code using the USB flash drive, or directly from a slicer using the Ethernet connection.

You can set the quality of printing before you begin the process. It’s inversely proportional to printing speed.
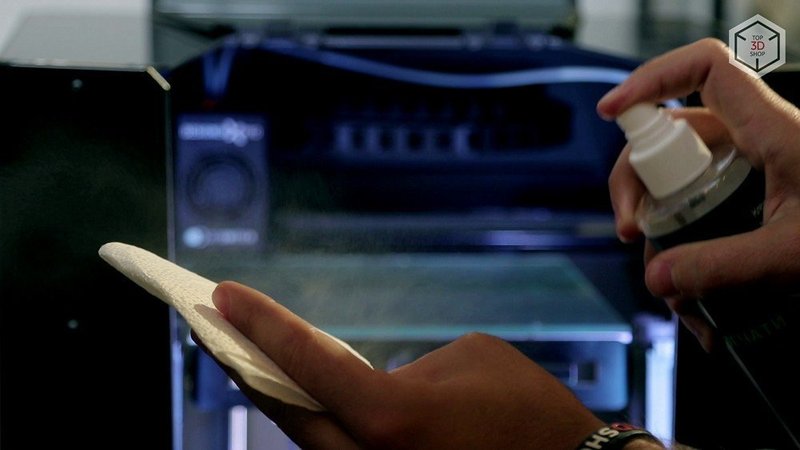
The platform should be covered by some adhesive material before printing ABS or a similar filament. Put the adhesive on a napkin and use it to wipe the platform.
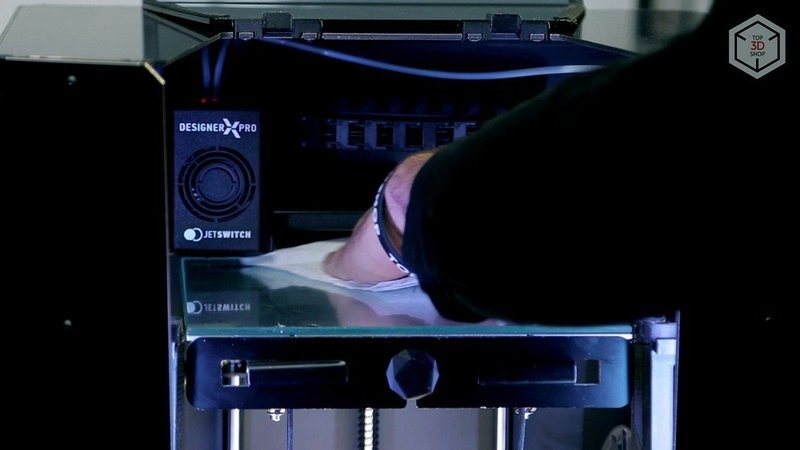
Don’t spray the glue inside the printer, it will settle on the moving parts and polymerize, which will destroy the equipment.
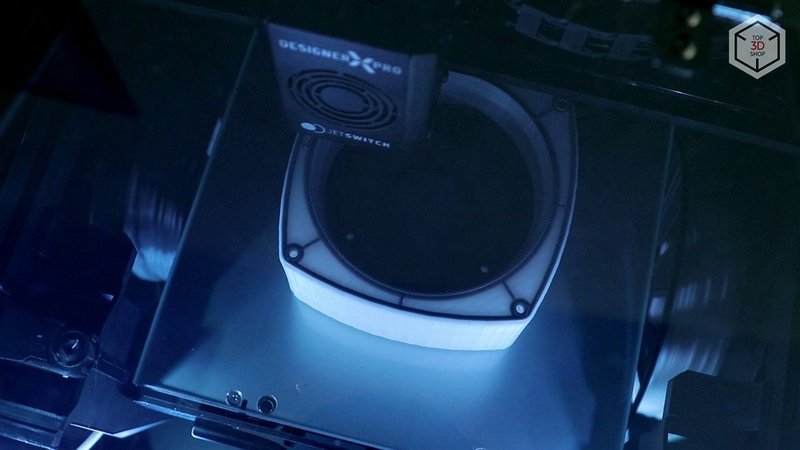
The printing process is normal by FDM printer standards. The display shows information about everything during printing.
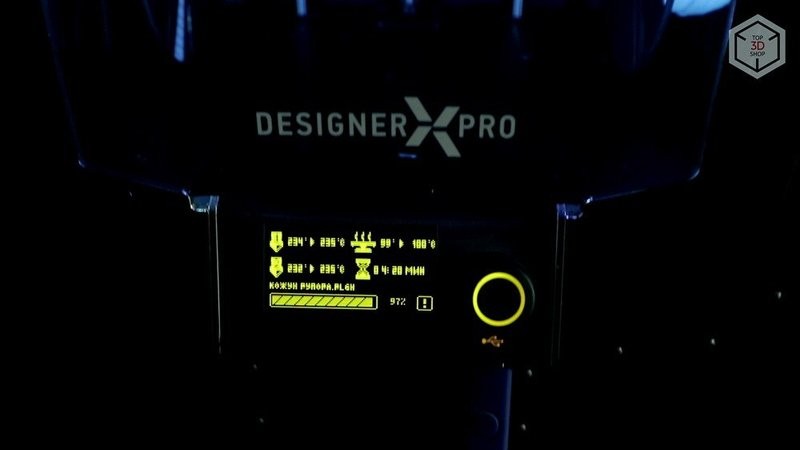
The device can be put in an active pause state, which will take the extruder away from the platform and the user will be allowed to change the material. It’s also possible to change the print speed, hot end temperature and first layer height during the process.
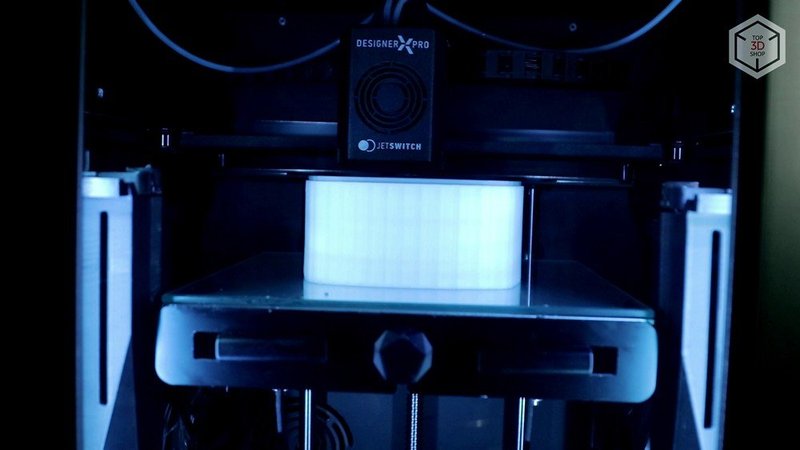
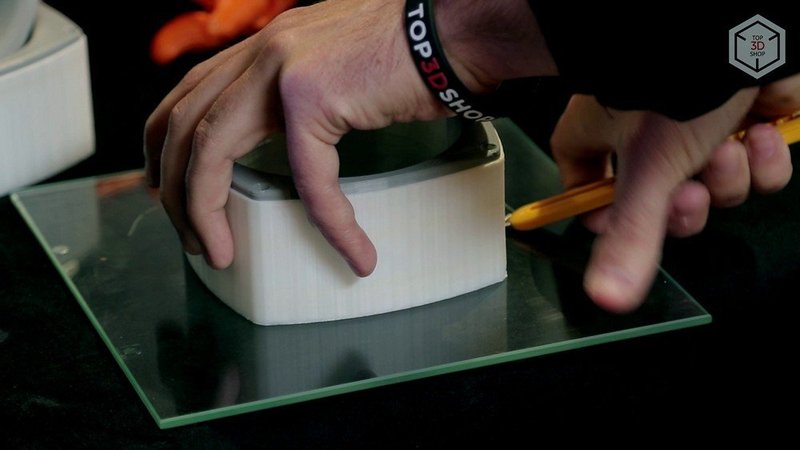
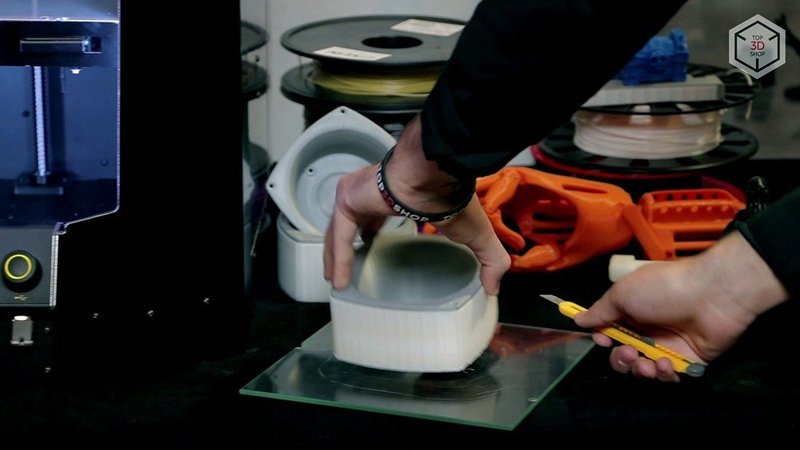
If you printed with the ABS filament, then the final print will disconnect from the plate after cooling down. In other cases, you will need a spatula that comes with the device in its packaging.
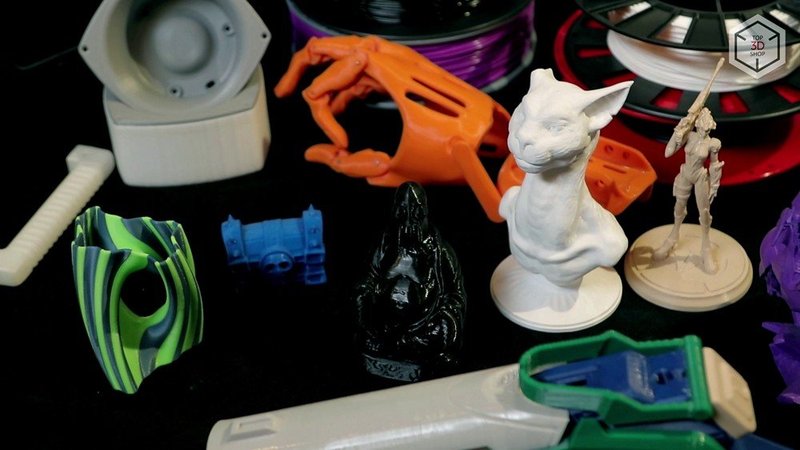
The PICASO 3D Designer X PRO 3D printer doesn’t follow the current trend of growing build volume: the machine instead focuses on print quality and ergonomics. The profiles, the filament, and first layer control systems and indicators prove that.
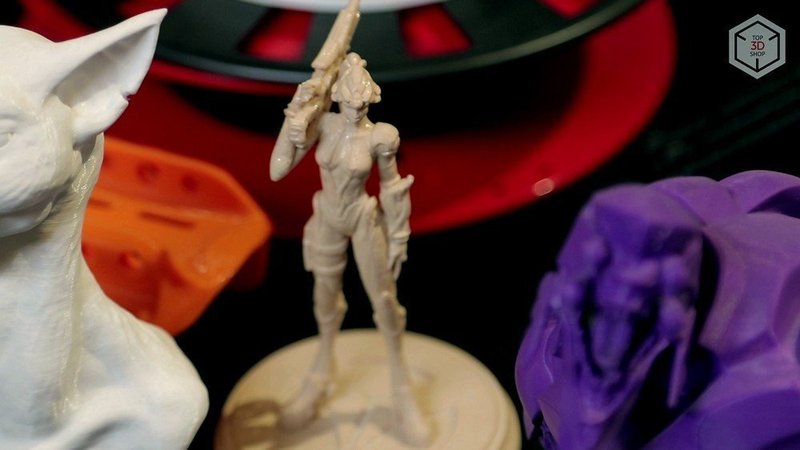
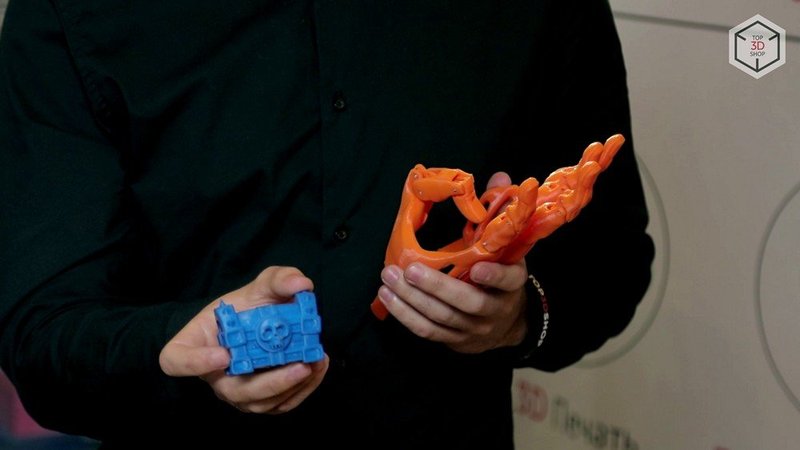
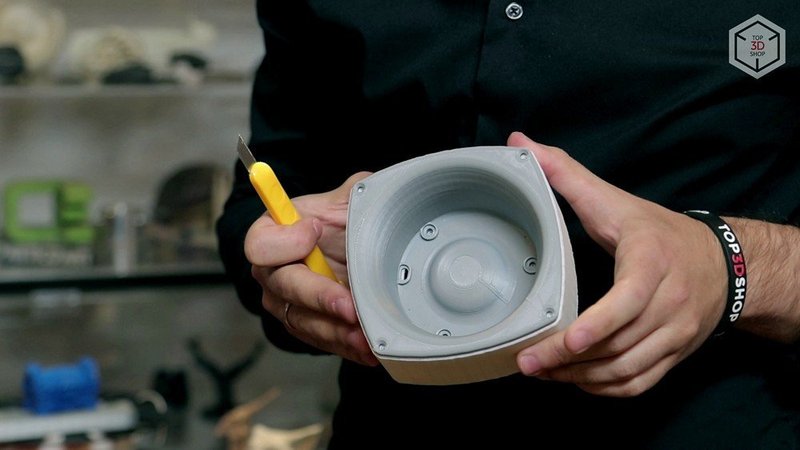
High accuracy, two-material printing ability and the support of high temperatures allow the machine to create high-quality prints with the supports made of soluble materials, including carbon ones. This widens the range of the functional prints that can be produced. We recommend using the PICASO 3D Designer X PRO for making functional prototypes, samples and limited production of parts. This is a good choice for anybody who wants highly precise printing and doesn’t want to use the SLA technology for one reason or another.
Update your browser to view this website correctly. Update my browser now
Write a comment