
In the world of 3D scanners, hybrid models are no longer rare, but what about quality-to-price ratio? Is it possible to get a device with both high resolution, accurate outcomes and still affordable price, with color capturing as well?
Luckily for all professionals requiring 3D scanning for their projects, Canadian company Polyga has introduced their versatile handheld 3D scanner with a stationary mode — Polyga H3. Being a portable, budget-friendly, and easy-to-use device, the model excels in terms of scan quality comparable to that of full-fledged stationary scanners and boasts a number of user-oriented features.
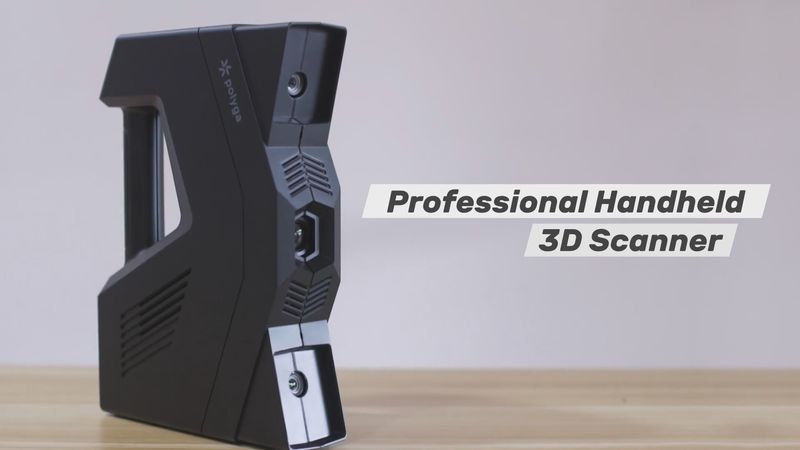
This is Top 3D Shop, and today we are going to review the specs and important functions of the Polyga H3 scanner.
Polyga is a Canadian company headquartered in Vancouver. It is known to develop and produce top-quality 3D imaging solutions and software for 3D scanning, mesh processing, and reverse engineering. The list of their products includes handheld and stationary devices, a high-speed 3D camera, and laser line profilers.

The company aims to make powerful yet easy-to-use devices and programs accessible to all types of customers, such as engineers, researchers, and professionals that require 3D scan data for visualization and measurement applications.

Due to their open-minded approach, Polyga is a trusted brand offering products used worldwide in various spheres, from medical imaging to manufacturing. Among their clients are such respectable corporations as Microsoft, HP, Pixar, and Brooks as well as NOAA (National Oceanic and Atmospheric Administration) and University of Florida.
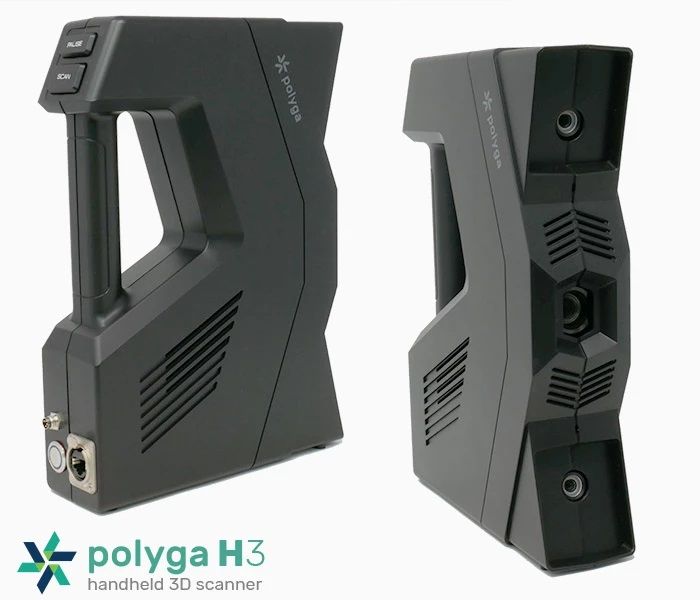
The H3 handheld 3D scanner from Polyga is a professional hybrid device aimed at simple operation as well as fast and accurate data capturing. Due to two high-resolution cameras, optimal design, and budget-friendly price, this device will become just the tool one needs to achieve highly detailed outputs for many spheres that use 3D scan data.
Here is the list of the features that make the Polyga H3 3D scanner perfect for multiple applications:
Let’s take a brief look at the Polyga H3’s compact design with numerous handy features.
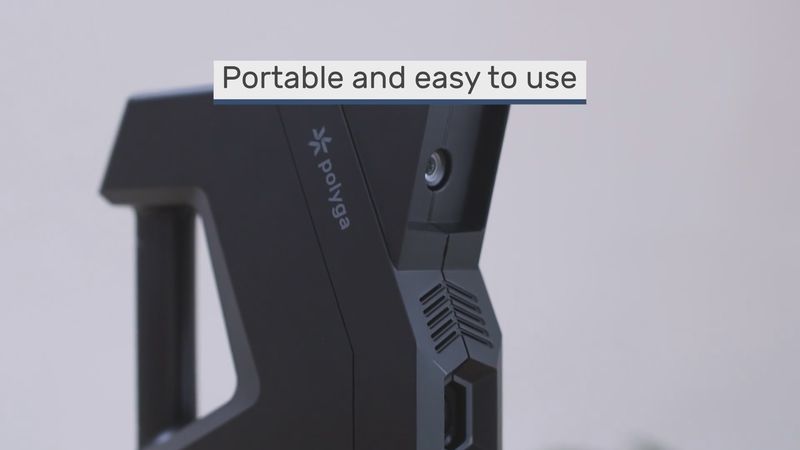
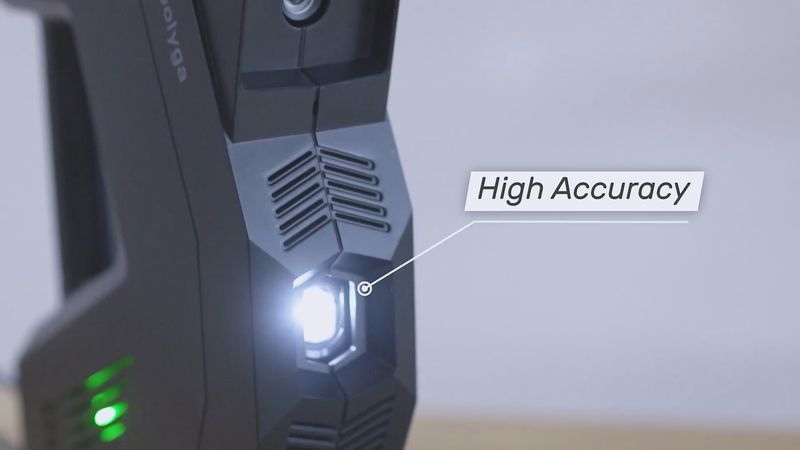
With two ultra-fast cameras mounted at the right angle, the H3 is able to provide highly accurate results with a point-to-point distance of 0.5 mm.
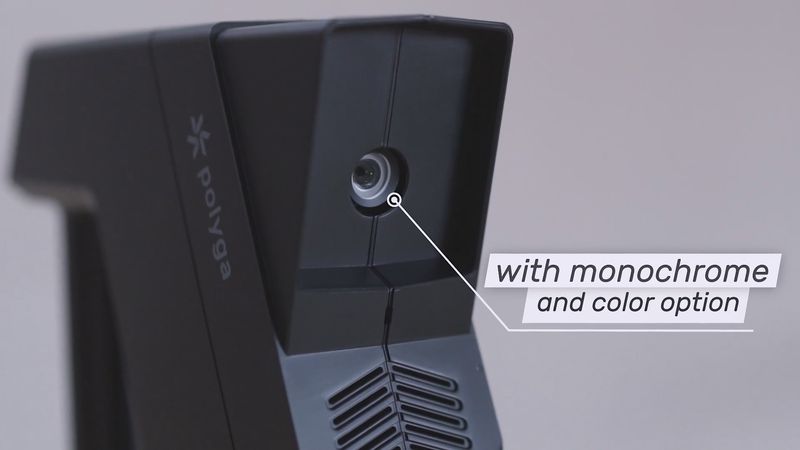
Since the model comes in two versions, one can choose the option for their specific needs — for monochrome or full-color scanning.
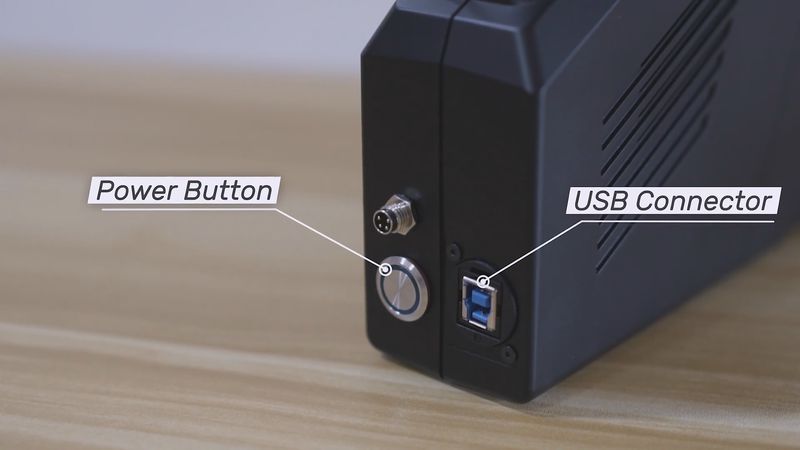
All connectors and a power button are located at the bottom of the rear panel, which ensures free, natural movement during the process.
As for the important interface buttons, they are mounted above the handle for the user to quickly pause or resume scanning when needed.
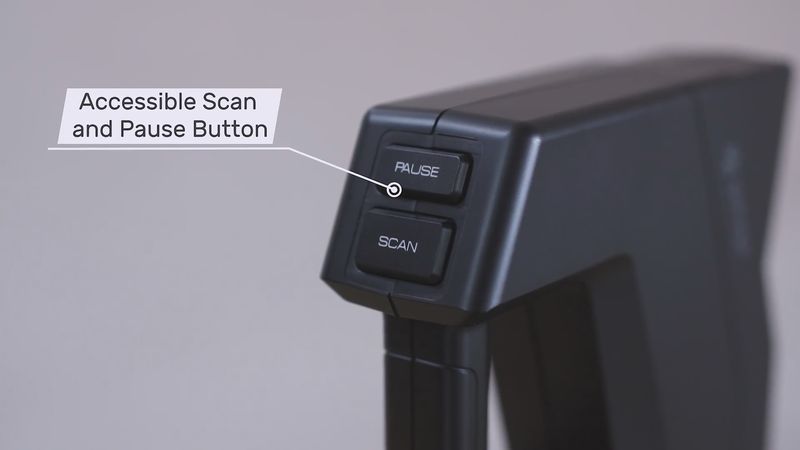
The mentioned properties make for a smooth and convenient workflow for both new and seasoned users.
First, one should connect their H3 scanner to get to work. The process is really easy and will take mere minutes.
Start with adding your scanner via Network Configuration Tool. Select the Ethernet port that your device is connected to and choose the Scanner Default option to apply the correct IP settings.
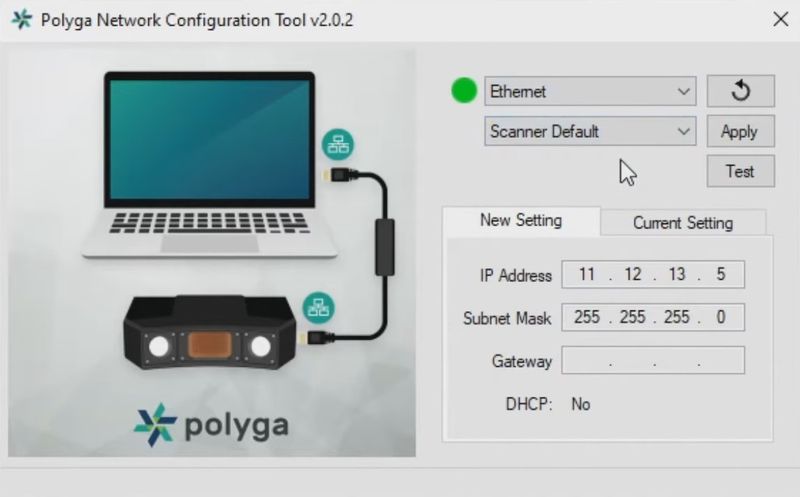
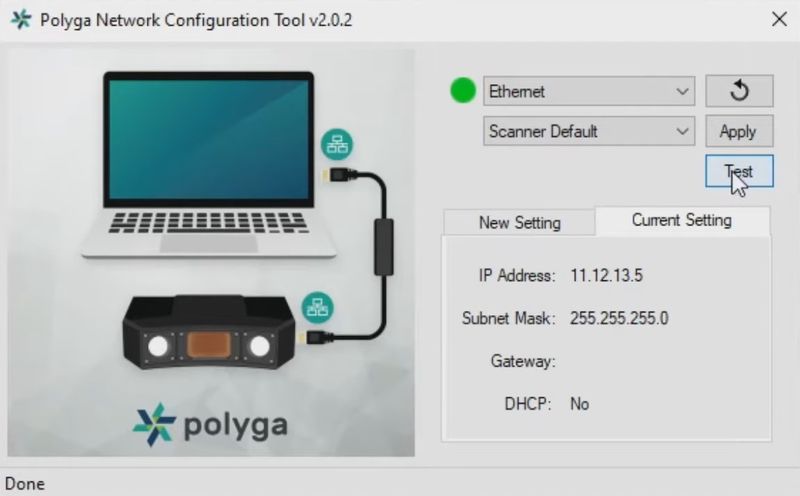
You can view your new and current settings at any time. If you are satisfied with the provided info, click the Test button to make sure the connection is successful.
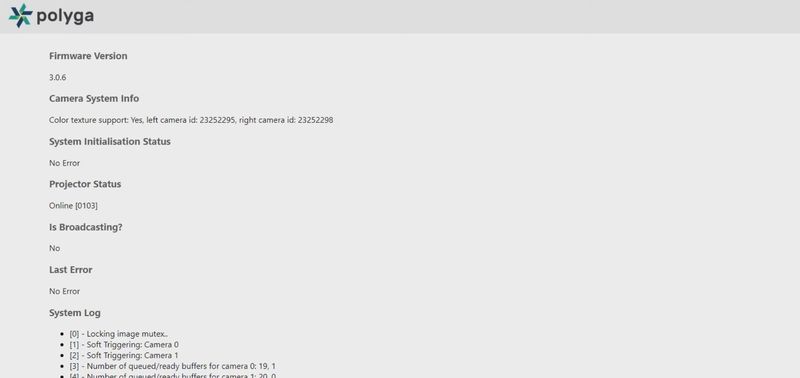
If it is, you will see the following screen providing all the necessary data of your device.
Then, select the Scanners panel to add the H3 in FlexScan3D software. Choose the appropriate series type and wait for the program to find the device.
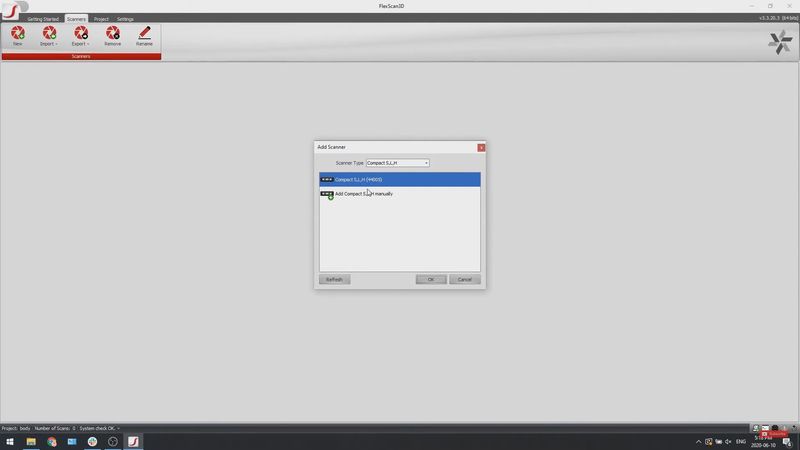
When it is done, you will see the following window displaying the current status of the connected scanner.
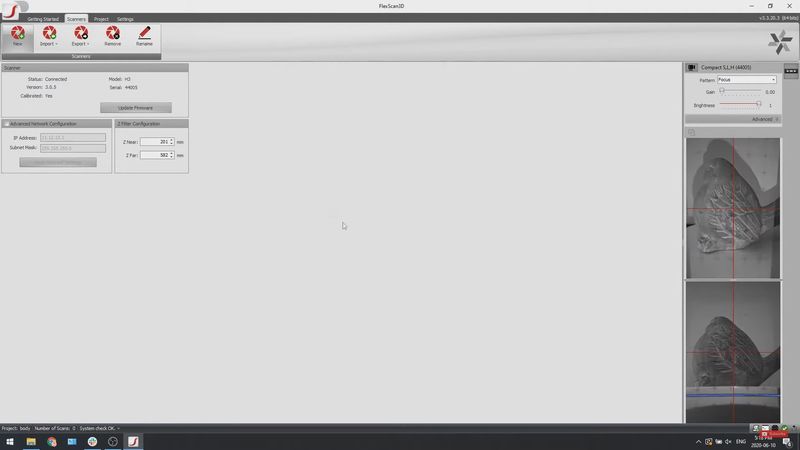
Once this step is reached, you can proceed to the Project tab and start a new scanning project.
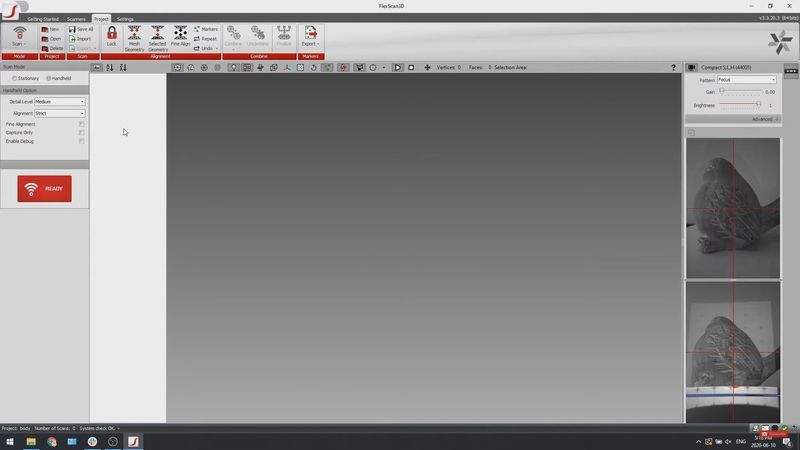
The device is now completely ready for operation, no calibration required.
Let’s go over the main points of the scanning process with the Polyga H3. The procedure is through the FlexScan3D software boasting a number of automated algorithms for easier and better-quality data acquisition.
To begin scanning, just pick up the device and press the Scan button. Move the scanner slowly and surely to ensure smooth and consistent tracking for more precise outputs. Feel free to rotate the device to cover all the angles of the object to get the most complete dataset.
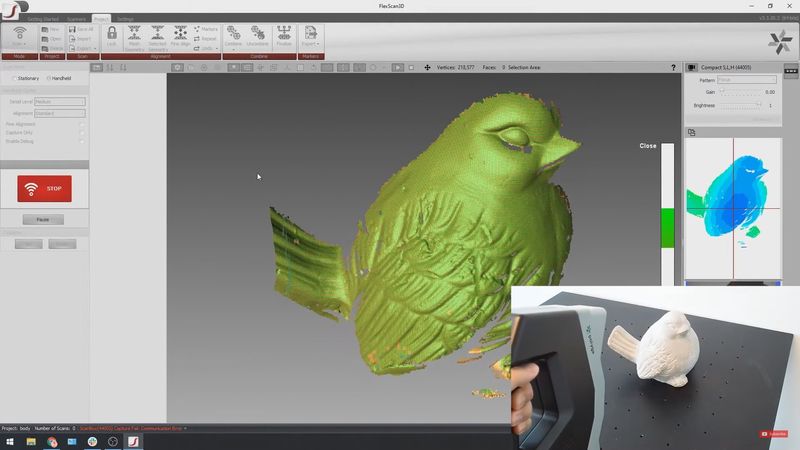
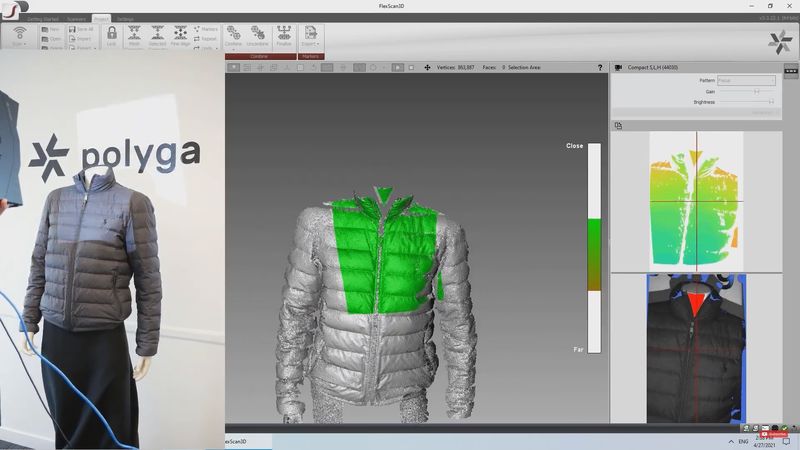
The Polyga H3 provides exceptional quality of data capturing, which is demonstrated by the example of this sweater scan: every single weave and detail is reflected thanks to the device’s industrial-grade cameras.
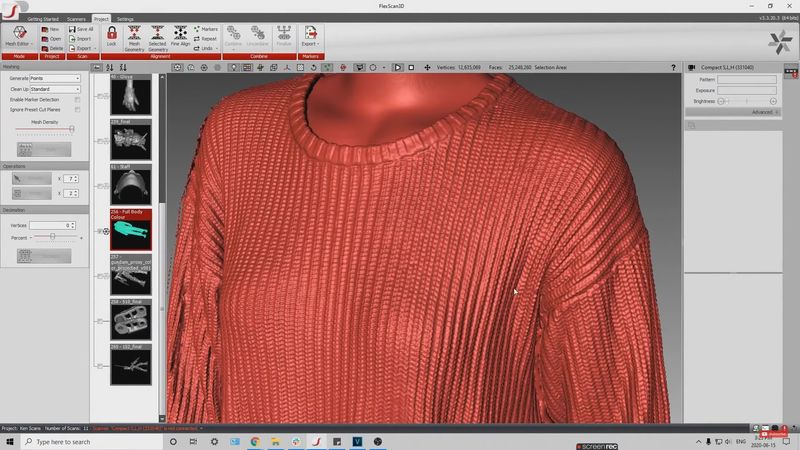
If the scanner loses connection or tracking of the object, the Auto-Realignment function will allow you to resume scanning without restarting the project.
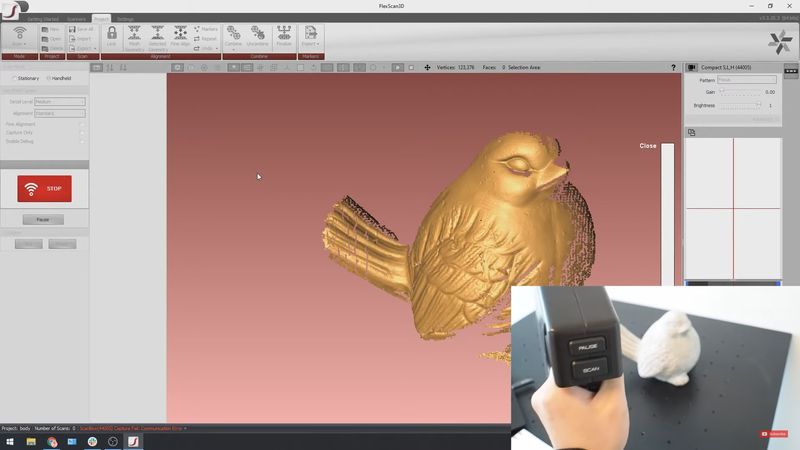
When you need to reposition yourself or the object, press the Pause button to freeze the scan. To resume the process, just press the same button again.
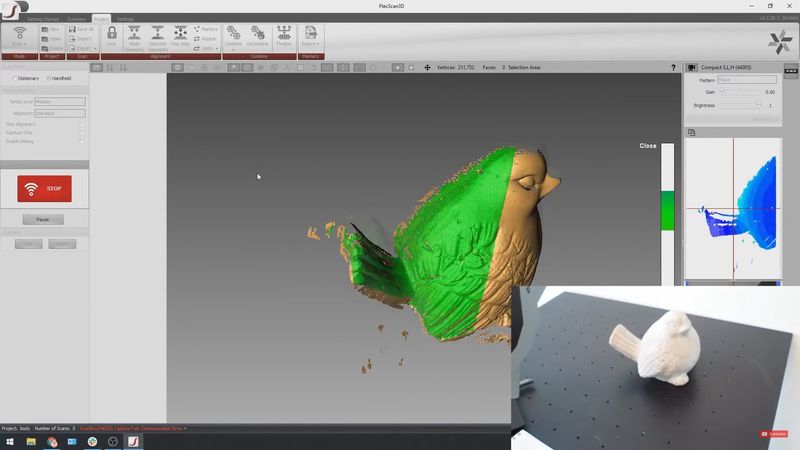
If you need to set a cut plane, take a quick scan of the object and pause the process.
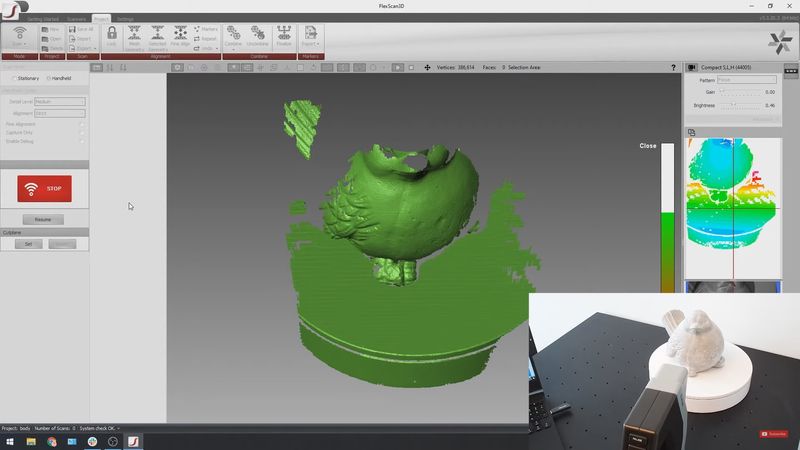
Select the part of the dataset to assign it for the future cut plane and apply the changes before resuming the process.
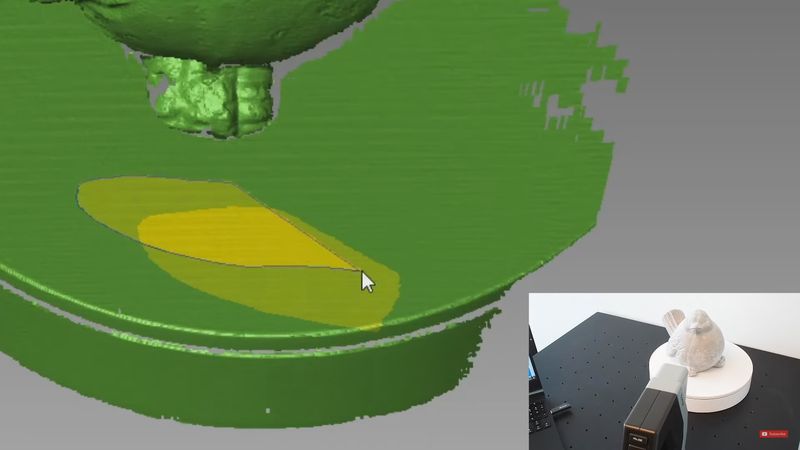
After this, the plane underneath the object (such as the table) will be automatically cut out, thus leading to reduced post-processing time.
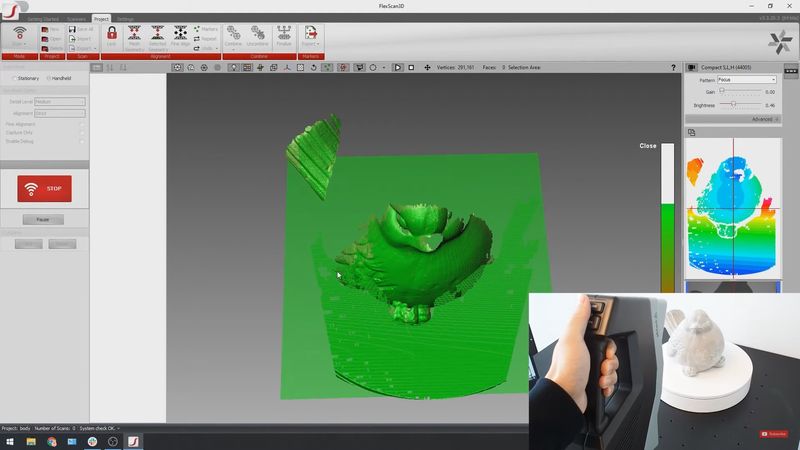
When you resume scanning, the data out of the cut plane will no longer be recorded. So, you will get a clean dataset according to your requirements.
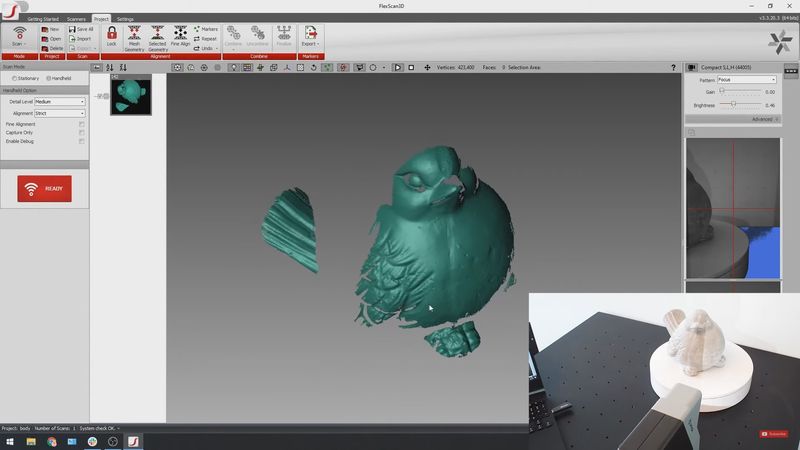
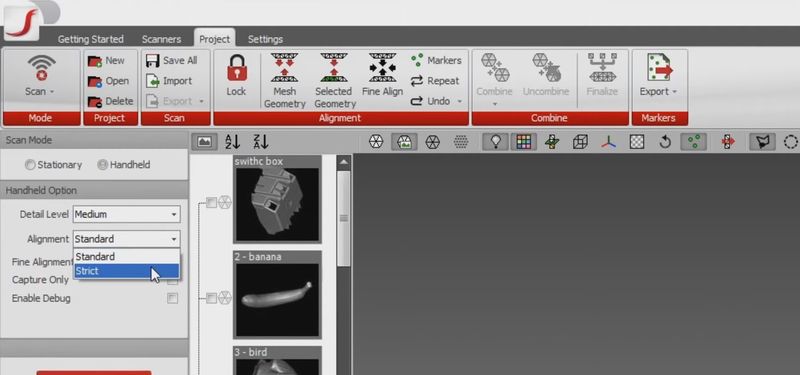
Furthermore, you can easily switch between two alignment modes. Choose the standard one for objects with complex geometry features, like the human body or clothes, and the strict alignment mode for simpler forms, for example, mechanical parts.
Since over- or underexposed objects can cause problems during scanning, do not forget to tweak the Gain and Brightness settings according to your environment prior to scanning.
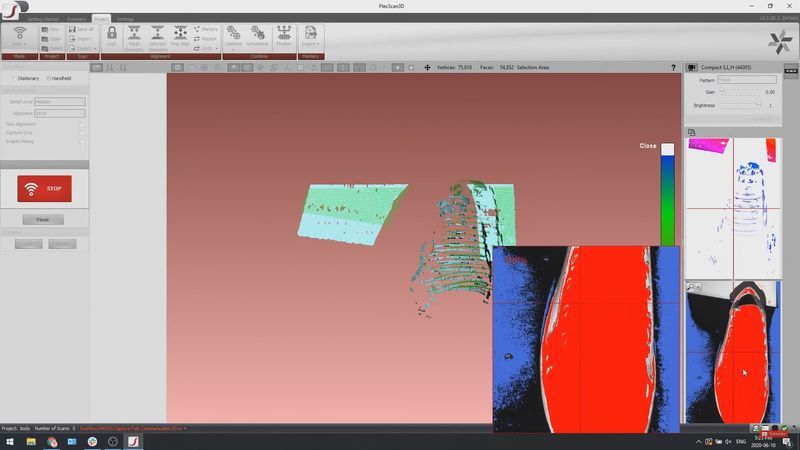
Start by adjusting the Gain and proceed to the Brightness for further improvement of your future scans. Red color indicates overexposure, while blue or black marks underexposure.
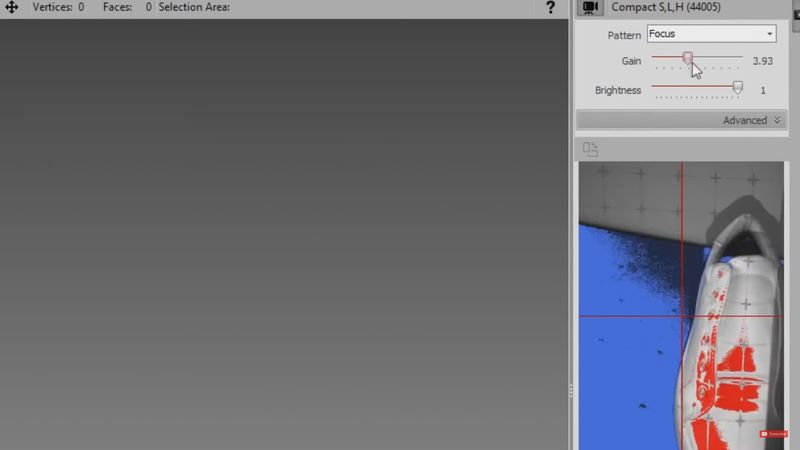
To find the correct settings, you should see the object clearly in the preview screen. This will allow you to obtain better scans.
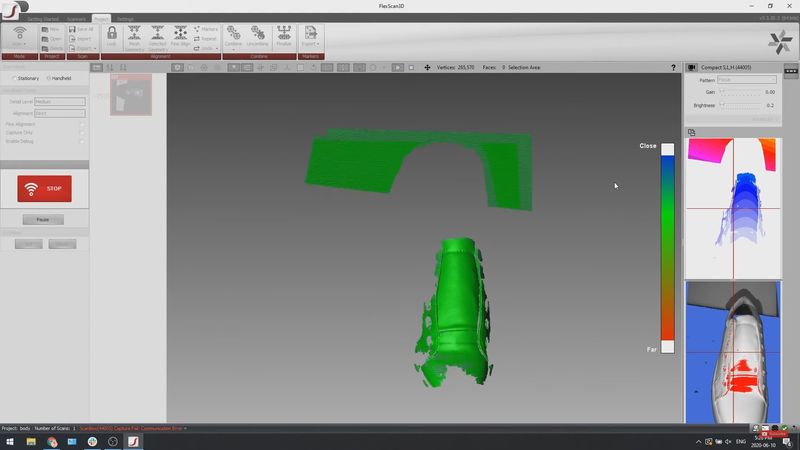
In the next screenshot, you can see the difference between the overexposed and normal scan.
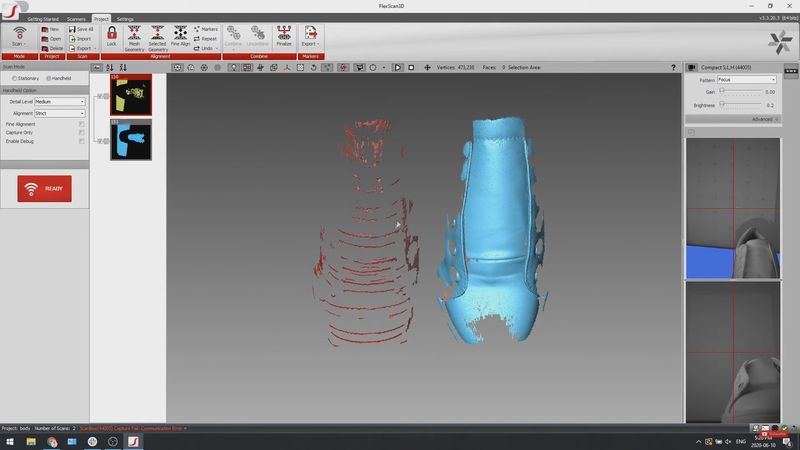
As a hybrid 3D scanner, the H3 model can be used in either handheld or stationary mode depending on the user’s needs. To operate the scanner in the second mode, attach it to the dedicated tripod and place the object on the rotary table. No additional calibration is required.
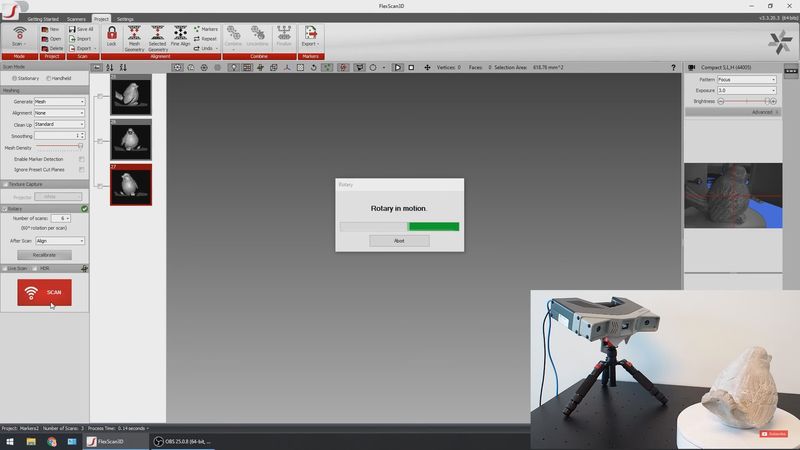
Soon, you will get a complete scan with all the visible angles ready for post-processing.
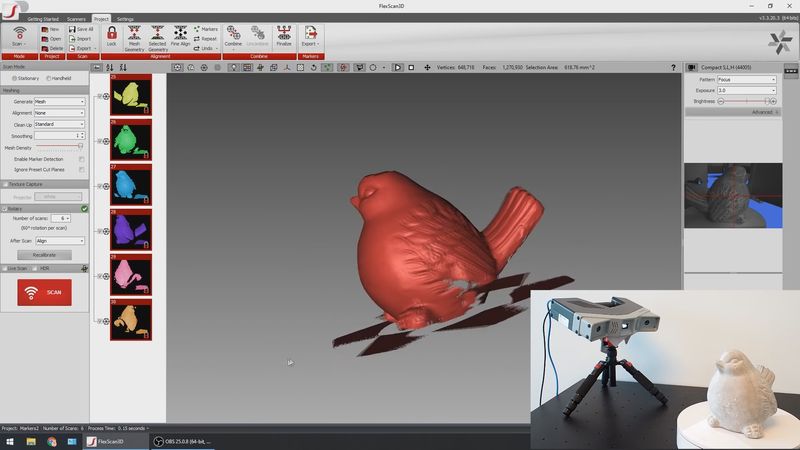
To sum up, scanning with the Polyga H3 device is really simple and highly productive.
FlexScan3D is the proprietary 3D scanning software for all Polyga professional scanners that manages the scanning process with top quality and speed, advanced post-processing, and thoughtful analysis of the captured data. It provides high-resolution, accurate 3D scans with impressive detailing and a wide range of efficient tools for aligning and merging the scans into a full digital 3D model. The list includes deviation analysis, mesh editing, hole filling, transformation, etc.
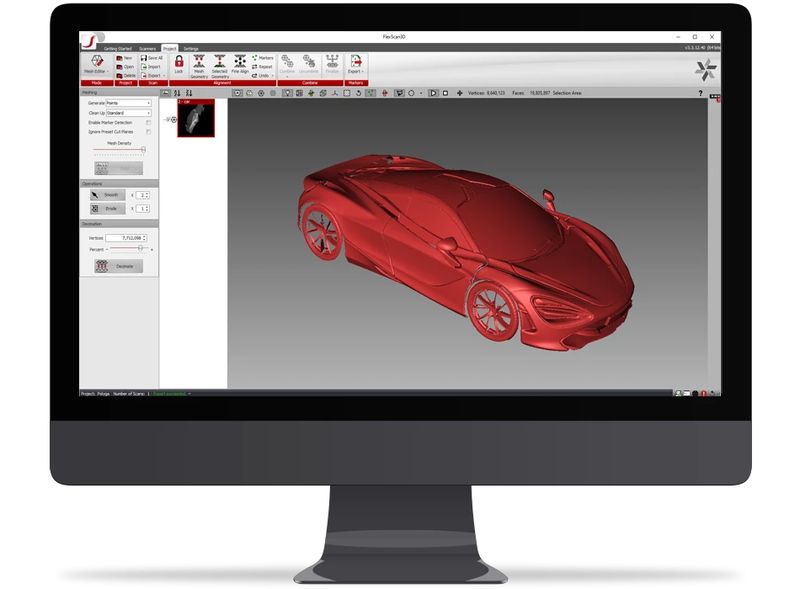
Apart from this, FlexScan3D provides complete control over the scanner, from tweaking to recalibrating the whole system. Also, it gets new releases each year to continue to meet current users’ demands. Which is particularly important, the program boasts a truly responsive 3D scanning experience.
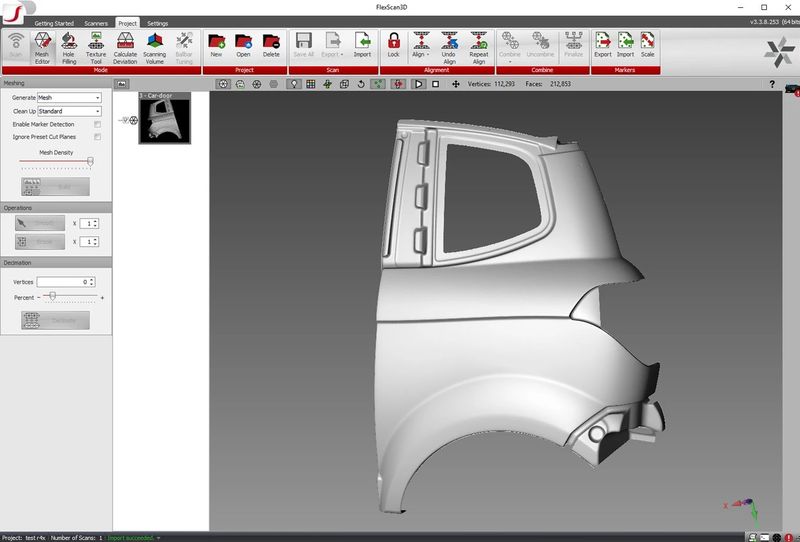
FlexScan3D supports all major file formats, such as PLY, OBJ, STL, ASC, and FBX. It is included with every Polyga scanner by default.
PointKit is a new flexible software from Polyga aimed at quality cleanup, editing, and processing of 3D scan data through automated algorithms. It is particularly effective while working with large, noisy meshes and point clouds. Basically, the program opens up Polyga’s mesh processing technology for anyone to use it with data from desktop 3D scanners, laser scanners, 3D cameras, photogrammetry, and LIDAR.
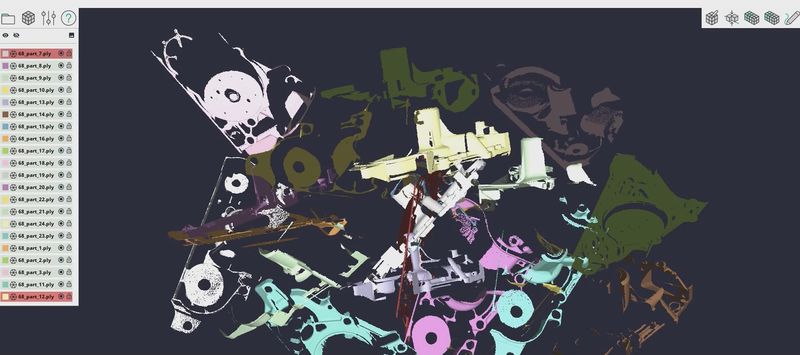
Among the PointKit’s prominent functions are geometry manipulation, alignment, merging, editing, healing, measurement, and inspection. It also has a powerful, cross-platform web version allowing one to view and present 3D data to any web-based platform regardless of OS, including mobile devices.

The program can import and export file formats like PBN, PLY, STL, OBJ, 3D3, E57, ASC, CSV, PTX, PLG, GLTF, GLB, PTS. It will be of great service for various applications, such as research and history preservation, archeology, BIM, reverse engineering, medical, manufacturing, creation of digital content, and more.
XTract3D is a reverse engineering plug-in for SOLIDWORKS that enables simplified SCAN-to-CAD operations. It contains powerful slicing, fitting, and snapping tools for building parametric CAD models with ease.
Check out the official video guide to find out more about this solution:
SB SDK is a powerful tool for making your own custom scanning applications or scan processing workflow available to all owners of Polyga’s scanning equipment. It is represented by a set of programmable API’s with which you can completely control the scanner’s configuration and performance using C++, C#, or Command line.

The SDK is capable of seamless integration with your application, machine vision, automated scanning, bin-picking, and other real-time 3D vision operations.
The Polyga H3 model is ideal for multiple tasks connected with modern industries, including manufacturing, arts, archaeology, medical, research, design, and more.
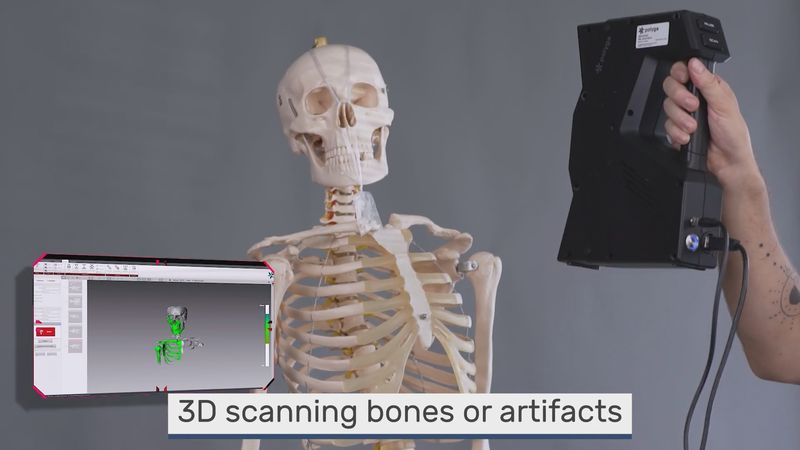

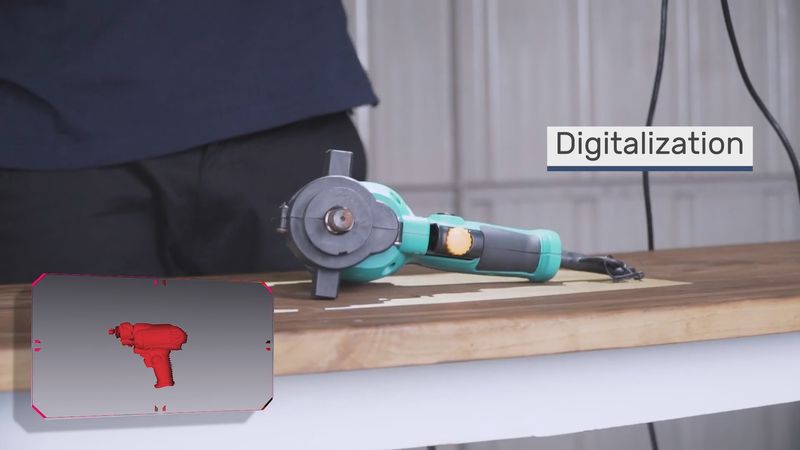
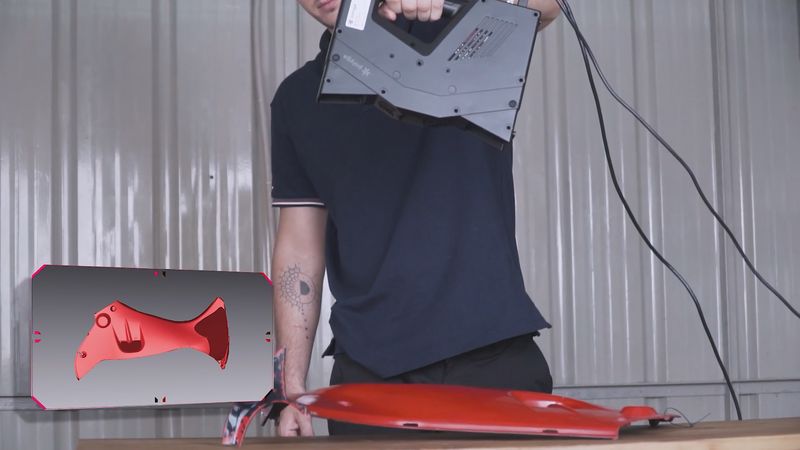
Thanks to the demonstration videos from Polyga, you can find out more about the device’s functionality within various projects.
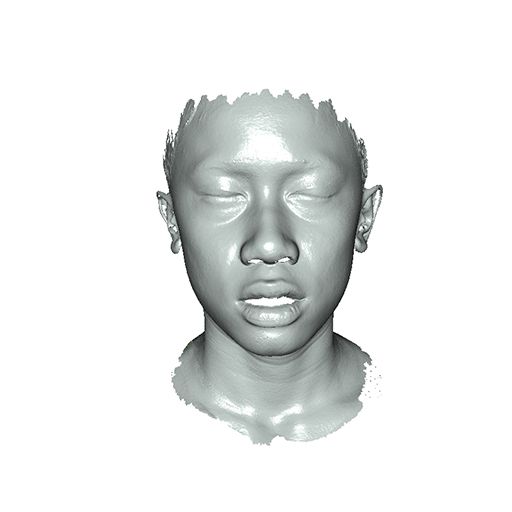
For this video, the H3 scanner captured a human face.
Considering the result, it is impressive how little time it took for the device to produce such a quality scan with all the detail reproduced.
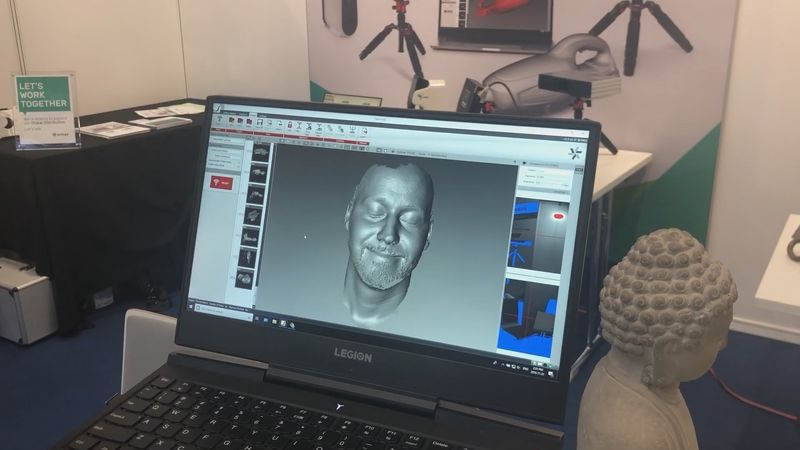
This is how you scan a full body with the Polyga H3 3D scanner.
Apart from the speed of capturing, the device easily gets the smallest features of the real-world object, such as wrinkles and textures of different materials.
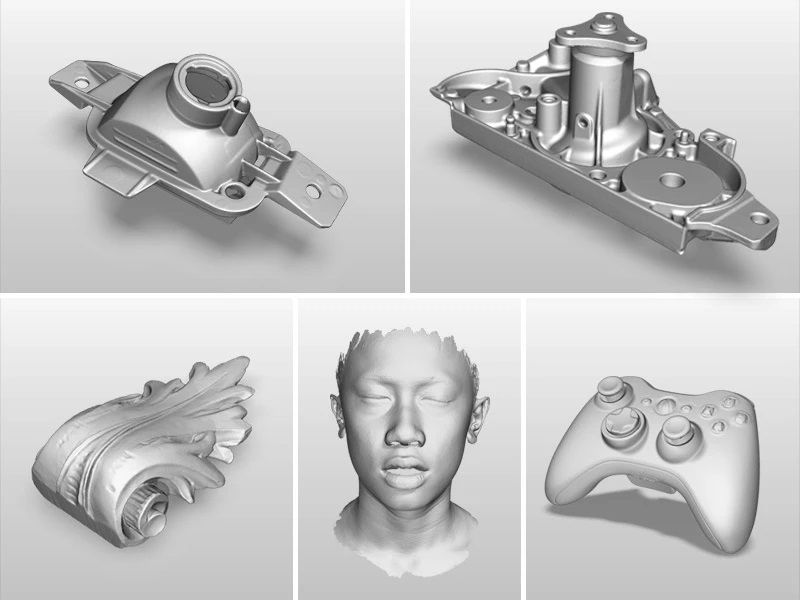
Take a look at the detailed scanning of a mechanical part and its final result after some basic processing operations in FlexScan3D.
The following scans allow us to assess the quality of H3’s high-resolution capturing in case of different objects, human face and body. As one can see, the range of applications covers projects of various directions regardless of their complexity.
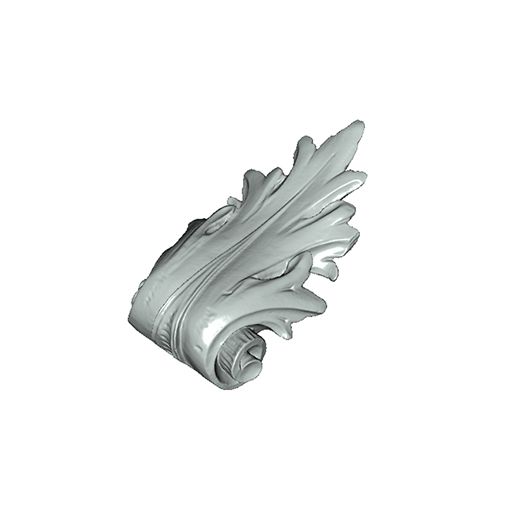
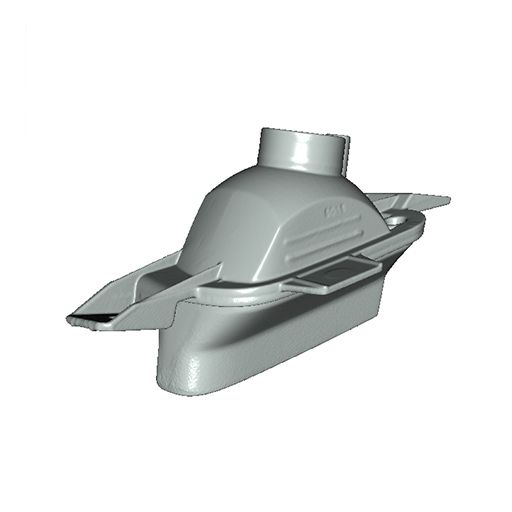
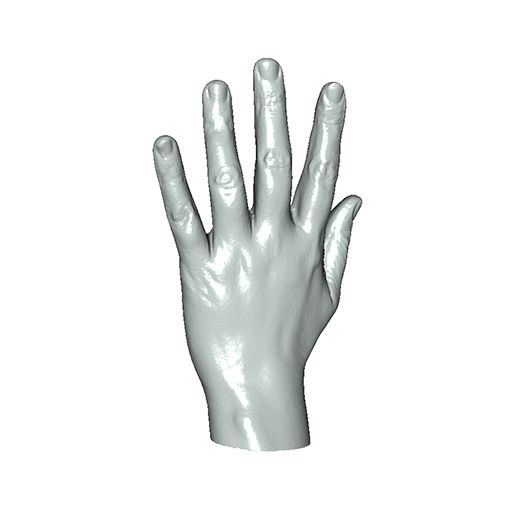


The Polyga H3 3D scanner is a worthy hybrid model perfectly complementing the company’s comprehensive product line. Representing the Polyga’s main principle of being simple yet powerful and effective, the device offers an almost intuitive, semi-automated working process in combination with high-speed and high-resolution capturing capabilities as well as two convenient modes. Thanks to the user-oriented focus, the H3 will fit both beginners and experienced professionals simplifying and improving traditional scanning in any way.
Update your browser to view this website correctly. Update my browser now
Write a comment