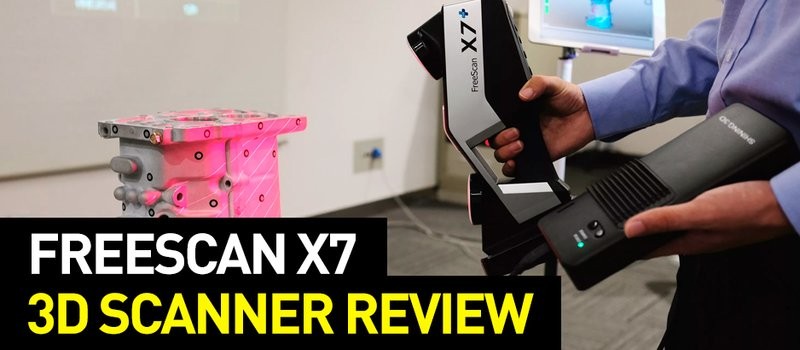
Hi everyone! In this review, we will talk about the FreeScan X7, a metrology-grade laser 3D scanner produced by Shining 3D. The company is based in China and, among its goals, it aims to make 3D digitization and additive manufacturing technologies available to everyone. Despite being a Chinese device, the FreeScan X7 keeps up with the most popular professional 3D scanning systems, such as the HandySCAN 700. Furthermore, considering its price, it looks very competitive in terms of hardware.
Portable or - as the manufacturer states - ultra-portable, this handheld scanner weighs less than 1 kilogram and can be easily held in one hand. It adopts a photogrammetric stereo system and Hybrid of Optics and Inertia technology, a scanning method that combines precise optical positioning and inertial pose compensation techniques to increase the accuracy and reliability of the point cloud registration.
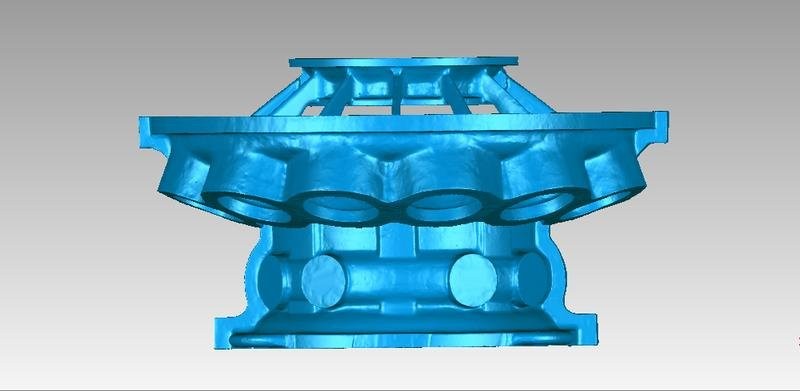
The FreeScan X7 is particularly suitable for scanning large objects with great precision. Its versatility makes it ideal for a broad range of applications, including reverse engineering and 3D quality control.
Let’s review its specs and features to figure out if it is the right industrial handheld 3D scanner for you.
Source: shining3d.com
Easy to carry and operate, the FreeScan X7 is a lightweight flexible device capable of scanning in both narrows and hard-to-reach spaces with ease. It works independently, without requiring the use of tripods or external holders. It has good hardware and is highly reliable.
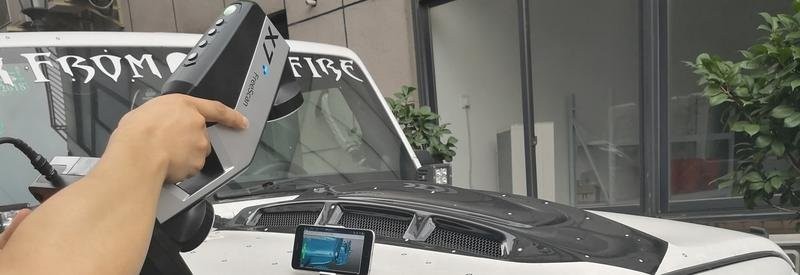
Engineered with two cameras and a 14-line eye-safe laser source, it can virtually scan anything anywhere. This means you can use it in both indoor and outdoor environments. Attaching the provided markers to the object and calibrating the sensor before each scan lets you achieve the highest accuracy.
Source: instagram.com
To be honest, it isn’t all peaches and dandelions. Indeed, despite its great build quality, the FreeScan X7 software does not excel in performance and ease of use and might be time-consuming. As a metrology scanner, it doesn’t capture textures and colors.
On the whole, the X7 is a good and reliable metrology solution that is worth its price.
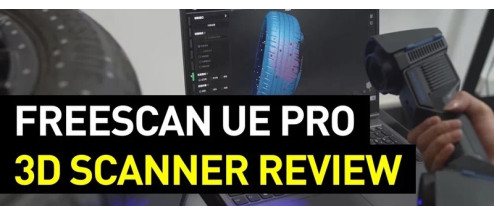
To know more about this professional scanner, let’s start watching our video review:
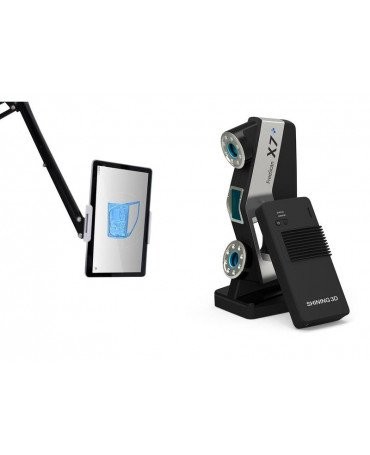
Here is an overview of the FreeScan X7 specifications.
The X7 measurement system is an effective device capable of capturing data with a measuring accuracy of 0.03 mm (under German VDI/VDE 2634 standard) and a volumetric accuracy of 0,02 mm + 0,06 mm/m. The scanner works paired with a USB-tethered computer with the Shining3D scanning software installed on it.
Shining 3D released an improved iteration of the scanner, the FreeScan X7+. The Plus version is characterized by wireless connectivity, a useful upgrade that increases the portability and flexibility of the handheld scanner, providing you with higher scanning freedom.
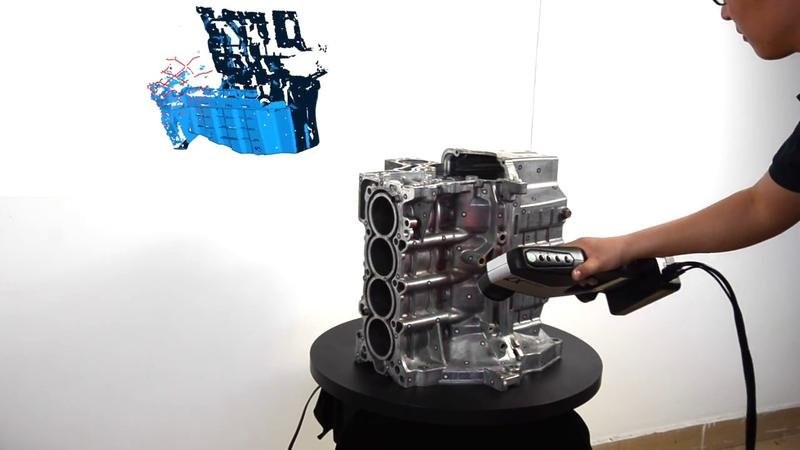
In terms of technical specifications, the X7 shares lots of common features with the HandySCAN 700. It uses laser triangulation technology with the HOI system and Global Registration Error Control Pro method. It lets you scan within a single range of 300 x 275 mm and a global range of 100 to 8,000 mm. This means it is able to scan both large and fine structures, always delivering accurate and reliable outputs, especially when measuring large workpieces.
The FreeScan X7 supports two different scan modes: auto and fixed. The fixed mode is ideal when capturing objects placed on a turntable. A self-developed algorithm allows it to collect up to 480,000 points per second.
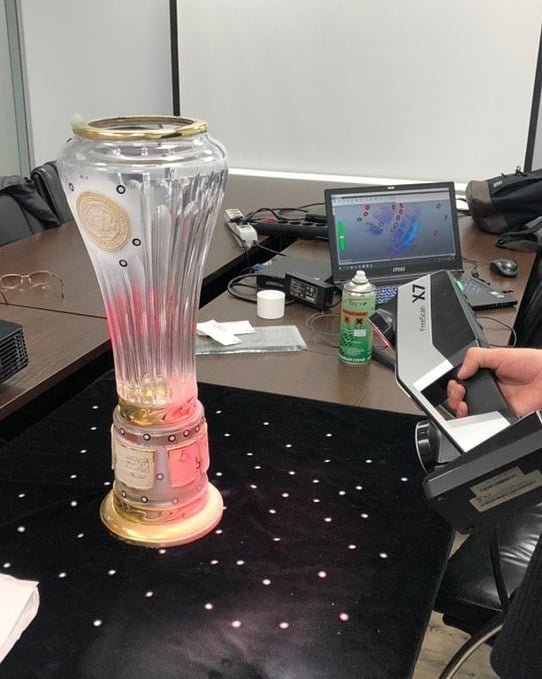
The scanner can capture almost any type of object, no matter the dimension, texture, and color.
If combined with the proprietary DigiMetric photogrammetric systems, the FreeScan X7 can achieve a volumetric accuracy of 0,020 mm + 0,025 mm/m, which is ideal when scanning large parts.
Thanks to the automatic mesh output feature, after acquiring the data, the included software is capable of automatically turning them into meshes. The final data can be exported in a variety of formats compatible with the most common 3D software and 3D metrology programs.
The scanner is compatible with Geomagic Design X and Control X, PointShape Inspector, Rhinoceros, Verisurf, Mesh2surface, and others.
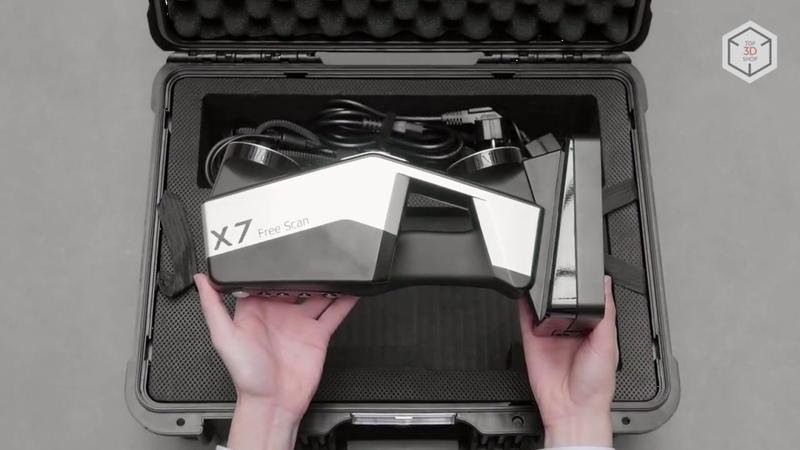
The device comes packed into a protective carrying case. Inside it, you will find all the parts and tools required to operate the scanner.
The installation process is quite simple. After unboxing the product, you have to insert the data and power cable on the bottom back of the FreeScan. Then, you have to tether the device to your computer plugging the data cable into a USB 3.0 port. After pairing the devices, you can insert the dongle driver.
The next step is installing the dongle driver, the scanner software, and the camera driver on your PC. To do that, you only have to follow the setup wizard.
Before scanning, it’s time for camera calibration via the dedicated double-sided board. The scanner software provides crystal clear instructions to perform the task.
First, start with the calibration on the dark side of the board. The instructions displayed on the screen quill guide you step-by-step. You have to move the scanner head to 6 different angles. Each angle has three different positions. When the scanner beeps, the wizard will switch to the next calibration position automatically.
After completing the first calibration, you can go for the white plate one. In this case, you have to perform it gradually moving the scanner away from the plate.
After calibrating the X7, you are almost ready to scan your workpiece. At this stage, attaching the reflective targets to the structure is strongly suggested.
To start scanning, you have to open a new project on the bundled software. Then, you should do the parameter adjustment, a recommended task when scanning different materials. In short, you have to press the parameter adjustment button, click it another time to switch to the param adjustment mode, and confirm. Then, you only have to move the scanner around the object to complete it.
When scanning, a distance indicator appears on the software window. It moves according to your movement. You should always keep the bar green while moving the device.
In the case of large part scanning, you might start capturing the frame points and then use them as a reference point for further scans. To do that, you have to export the captured data to a dedicated folder, launch a new project, and set the frame data as “open frame”. Then, you can perform a further parameter adjustment and scan the part.
If you are scanning small objects, you can place them on the included background cloth.
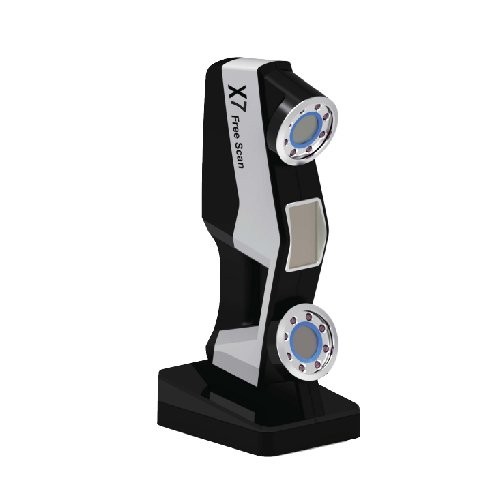
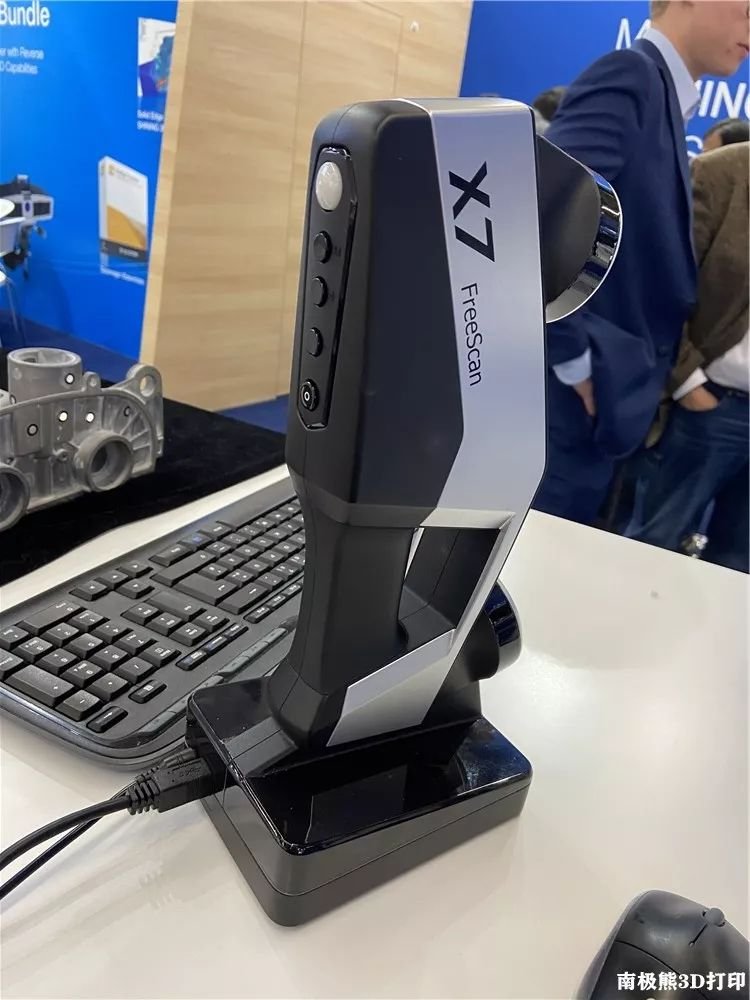
The FreeScan X7 is a light handy device that weighs only 0.95 kg.
It is a photogrammetric stereo system equipped with two scan heads on the front and, on the back, a scanning distance indicator, a parameter adjustment button, two operation buttons (+,-), and a multi-purpose button to start, pause, and confirm operations.
Source: dy.163.com
As a light source, it uses a Class II eye-safe 14-line laser ray.
The FreeScan X7 is a high-quality metrology scanner that does its job. Light and portable, it can be easily moved around the workpieces, accessing difficult-to-reach areas. Also, it benefits from a virtually unlimited scanning area.
You can buy the FreeScan X7 on Top3DShop.
Update your browser to view this website correctly. Update my browser now
Write a comment