Resin 3D printing used to be an expensive technology not so long ago. Just a few years back, there were no SLA/LCD printers in the price range of under a thousand dollars. While the prices of the FFF/FDM counterparts have been rapidly falling since the Stratasys patent for the technology expired in 2009, the costs of resin printing only recently started to plummet.
The majority of the LCD/SLA/DLP 3D printers still cost several thousand dollars but now there is a niche full of budget resin 3D printers. Anycubic Photon is one of these machines. It provides high accuracy at a very budget price point.
Source: anycubic.com
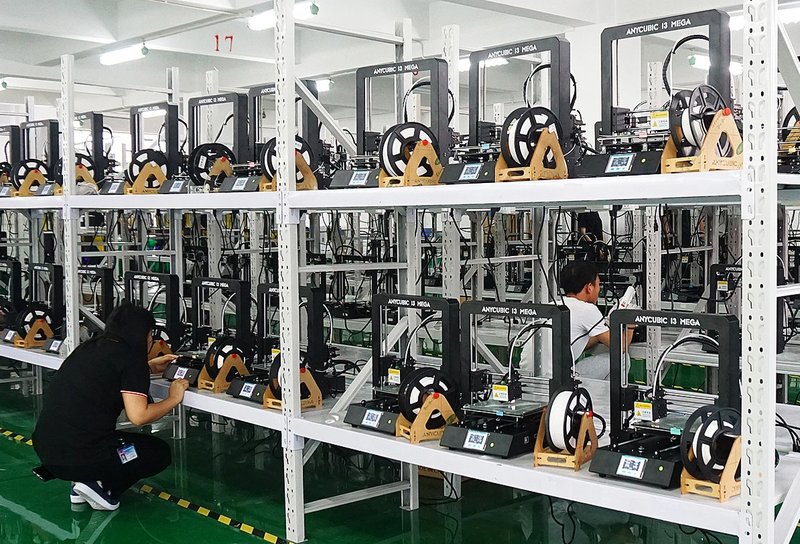
Founded in 2015 by two friends — James Ouyang and Lu Ouyang — Anycubic is a 3D printer manufacturer based in Shenzhen, China. They initially were selling 3D printing accessories, but later moved on to manufacturing their own devices. Their first full-fledged 3D printer was named Anycubic Mega and released in 2016.
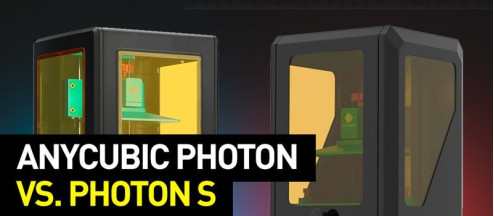
This article is centered around their most popular machine — the Photon. It was released in 2018 and was very successful, playing an important part in lowering the prices of resin 3D printers on the market and starting a whole line of 3D printers (there’s the newer Photon S version, as well as a more compact upgrade: the Photon Zero).
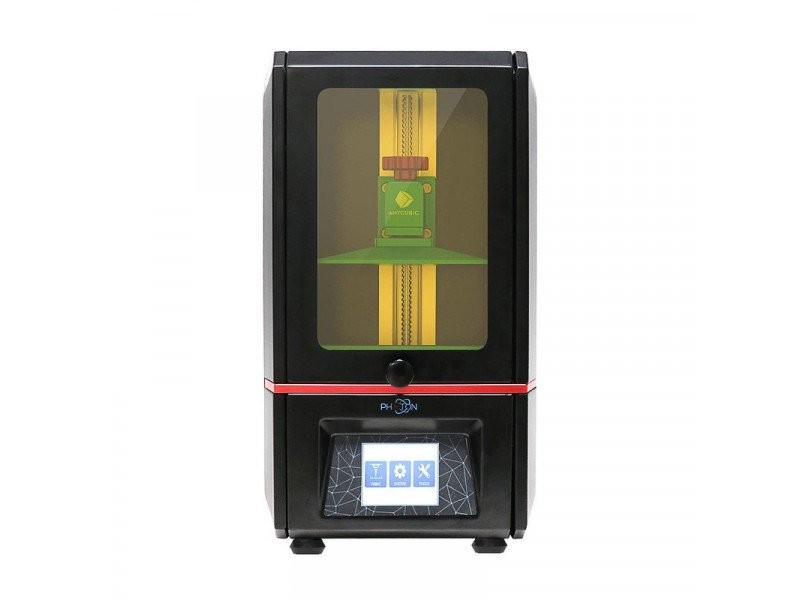
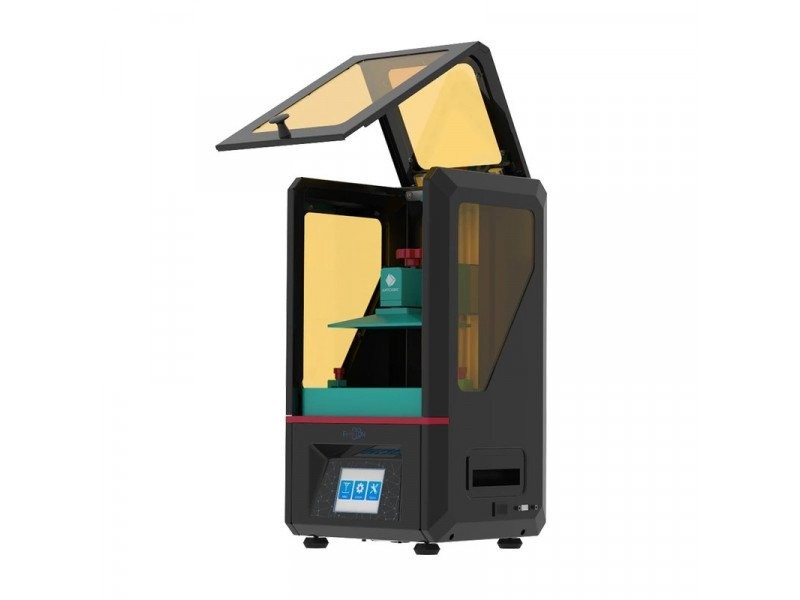
The Anycubic Photon is an LCD resin 3D printer that comes pre-assembled. It’s a well-built machine with a relatively small but still decently sized build volume (115 x 65 x 155 mm). The 3D printer uses an LCD screen of an impressive (for this price range) resolution of 2,560 x 1,440 pixels. This allows for rather incredible level of accuracy with the device being significantly more precise than the FFF/FDM 3D printers offered at a similar price.
Source: anycubic.com
The printer has an integrated 405nm UV lamp as its light source. The other features include a resin vat with an automatic warning system that notifies the user about the resin runout before it happens, a simple leveling system (tightening one screw after lowering the platform is as easy as it gets in the world of non-automatic bed leveling). The Photon has a carbon air filter with a fan installed which helps to reduce the fumes. The manufacturer still recommends using the printer in a large ventilated room.
Another thing to mention is that the device is very popular, common and has a nearly legendary status among the resin printing enthusiasts. So in case of running into any problem, there’s a wealth of information available online about every possible issue the device might have.
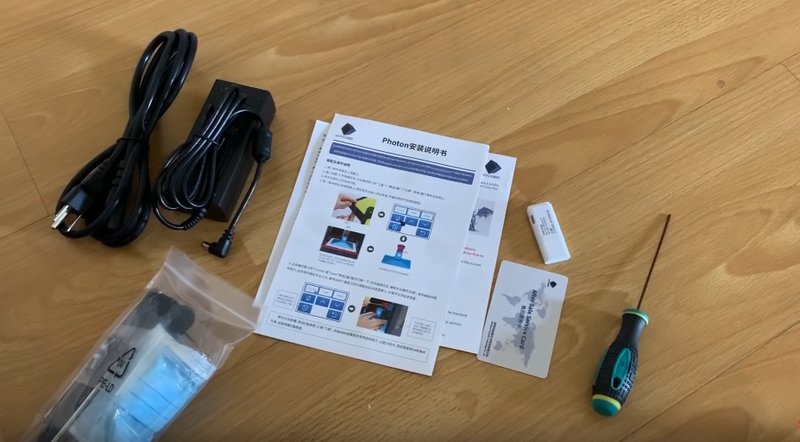
The Anycubic Photon comes neatly packaged in a compact box. Aside from the printer, its contents include: a mask, scraper, screws, a set of other tools, a USB stick with the software installed, a pair of gloves, funnel, resin vat, power cord, and a USB cable.

Source: anycubic.com
Source: youtube.com
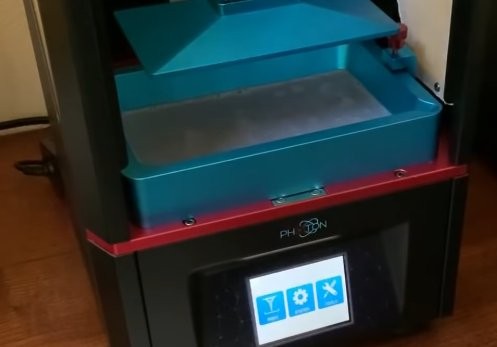
The resin vat and a platform are packaged inside the printer’s body, protected by foam.

Source: youtube.com
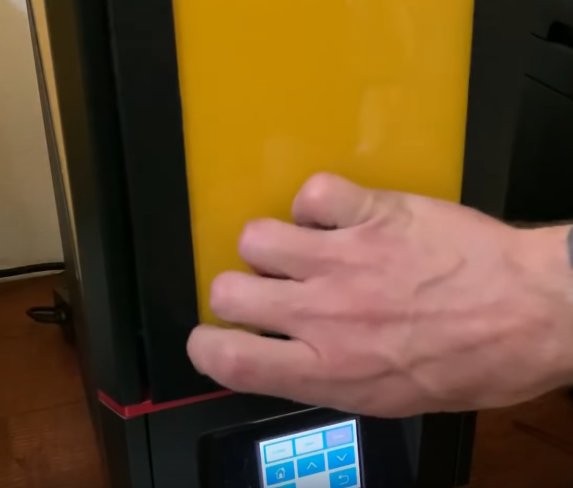
Plug the power cord in and turn the machine on.
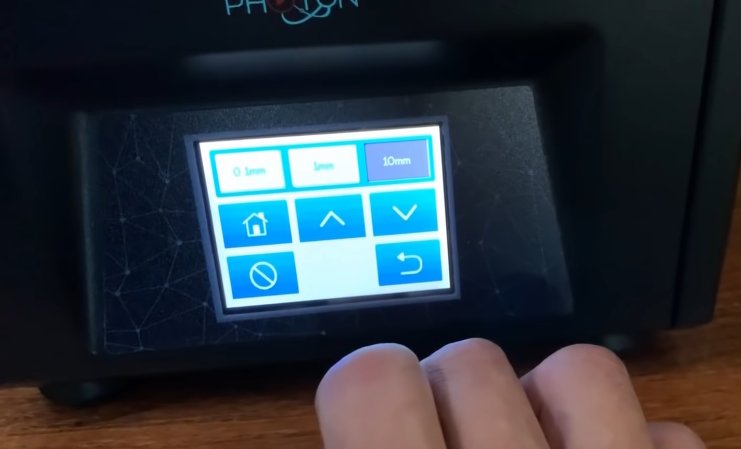
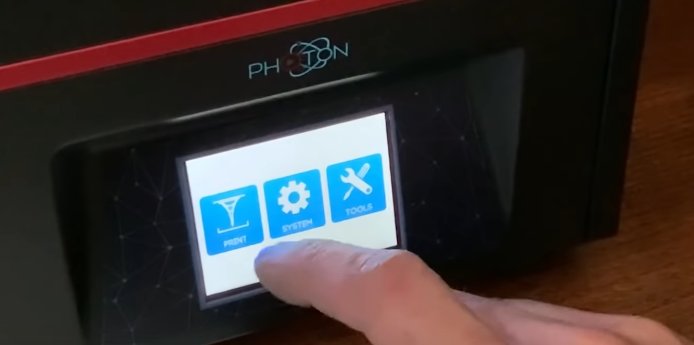
The first thing to do would be to level the bed. The calibration process is simple.
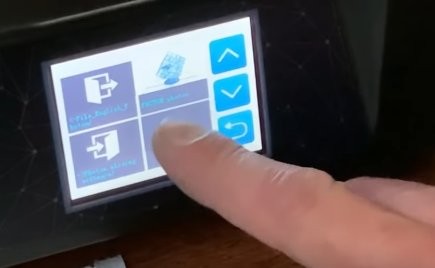
The first step is to go to the main menu, click ‘Tools’ and choose the ‘Move Z’ function. There you can press the ‘Home’ button, so the resin vat will descend.
Source: youtube.com
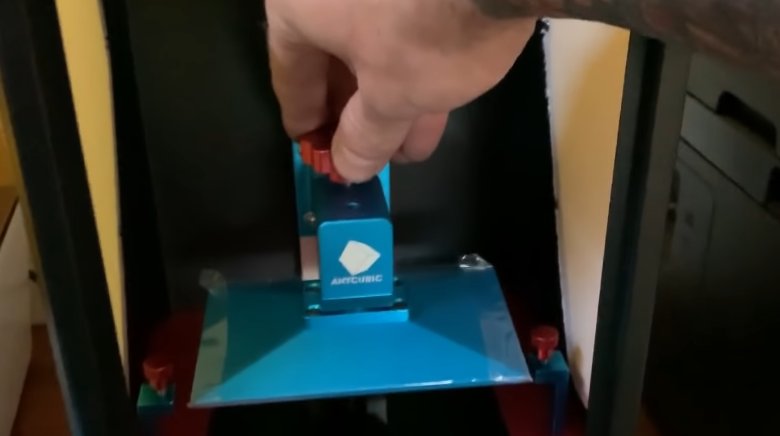
Remove the resin vat, press the ‘Up’ button and attach the platform.
Source: youtube.com
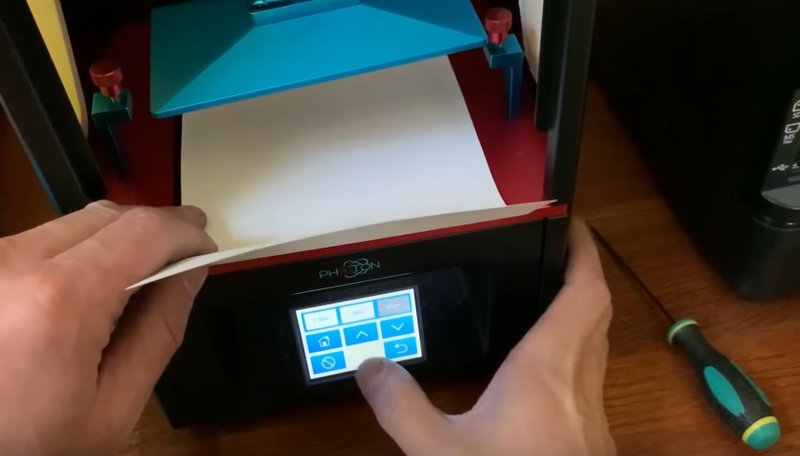
Place a piece of paper underneath the platform and press the ‘Home’ button again.
Source: youtube.com
Move the platform up and down using the respective buttons (and changing the distance the bed travels after pressing one) until you feel slight resistance when trying to move the piece of paper.
Then press the ‘back’ button, select ‘z=0’ and confirm.

Source: youtube.com
The system will save the position of the platform. It’s now leveled. The last thing to do would be to tighten the bed.

Source: youtube.com
Next, you’ll have to prepare everything for your first print.
Insert the USB drive. Check if the resin vat is clean and dust-free. Pour some resin into the vat.

Source: youtube.com
Slide it into the printer’s body right underneath the platform.
Source: youtube.com
Tighten the screws on the sides of the vat.
Close the lid.
Source: youtube.com
Go to the main menu, click ‘Print’.
Source: youtube.com
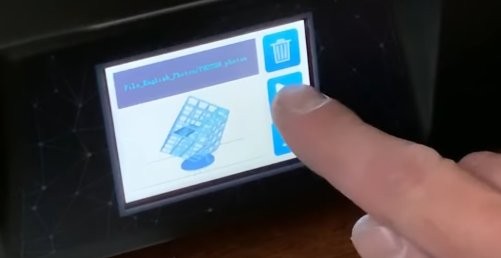
Select the model you want to print.
Source: youtube.com
Start the process.
Source: youtube.com
The machine will show the progress bar and ETA.
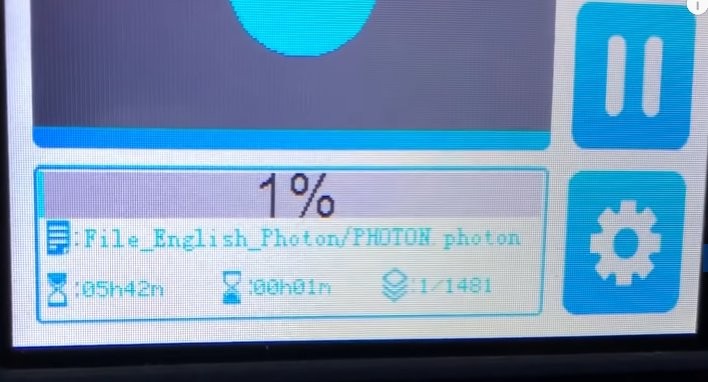
Source: youtube.com
The manufacturer provides the Photon series of 3D printers with a proprietary slicer called Photon Workshop, The program has become much more useful and powerful with a recent update: now the 80 MB will be sliced in a bit over 30 seconds instead of minutes.
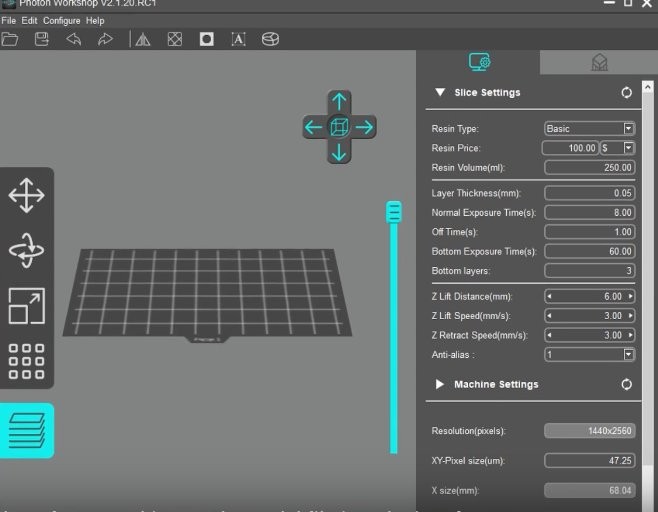
Source: youtube.com
You can also use ChiTuBox — the most common slicing software for resin printing — with the Photon.
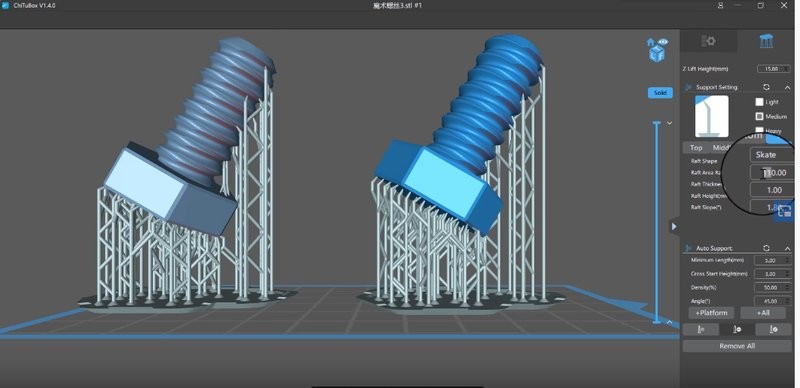
Source: youtube.com
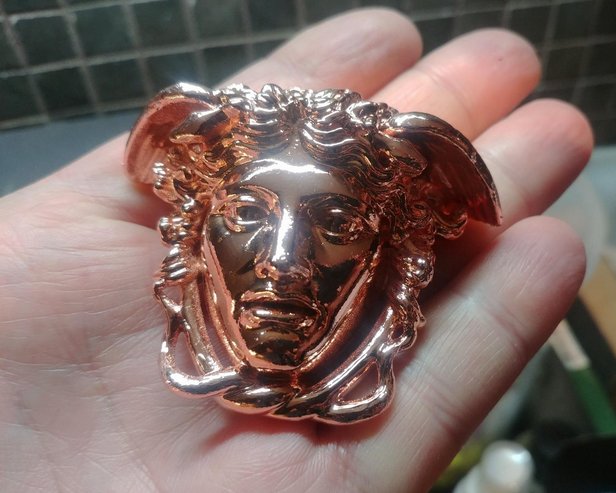
Amazon user David uses the Anycubic Photon to print jewelry. He disagrees that the device is not cut to be used for this purpose and even claims that a more expensive 3D printer he has access to provides similar results.
He also mentions how easy it is to set up the printer.
Here are some of his works:
Look how detailed the ring is!
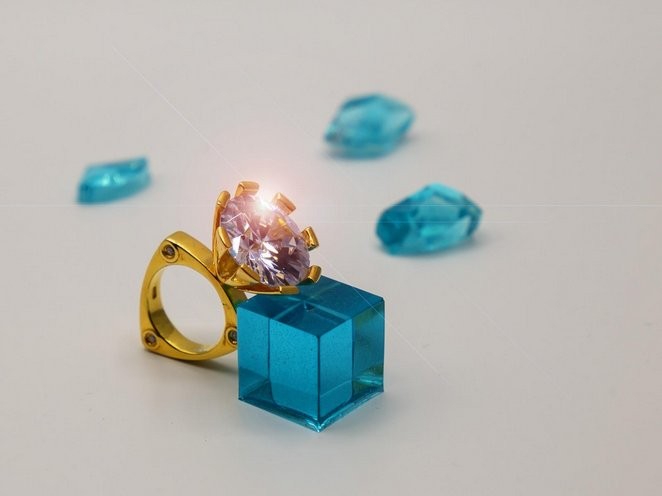
Source: amazon.com
The print below showcases a neat surface finish of a very small model. There’s a coin next to the print for scale.
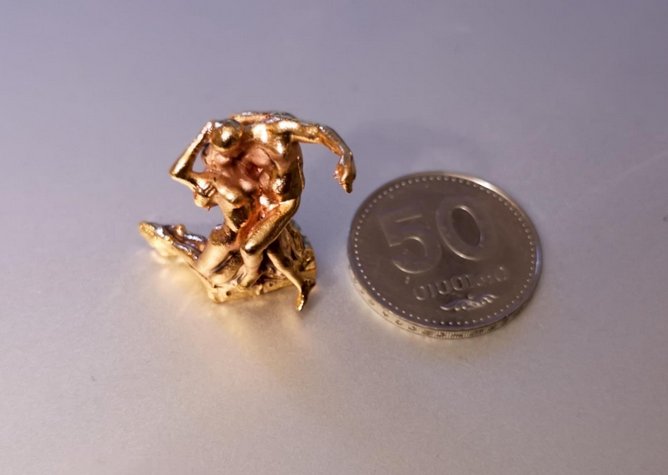
Source: amazon.com
Another complex example with a smooth finish and a great level of detail.
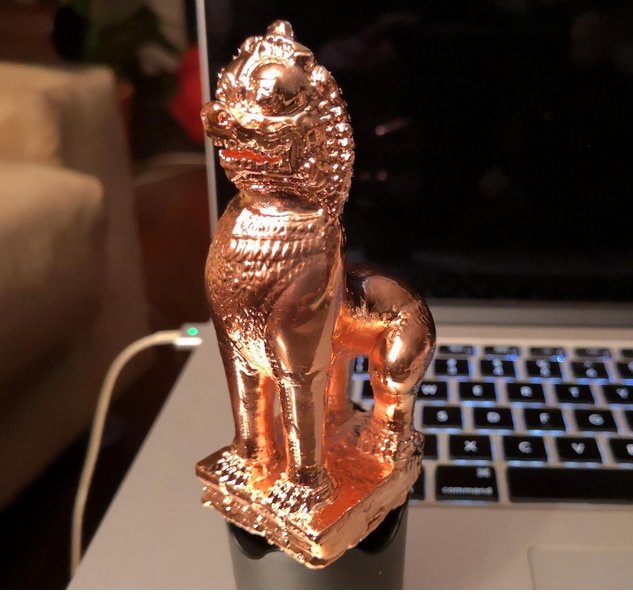
Source: amazon.com
These rings look beautiful, finely detailed, and show impressive surface finish.
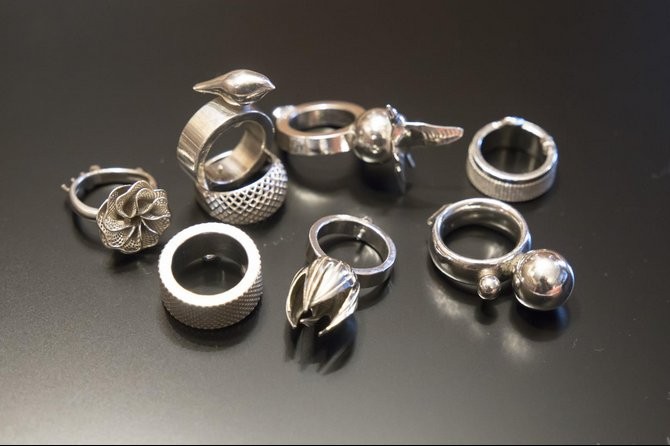
Source: amazon.com
Another example of amazing surface finish.
Source: amazon.com
Amazon user Sergio initially had some problems with printing (some lines were blurred on his first print) but he quickly realized that it was caused by rookie mistakes.
His other prints are impressive miniatures that showcase the high quality of printing.
This level of detail is impressive:
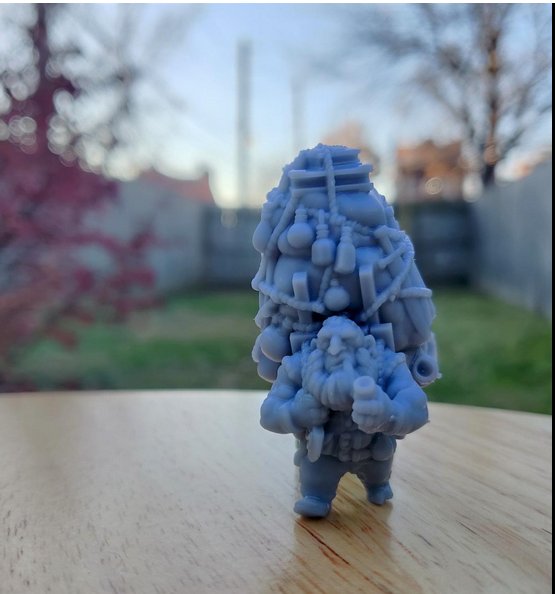
Source: amazon.com
The castle below is printed with great quality and has an impressive surface finish. It’s a highly accurate work.
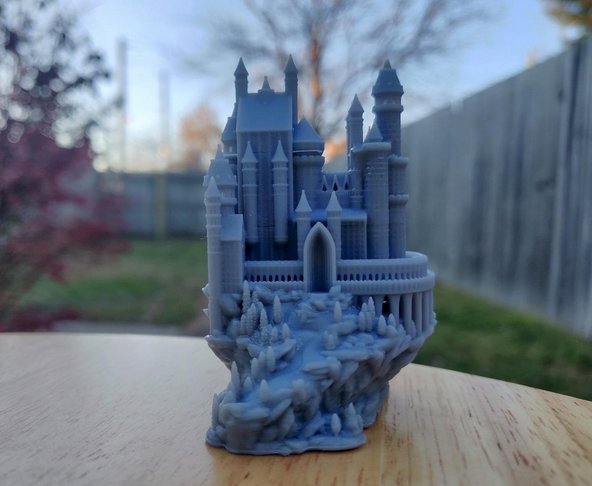
Source: amazon.com
Pros
Very low price
Sturdy build
Simple bed leveling
Decent build volume for a relatively compact size
High quality of printing
High resolution of the LCD light source
Cons
Build volume might be small for some users
Photon Workshop lags behind some other slicer programs
The Anycubic Photon was the first printer in the Photon line of the devices. (the series now includes the upgraded Photon S version and the compact Photon Zero machine) The device is extremely successful, popular and has some sort of a ‘cult following’ among resin printing enthusiasts. Placed at the low price range, the machine is still able to produce high-quality prints. The LCD light source installed in the device has a resolution of 2560 x 1440 which is very rare for budget resin 3D printers. Resin vat with automatic resin runout warning system and a carbon air filter are pretty useful additions as well.
The 3D printer comes pre-assembled and is extremely easy to set up. The whole process is pretty standard with the longest part consisting of manually leveling the bed (takes between 5 and 10 minutes). This process is also pretty simple and streamlined and takes just a few minutes.
The controls are pretty easy to navigate with an intuitive UI. There’s a preview of a model that is currently being printed, as well as the progress bar and estimated time until finish.
The resulting prints offer smooth surface finishes and high level of detail.
All of the above makes this 3D printer a great choice for beginners (including recent ‘converts’ coming from FFF/FDM) and those who do not want to pay a lot for resin printing for various reasons. The machine offers great quality at a low price and sizeable community of online users thanks to its popularity.
Update your browser to view this website correctly. Update my browser now

Write a comment