
In recent years FFF/FDM 3D printing has become impressively cheap. Nowadays it’s possible to buy a fully functional machine with a decent build volume even if one’s budget is less than $300.
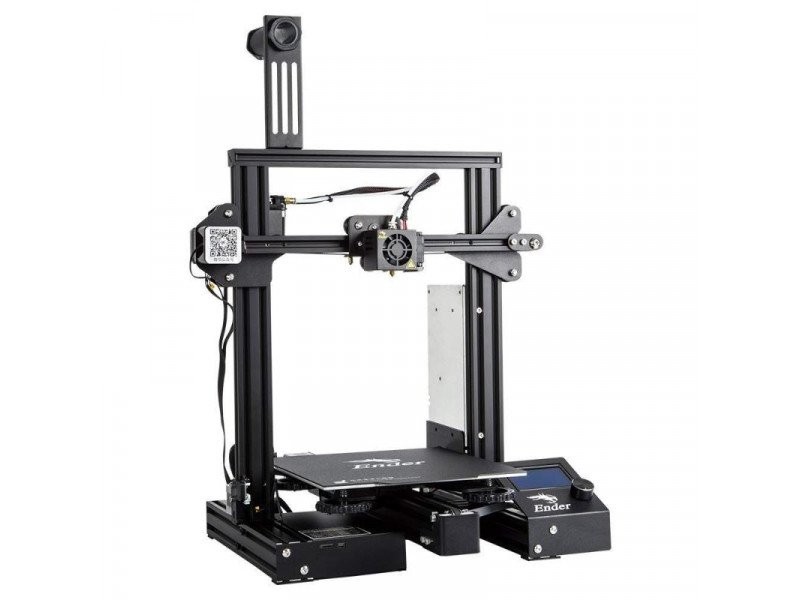
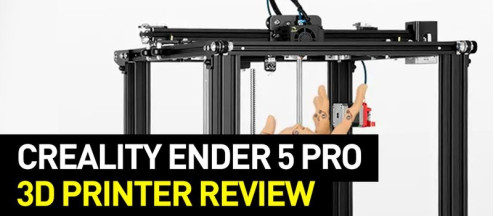
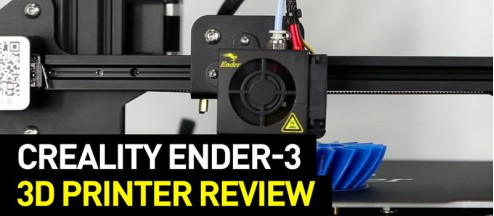
One of such machines is the Creality Ender-3 Pro. This device combines decent build volume, compact size and a low-budget price.

Source: creality.com
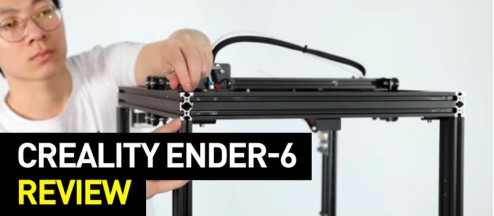
Creality 3D Technology Co., Ltd is a 3D printer and scanner manufacturer. It’s based in Shenzhen, China and was founded in 2014. Their first success came after the release of the Ender 3 in March of 2018. The Ender series was overall very popular. The vast majority of the company’s 3D printers come as the DIY kits that need to be assembled.
The Ender-3 Pro is an upgraded version of the Ender-3, bringing some improvements to an already beloved device that has achieved a nearly legendary status.
The Ender-3 Pro continues the Creality’s tradition of delivering DIY kits that can be assembled into sturdy open-framed FFF/FDM 3D printers. Despite its low price, the machine offers high-quality materials and a tight filament pathway that can work with flexible materials, magnetic print plate and some other features. The build volume is decent: 220 x 220 x 250 mm, while the machine’s dimensions are 440 x 410 x 465 mm. The combination of a sizable build volume and a compact footprint at this price point is very impressive.
The metal print bed has to be adjusted manually which is expected from the machine of this price. It’s magnetic and the sheet is flexible and removable. It’s one of the improvements over the original Ender 3. Another change is more sturdy mechanical properties. The bearing wheels have been improved as well as the overall stability over the Y-axis.
And last, but not least, is the print resume function. It’s usually a rare thing among the devices of this price range and a very useful feature.
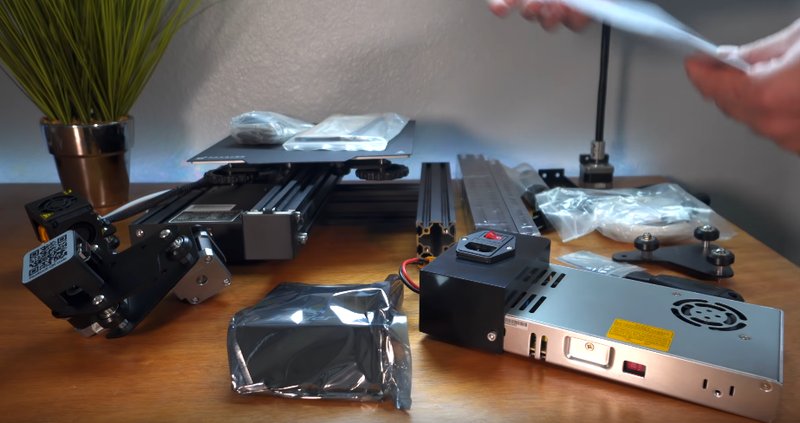
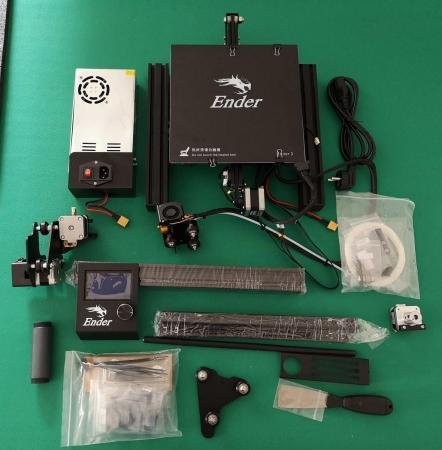
The device comes in a rather compact box. It’s a DIY kit but is really simple to assemble. The contents of the package include:
Source: youtube.com
Source: stampa3d-forum.it
As was already mentioned, the device comes as a DIY kit and a user would need to assemble it. The user manual that comes with the machine shows some instructions and it’s easy to follow the simple steps.
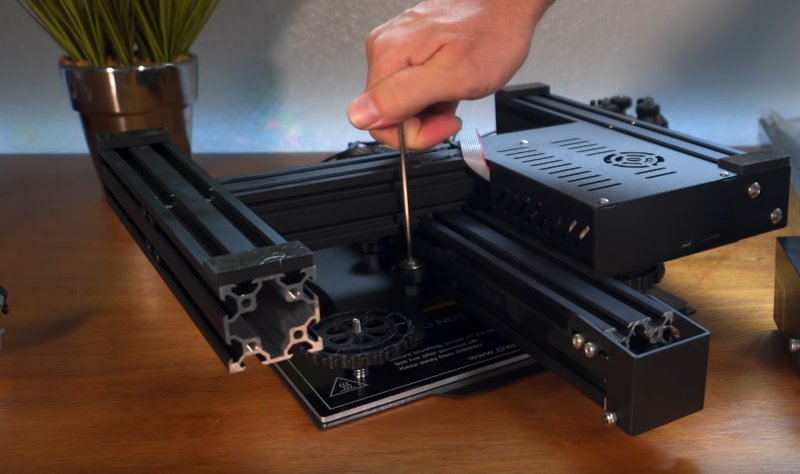
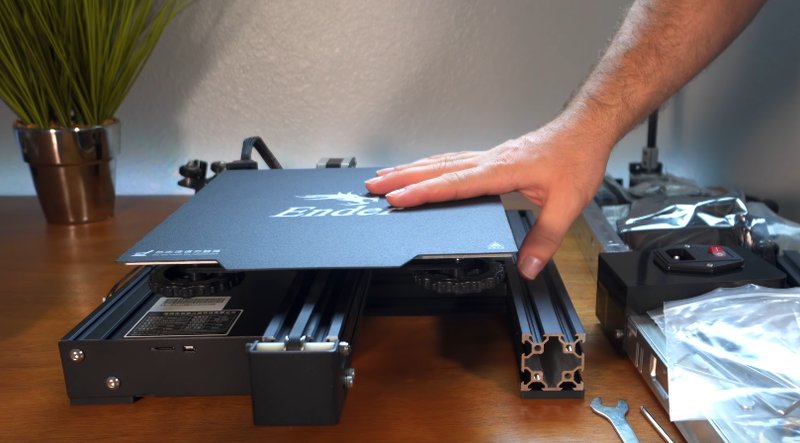
Adjusting the bed is the first anyone should do before assembling the machine. The reason is that the structure has to be flipped over in order to adjust it, and it’s much easier to do before the printer is fully assembled.
Flip the base over.
Source: youtube.com
Get a wrench and an Allen wrench (both are included the package).
Use an Allen wrench for the bolt to loosen or tighten it.
Source: youtube.com
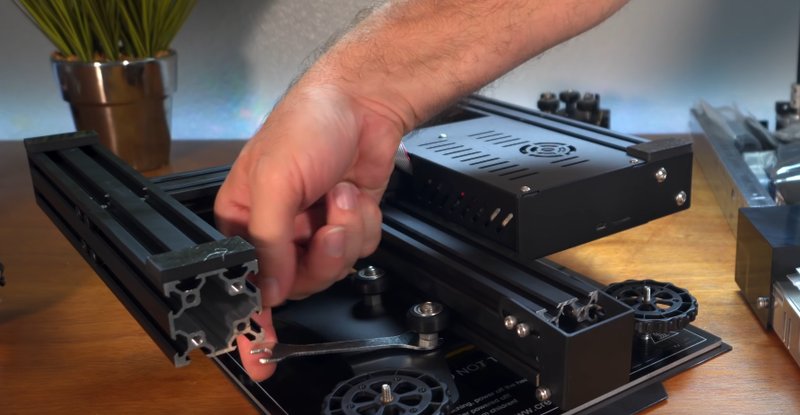
A regular wrench will be used to work with a nut located underneath.
Source: youtube.com
Tighten the bolts and the nuts so slightly until they meet some resistance. Check the results by moving the structure. Don’t tighten them too much, since it will bring other problems, you just have to eliminate the wobble that happens when you manipulate the moving parts.
Source: youtube.com
Once everything is tight and there’s no wobble, flip the base back to a normal position.
Source: youtube.com
Ideally the base should be placed on something very level. Loosen the bolts on the side all the way and make sure that the ‘feet’ of the base are level. After that you should tighten the bolts again.
Source: youtube.com
Double-check all the bolts and nuts in case they might not be tightened by the manufacturer.
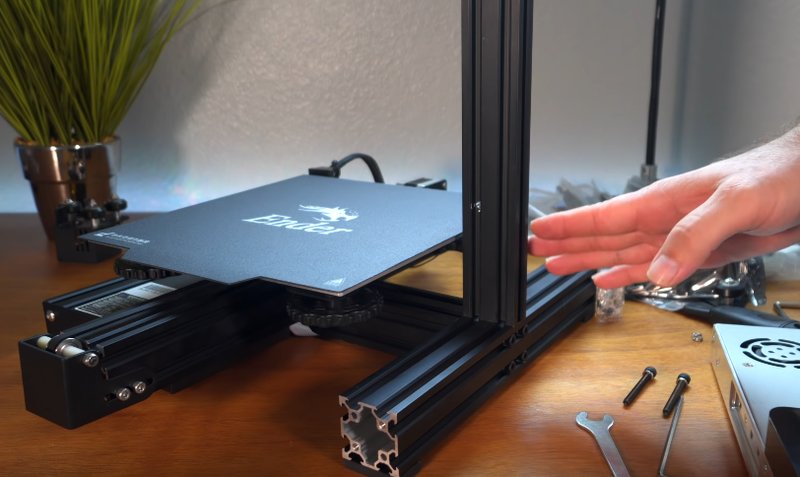
Now the base is level and sturdy. The next step would be to connect the vertical parts of the frame to the base.
Source: youtube.com
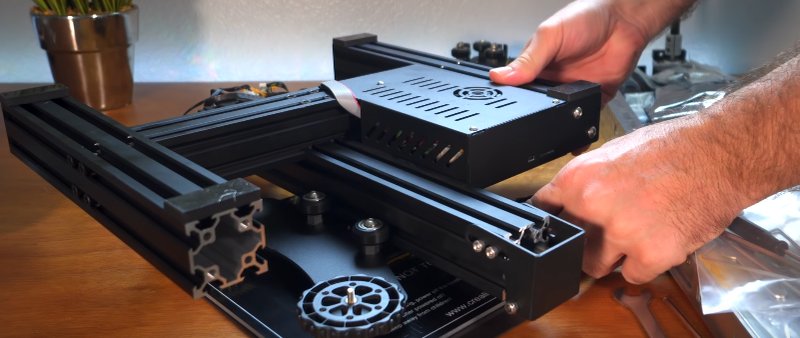
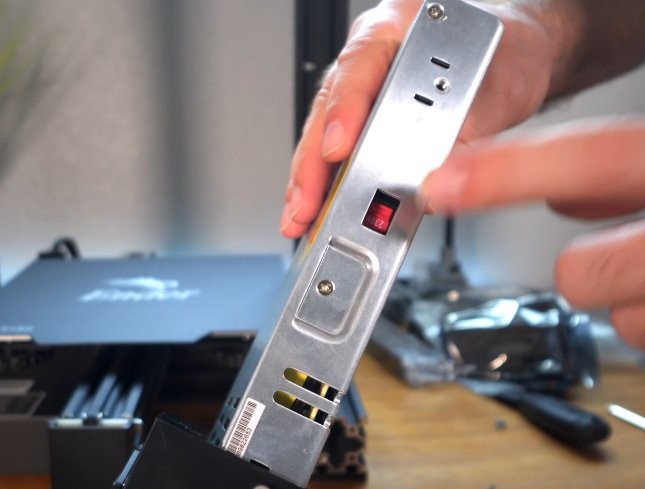
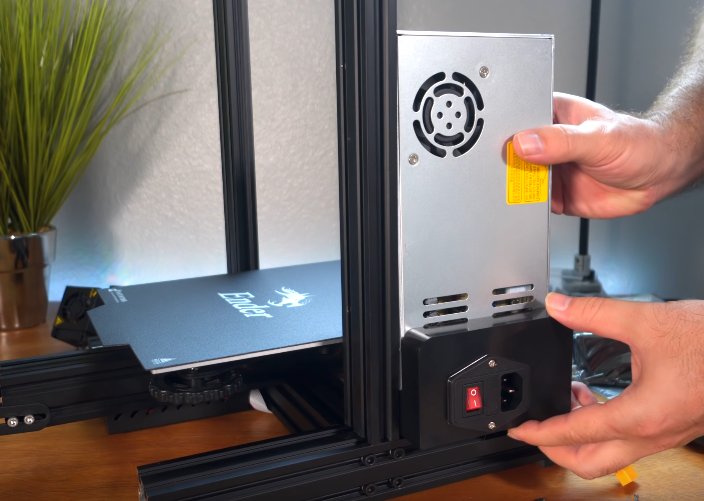
Installing the power supply would be the next step. The part comes in a package, and if you live in the US, you should switch the voltage from the 220V to 110V.
Source: youtube.com
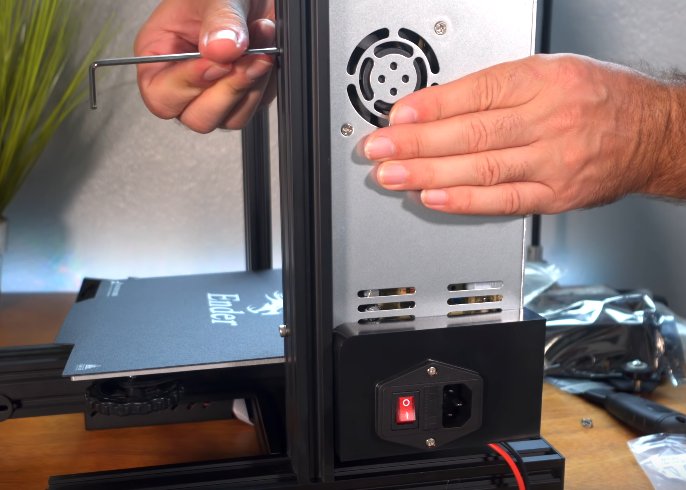
Mount the supply.
Source: youtube.com
And screw the bolts in.
Source: youtube.com
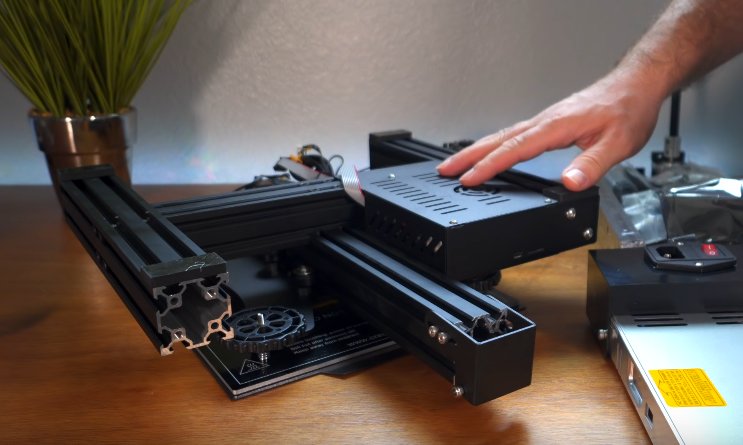
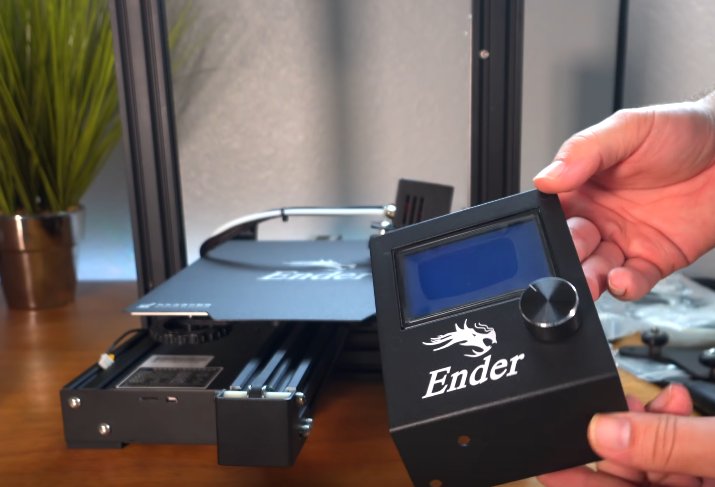
The next thing to do is to install the control unit.
Source: youtube.com
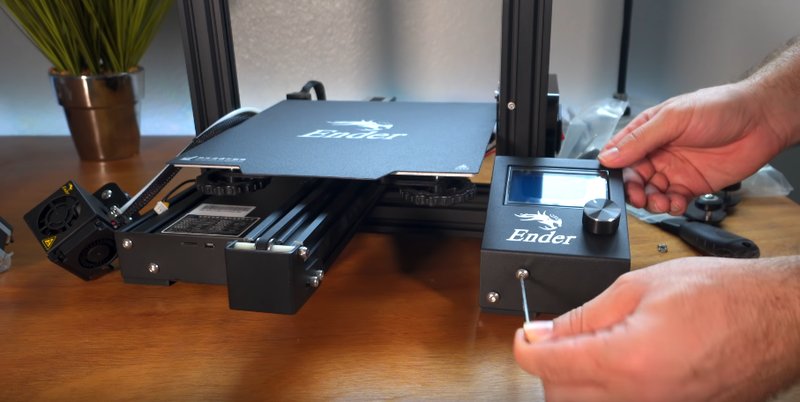
Mounting the unit and screwing the bolts in is a simple process.
Source: youtube.com
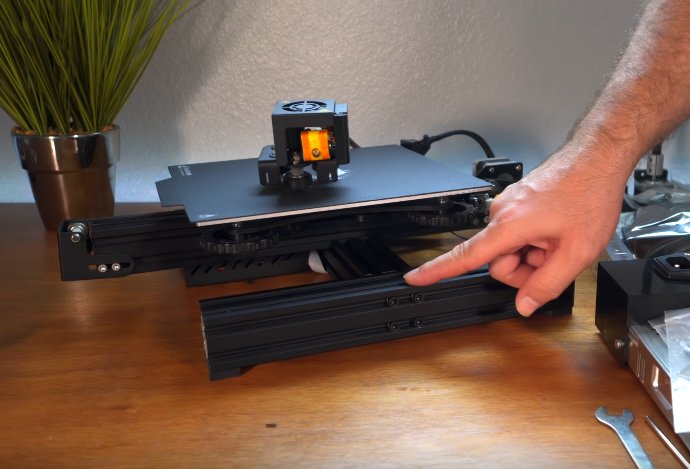
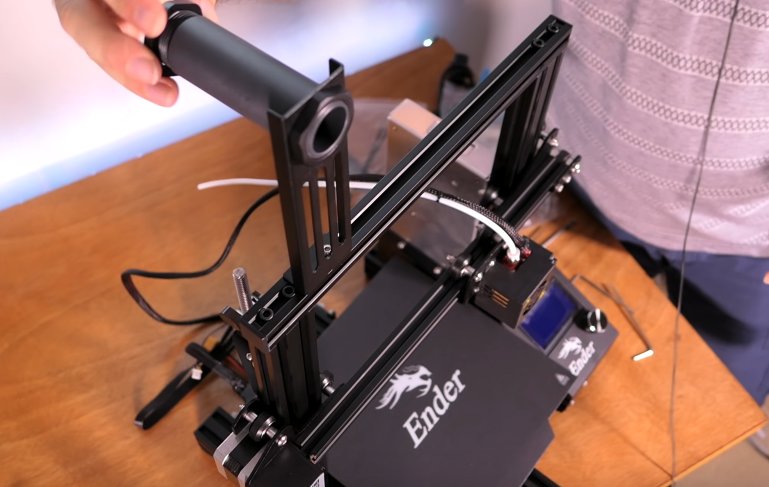
Then you should install the Z-axis switch, put the rod and install the main frame on the base. Once the majority of the machine is built, you should install the filament spool holder.
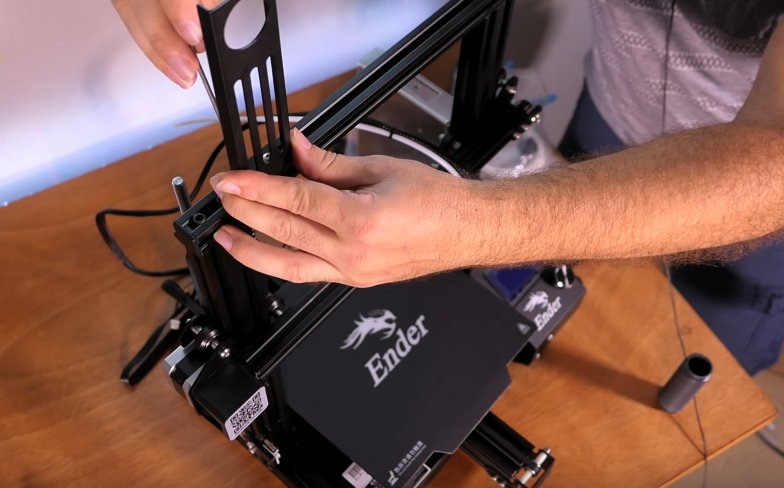
Source: youtube.com
Source: youtube.com
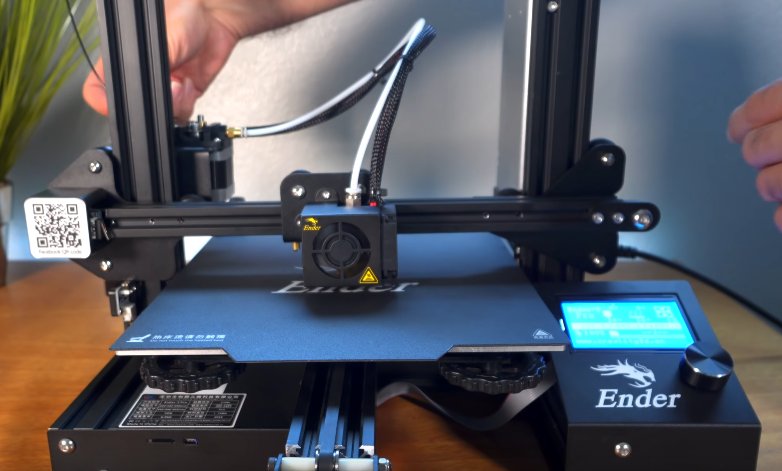
Now all the structural parts are in place and the last thing to do would be to connect all of the electronic cables. Everything is labeled and there are clear instructions, so the process is straightforward.
Bed leveling is a fully manual process that lacks any of machine’s assistance. Use a sheet of paper to check the distance between the nozzle and platform and rotate the large knobs under the bed to adjust it.
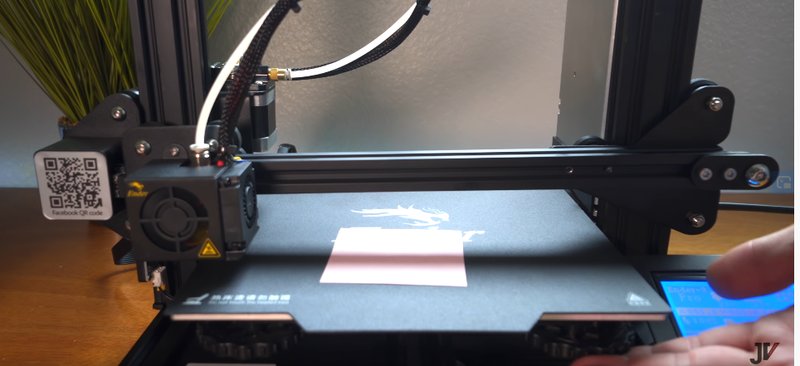
Source: youtube.com
The last thing to do would be to feed the filament in.
Source: youtube.com
The printer is compatible with the most common slicing and host software, including Cura, Simplify3D and Repetier-Host. Some programs already have pre-installed profiles for the device. There’s also the version of Cura called ‘Creality Slicer’ that is recommended by the manufacturer for use with their devices.
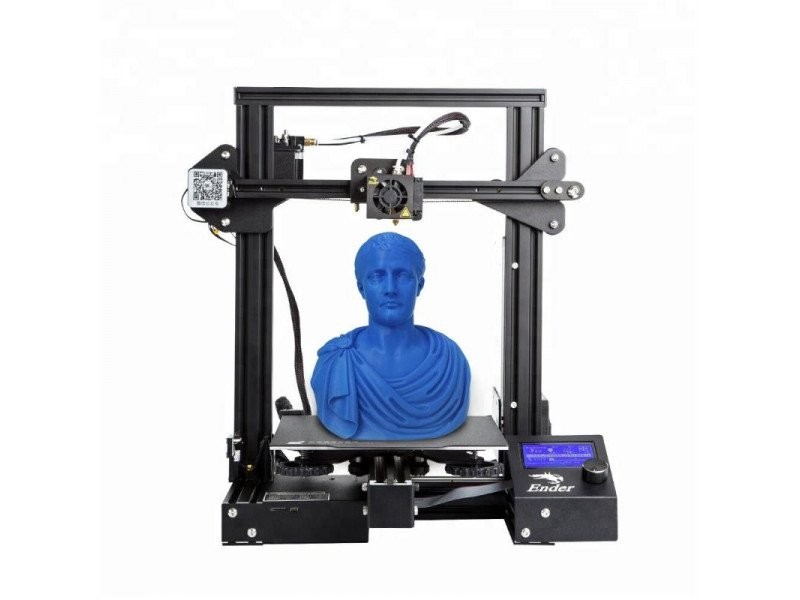
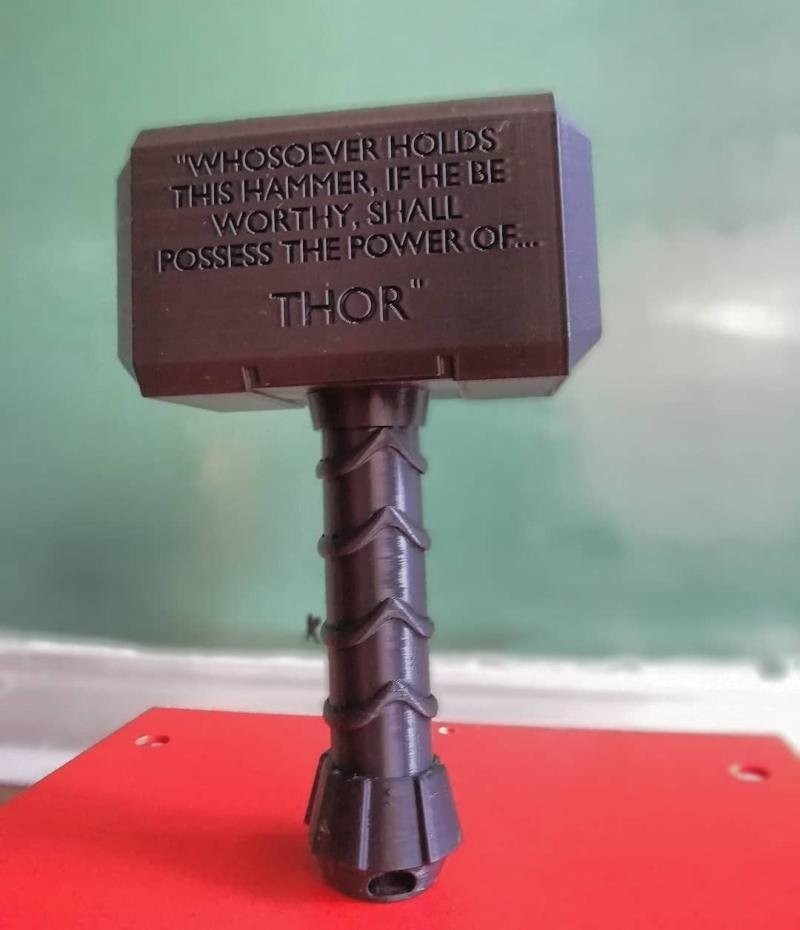
This model showcases everything one would want from an affordable 3d printer: a smooth surface, precisely engraved message and overall great quality of printing.
Source: instagram.com
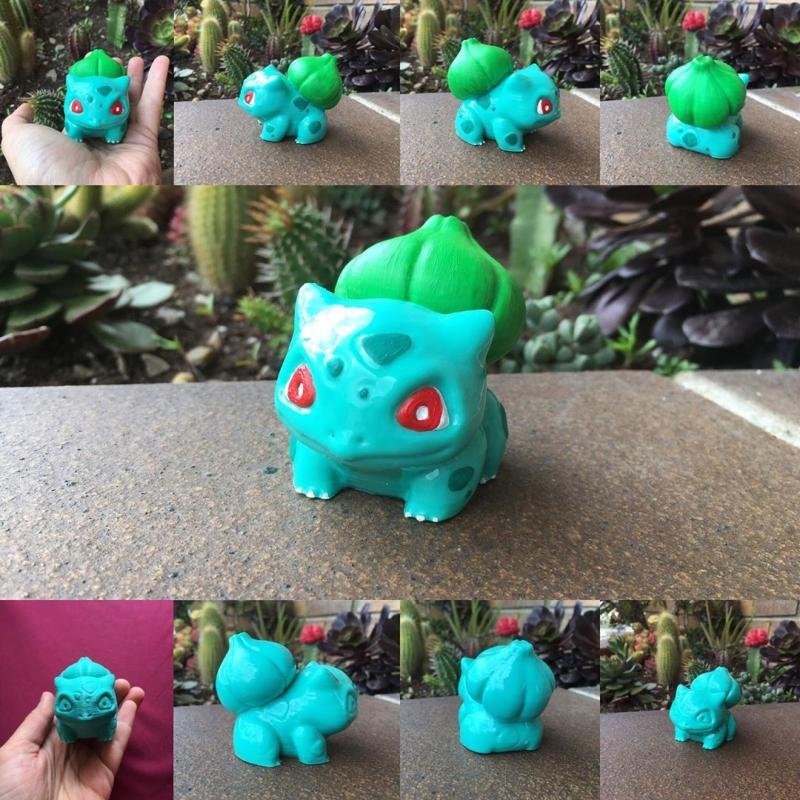
This model of a pokemon named Bulbasaur was printed using ABS at 0.2 mm height. It was painted afterwards. The result looks impressive.
Source: instagram.com
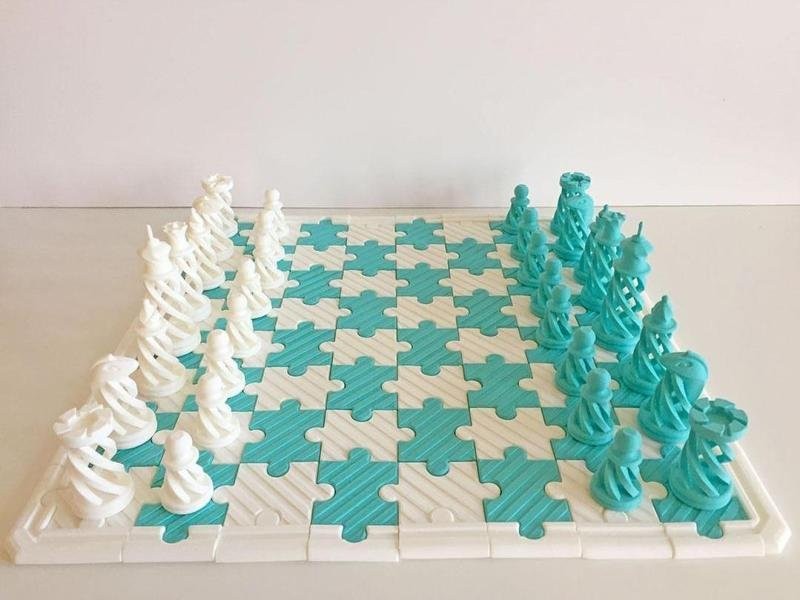
These chess figures and a board show the quality of the Ender-3 Pro’s prints. The surface finish is good and the results are of reasonable quality:
Source: instagram.com
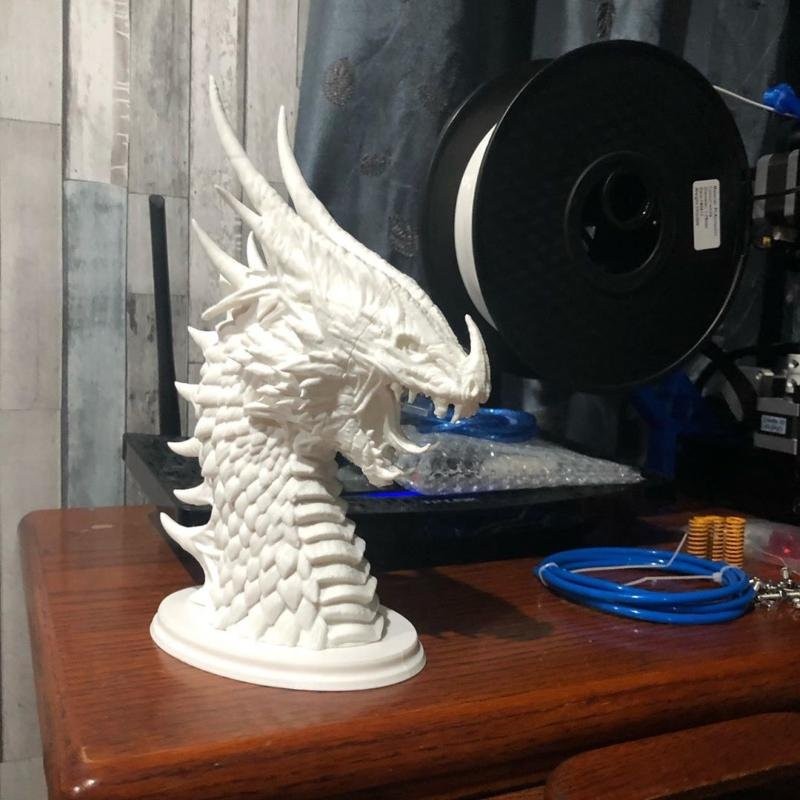
Look how impressive this print is!
Source: instagram.com
Pros
Cons
The Creality Ender-3 Pro is a useful moderate update over its legendary predecessor. The additions include a newer magnetic print plate and more stability (especially over the Y-axis). The machine is a typical Creality’s offering: a DIY kit at a cheap price. It’s easy to assemble, easy to work with, has great upgradeability and features some neat things such as a print resume option and a tight filament pathway. The machine features a decent build volume while managing to be compact.
The Ender-3 Pro’s quality of printing is great for home use and the machine will be a useful choice for the hobbyists with various experience and educators. It’s a really powerful device for its price.
Update your browser to view this website correctly. Update my browser now

Write a comment