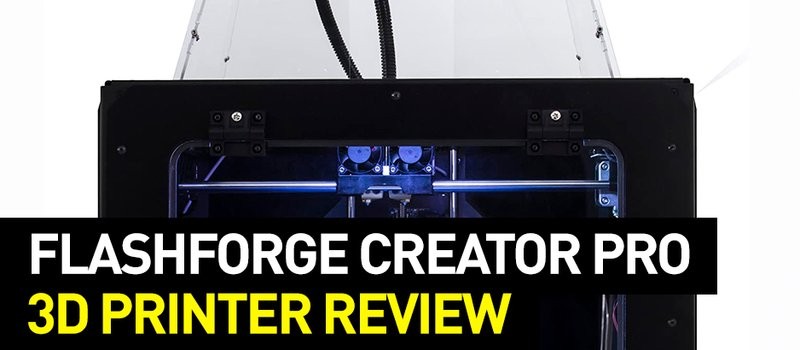
FFF/FDM 3D printers have been affordable for a wide audience for quite some time. But what if you wanted to have an inexpensive 3D printer without making serious compromises? Flashforge Creator Pro is one of the devices that fit the criteria. A balance of high quality, safety, smart design, great built blend into one affordable machine that offers enough flexible functionality.
Source: flashforge.com
Zhejiang Flashforge 3D Technology Co., Ltd, or simply Flashforge is a Chinese 3D equipment and manufacturing company. The brand was founded in 2011 and has since managed to gain enough popularity among professionals and hobbyists around the globe. The company offers plenty of 3D printers covering various sectors: but most of them are professional/industrial or cheaper educational ones.
Source: flashforge.com
FlashForge also provides its own proprietary slicer and printer control software: FlashPrint.
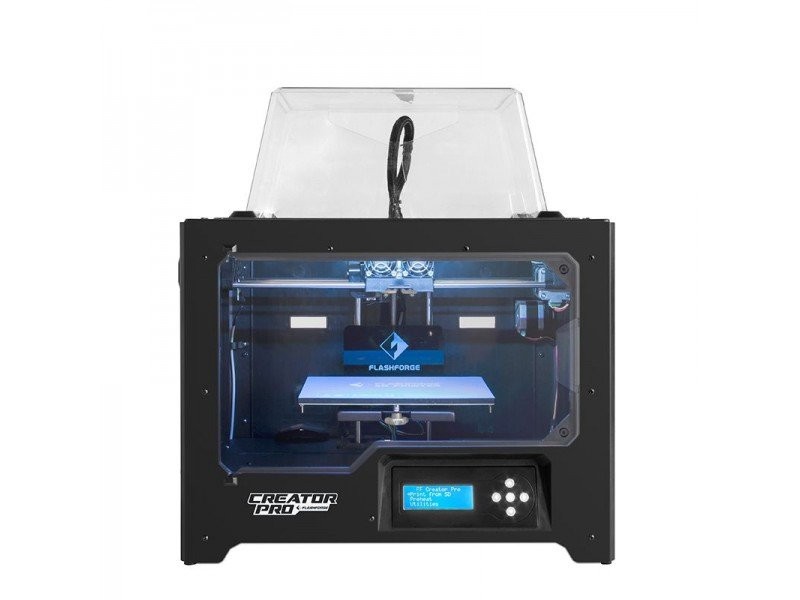
The Flashforge Creator Pro is essentially an upgraded version of the original Creator. It improves on the predecessor’s functionality while still keeping its strong points.
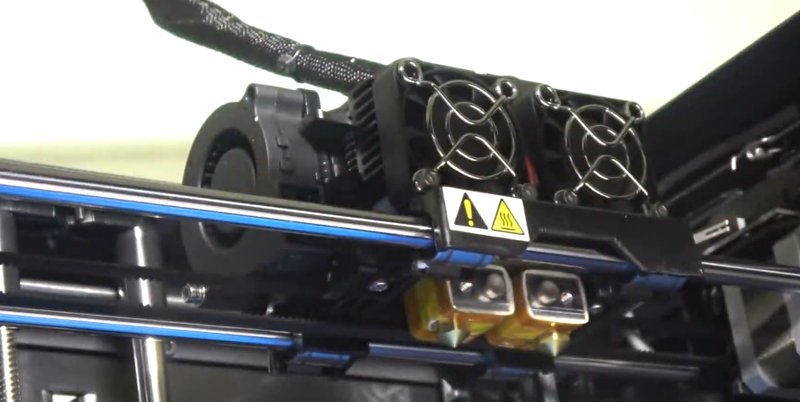
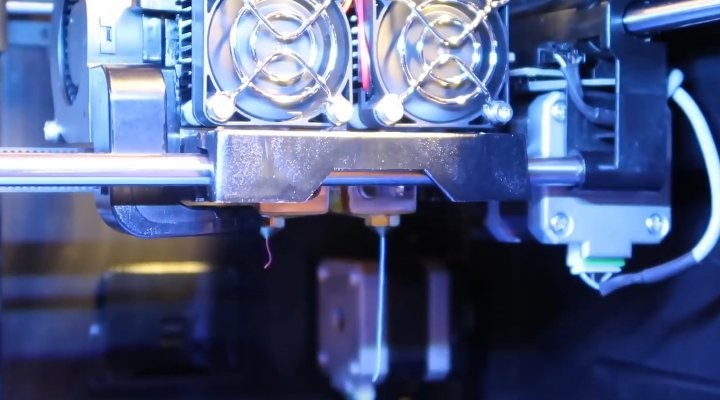
The sturdy metal frame of the machine provides a great level of rigidity, allowing the results to be quite accurate and printing speed to be significantly higher (according to the manufacturer, the machine is up to 60% faster than its predecessor). The build chamber is enclosed and fully sealed, so the machine can keep stable temperature conditions. Add a very versatile dual extrusion system (this interesting solution includes 2 heads aligned and moved together) and a heated print plate (made of aluminum alloy and is 6.5 mm thick) and you get a device that can work with a wide range of materials and provides enough options for experimenting.
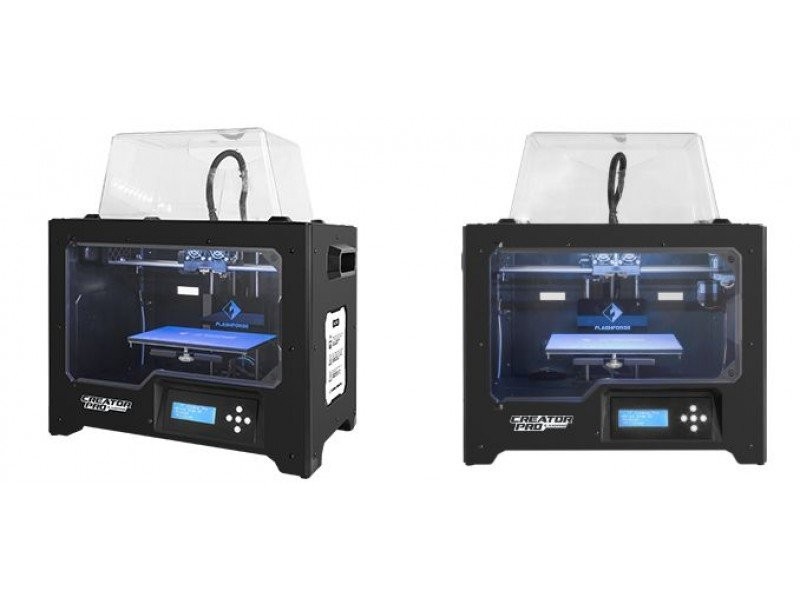
The device offers a sizable build volume: 227 x 148 x 150 mm. Other features include dual color printing, angled LCD screen for better control ergonomics, and comfortable handles that make moving the device (notably a relatively compact machine) much easier.
Some things are missing. Those are the automatic bed leveling (the 3D printer has an assisted manual system) and build plate flexibility (which is expected considering its thickness). The device also lacks a resume print function.
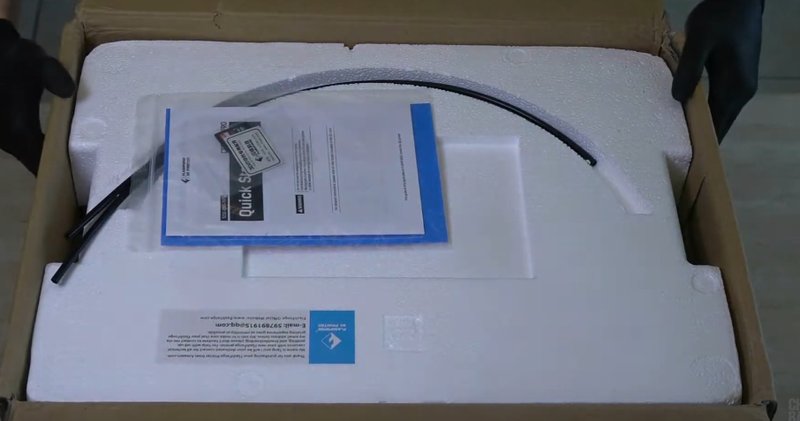
The device comes pre-assembled in a relatively small cardboard box. Some of the contents are located on the top of the protective foam plastic sheet, such as:
Source: youtube.com
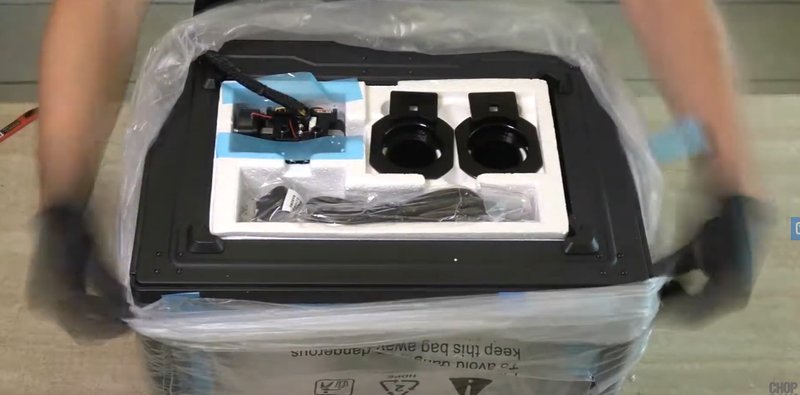
Other equipment can be found under the accessory PE foam:
Source: youtube.com
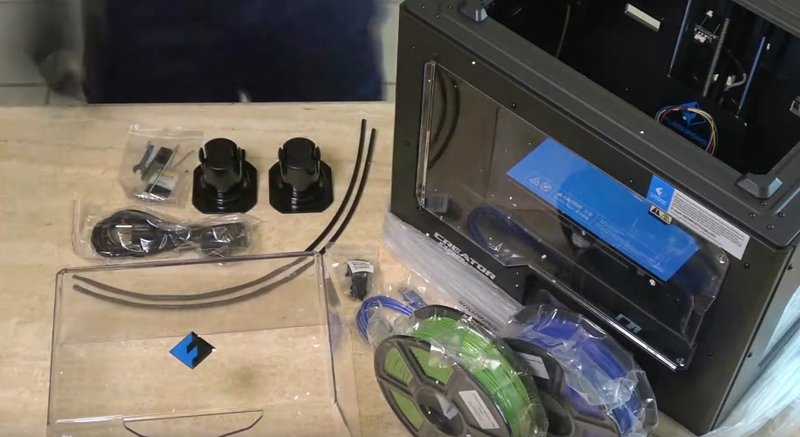
And the rest of the stuff is placed inside the 3D printer under its build platform:
Source: youtube.com
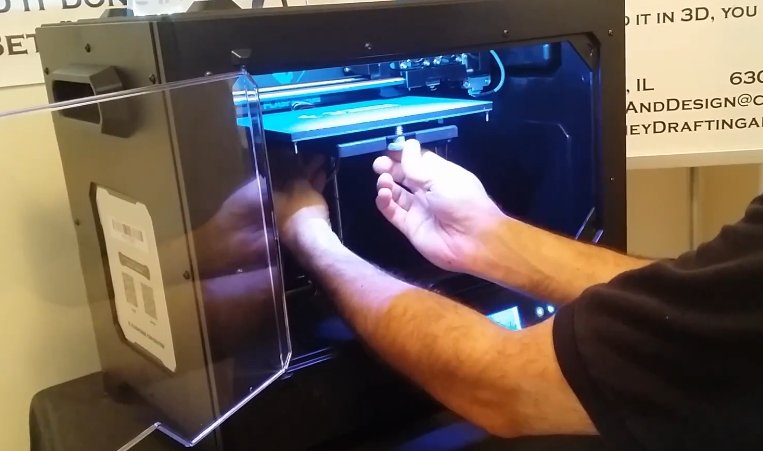
The printer comes mostly pre-assembled. After unpacking the machine, turn it on to lift the build platform to get the accessories located inside the printer.
While the device is already almost completely assembled, you still need to do some things in order to start printing.
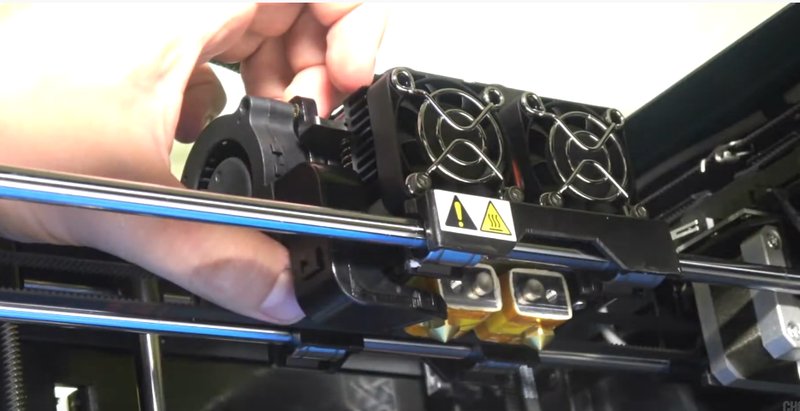
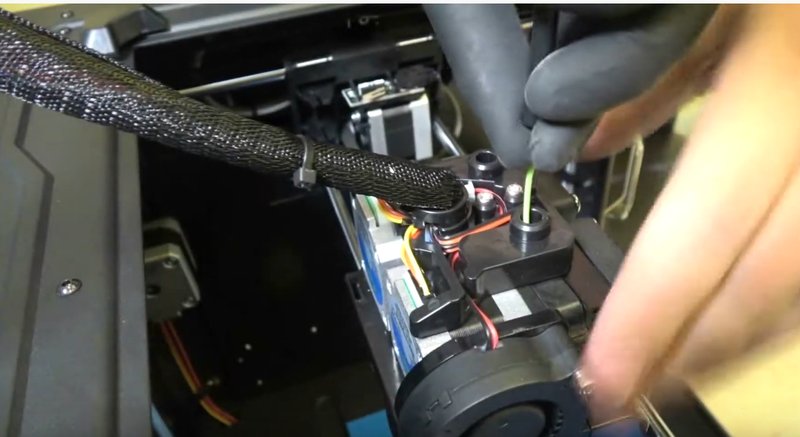
The first step would be to mount the extruder head. It’s an easy thing to do and everything needed can be found in the packaging.
Find the ‘Extruder mounting screws’ inside the box.
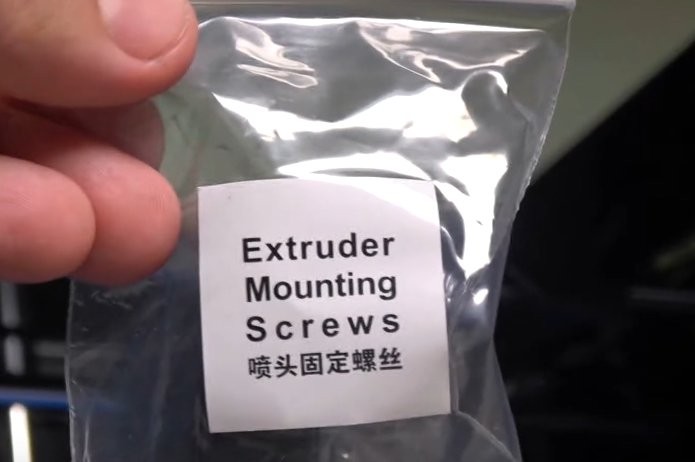
Source: youtube.com
Source: youtube.com
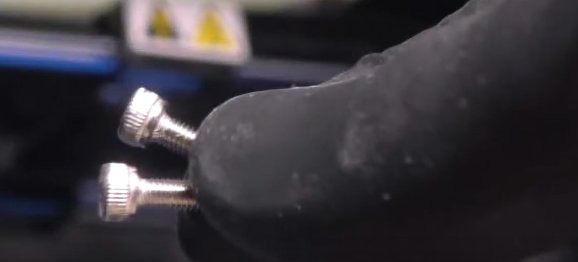
Use an Allen wrench that can be found in the box to attach the extruder head, placing the screws into corresponding holes.
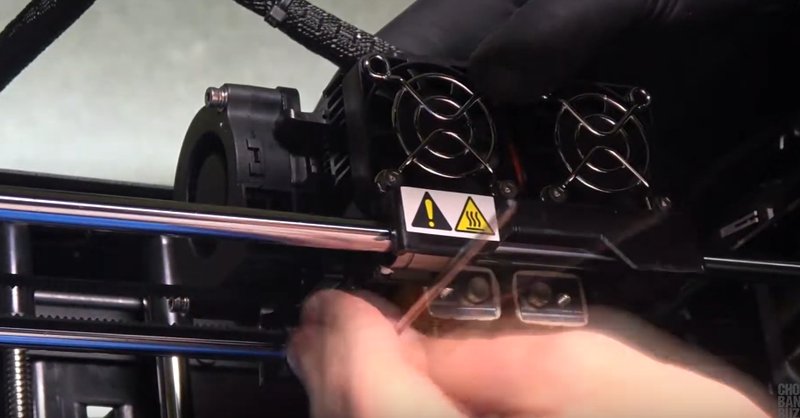
Source: youtube.com
Source: youtube.com
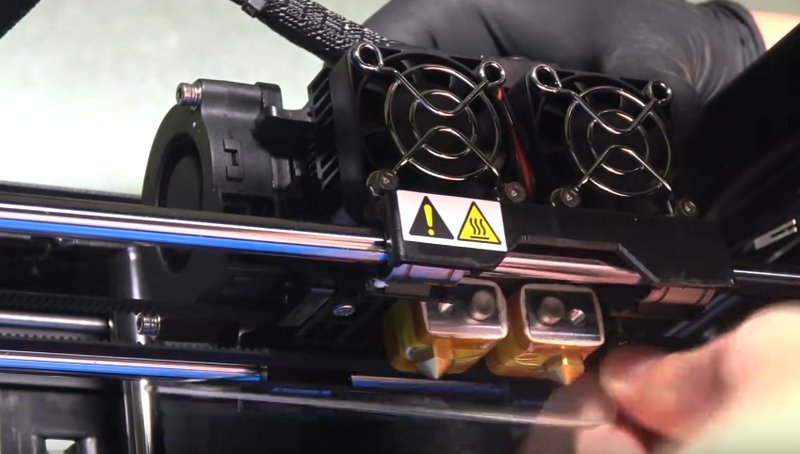
Then you should attach the fan extension to the system.
Source: youtube.com
Source: youtube.com
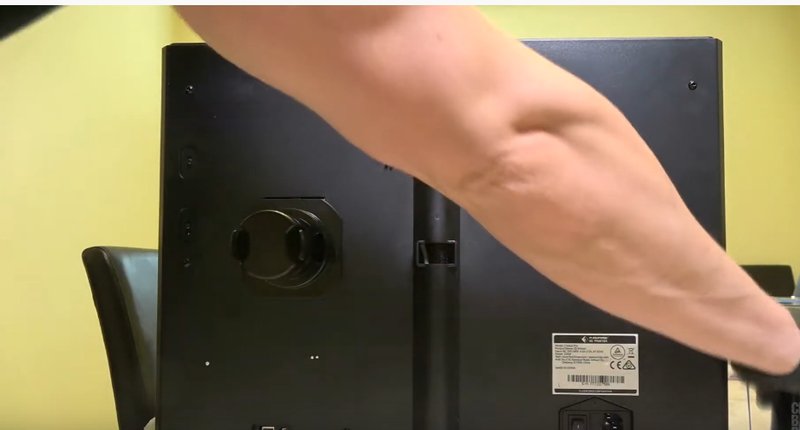
Then you have to mount the filament holders. The process simply requires placing the holders into the holes on the back of the machine.
Source: youtube.com
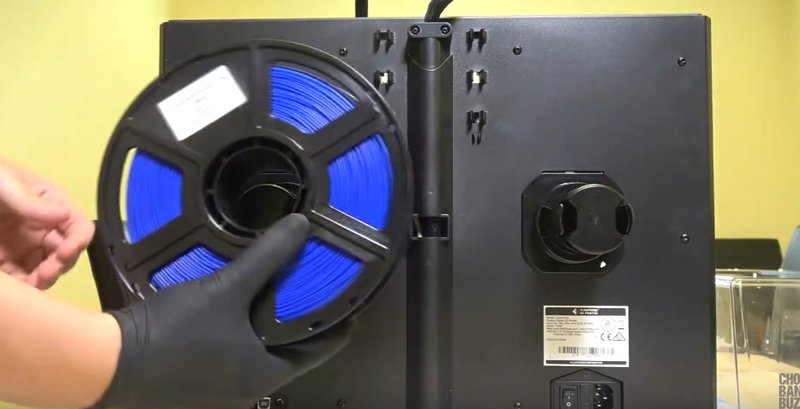
Grab a filament spool.
Source: youtube.com
And mount them to the holders.

Source: youtube.com
Attach the filament feeding tubes.
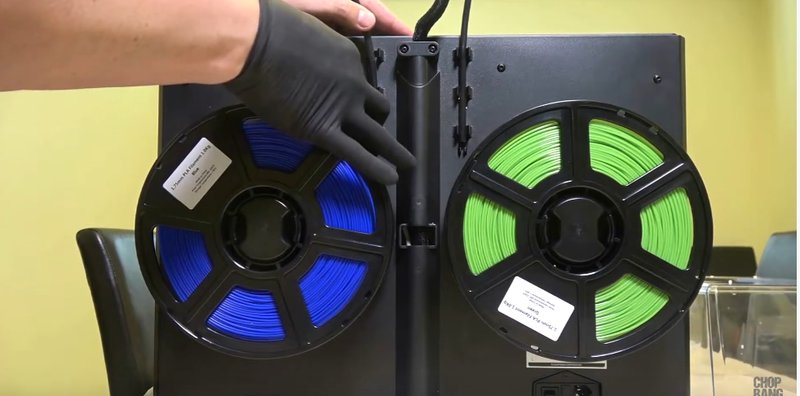
Source: youtube.com
The filament spool that can be seen on the left side of the picture rolls counterclockwise, while the one on the right moves clockwise. It’s an important thing to know while connecting the tubes.
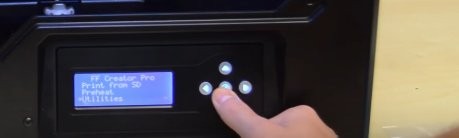
Load the filament in.
Source: youtube.com
Go to ‘Utilities’ in the printer’s menu.
Source: youtube.com
Choose left or right filament.
Source: youtube.com
Then extrude the filament.
Source: youtube.com
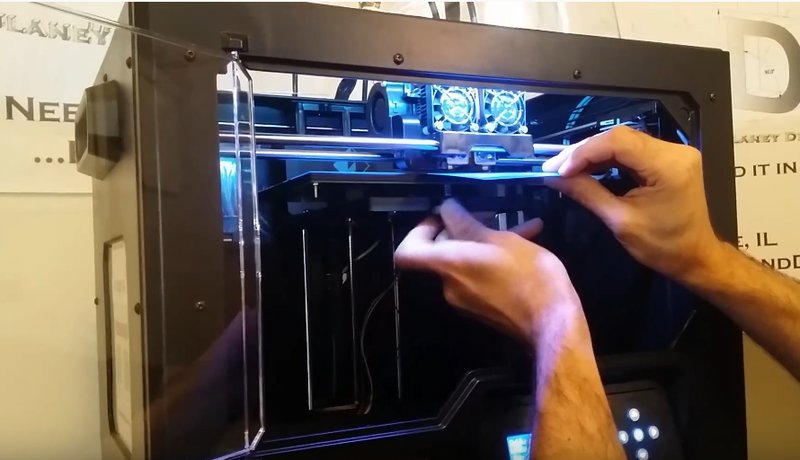
The next step is to level the bed. The process is not automatic but assisted.
The first step would be to install the SD card, go to ‘Print’, ‘Eng’ and find a plate leveling file with a similar name. Selecting the file will provide the instructions.
It will say that you need to find three knobs at the bottom of the platform and tighten them 4 or 5 times. The distance between the nozzle and the platform is right when you can just slide a sheet of paper between them.
Source: youtube.com
The picture below shows a user adjusting the front knob to get the distance between the platform and the nozzle correctly.
Source: youtube.com
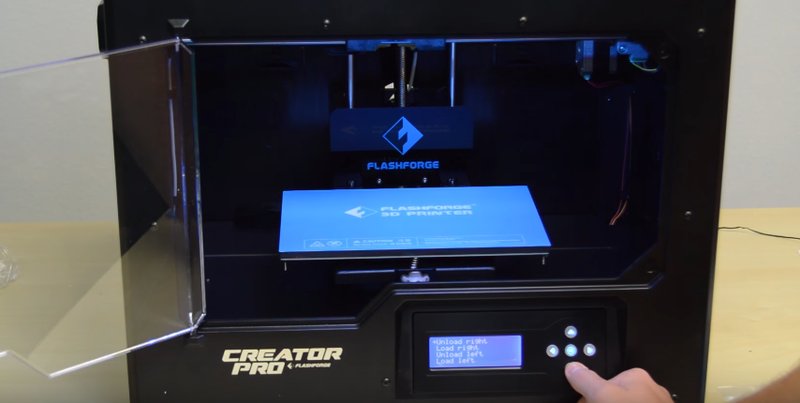
After several adjustments the printer will notify you when the calibration is done and it will be ready to print.
Flashforge 3D printers including the Creator Pro are compatible with proprietary software: FlashPrint. This slicer with more powerful printing control options is available for macOS and Windows on the official website.
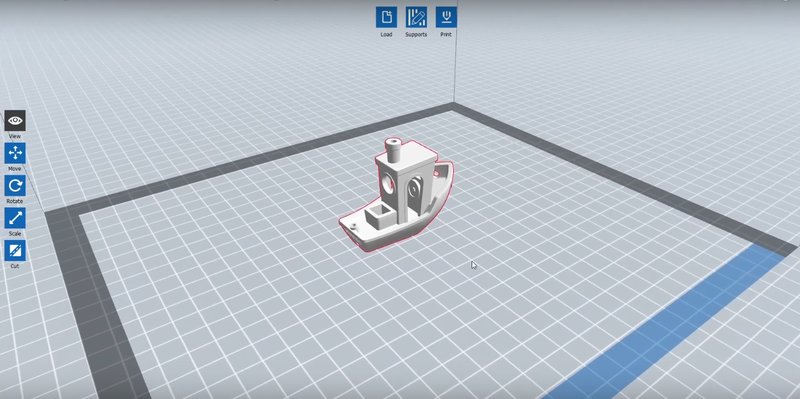
The interface is clean, simple and intuitive. The functionality is powerful enough to prepare models for printing. It should be noted that this slicer works exclusively with the STL file format.

Source: youtube.com
The interface won’t take long to describe. Most of the tools are located on the left. On the top of the screen, you can see three buttons: ‘Load’, ‘Supports’ and ‘Print’. The ‘Load’ button offers a way to load an STL file to the program (although FlashPrint supports a more direct way of basically drag-and-dropping the files). The ‘Supports’ provides abilities and features to work with the support structures. And then there’s the ‘Print’ button. Pressing it simply means sending the file for printing.
Source: youtube.com
The intuitive interface makes FlashPrint a great choice for beginners but if you want more customizability, it’s better to use more open solutions such as Cura.
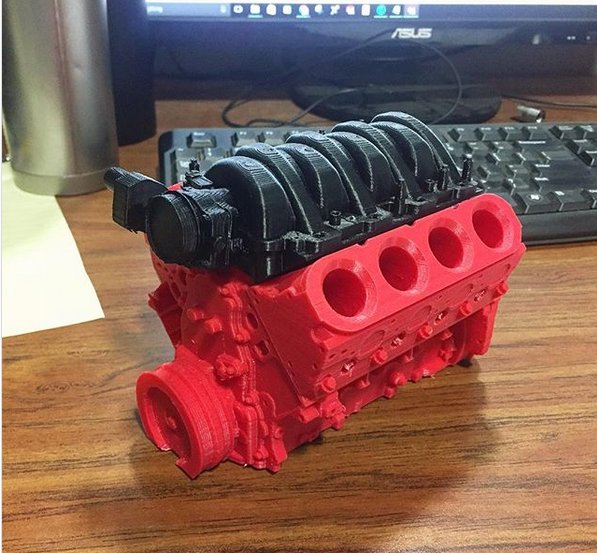
A pen stand in the shape of an LS engine was printed by an Instagram user dukeengineeringsolutions. The result showcases an impressive level of detail and proves that the printer can easily work with complex small objects.
Source: instagram.com
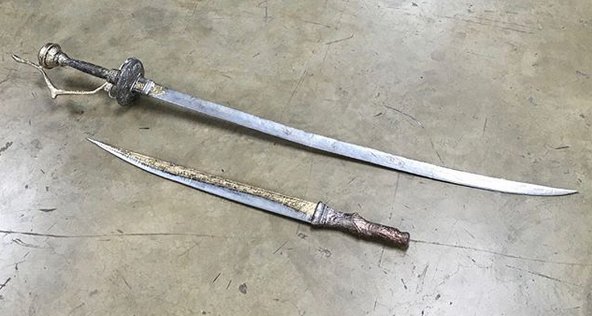
This sword prop was printed using the PETG filament. Look how smooth the surface finish is.
Source: instagram.com
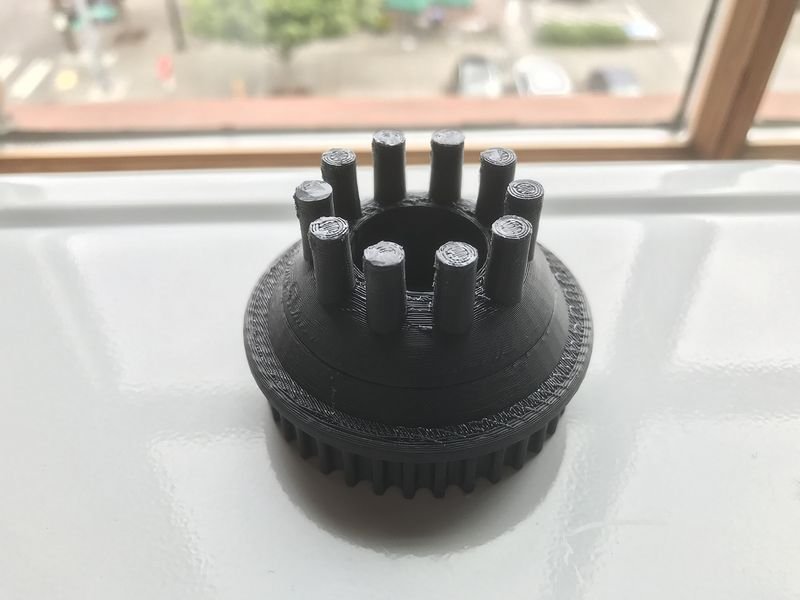
In Seattle, Flashforge Creator Pro has been used to print pulleys for the wheels of an electric scooter.
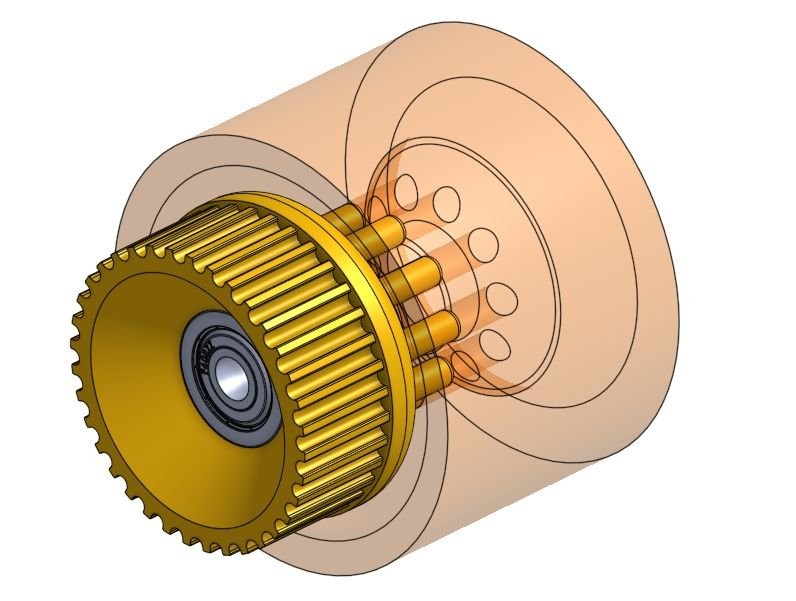
Here’s the model of the pulleys designed.
According to the maker the pulley model suited perfectly.
This maker customizes guns. He used Flashforge Creator Pro to print a plastic revolver. Not only does it look great on its own, but it can also be used as a stylish pen stand.

Source: instagram.com
Below you can see the printed models of Mike Wazowski, Groot and a dear. While there is some visible layering, the models look great:
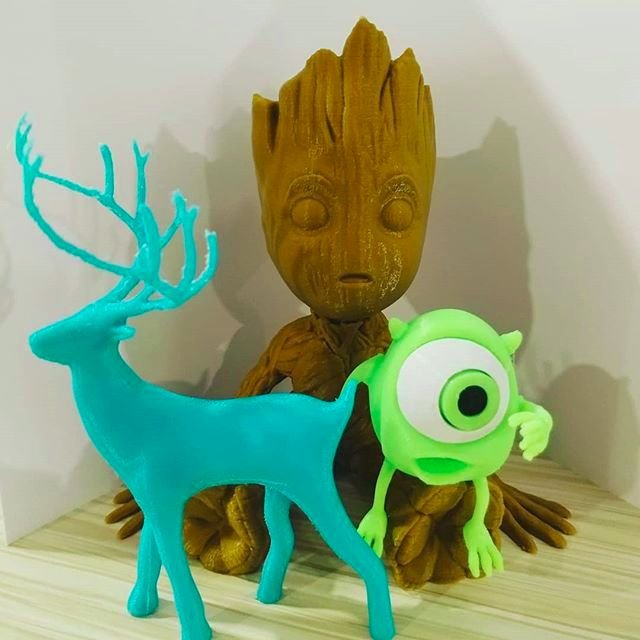
Source: instagram.com
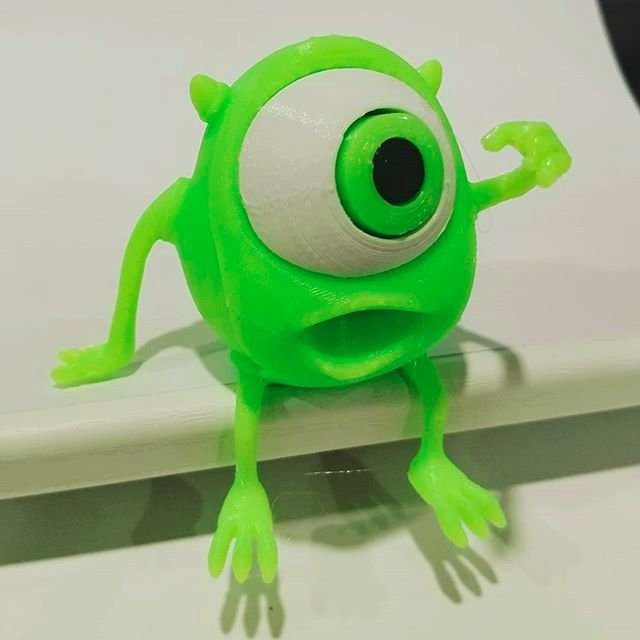
Source: instagram.com
Some other models printed using the Flashforge Creator Pro:
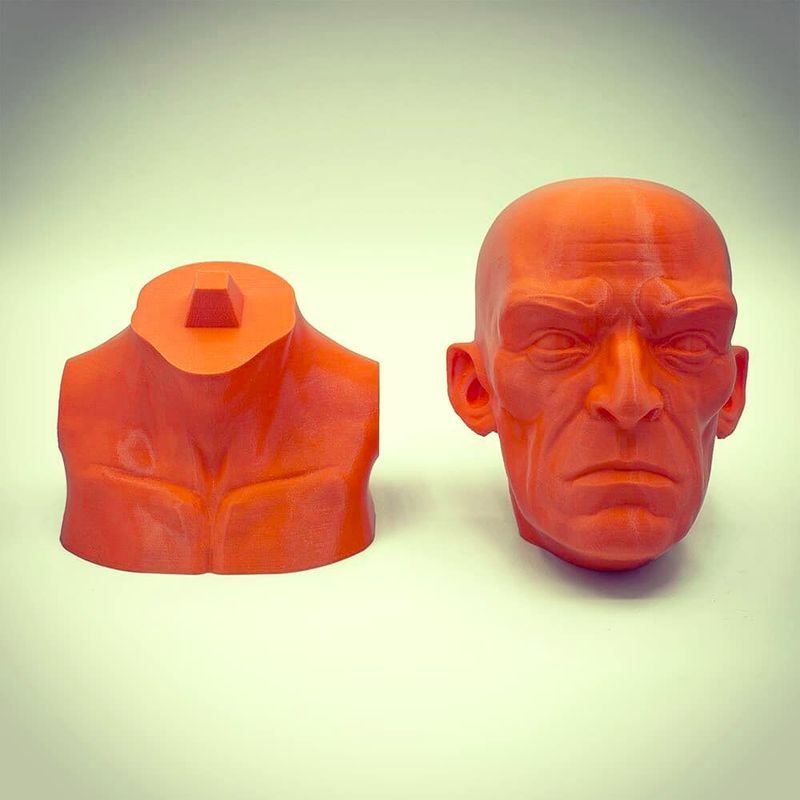
Source: instagram.com
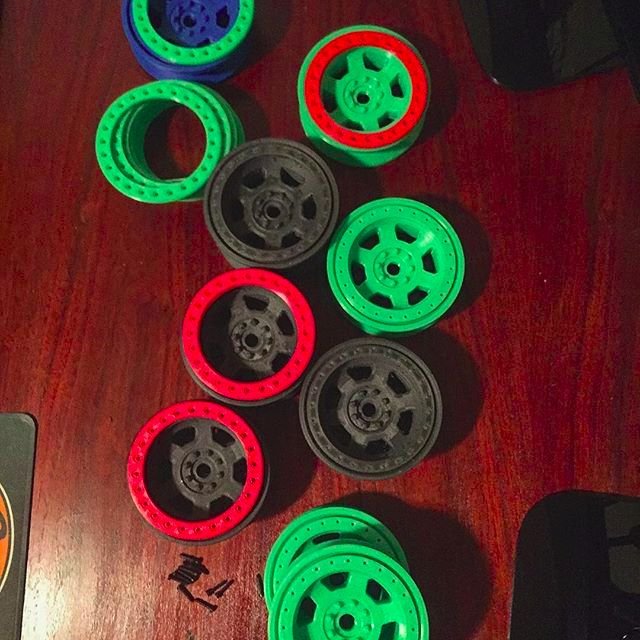
Source: instagram.com
Pros
Cons
Affordable, sturdy, and full of features, the Flashforge Creator Pro is a worthy successor to the original Creator. The machine is easy to use, comes mostly assembled with all the tools and accessories included in the package. It supports a quite wide range of materials and you can load two filament rolls. Dual color printing is also supported. The design and build are impressive. It’s sturdy, fully enclosed, and can keep the temperatures high and the noise low.
The Flashforge Creator Pro is an affordable machine that can suit both the complete beginners and enthusiasts who don’t want to pay a fortune to get a versatile device with an impressive number of features.
Update your browser to view this website correctly. Update my browser now
Write a comment