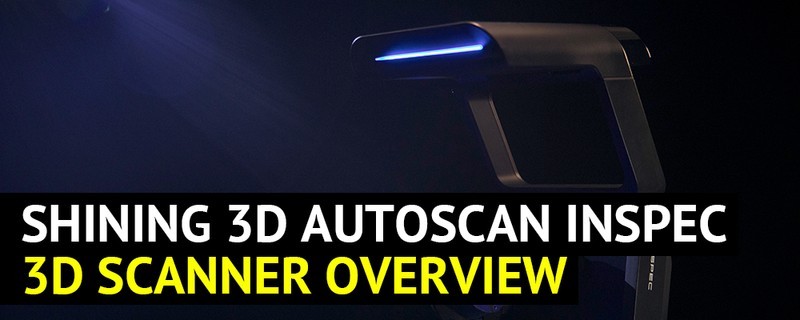
Chinese company Shining 3D is widely known for its state-of-the-art 3D scanning solutions, and recently it released a new metrology-grade 3D scanner — AutoScan Inspec. The device boasts the innovative AI scanning algorithms that ensure highly detailed results in a most convenient and rapid way. Read on to learn more about the scanner.
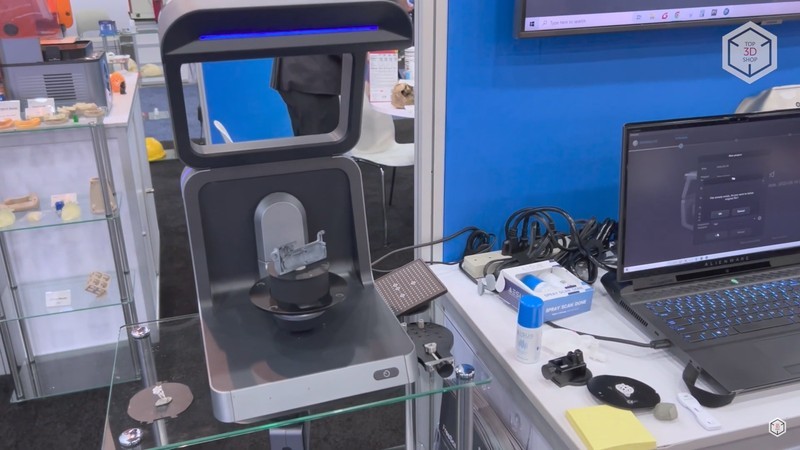
The AutoScan Inspec is a compact desktop device that provides automatic high-accuracy scanning of small and complex objects with no contact involved.
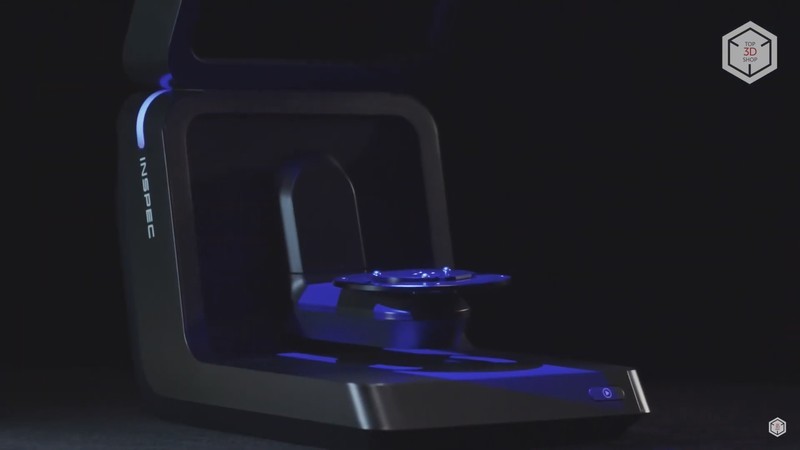
With a quantity of powerful tools and smart features, the engineers from Shining 3D have introduced a perfect solution for reverse engineering, inspection, and quality control.
Let’s now look at the technical characteristics and most prominent features of the AutoScan Inspec 3D scanner.
One of the main aspects the developers paid special attention to when designing the scanner is the ease of use. The device is engineered with a user-friendly interface and a set of intelligent scanning modes to meet the simplification goal. For example, the user can point out certain areas which have not been scanned properly, and the device will automatically make all the necessary scans to achieve the best result.
Moreover, the AutoScan Inspec is easy to master even for untrained users. It takes only about three hours to get professional scans when employing the device for the first time.
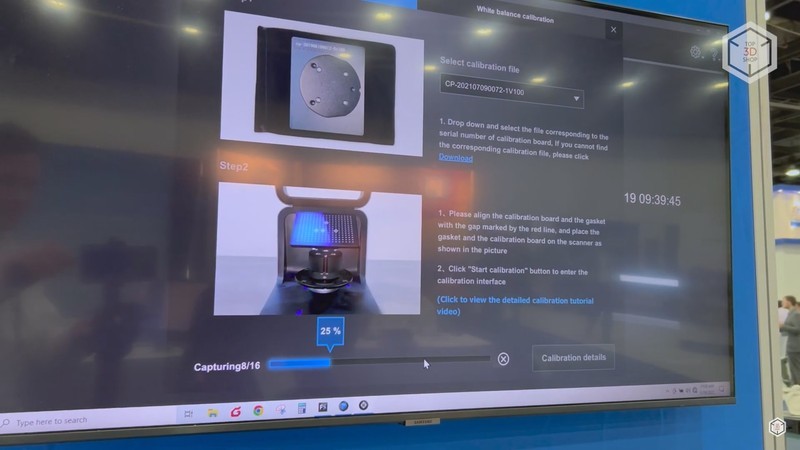
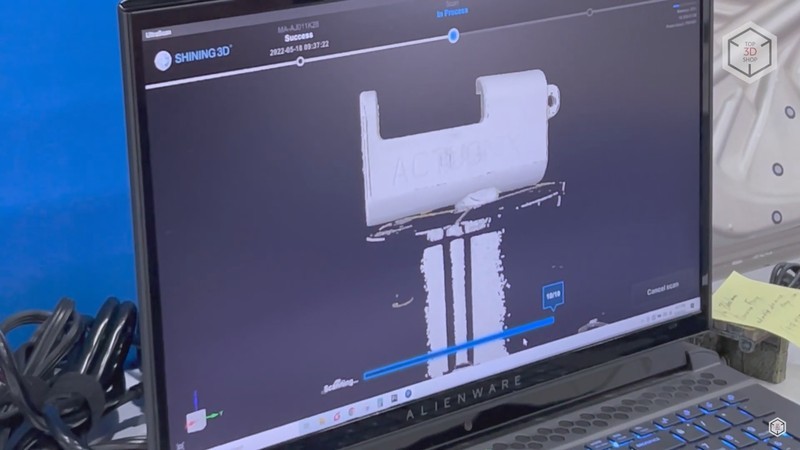
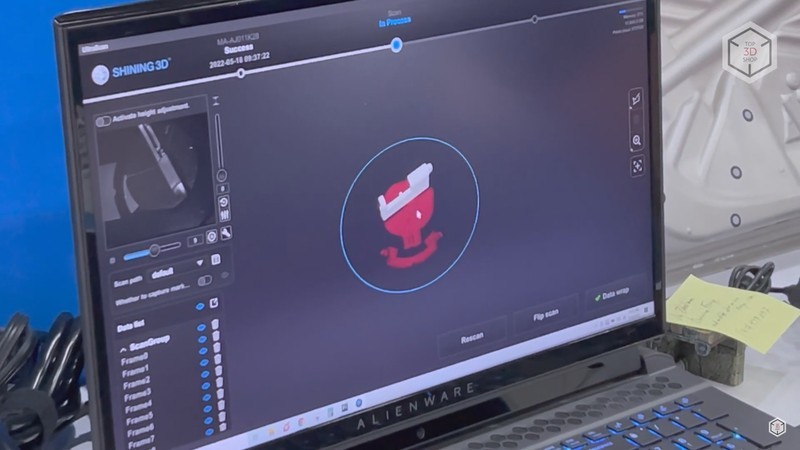
In most cases, 3D scanning with the AutoScan Inspec is a one-click procedure. All you need to do is to place the object on the turntable, with the process starting off using the Ultrascan software. Only a few minutes later you will get a digital copy of the chosen physical object with metrology-grade accuracy.
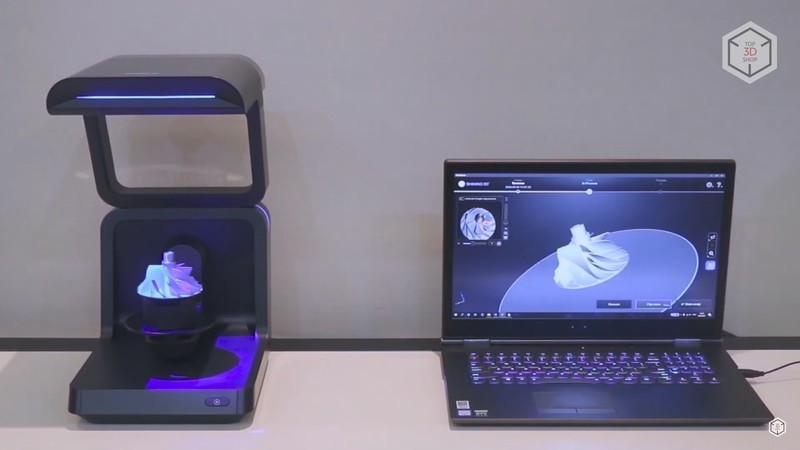
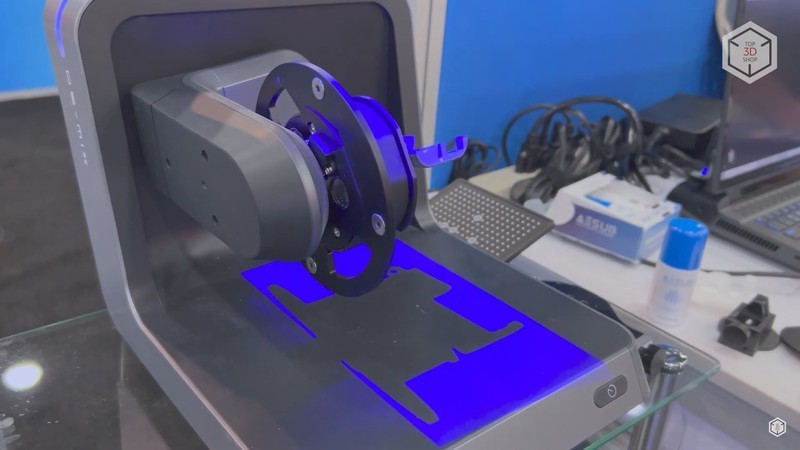
Scanning with the AutoScan Inspec is performed by means of a structured light module with a blue LED projector, which greatly improves digitization results when using the scanner under normal light conditions. It is capable of capturing the finest details relevant to quality inspection.
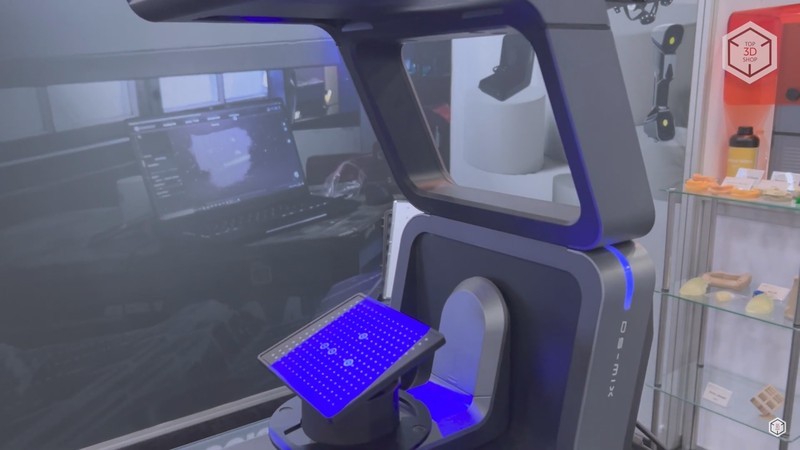
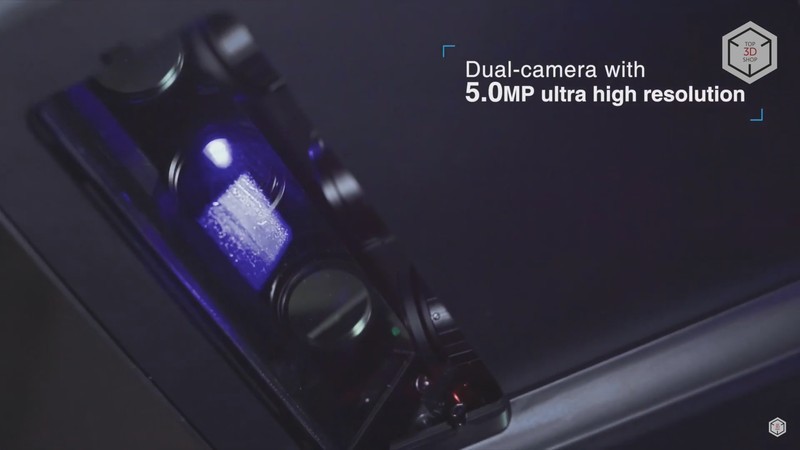
Images are captured by the 5.0MP dual camera providing higher resolution scans. The advanced 3-axis system allows inspecting small objects with complex curved surfaces at many different angles to obtain all necessary data.
The device boasts an accuracy of up to 10 microns, with the maximum scanning area of 100 x 100 x 75 mm. To accelerate the process even more, a fast and stable USB 3.0 connection is used for data transfer.
The device’s open design helps to interact with it while scanning. The AutoScan Inspec has a durable and light weight of only 7.5 kg, which makes it easy to handle and transport.
The proprietary Ultrascan solution is used to scan objects and preprocess their digital models with a number of convenient automated tools, as well as convert the data into the STL format and further export it to common CAD systems, such as Geomagic Control X, Design X, Zbrush and Polyworks. The program is fully compatible with Windows.
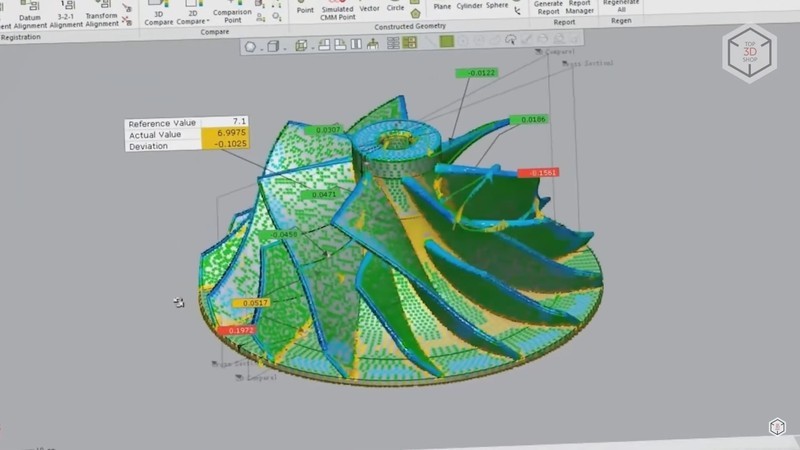
The AutoScan Inspec can be successfully used in any industry requiring high resolution digitization with minimal effort.
To assess its scan quality, take a look at the following renders by Shining 3D presented on Sketchfab, which illustrate the impressive capabilities of the device.
The AutoScan Inspec has a plethora of undeniable advantages due to its automated simplicity combined with exemplary scanning performance. By applying this industrial device, the user gets metrology-grade accuracy coupled with streamlined workflow.
Update your browser to view this website correctly. Update my browser now
Write a comment