Today, many manufacturers offer affordable laser cutting and engraving machines, so the idea of starting a small engraving business is attracting more and more people. These machines use different laser types and power, and the set of functions they are equipped with varies depending on their level and price. However, basically, they can all handle more or less the same set of materials, only varying in speed, precision, and convenience of use. The xTool M1 stands out among competitors, offering the user a blade cutting function in addition to laser cutting and engraving, thus extending the range of compatible materials and the scope of applications.
This is Top 3D Shop, and today we are going to review the xTool M1, the world’s first hybrid machine that combines blade and laser cutting technologies.
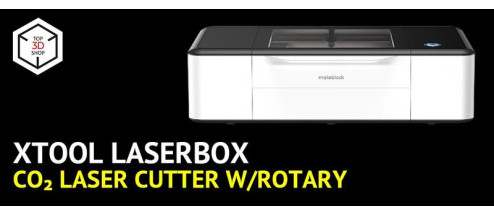
Founded in 2012 by Jasen Wang, the Makeblock company began as a robotics developer and manufacturer focused on STEAM education. The company produced educational robots and developed an online block-based programming platform for kids. Searching for tools that could encourage students to express creativity in different ways, the company released its first laser cutting and engraving machine, the Laserbox, in 2019. It was followed by the D1 model in 2021, and the xTool brand for the company's laser cutters emerged. As of now, xTool machines are the focus point of Makeblock, and they are well-known and appreciated by enthusiast makers all over the world.
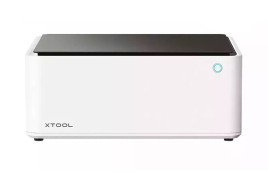
The xTool M1 is equipped with a diode laser module available in 5W and 10W power options. The machine features a closed design bringing more safety and allowing for indoor operation. While the 385 x 300 mm working area of the M1 is not as large as that of the Laserbox, it is still enough for most small-to-medium projects and even for batch processing of smaller items, such as jewelry or game tokens.
The machine provides the user with a whole bunch of useful features and technologies. Let us name the most interesting of them and start with the one distinguishing the M1 from others.
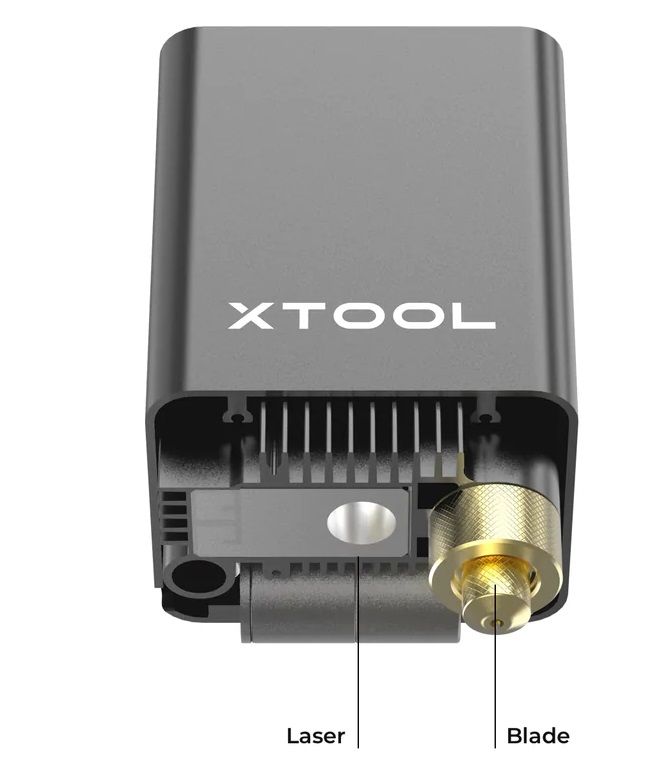
Delicate materials, like paper, vinyl, fabric, or thin leather are difficult to laser-cut as they are prone to discoloration and burn marks, and makers often avoid them in their projects. With the M1, the users are not limited in the choice of materials. All they need to do is switch to the blade instead of laser, and enjoy the process of creation. The blade cutting tool is integrated in the laser head, and switching between the two is very simple. The blade housing is magnetically attached to the head, so you do not have a chance to misplace it.
The 10W version of the M1 features dual-laser technology which combines the beams of two 5W diode lasers and focuses them on a single spot. This increases the output power of the machine compared to a single laser of the same power. The xTool M1 10W can cut an 8-mm wood or a 3-mm acrylic plate in one pass.
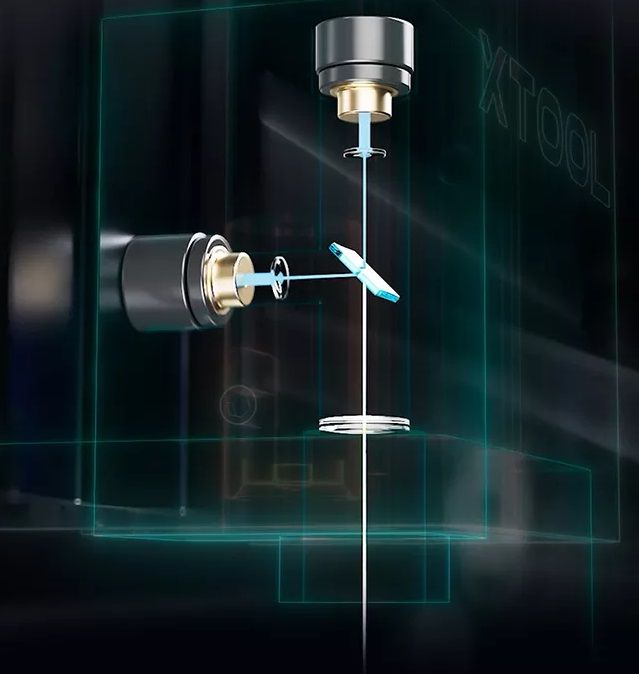
The compressed spot technology with the laser spot size of 0.08 x 0.08 mm allows for high precision and accuracy.
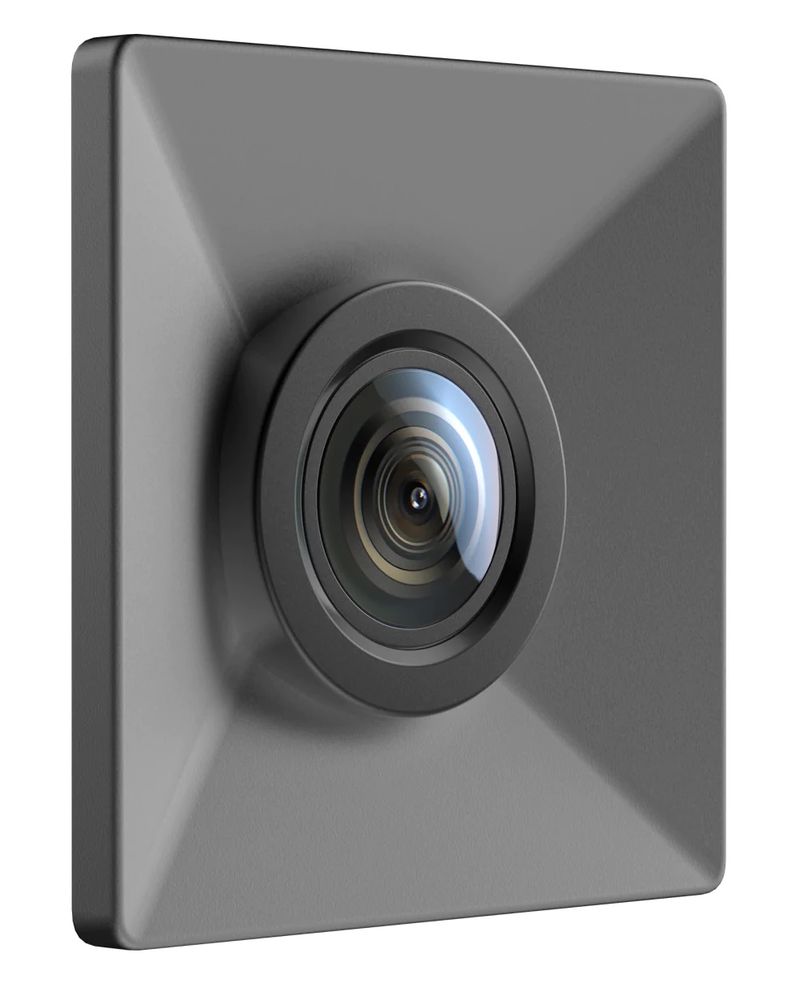
The HD camera allows for the real-time preview of the working area, ensuring precise aligning of your design with the material in the software.
By measuring the material thickness and type, the M1 automatically adjusts the focal length and sets the processing parameters, ensuring perfect results even for beginners.
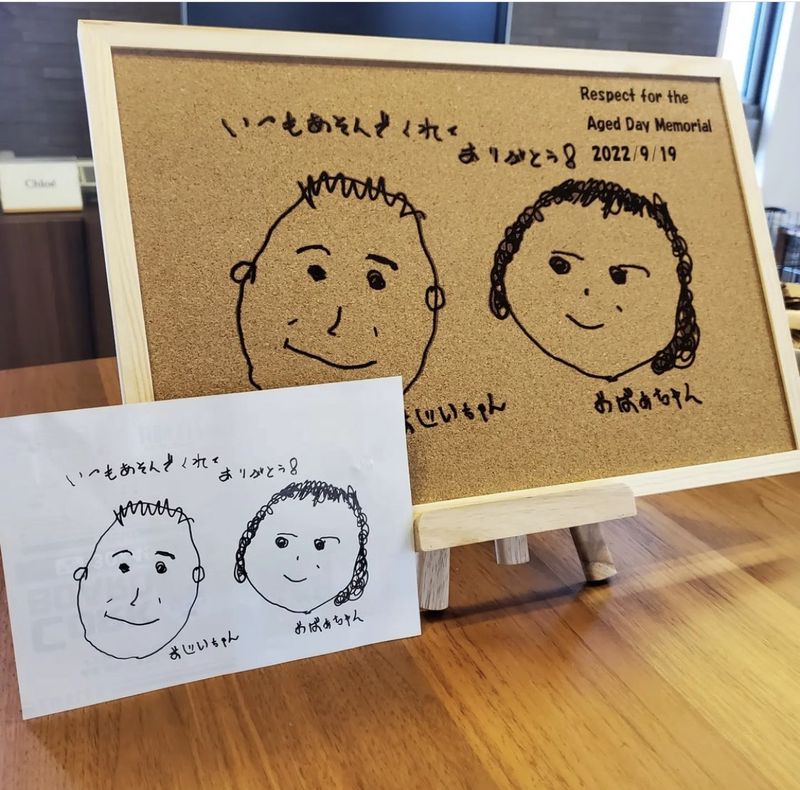
Like the xTool Laserbox cutter, the M1 supports the image extraction function allowing you to capture an image from any object placed into the machine. The image is then sent to the XCS software, and can be edited and used in different projects.
While operating the xTool M1, the user is protected from potentially hazardous blue laser light emission. The lid of the machine always stays closed during processing, and the M1 immediately pauses in case the lid is open accidentally. The transparent brown lid filters the harmful light, eliminating the need for safety goggles.
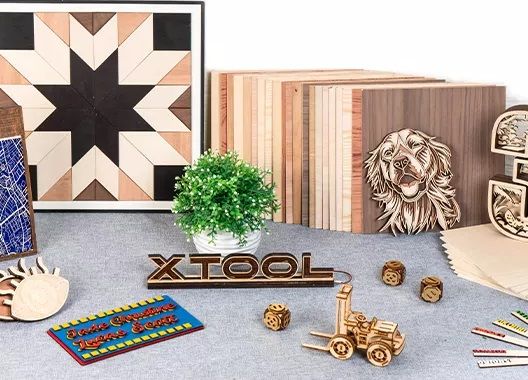
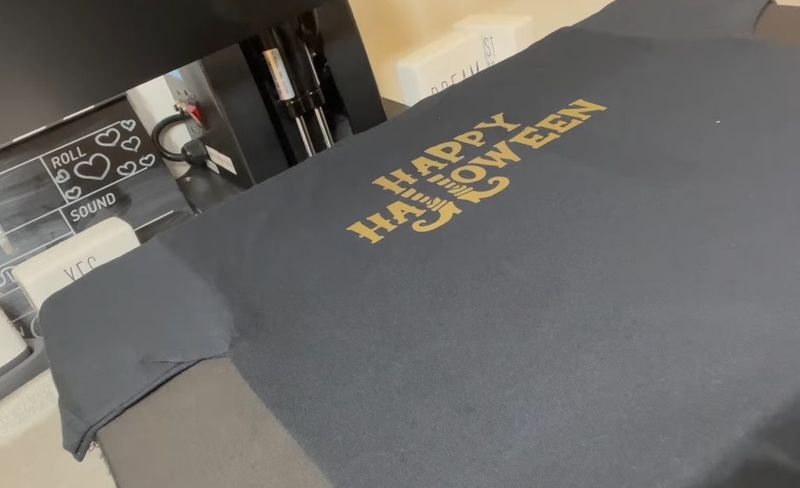
Due to the hybrid cutting technology, the number of materials compatible with the M1 exceeds 500. Different types of wood, acrylic, or cardboard can be cut or engraved with the laser. Besides, you can engrave on anodized metals, stainless steel, glass, stone, marble, ceramic, and other materials. For thin, delicate staff, it is better to use blade-cutting. You can create awesome customized T-shirts with heat-transfer vinyl stickers of your own design.
Credit: Do Dream On / YouTube
The xTool M1 is almost ready to work right out of the box. The user only needs to connect the exhaust pipe to the outlet on the back of the machine. The built-in exhaust fan blows out toxic fumes through the pipe. The other end of the pipe can be connected to the air purifier or taken out of the window.
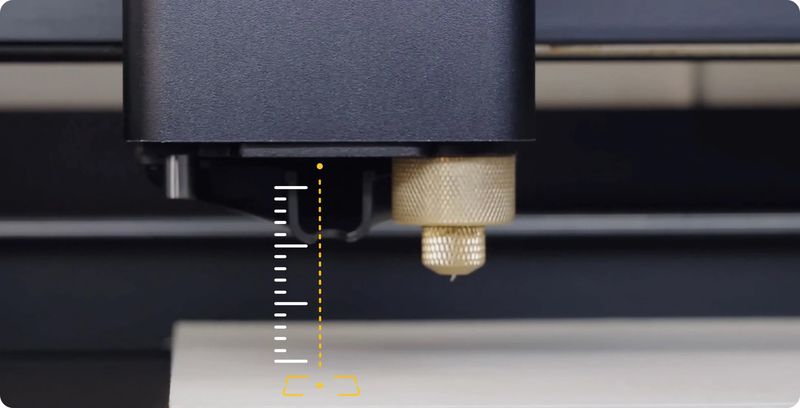
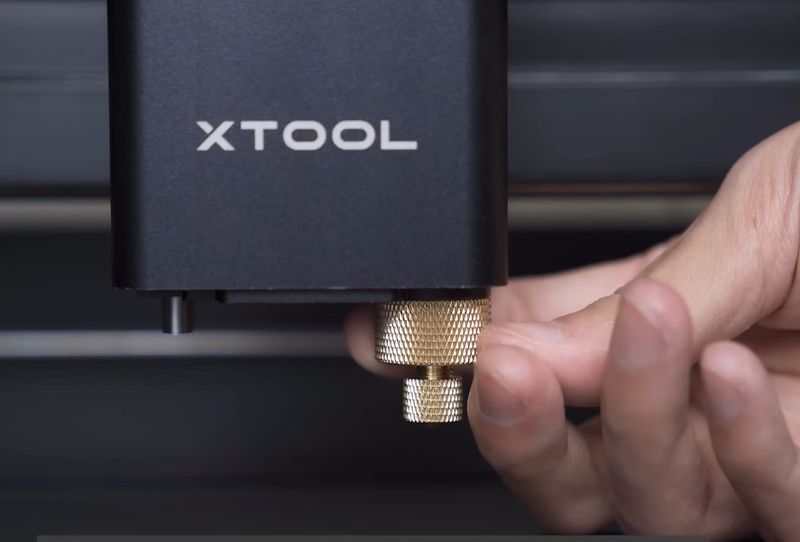
The next thing to do is adjust the length of the blade tip and attach the blade module to the laser head.
Now you only need to turn on the machine and connect it to the computer using a USB cable. In the xTool Creative Space software select your device and establish a connection. The LED indicator on the Start button will turn blue.
Place the triangular prisms that come with the M1 onto the work panel to avoid burning marks on the other side of the material. Put the workpiece upon the prisms and close the lid. Do not forget to select Triangular prism in the Height raised box when you set the material parameters, for the machine to correctly adjust the focal length.

When cutting with the blade, it is recommended to use one of the two adhesive cutting mats that come with the M1 to avoid slipping of the material.
The M1 works with the xTool Creative Space software which is intuitive to use and offers a standard set of all necessary tools, though experienced users may lack some more advanced features.
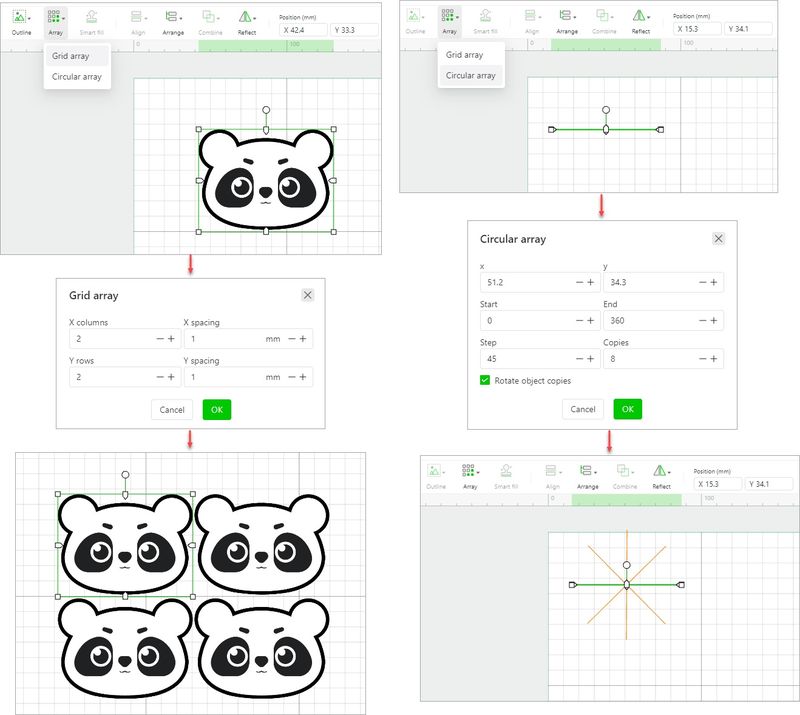
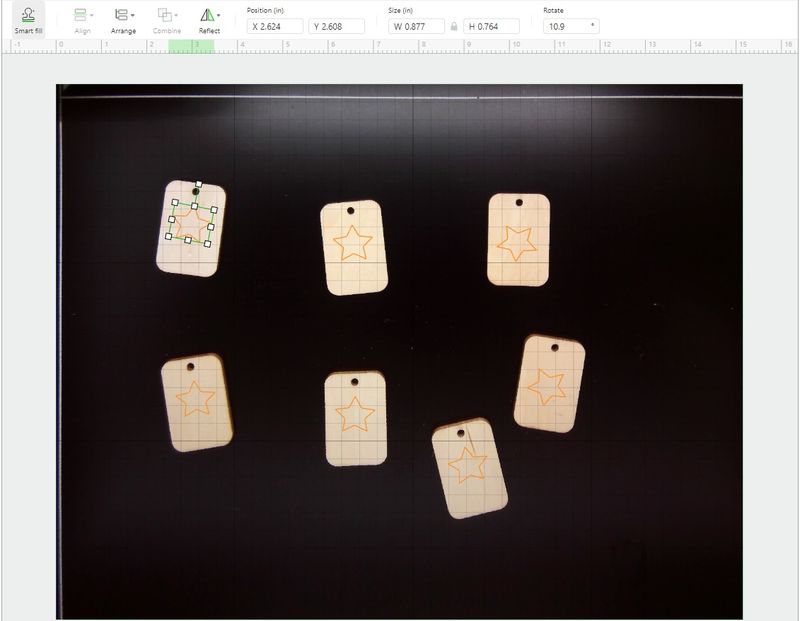
For a new project you can import an image or create your own design, inserting different shapes, text, or drawing vector paths. You can flip, rotate, or change the object size as well as group, arrange, align, or distribute several objects, or use the Array function. The Smart fill function duplicates your design for multiple material pieces, automatically detecting their place in the working area. This function allows saving time on batch production.
Before sending the job to the machine, the user has to set the processing parameters, such as material type and thickness, processing mode, speed, power, number of passes, and others. For raster images, the bitmap mode and resolution parameters are available.
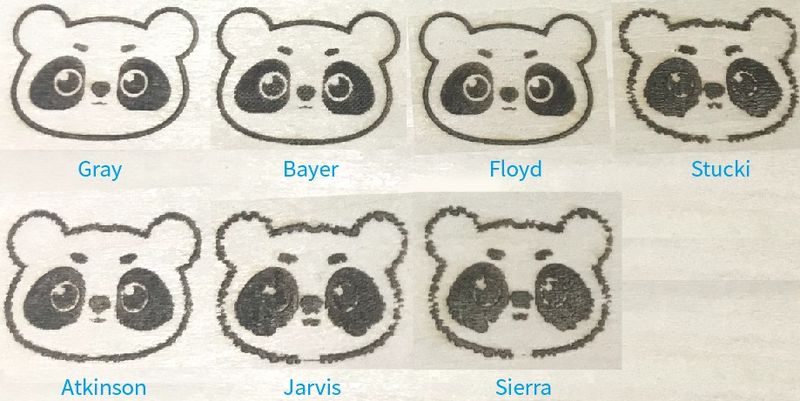
Bitmap modes
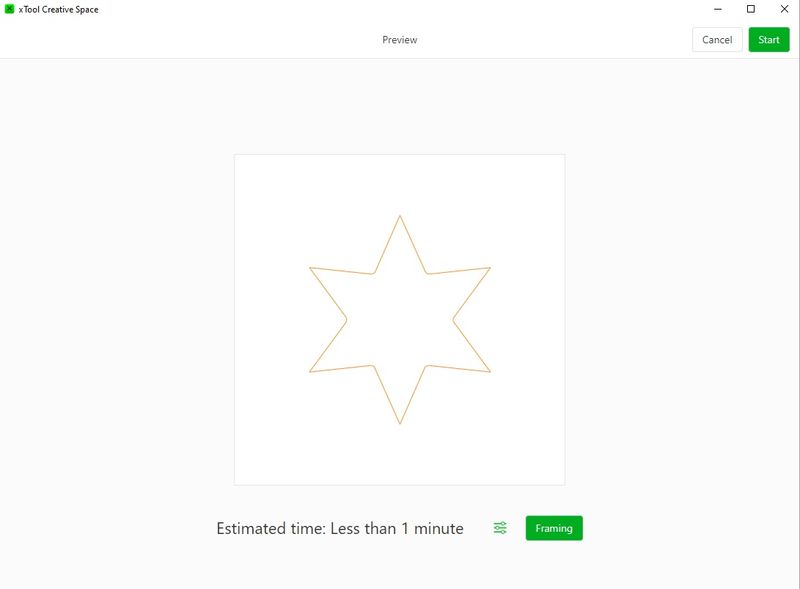
After adjusting all the parameters, click Process to see the preview of the working area and estimated time. The Framing button gets the laser head moved around the area to be processed. Finally, click Start, then press the Start button on the machine and wait for your project to be ready.
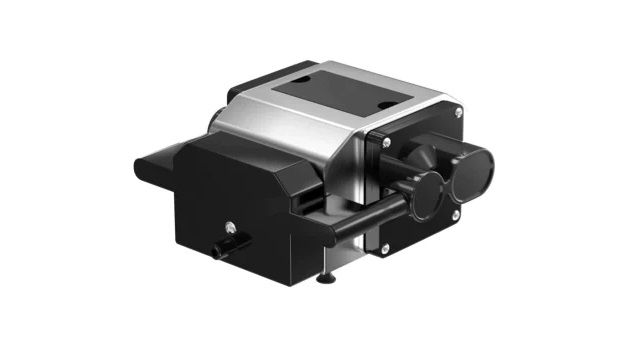
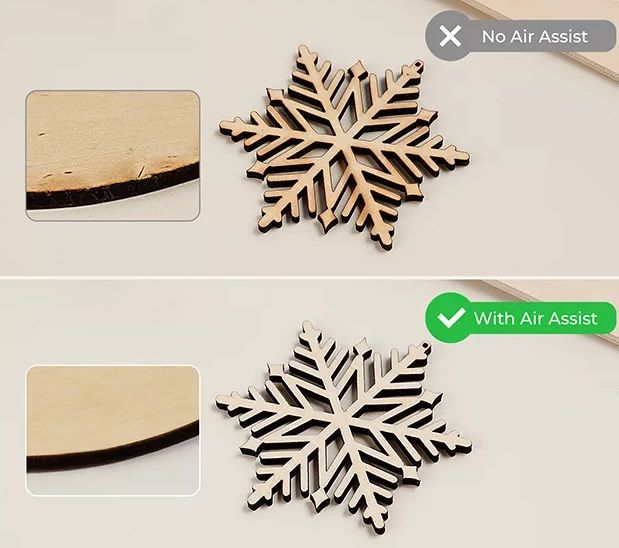
The xTool Air Assist Set is used while laser cutting, protecting the lens from dust. An output power of 30 L/min efficiently reduces the temperature on the material surface, preventing discoloration and ensuring a neat and clean result without burn marks on the edges.
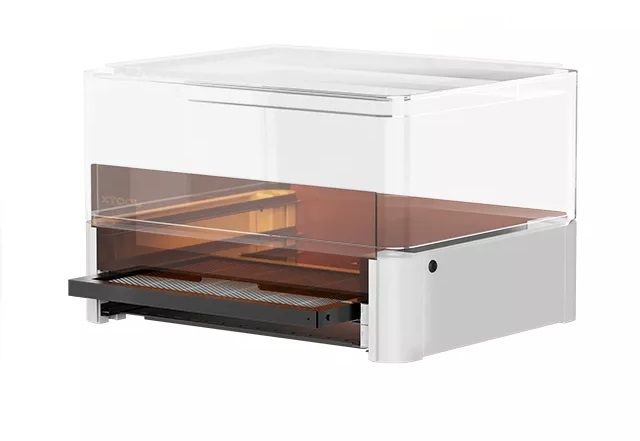
The Riser Base is used to increase the height of the M1 working area and allows both for blade and laser processing. The maximum object height for engraving is 120 mm. It is compatible with the RA2 Pro rotary tool and the Air Assist set. The base is fully enclosed, the acrylic cover blocking 90% of dust, smoke, and harmful blue light emission. It comes with the Honeycomb panel providing fast heat dissipation and preventing the appearance of burn marks on the object surface.
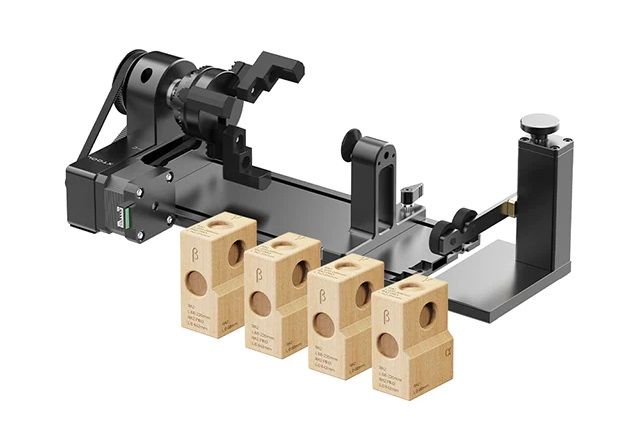
The RA2 Pro 4-in-1 rotary attachment is a versatile tool allowing you to engrave on spheres, rings, and cylinders. The attachment includes roller, chuck, sphere and ring rotaries.
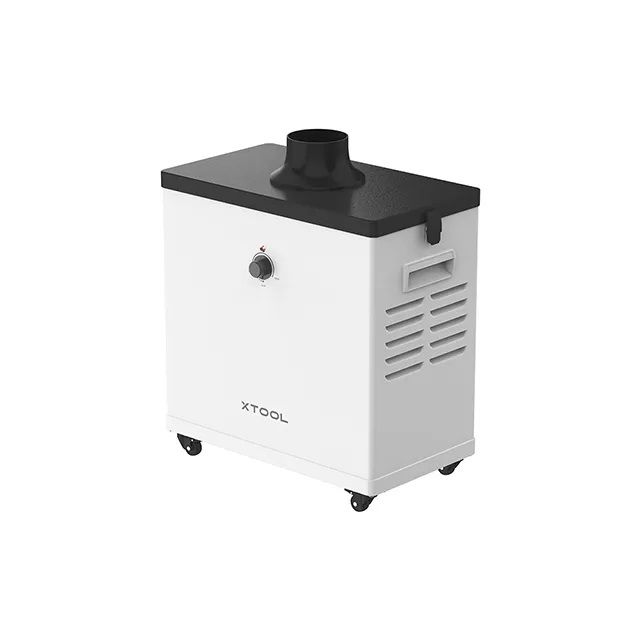
The xTool Smoke Purifier is equipped with a large, 250 x 195 x 390 mm, three-layer filter including activated carbon and HEPA filters. It absorbs dust particles, toxic fumes, and unpleasant odors, so that the machine can be used indoors without additional ventilation. The device allows adjusting the suction power and works very quietly, with the noise level not exceeding 55 dB.
As the xTool M1 is a highly versatile machine, it is capable of tons of different application scenarios for small businesses, education, or home use.
Melissa Stott, an enthusiast maker, uses the xTool M1 for her creative projects and makes nice educational toys for her little son. Safety is important to Melissa as she has a child and several pets, and the M1 completely meets her requirements.
Betzy, a passionate DIY maker, demonstrates the process of creating a T-shirt using the blade-cutting function of the xTool M1.
In this video, Michael shows how to make stickers with the xTool M1.
The xTool M1 is a very interesting machine offering more opportunities, compared to conventional laser cutters. With an extremely wide choice of materials, intelligent autofocus and live preview function, and easy and safe operation, the device is a good choice for those who want to start a small business as well as for passionate DIY crafters.

Update your browser to view this website correctly. Update my browser now
Write a comment