In this article, we will talk about additional equipment for 3D scanners of the EinScan series by SHINING 3D: the HD Prime Pack and EinScan Color Pack modules, as well as Industrial Pack. We will also look at the specs of the equipment, its advantages, and the ways it expands the capabilities of scanners.
Read the article to learn more.
Source: shining3ddental.com
Founded in 2014, SHINING 3D is a 3D digitizing and printing company with the headquarters in Hangzhou, China. SHINING 3D manufactures and sells 3D scanners geared towards various fields, 3D printers and 3D printing materials. Aiming to reach all the market segments: from the cheapest devices to the professional ones, SHINING 3D offers additional modules for their 3D scanners that expands the capabilities of the basic devices.
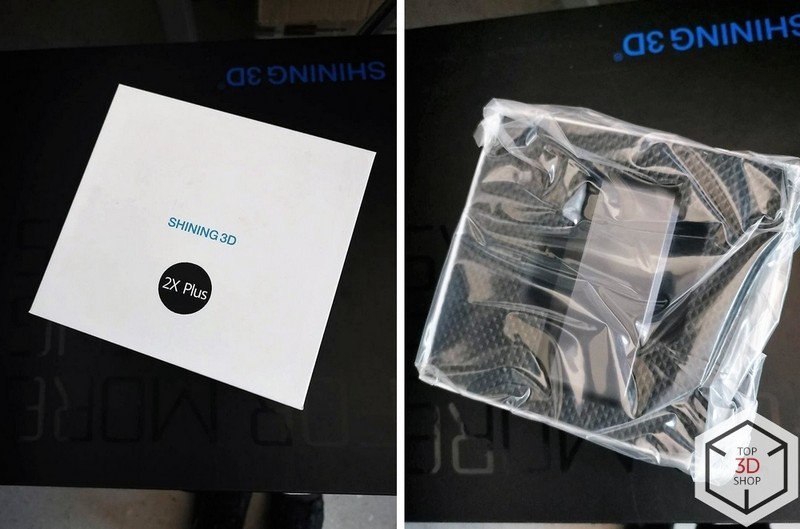
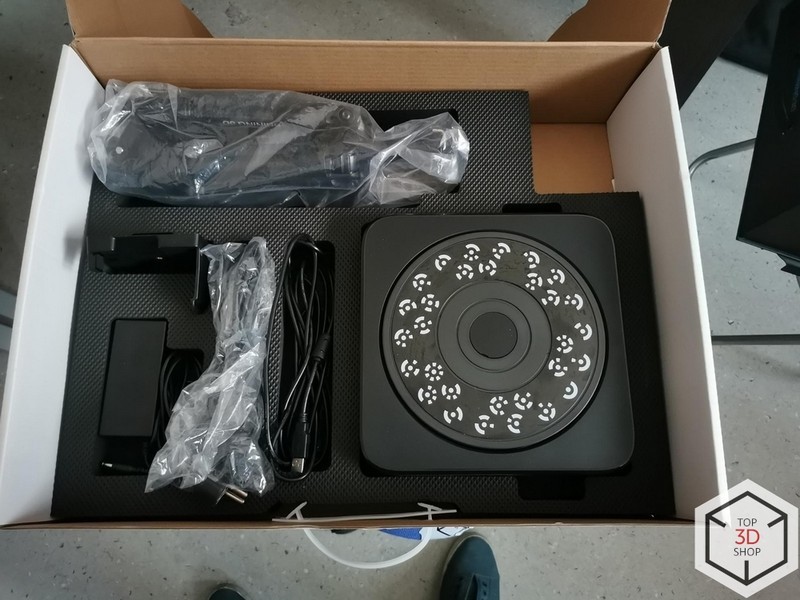
The module is delivered in a small box sized 15 x 15 cm.
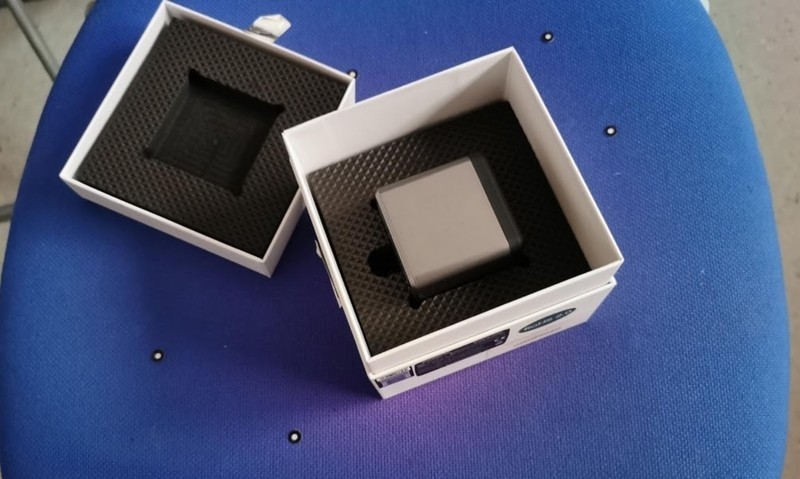
The HD Prime Pack module is wrapped in film and placed inside the box.
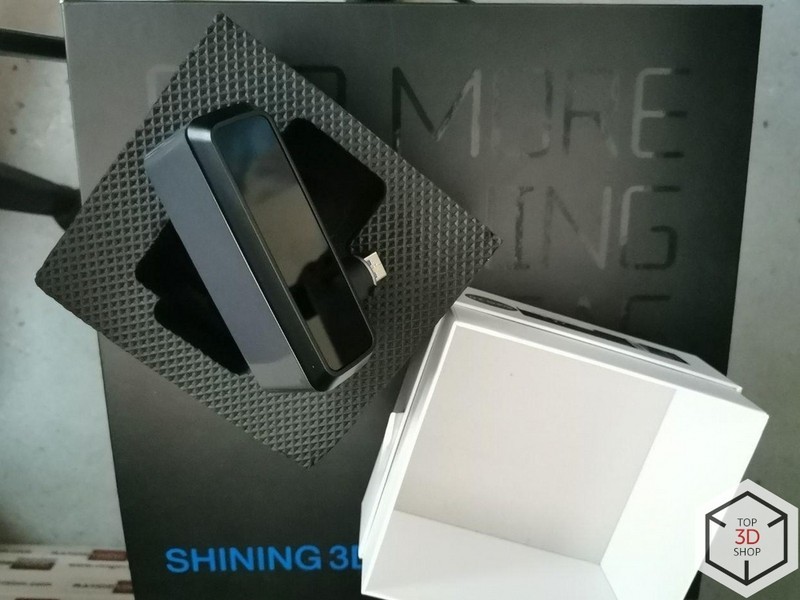
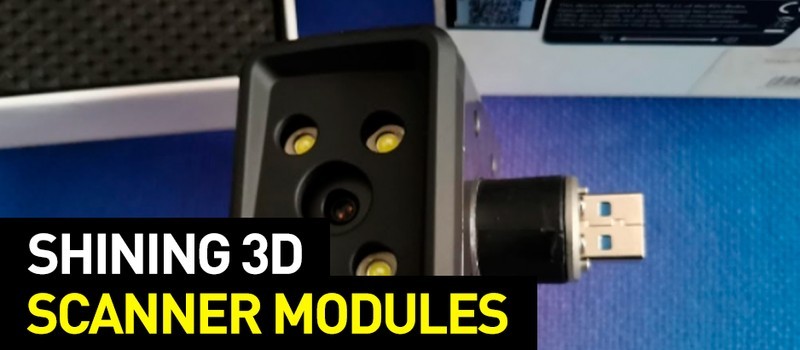
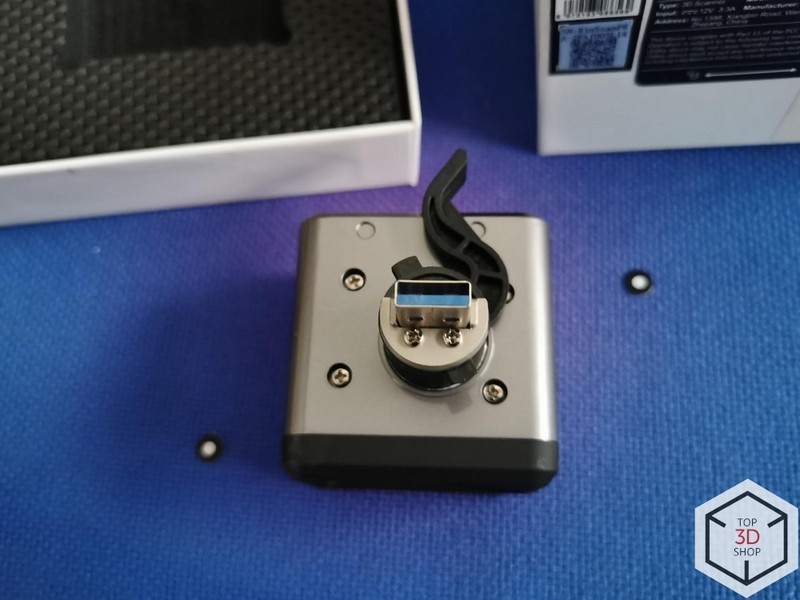
The module itself is small: around 10 cm in length and 6-7 cm wide. An additional illumination consisting of 8 LED lights and another camera can be found underneath the mat front glass.
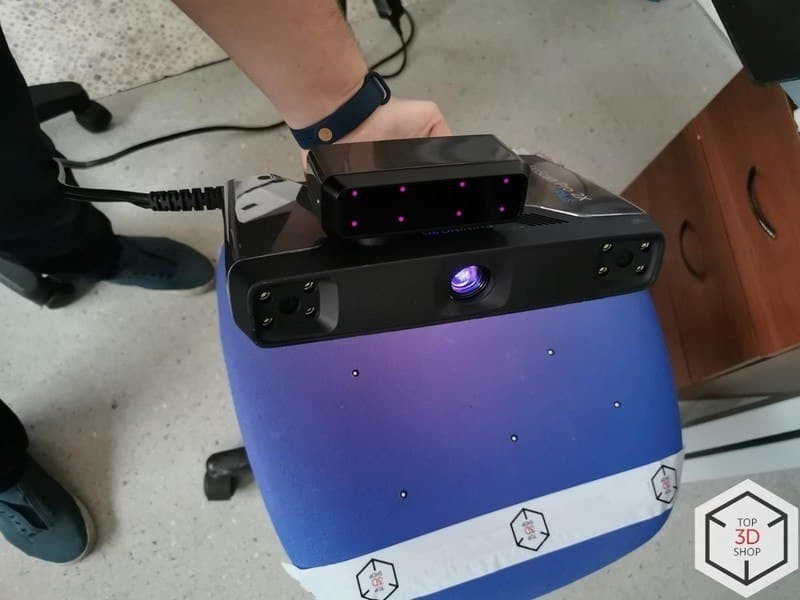
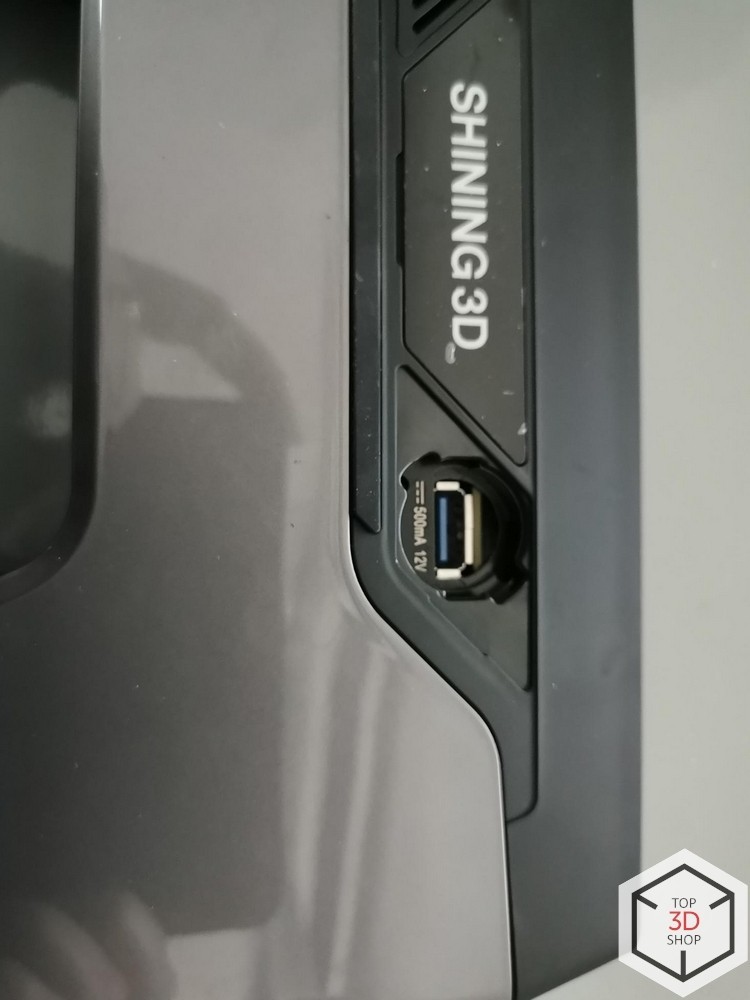
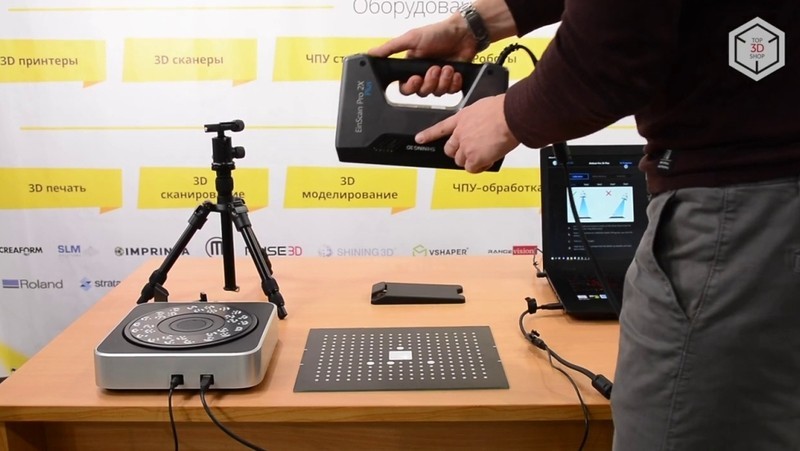
The module is attached to the scanner via a USB 3.0 port. A retainer prevents the module from disconnecting during scanning or quick rotation.
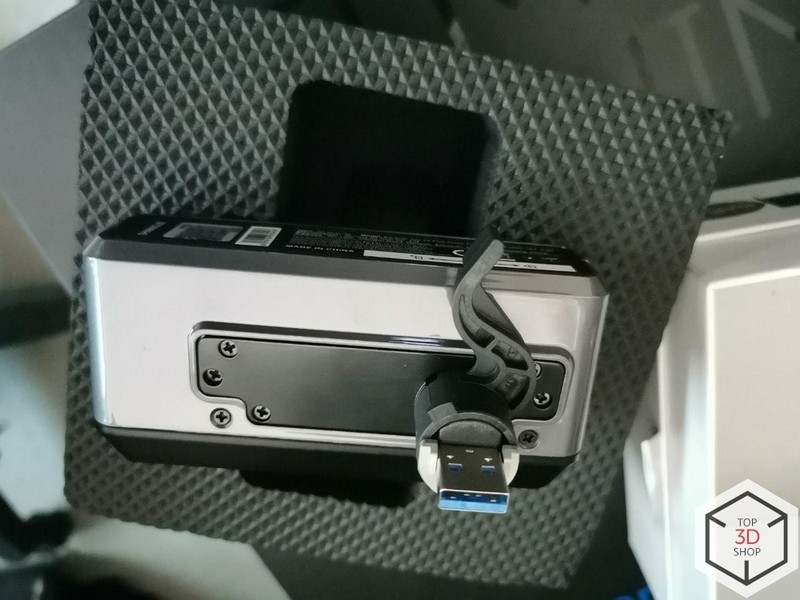
To attach the module, you will need to remove the plug with a stylus that comes in the package. The next step would be to insert a module into the USB port of the scanner and turn the rotary lever to lock the add-on in position. The manufacturer shot a detailed video guide regarding the module’s installation that can be found on the official website and the Shining 3D YouTube channel.
A detailed guide on the module and its scan modes can be found on the official website or a user manual.
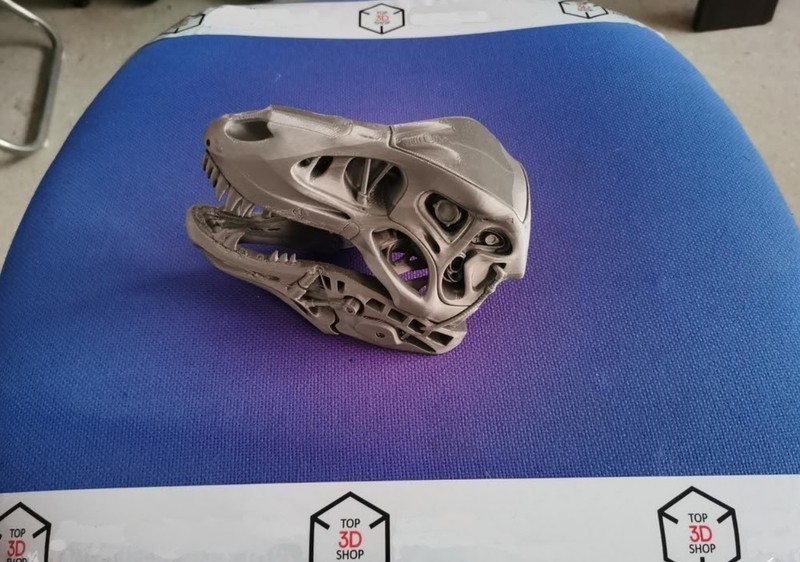
Let’s use a skull of a mechanical T-Rex figurine as a first object. First, we will run the test without using the HD module and see how much time it will take to scan it.
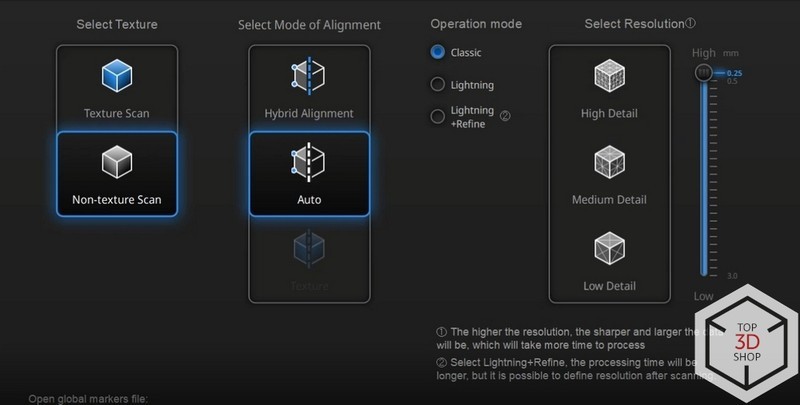
We will use the Handheld Rapid Scan — the fast scanning mode with average accuracy for working with large and mid-sized objects. We will select the “auto” mode and the shortest point distance which will allow us to get the best machine-readability and accuracy for this mode.
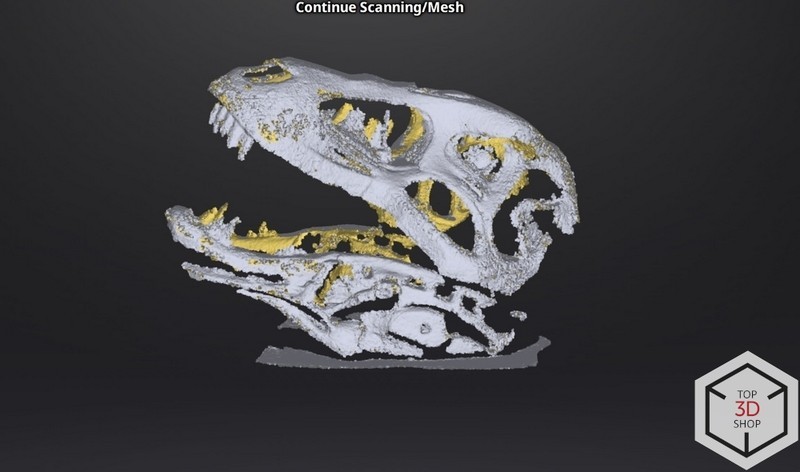
After several iterations (if the scanner hasn’t lost track of the object and the latter is aligned correctly) we get a scan with an average level of detail. Scanning in this mode took: 3 minutes to get a full scan and around 1.5 minutes per side.
Results:
Scanning time: 3 minutes.
Quality: average level of detail.
Main issues: occasional tracking loss, rough scan alignment.
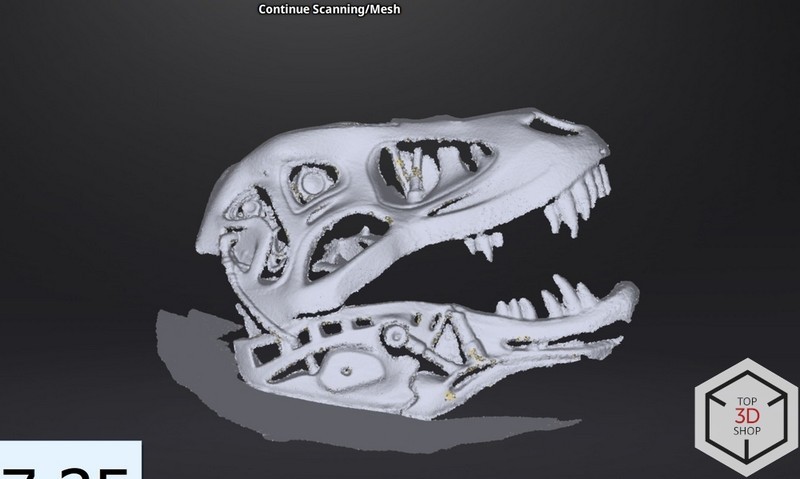
The second test was also done without using the HD Prime Pack add-on with the same mechanical T-Rex skull in the same lighting conditions and object placement, but this time the Handheld HD mode was used. This mode offers more accurate scanning and allows using markers to prevent tracking loss, but with a slower speed.

Scanning time was marginally longer, and it took 2 iterations with the first lasting 2 minutes and the second taking 1.5 minutes. Tracking loss also happened but the scanner managed to quickly find the required points to continue working.
The results:
Scanning time: 3-4 minutes.
Quality: above average.
Main issue: occasional tracking loss, didn’t happen often.
This test model includes many small details and a more complex surface.
Scanning was done in the Handheld HD mode without using the HD Prime Pack module.
It took 3 iterations with each lasting 2 minutes, the resulting model is well-detailed and non-trivial. The scanner lost tracking several times. The result looked nearly identical to the original, apart from some hard-to-scan places (such as deep holes with complex shapes).
The results:
Scanning time: 6 minutes, 3 iterations.
Quality: the model is very close to the original object, excluding complex deep holes.
Main issue: relatively long scanning time.
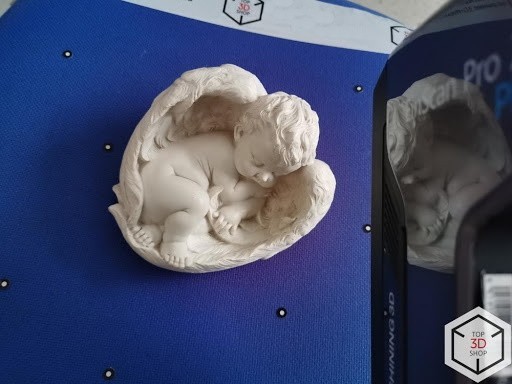
The same models were used for this test: the T-Rex sized 200 x 100 mm and an angel figure sized 150 x 150 mm.
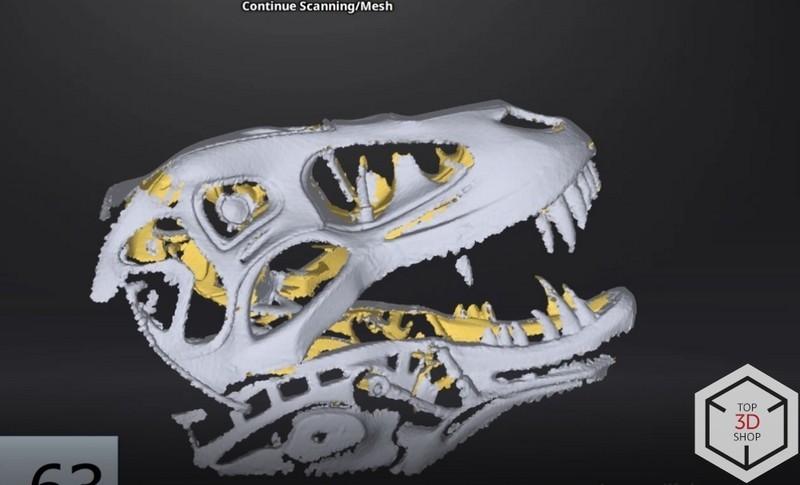
Before scanning, we should attach the module to the scanner. Let’s power off the scanner and open the cap.
Let’s connect the module to the USB port and lock it in position. Then we power the scanner on and connect it to a PC and run a program.
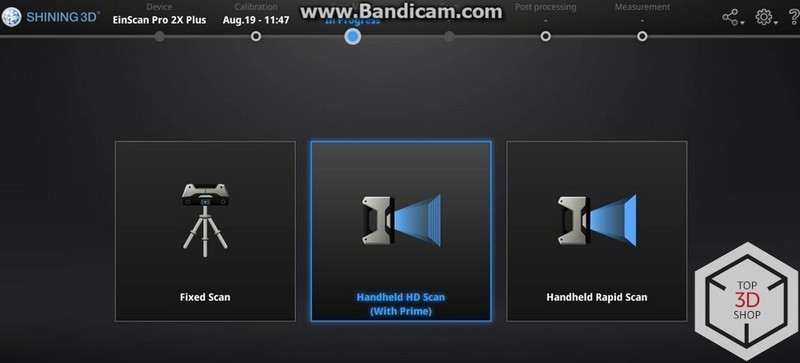
The program will recognize the scanner and the module and will offer to calibrate it. It will take around 2 minutes, and afterwards we can go to the scanning mode: now there’s a caption located under the name of the Handheld HD mode that informs about the installed module.
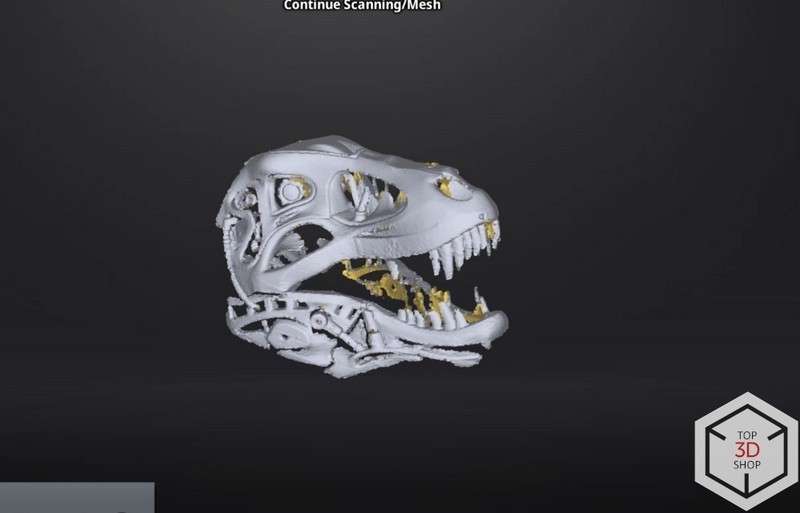
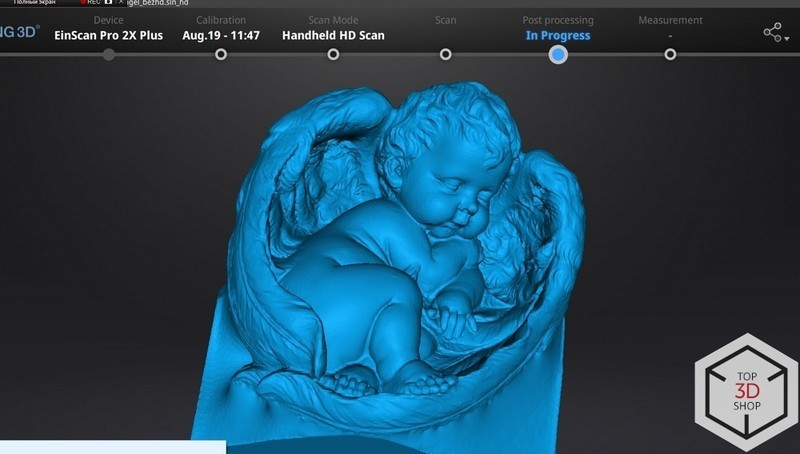
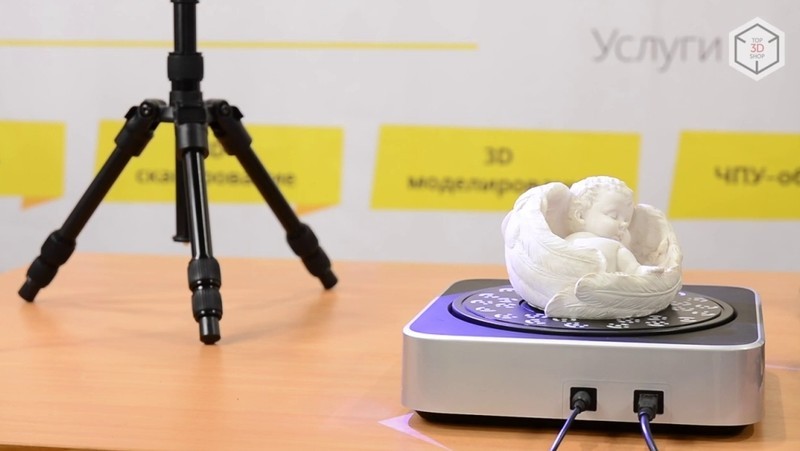
Scanning the T-Rex skull to get the result pictured above takes just a minute.

The first try of scanning the angel wasn’t successful — without the markers, the scanner lost tracking and misaligned the resulting model. It’s likely that the object was moved during rotation.
Aligning scans like these can be done manually if required.

To avoid manual alignment, we added some markers and started scanning again. The whole scanning process took 2 minutes: 2 iterations each lasting a minute.
Video: scanning process
The results:
Scanning time: 2 minutes — very fast for this level of quality.
Quality: very high.
Main issue: the markers are required since tracking loss makes the process more difficult.
The HD Mode in conjunction with the Prime Pack projects the same number of lines that the regular HD mode does but the difference lies in the module’s ability to scan with a higher frame rate. The HD scanning using a handheld 3D scanner with the Prime Pack will allow getting the level of detail identical to the result of the tripod-mounted scanner while keeping the versatility of a portable device.
This test was done with the aim to find out which colors will be seen on the resulting module after scanning using the Color Pack for SHINING EinScan scanners, comparing them to the real ones and checking the editability of textures as well as find out the formats of the resulting files.
After opening a package, you can see a device that looks similar to the HD Prime Pack but is slightly smaller-sized and features one camera and 4 LED lights.
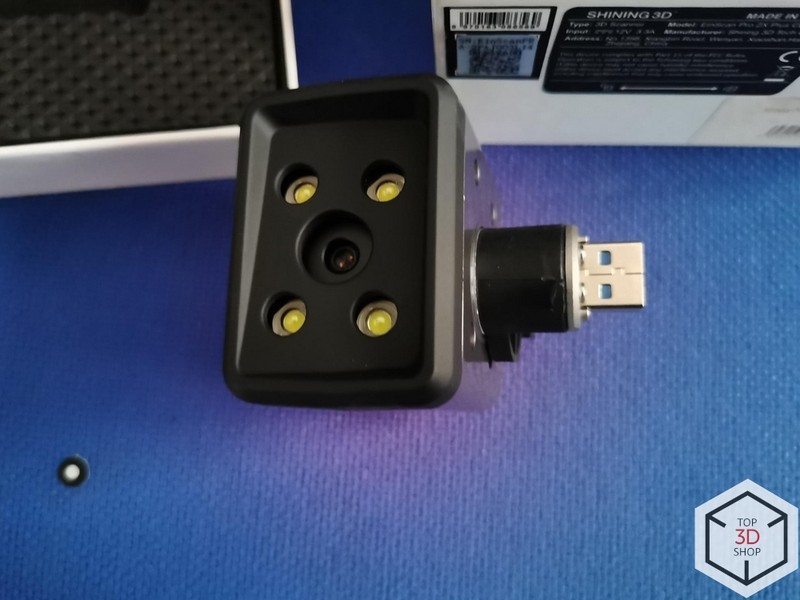
It also connects to the scanner via a USB 3.0 port.
To mount the module it’s required to remove a cap, attach the module to the port, close the retainer lock and connect the scanner to a computer.
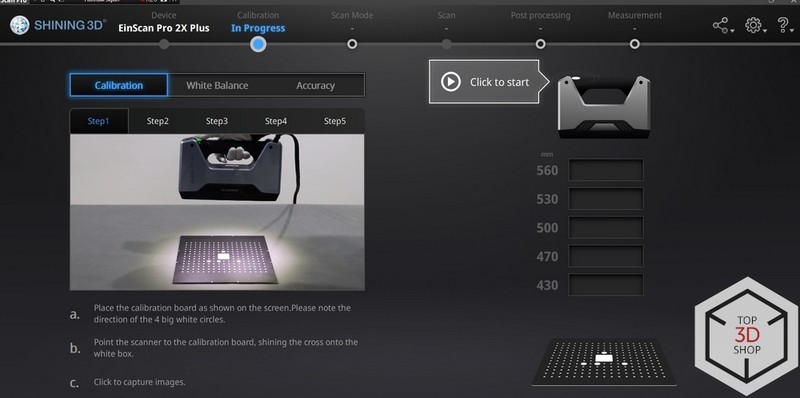
The software of the device offers regular calibration, White Balance calibration (that should be done after a regular one). The process takes around 2 minutes, just as before.
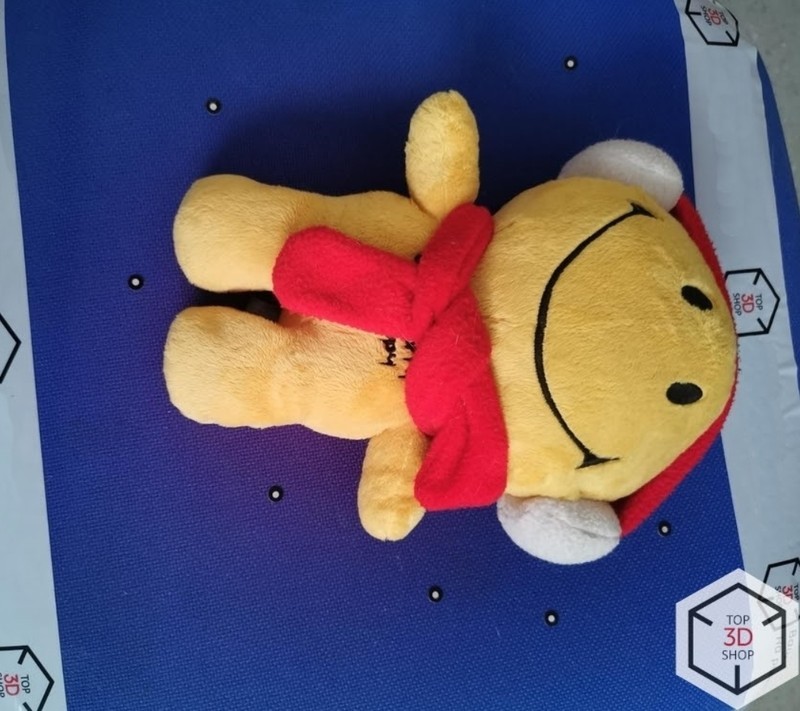
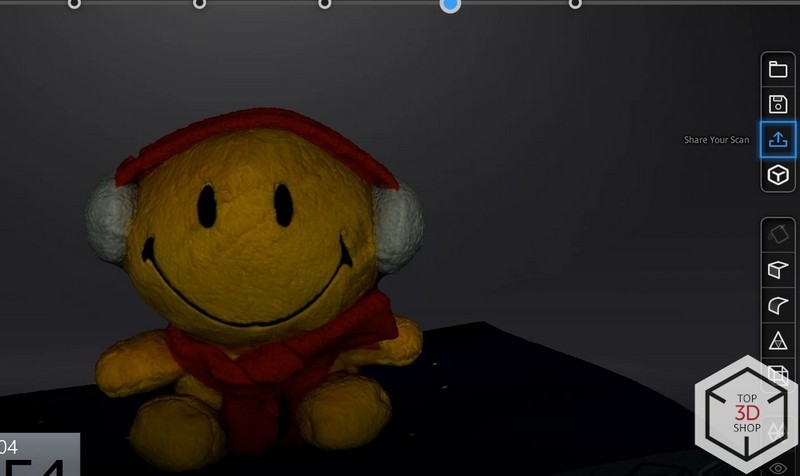
The next model was an ideal choice for scanning — an anthropomorphic stuffed smiley face: bright colors, flat shape and slightly textured surface for checking the quality of scanning. The object must be stationary and we almost managed to let it be still, although by the end of the scan the smiley face decided to fall asleep and was close to ruining the process.
Scanning
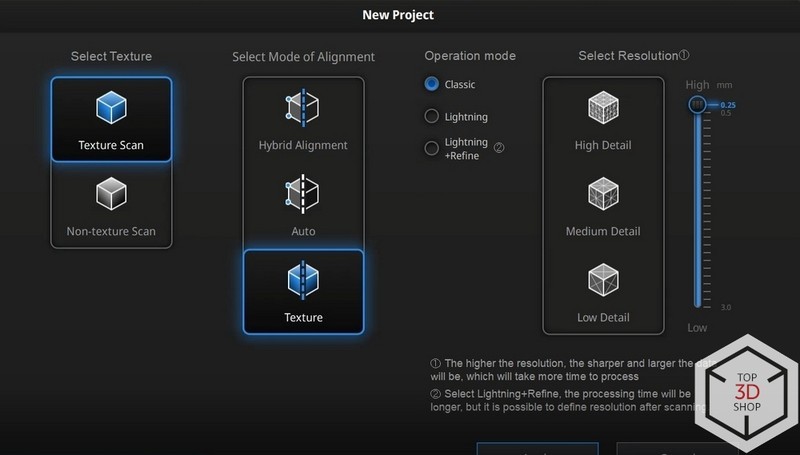
The Handheld Rapid Mode with the installed Color Pack doesn’t change anything in a dialogue window of the program (unlike the previous module does), there are no captions under the mode names. Finding out if the module is connected is possible after starting a mode and see whether the texture mode of alignment is available or not.
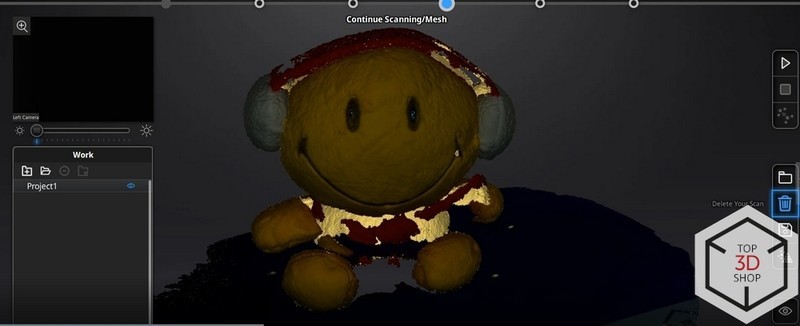
We chose a minimum point distance and started scanning. At first it looked like that the quality could be much better and that the scanner refused to digitize some areas even if they’re located right against the camera. But further automatic processing made the situation better.
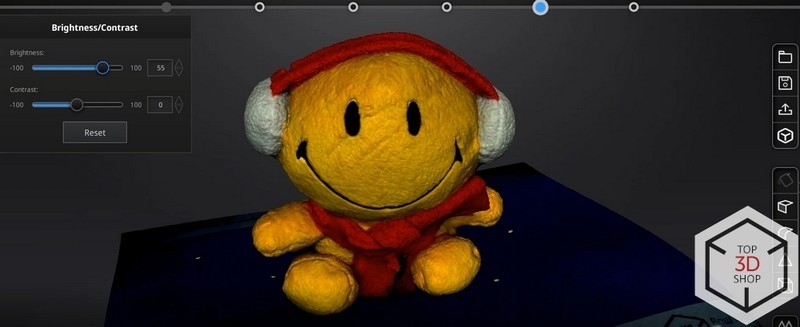
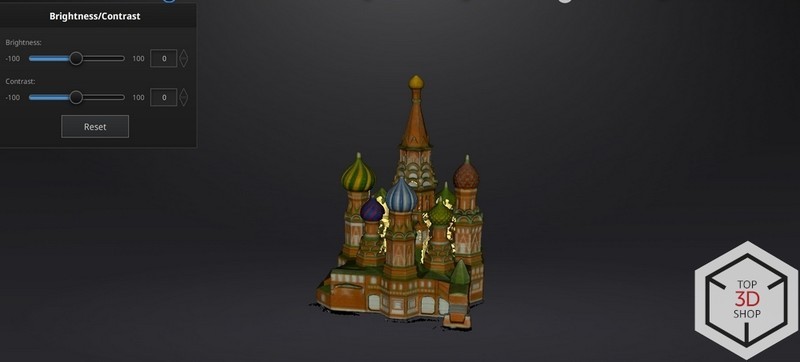
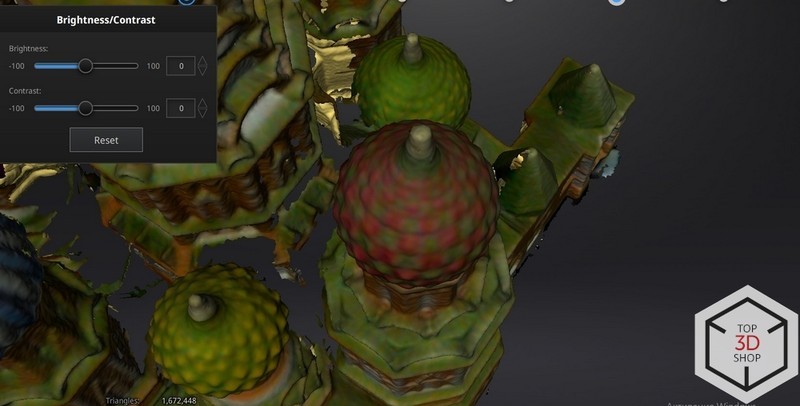
The model’s texture can be either hidden or shown. As is the case with a regular model, the texture would hide the issues and shortcomings of the geometry. Color brightness and contrast can be edited.
The colors on the scan were more saturated than the original ones but in this case it’s a good thing, and in other cases the resulting model can be simply edited. Automatic scan alignment added some artifacts that look like blue areas: the scanner must have caught a color of the table. It can be easily fixed by doing automatic retopology.
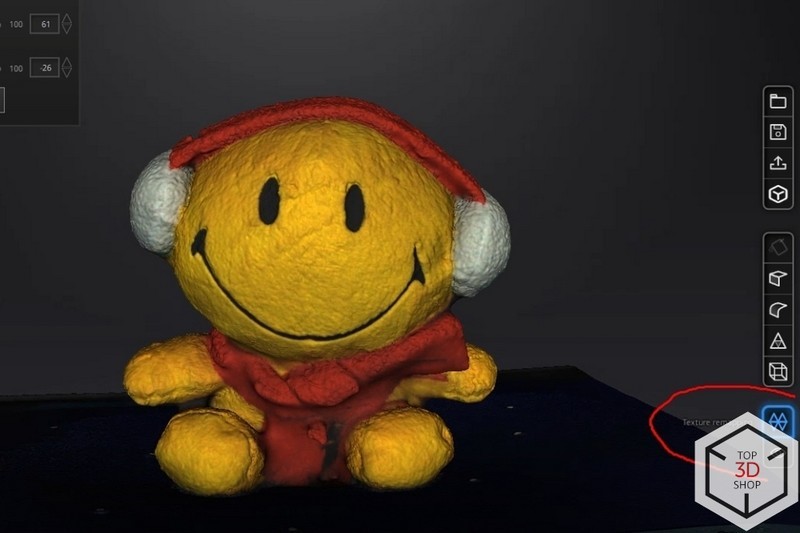
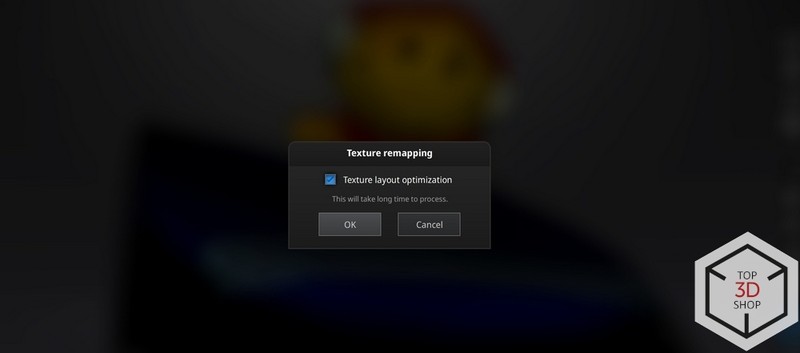
The button can be found at the bottom right corner, clicking it will make an automatic texture layout optimization option available (it will optimize the placement of the texture and its parts, but we will talk about it later).
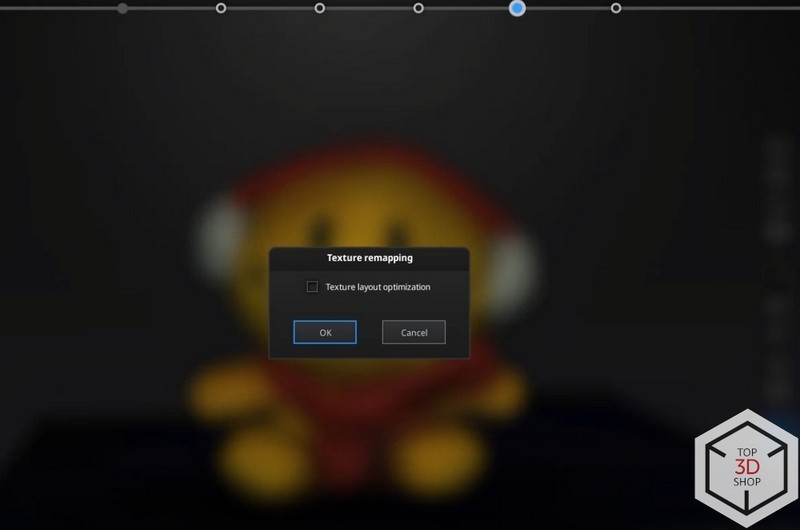
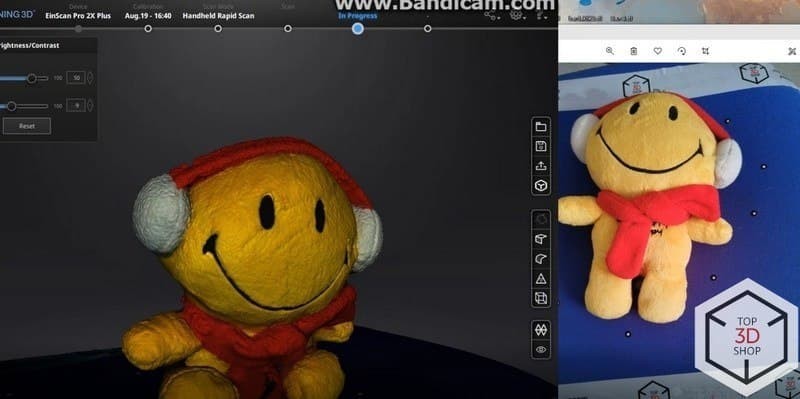
After ticking an “optimization” checkbox you will get a system warning that the process will take some additional time. Automatic processing of a scan took 6-10 minutes. The scanning itself (including texture) took 3 minutes, which is fast enough.
Export formats
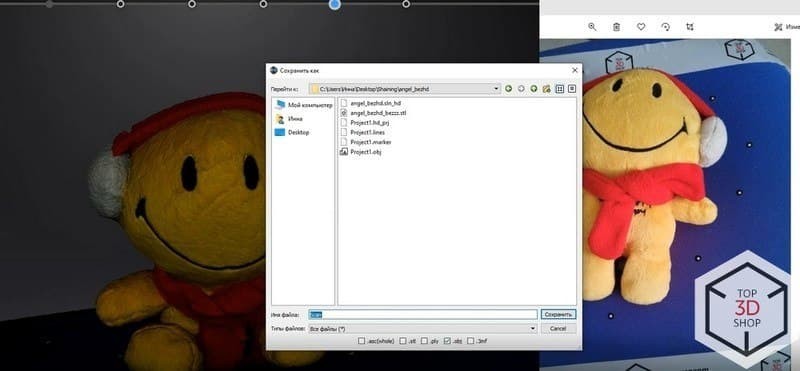
To save the models with texture data the scanner uses the .obj file format — it’s popular for working with the models that save the material or texture data.
Data about the material is stored in the .mlt format — it’s standard and supported by any editing software which is very convenient. The textures themselves are saved in the .jpg format. All of the files are automatically saved on a hard drive by scanning software.
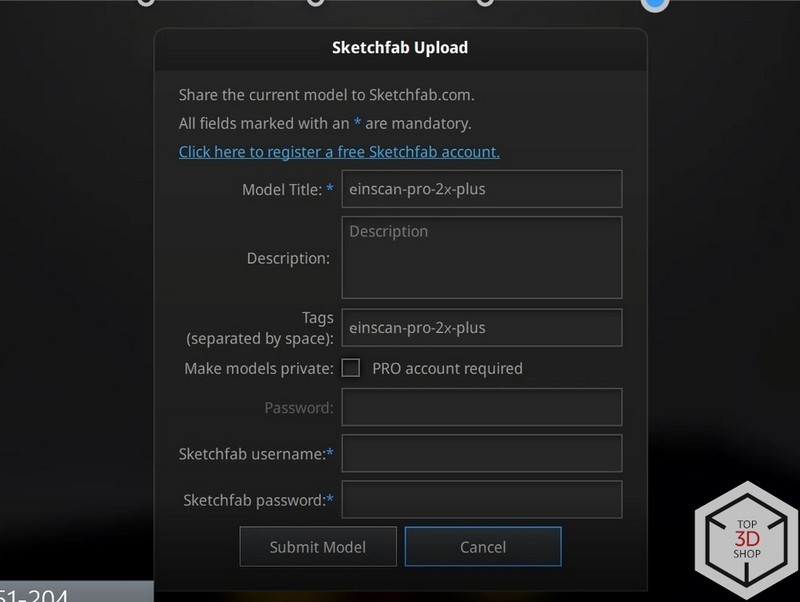
Software features the ability to export the resulting 3D model to SketchFab — one of the most popular services for storing and sharing 3D models.
Video: Scanning process.
Textures, layout and texture editability after scanning
For better convenience, a layout (or a texture atlas) is generated manually or by a special program during model creation.

An example of a model with a good texture atlas. Source: classpert.com
A texture atlas is convenient for editing — when hovering a cursor over a part of a model, a corresponding part of a texture becomes visible. It works both ways: hovering over a part of a texture makes it clear which part of the model it corresponds to.
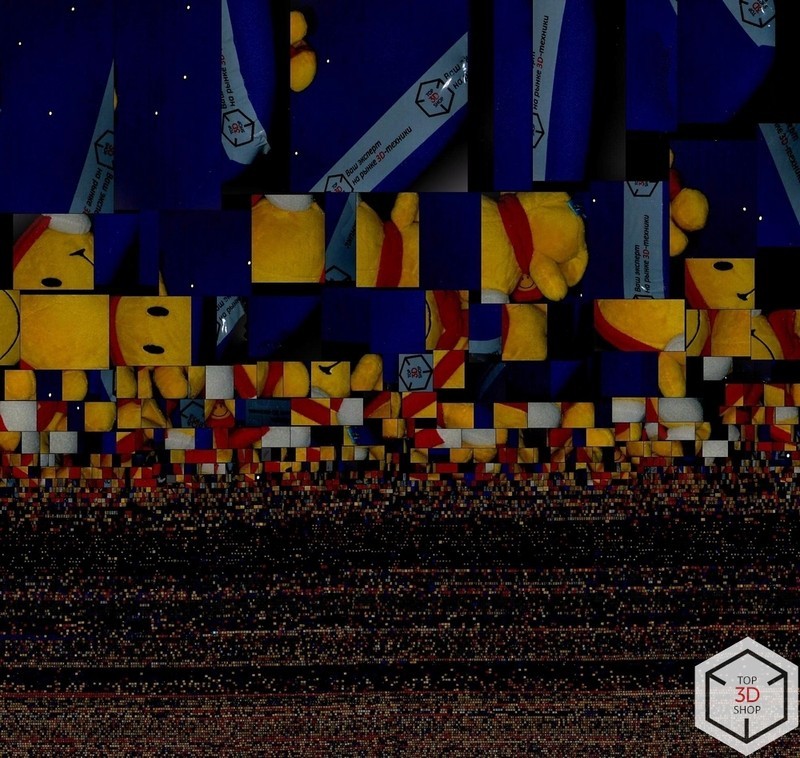
After scanning, the texture is divided into small and very small parts without a clear connection to the polygons of the model.
It can be fixed by optimization (remapping).
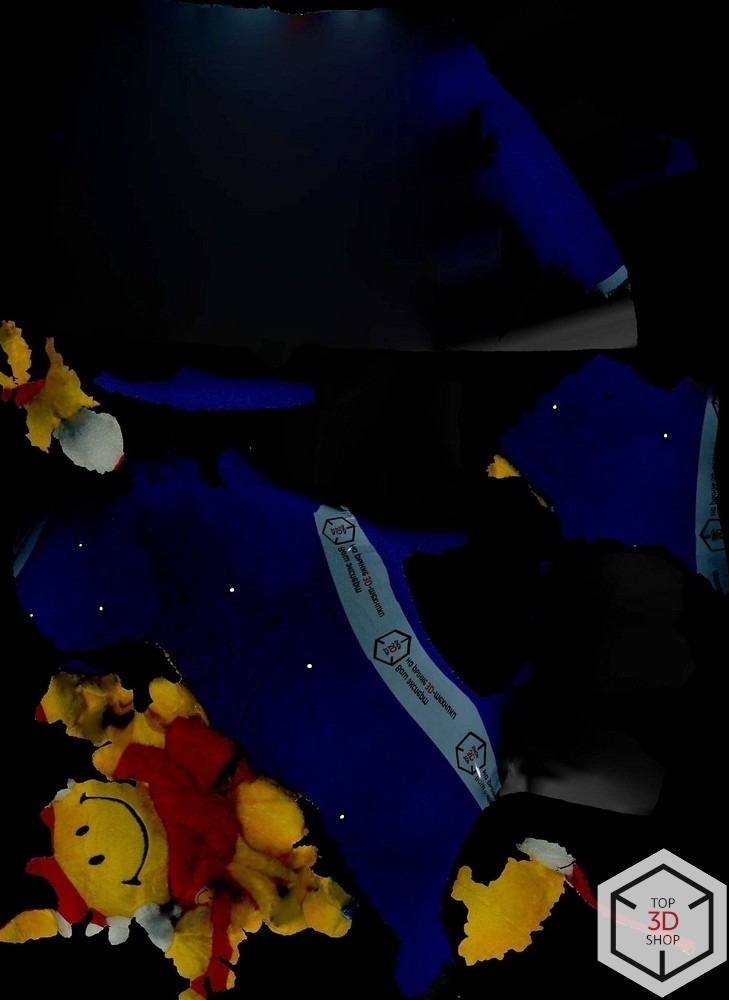
The texture looks significantly better after optimization, but it’s still not very convenient for editing: the connection between parts of the model and the texture is not clear. You can also notice that the scanned texture includes other data: the Normal map, Diffuse, and Albedo — a texture of normals and corners, a color map and a lightmap. Usually, these maps exist separately and can be added when needed.
The object is large but its texture is relatively complex.
Scanning only took 1 minute.

And this is the model that we got.
Both tests showed that the scanner with the Color Pack module installed is good at capturing colors, including the bright ones.
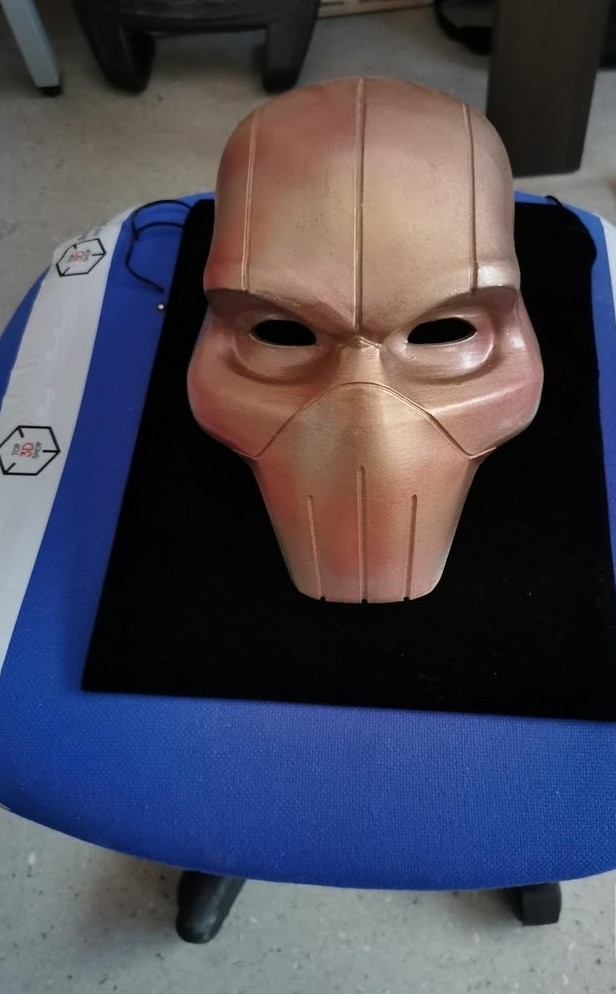
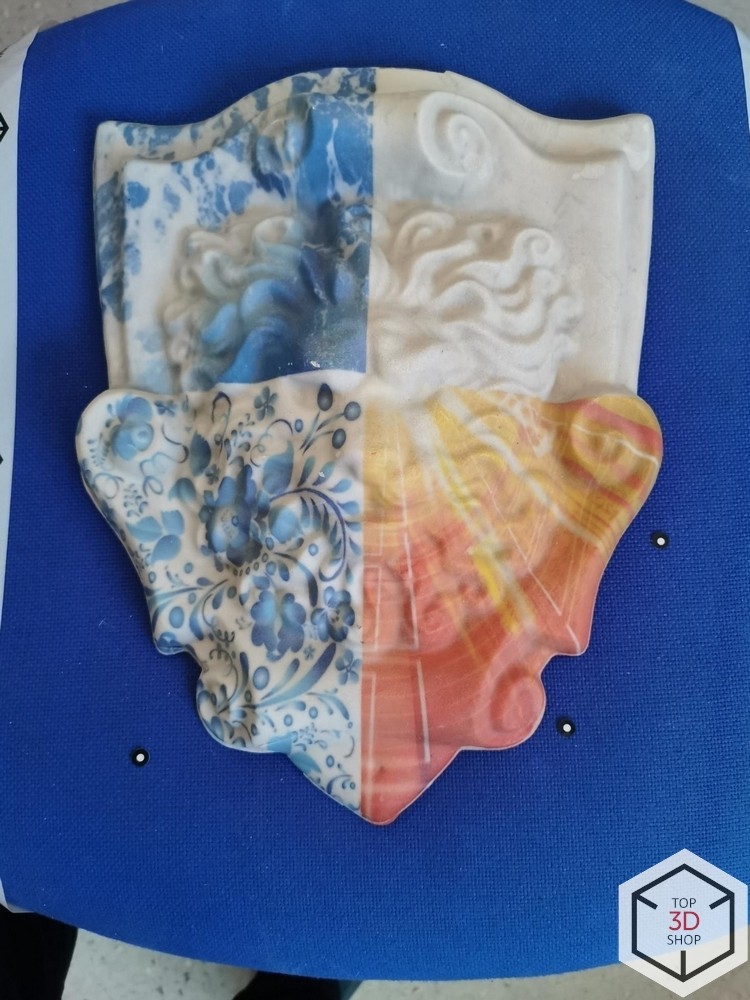
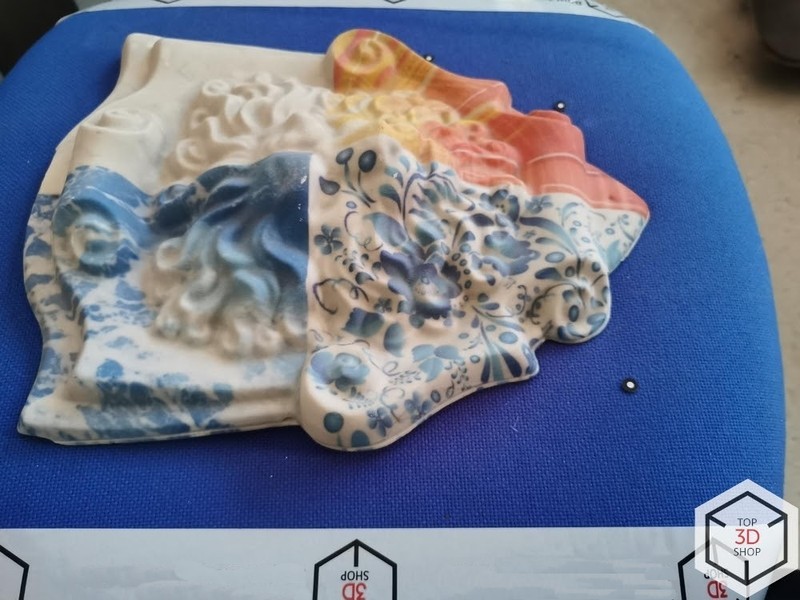
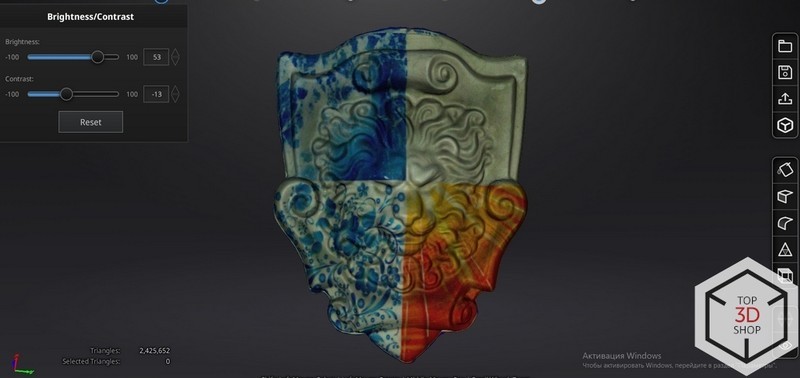
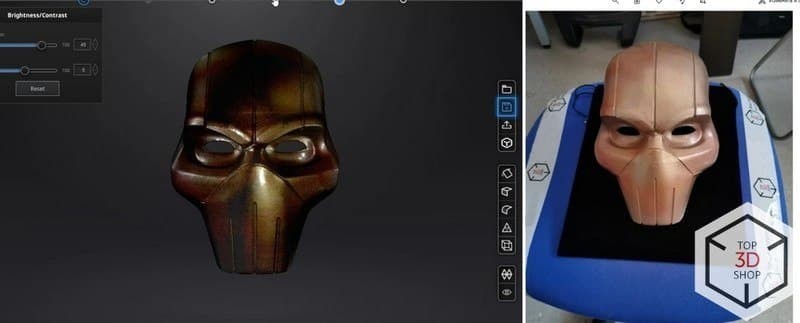
A model has a glossy surface and a complex looking color with a gradient and a glow.
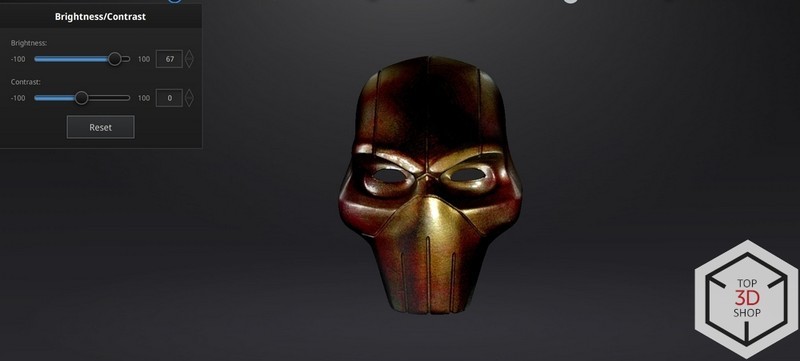
The result looked slightly dim, so the brightness of the texture required some editing. What’s important is that the scanner managed to capture the glow.
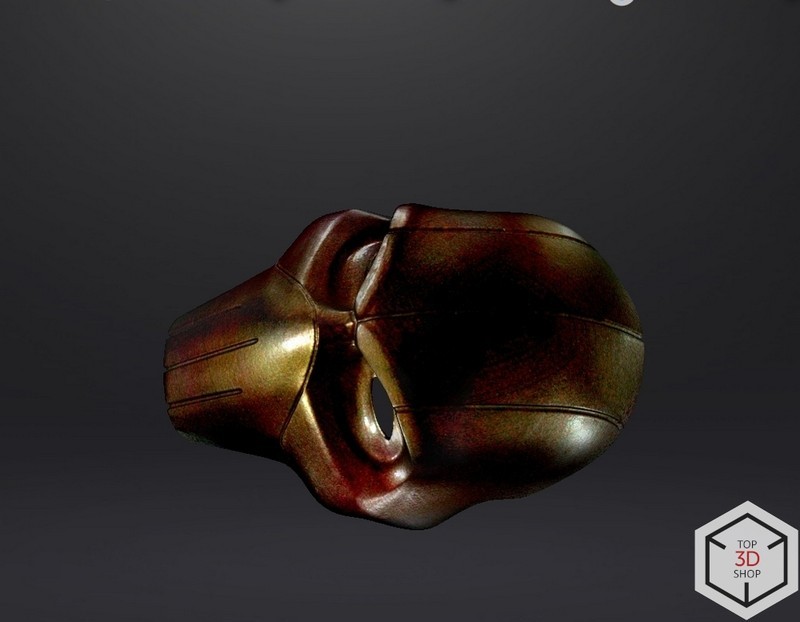
It’s not the model being highlighted by software, it’s the reflection of light. Scanning took just 3 minutes.
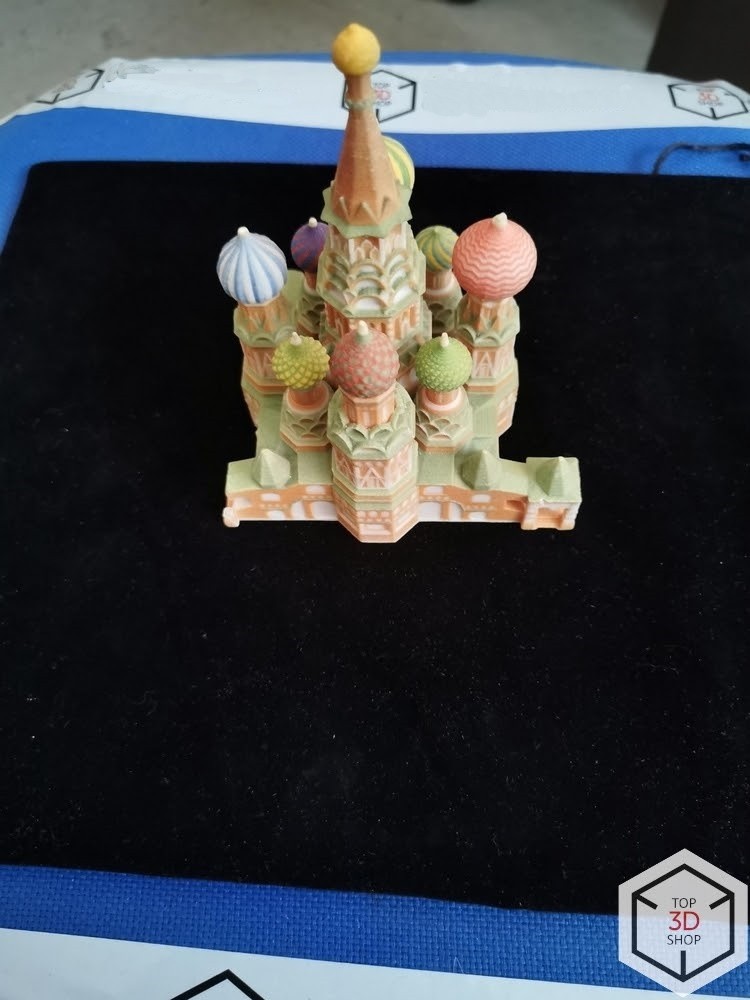
The most difficult things about this test are the big number of colors, the small distance between the towers, and the small size of the model.
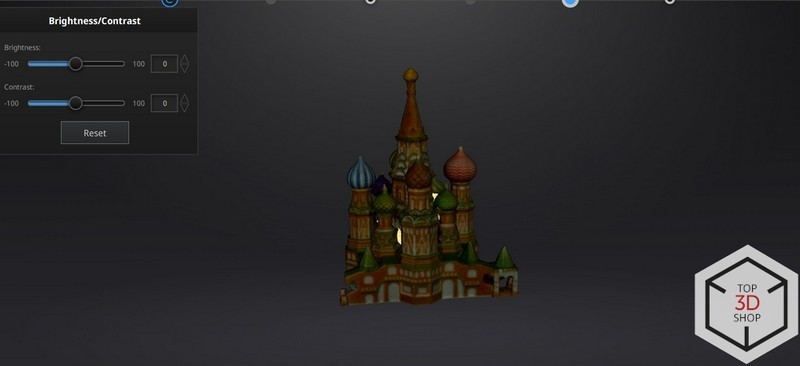
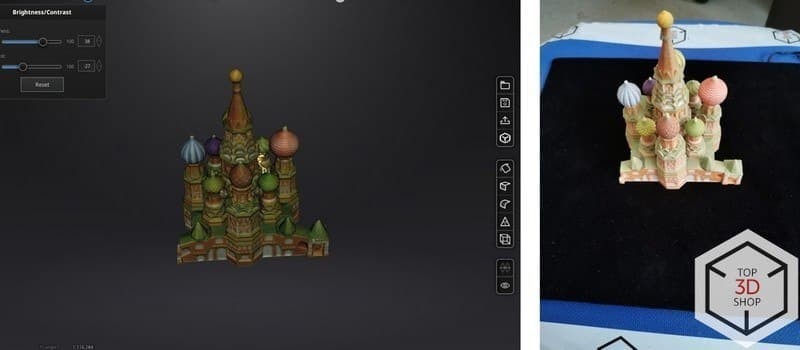
Scanning even with tracking loss took less than 3 minutes. The quality of the resulting texture was slightly inferior to the results of scanning larger objects.
Pros: quick scanning for small and mid-sized objects, good texture quality of larger objects (the texture size being larger than 1000 pixels and the resolution of 96 PPI, which is close to being high-quality).

Examples of various resolutions and their PPI (pixel per inch) values. Source: cy-pr.com
Cons: colors sometimes significantly differ from the original ones due to the play of color, light, and shade but it can be edited using software. The main issue is problems with scanning black color, which should be manually indicated, and a matte spray needs to be used for digitizing geometry. Another issue is that editing the resulting texture can be inconvenient even after optimization.
The Color Pack module is efficient, easy to operate, and will be useful for a quick rendering of models with complex textures, that can be used in online shops, digital expositions and museum exhibitions, video game development, 3D animation, as well as the AR and VR projects.
The Industrial Pack makes scanning more convenient. This is especially true for small- and mid-sized objects. The Industrial Pack also increases scanning accuracy up to 0.04 mm. It’s no longer required to run around an object to scan it, since the process is now automated by a turntable being synced with the scanner.
This is the biggest sized pack for EinScan, it includes a turntable, a tripod and an adapter for attaching the scanner. The turntable is for working with objects lighter than 5 kg, the rotation is controlled by software and its surface is already covered with required markers. Industrial Pack can be used simultaneously with the Color Pack or HD Prime Pack.
We will test scan an object from the previous example and check if the quality of textures and the level of detail are improved.
Before starting it’s required to calibrate all the devices that come in the package and adjust the white balance. The whole procedure takes less than 10 minutes.
Programmed markers, automatic adjustment of placement and software synchronization allow capturing even the smallest and hardest-to-scan surfaces.
Scanning with the Color Pack and the Industrial Pack
A texture is now sharper and has a higher resolution: the ppi number is the same but the texture size is now 1.5 times larger.
Each of the modules reviewed in the article significantly expands the capabilities of the EinScan series of 3D scanners by SHINING 3D.
The Industrial pack is required for scanning small objects in the Auto Mode using a turntable, offering higher accuracy and resolution.
The Color Pack is used for scanning the objects that require a precise color reproduction — museum exhibitions, prototypes and art objects.
The HD Prime Pack is meant for scanning with a high level of detail when accurate capturing of the model’s size is not as important as getting the geometry as close to the original as possible. Some examples of such cases include visualizations, designing the models for 3D printing and AR/VR.
Moreover, the Color Pack or the HD Prime Pack can be used together with the Industrial Pack.
Buy affordable and high-quality 3D scanners of the EinScan series by SHINING 3D with the additional modules at Top 3D Shop and get an official warranty and the best possible service.
Update your browser to view this website correctly. Update my browser now

![Einscan Pro 2X 2020 / V2 3D Scanner [1 x Aesub Spray for Free]](https://top3dshop.com/image/cache/catalog/products/3d_scanners/shining_3d/einscan_pro_2x/einscan_pro_2x_4734d382-268x192.jpg)
![Einscan HX 3D Scanner [1 x Aesub Spray for Free]](https://top3dshop.com/image/cache/catalog/products/3d_scanners/shining_3d/einscan_hx/einscan_hx_image6-268x192.jpg)
Write a comment