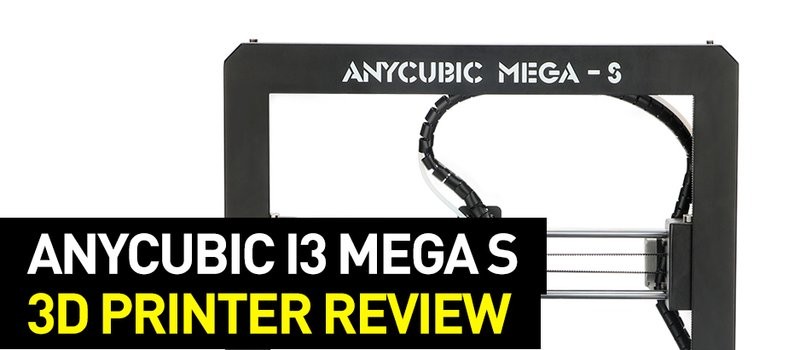
Welcome to the Top 3D Shop blog where you can find an answer to any question about 3D printing technologies, equipment, and software. We are on a mission to provide you with the most relevant and useful information about 3D printing to help you make the right decision before investing your hard-earned money in this or that product. For today’s review, we picked a much-touted Anycubic i3 Mega S 3D printer that has endeared itself to consumers all around the world due to its good performance, excellent printing quality, and phenomenal affordability. Let’s go into details and find out what makes this machine so popular.
Source: anycubic.com
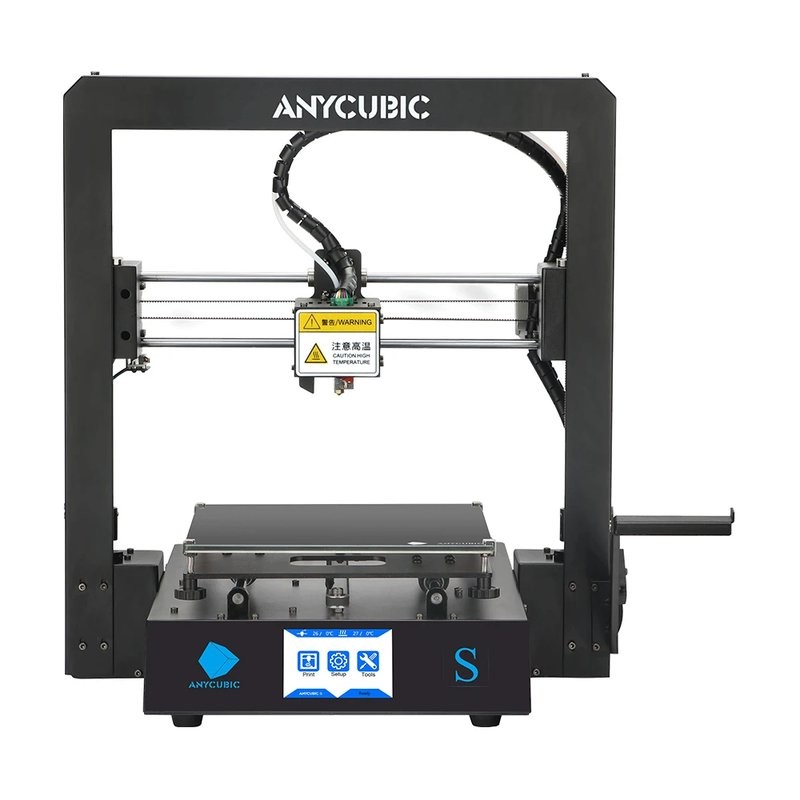
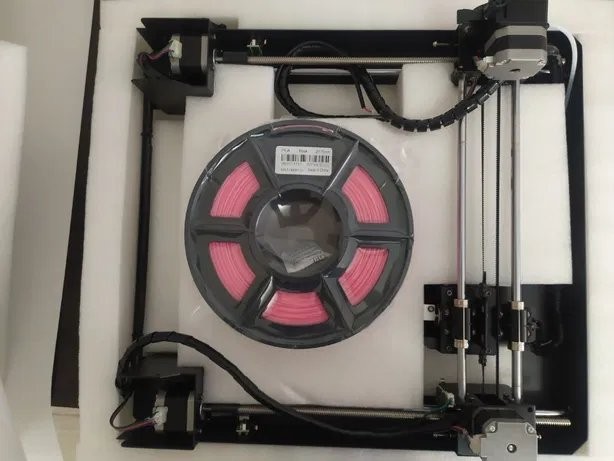
To be more specific, we are going to tell you about the modifications made in a popular low-cost 3D printer Anycubic i3 Mega S. The previous version – Anycubic i3 Mega – has gained a reputation of a user-friendly, reliable, high-precision, yet budget-friendly printer to be used at home or small-quantity production. The Mega S version does not differ much from it. For instance, the extruder is now equipped with a Titan-type feeder, the spool holder is included in the supply package and attached to the printer frame. But first things first.
|
Feature |
Value |
|
Printing technology |
FDM |
|
Supported materials |
PLA, ABS, Wood, HIPS, Flex, and others |
|
Build volume |
210 × 210 × 205 mm |
|
Number of extruders |
1 |
|
Thread diameter |
1.75 mm |
|
Nozzle diameter |
0.4 mm |
|
Extruder travel rate |
100 mm/sec |
|
Printing speed |
20-100 mm/sec (the recommended speed is 60 mm/sec) |
|
XY positioning accuracy |
0.0125 mm |
|
Z positioning accuracy |
0.002 mm |
|
Ambient operating temperature |
8-40 °C |
|
Extruder temperature |
max 260 °C |
|
Connectivity |
SD-card, USB-wire |
|
Bed temperature |
max 110 °C |
|
Power supply |
110 V/220 V AC 50-60 Hz, 12V DC |
|
Layer thickness |
0.05-0.30 mm |
|
Software |
Cura, Simplify3D, Repetier-HOST |
|
Input formats |
STL, OBJ, DAE, AMF |
|
Weight |
11 kg |
|
Dimensions |
405 × 410 × 453 mm |
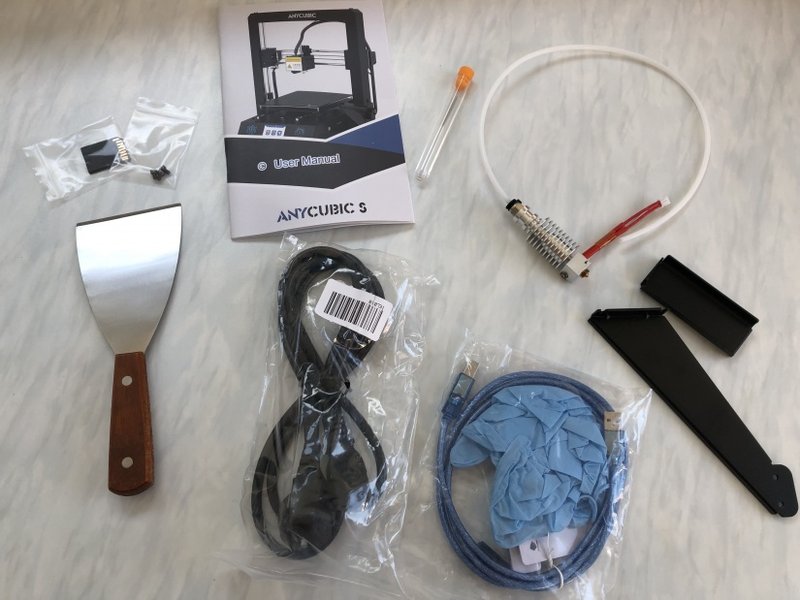
The delivery package is big, heavy, and stuffed with all the parts and accessories you will need to kick off a 3D printing process and carry out the maintenance/repair works if necessary. 3D printers under $300 rarely come with such rich package content, so Anycubic i3 Mega S is really outstanding in this context. The list of provided parts includes hexagon drives, wrenches, a screwdriver, a needle to clean the nozzle, an SD card with a card reader, pliers, a wide scraper (excellently sharpened, which you don’t see very often), a pair of rubber gloves, and a USB cable to connect to a PC.
Source: electromaker.io
This package will not be complete without a spare limit switch, an additional, fully assembled hot end (with a nozzle, a thermal resistor, a heater, and a Teflon tube) and a 1-kg spool of PLA filament.

Source: youtube.com
The printer is delivered practically full-assembled.
Source: electromaker.io
Source: olx.ua
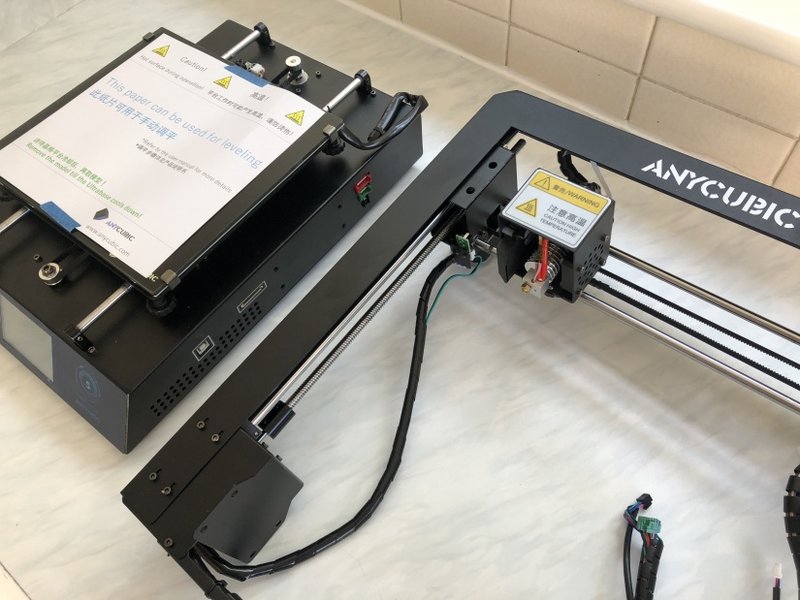
The printer itself consists of two main parts: a control unit with a bed placed on it and a vertical frame with an extruder and the entire Z-axis.
The whole assembly process will involve screwing 8 bolts and…
Source: Pinterest.ru
…connecting three wires to the control unit.
Source: china-gadgets.com
After that, the only manipulation left to be done is fastening the filament spool holder to the vertical frame and that’s all, the printer is ready to work.
The vertical frame is all-metal, which ensures excellent rigidity of the whole construction. A control unit is also placed in a metal housing. The control unit stands on rubber legs. In general, the printer’s design is pretty durable, nothing wobbles or hangs loosely.
Source: Thingiverse.com
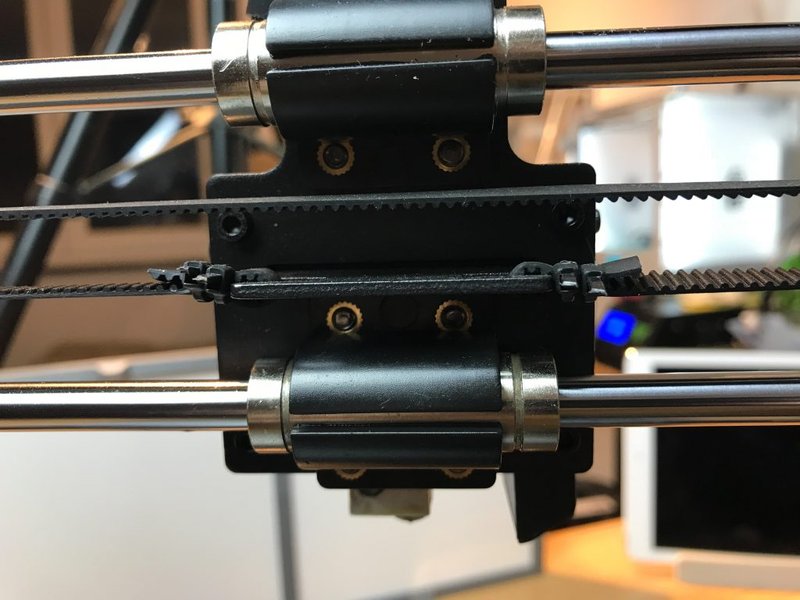
The printer has Prusa-like kinematics. Such kinematics means that the heated bed is situated along the Y-axis and moves back and forth. The X-axis is the extruder carriage that moves left and right. And there is also the X-axis that rises wholly, ultimately resulting in the Z-axis.
All axes move on 8mm shafts and linear bearings. Let’s speak on each axis in more detail.
Source: drucktipps3d.de
The extruder carriage moves along two 8mm shafts on two LM8LUU linear bearings.
Source: drucktipps3d.de
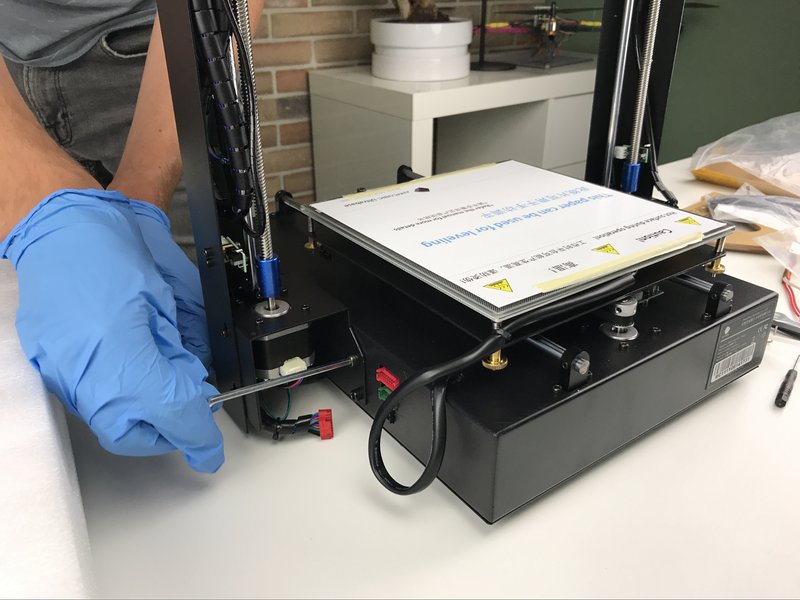
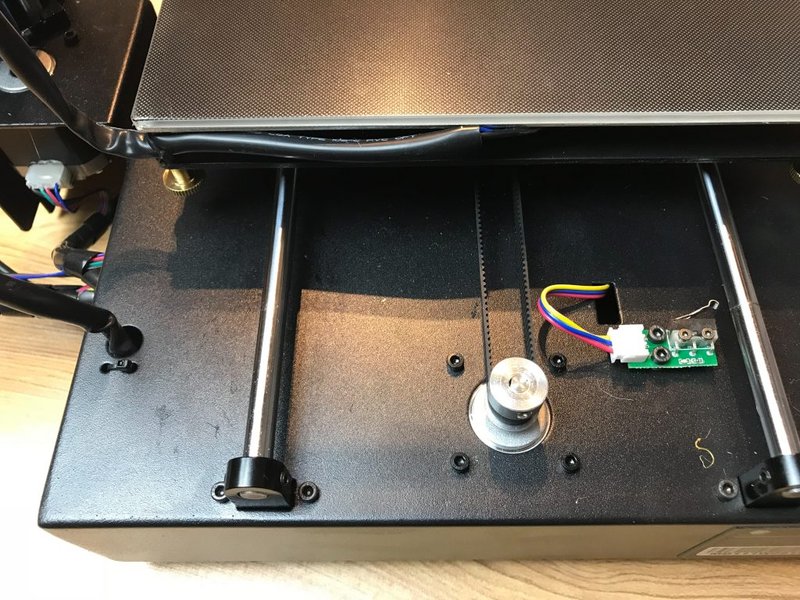
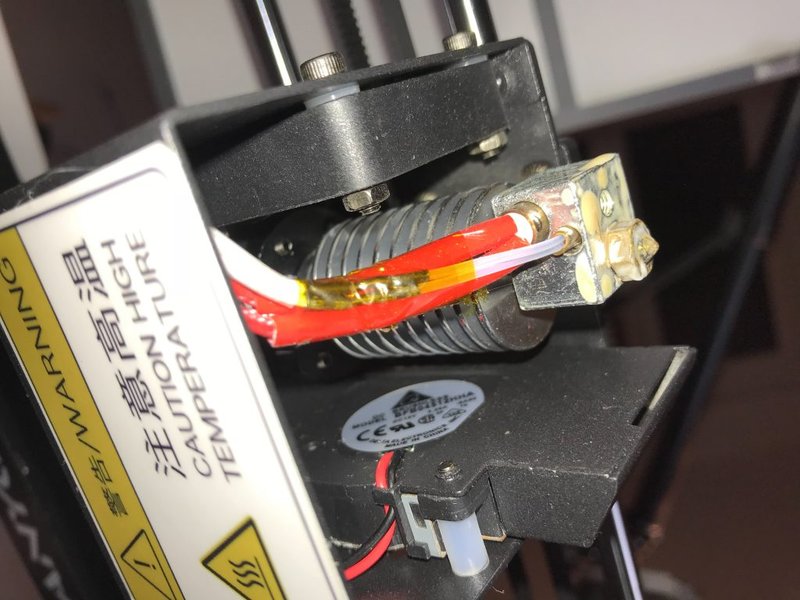
The bed also moves along two 8mm shafts with three LM8UU bearings – two are mounted on one side and one is on the other. The bed frame is made of a single piece of metal. The frame is extremely durable; there is not a scintilla of bending or some other structural imperfections. The bed itself is heated; the maximum temperature is 110 degrees. The heatbed is basically an aluminum plate whose surface is covered with the original “Ultrabase” glass. Ultrabase is Anycubic's proprietary development famous for its impressive quality characteristics. Other 3D printer manufacturers are vainly trying to create something similar, but the original Ultrabase glass is still second-to-none. The glass is covered with a special perforated layer on top. In most situations, the objects stick perfectly to the “Ultrabase” glass bed during printing. It is also very easy to detach and remove the resulted objects from the platform after the bed cools down. However, ABS filament is a notorious troublemaker, and if you use this filament with Anycubic i3 Mega S, get ready that you will need an additional adhesive.
Source: drucktipps3d.de
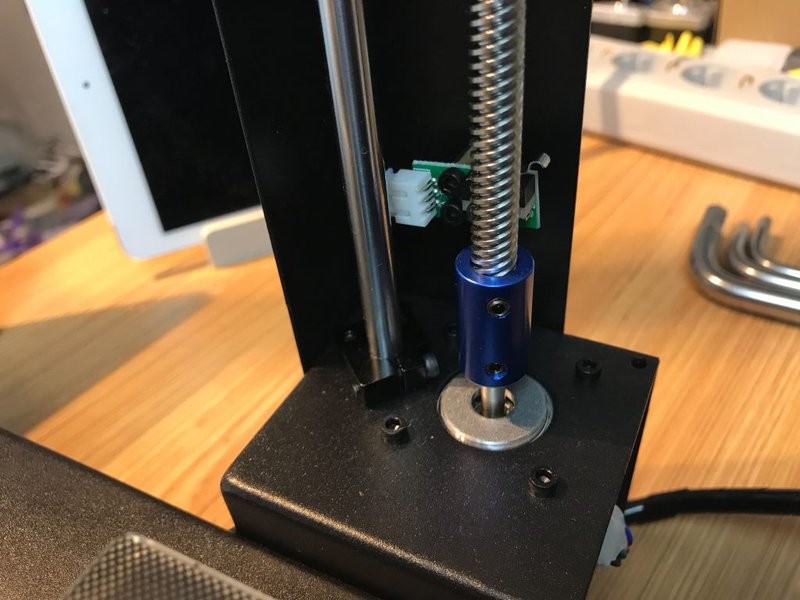
The Z-axis features two motors, two shafts, and two screw guides. It also has two limit switches and two bolts on each side for calibration. When performing the initial calibration, it is necessary to achieve a horizontal position of the Z-axis once when both limit switches are triggered. In the future, even if for some reason the axis is skewed, it will still return to the horizontal position at each parking. And the printing will always start with a leveled Z-axis.
Source: drucktipps3d.de
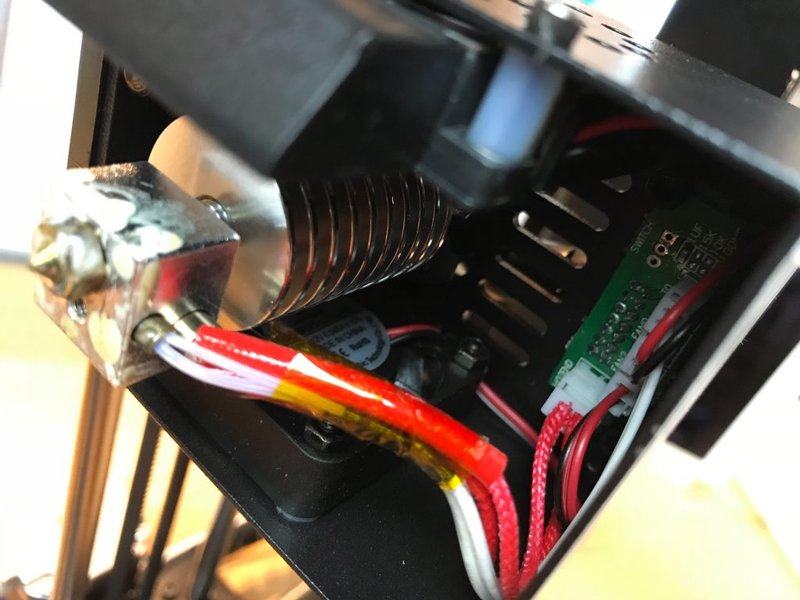
While the XYZ axes stay unchanged in the Mega S version, the extruder underwent some modifications. However, it still has the V6 Bowden hotend. From outside, the carriage is placed in a metal enclosure where the hotend, its radiator fan, the print area fan, and the distribution board are also hidden.
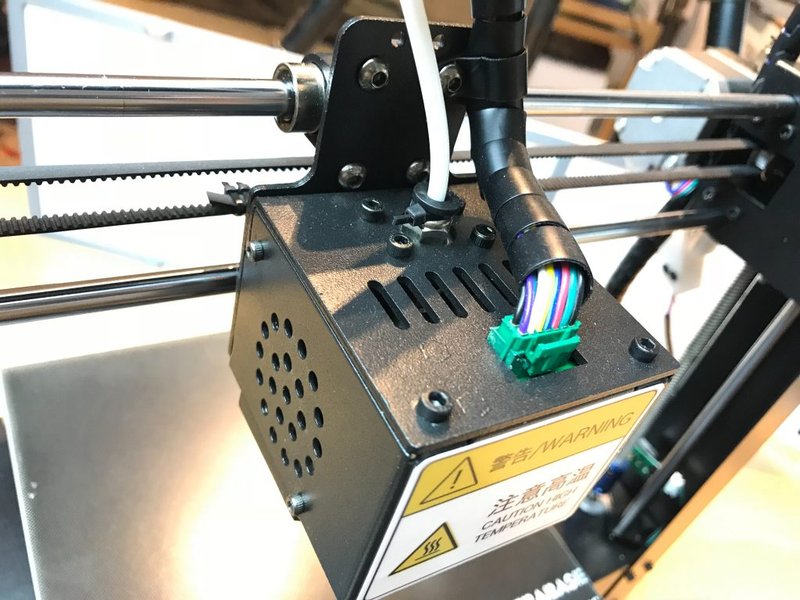
Source: drucktipps3d.de
But the feed mechanism was replaced with an analog of Titan. This means that the filament is fed not directly by the motor pulley but through the gear. This ensures a higher torque, significantly enhanced accuracy of filament supply, as well as better plastic pressure in the mechanism.
Source: drucktipps3d.de
The extruder also comes with a filament end sensor. If the filament suddenly runs out, the printer will automatically pause and wait for you to insert the new spool. We printed with Anycubic i3 Mega S many times, and there was no false filament sensor triggering ever.
Source: china-gadgets.com
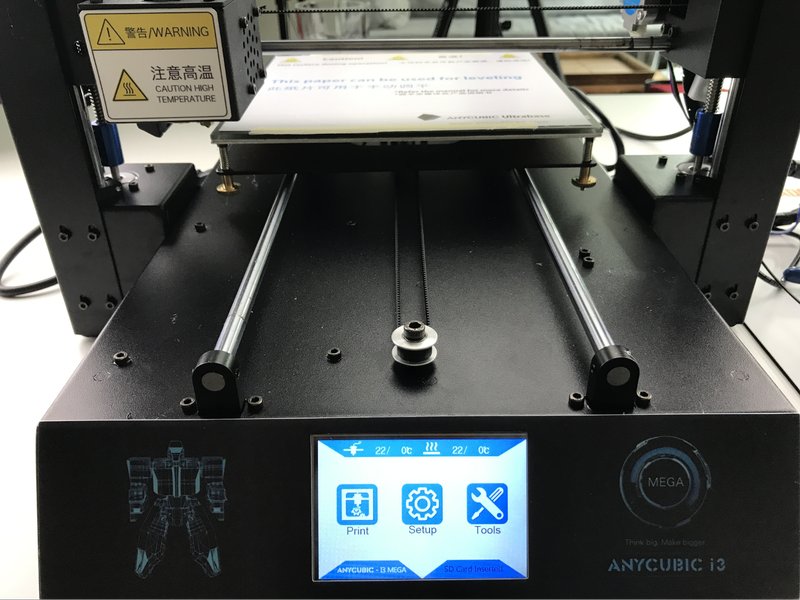
The printer is controlled through the touch screen that is placed in the front at a slight angle for greater convenience. The sensor responsiveness is fine, finger pressures are recorded quickly, and correctly, no extra responses were ever noticed.
The screen menu has almost everything you need: automatic preheating for PLA and ABS filaments, simple heating to the required temperature, cooling, axis control, axes auto-home, filament loading/unloading, and that’s all. Unfortunately, the touch screen menu does not have more advanced settings, such as acceleration and jerk variation, cooling fan control, or calibration assistant. During printing, it is only possible to change the temperature and overall print speed. There are no settings for fanning and airflow, which is also a little inconvenient.
Files for printing can be sent both through an SD-card or a USB-cable.
As for slicing of models, Anycubic recommends using the Cura slicer 15.04.6. This is a long-outdated version of Cura that has quite limited functionality compared to later versions. At the moment, the latest version is Cura 4.5 that can be downloaded from the Ultimaker website. Though the slicer’s standard profile is stated to support Anycubic i3 Mega, it is also compatible with Mega S. If you prefer other slicers (Simplify3D, Slic3r, IdeaMaker, Kiss), you can safely use them as well because this printer uses the standard gcode for printing.
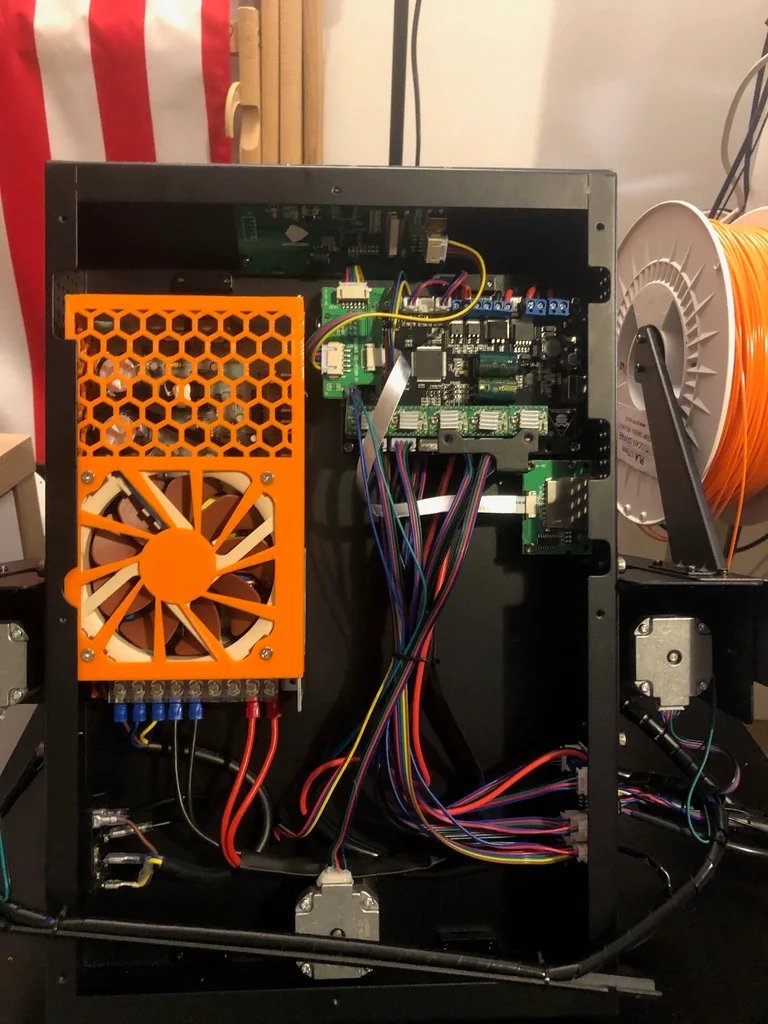
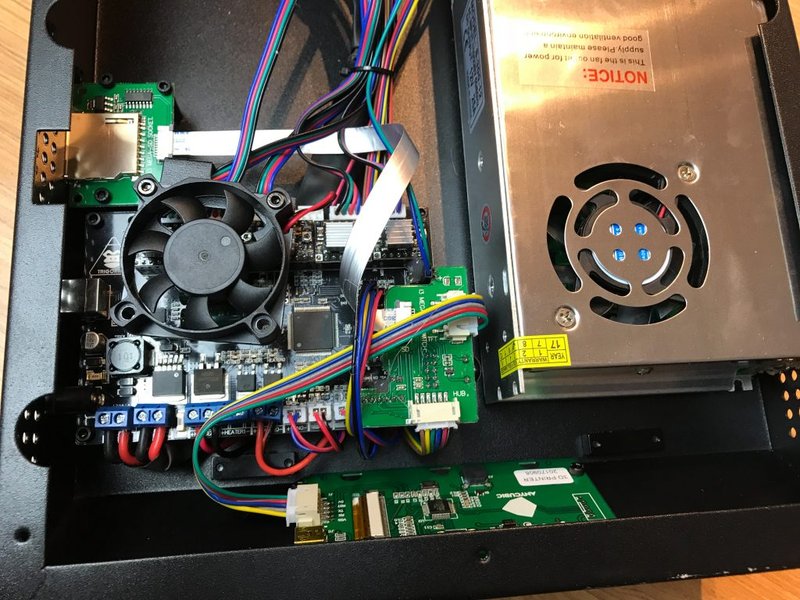
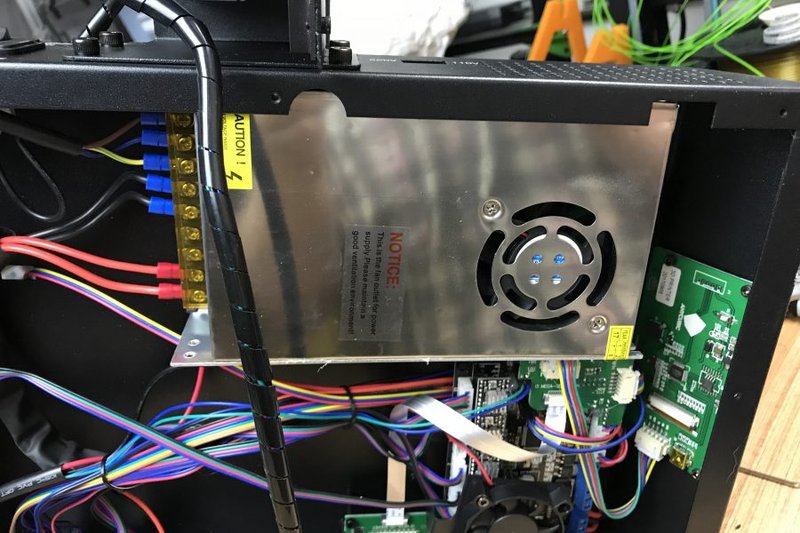
Now let's look inside the control unit.
Source: drucktipps3d.de
The control unit is not difficult to open – it is only enough to put the printer to the side, unscrew ten bolts, and remove the bottom cover. The machine’s entire electronics is funneled in this block.
Source: drucktipps3d.de
As for the power supply module, it is of 12 volts and 25 amperes, which is not enough compared to today, but pretty sufficient for a printer with such a build volume. All wires from the side of the power supply are tightly surrounded with terminal clams and neatly separated.
Source: drucktipps3d.de
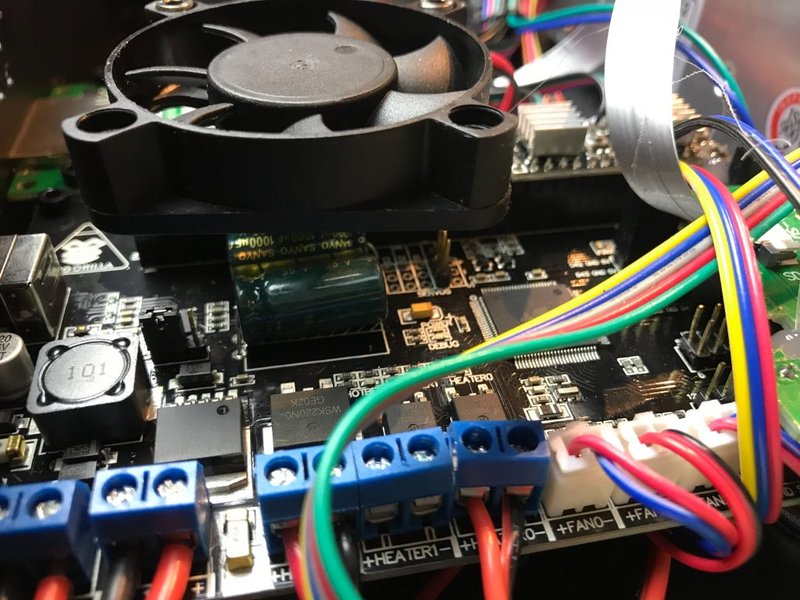
The printer comes with the Trigorilla 1.1 control board. It runs on an 8-bit Atmega2560 chip. The drivers of an A4988 stepper motor are cheap and noisy, but powerful and robust. Surprisingly but the drivers on the board are removable, meaning if you have a desire and appropriate skills, you can later replace these drivers with better and quieter ones.
Source: drucktipps3d.de
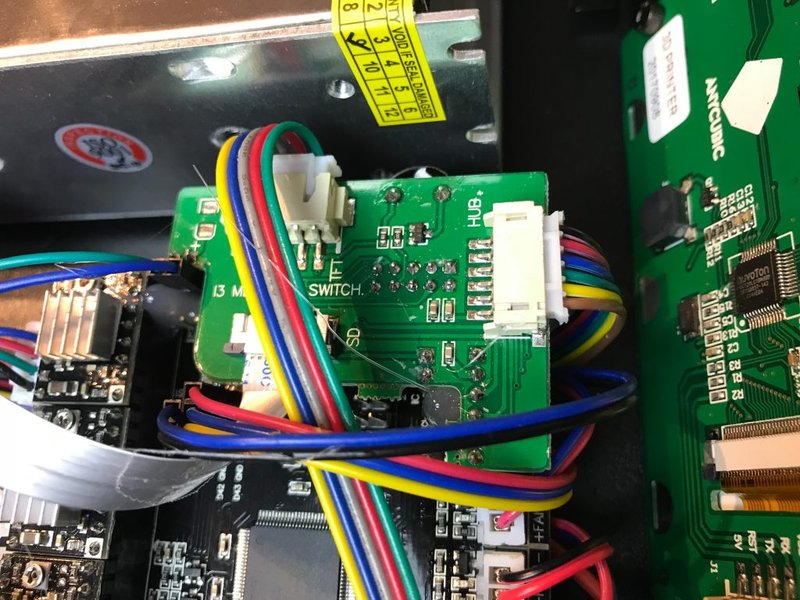
The printer features a signature Anycubic screen board.
If you are a fan of modernization, you have a theoretical opportunity to connect a second extruder since the machine has enough ports on its board for your refinement experiments. However, without the necessary knowledge and practice, we highly recommend refraining from interfering with the printer’s design. You should realize that any attempts to modernize this already excellent printer will involve the necessity to change the motors’ connection diagram, reconfigure the firmware, completely redo the extruder carriage, and stretch the wires. In general, this is not as simple as it sounds, but such upgrades can be implemented in theory.
The printer’s stepper motors are unmarked, so it is impossible to say anything about their characteristics.
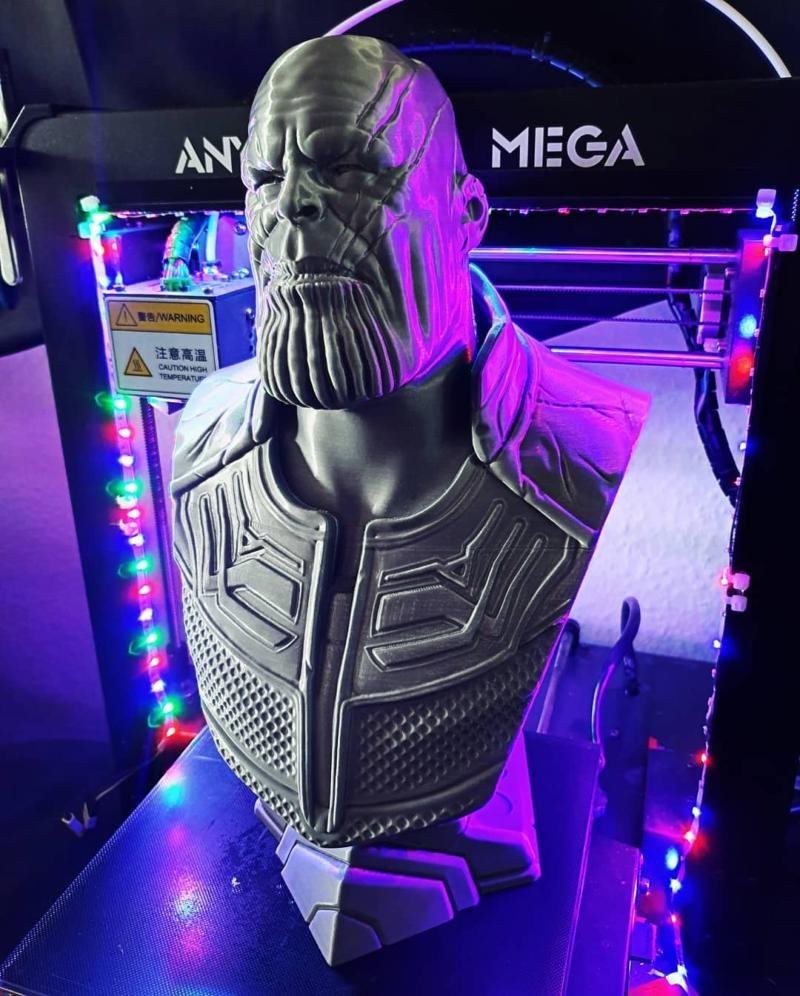
Check out some of the models printed using the Anicubic i3 Mega S.

Source: instagram.com
Source: instagram.com
Source: instagram.com
Source: instagram.com
Here’s our verdict on the Anycubic i3 Mega S 3D printer.
Let’s handle the cons first. Fortunately, there are not many of them:
Pros:
Given the fact that its price is under $300, the printer certainly offers good value for its money, such good-quality products in the segment of affordable 3D printers are rare phenomena. Anycubic i3 Mega S is poorly suited for professional or industrial 3D printing, however, small businesses, as well as households, could profit greatly from this machine. You can get the printer at Top 3D Shop.
Update your browser to view this website correctly. Update my browser now

Write a comment