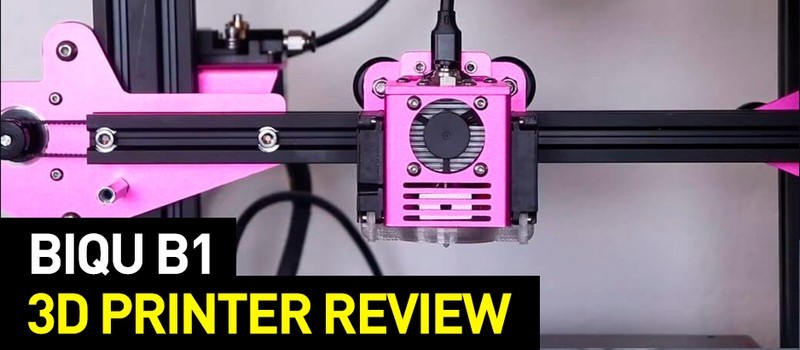
Hey everyone! Top 3D Blog here with another addition about affordable yet powerful FDM 3D printers that can bring good value for their money. The spotlight of this article is taken by the BIQU B1 — a sturdily built FDM 3D printer packed with a handful of features for a seamlessly integrated workflow and streamlined printing experience. Despite its sub-$400 price tag, this 3D printer offers a surprisingly large build volume and is pretty straightforward and easy to use. Designed for hobbyists and entry-level makers, the BIQU B1 has some aces up its sleeve that make it stand out among other budget-friendly FDM machines. Besides, the machine boasts a set of extraordinary features that will be of interest even to the most experienced makers. It sure is not perfect and has some weak links, but there’s nothing you can’t fix on an open-frame device thanks to its remarkable upgrade potential.
Read on as we break down the features, pros and cons, and review some troubleshooting cases. Besides, we will dwell upon the most noteworthy upgrades so you can make this 3D printer compatible with high-temperature plastics and take your FDM printing experience to another level. But before we see what the BIQU B1 has to offer, let’s get acquainted with the manufacturing company.

BIQU is a Shenzhen-based manufacturer of affordable FDM 3D printers and spare parts for them. Founded in 2015, the company is known for its customer-oriented approach and a heavy focus on establishing that client-manufacturer link most of the big companies seem to miss out on. Of course, the 3D printers aren’t entirely assembled and upgraded according to the customer feedback, but there’s a large set of features that were added to improve the printing experience based on feedback.
Its current lineup consists of two consumer-grade FDM 3D printers: the BIQU B1 and BIQU Thunder. Both of the machines come as 3D printer kits, so each is not enclosed and has to be assembled manually. Indeed, it prolongs the time it takes to proceed to the actual printing process, but also provides users with all the necessary knowledge about how FDM-based machines operate and lets them install a plethora of useful upgrades all by themselves. Besides, it lays a solid foundation for further troubleshooting expertise.
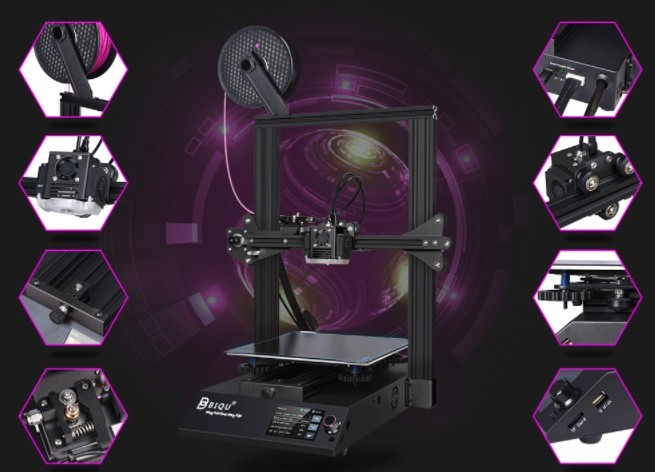
The BIQU B1 is a desktop FDM 3D printer that offers an impressive build volume of 235 х 235 х 270 mm (9.25 x 9.25 x 10.62 inches), so it can print a single medium-sized model or simultaneously print several smaller ones in one go. It prints at a minimum layer thickness of 50 microns, which is good for a 3D printer of its price tag.
Credit: Just Vlad / Youtube
It will take some expertise and fine-tuning to achieve the quality that can be seen in the image above, but nothing is out of reach for a maker with a real passion.
Credit: Just Vlad / Youtube
Another great advantage of the BIQU B1 is that it has been equipped with a detachable 4 mm thin spring steel heat bed that facilitates print removal and provides excellent layer adhesion.
There’s also a Bowden type extruder with adjustable RGB LED lighting and an all-metal nozzle that can heat up to 260°C, filament runout sensor, pre-installed BLTouch holder, proprietary 32-bit mainboard, and adjustable control screen that can operate in a touch screen or rotary knob mode depending on your requirements. Besides, it lets you manually enter G-code commands through the screen interface without having to connect the printer to any other device.
Credit: victor.valdez90 / Instagram
The BIQU B1 can print with PLA, TPU, Wood, Nylon ABS, and flexible filaments with a diameter of 1.75 mm. It can reach a maximum speed of 100 mm/s and offers wide material compatibility, so this 3D printer can be used for the production of uniquely designed household items, props, toys, accessories, and hard-to-break prototypes.

Source: ricardoperrella.photos / Instagram
The promises for reliable printing of tall models with ABS should be taken with a grain of salt though since the B1 is not equipped with an enclosure. It does, however, demonstrate outstanding results when working with PLA, and its Bowden-type extruder makes PLA-based prints even better.
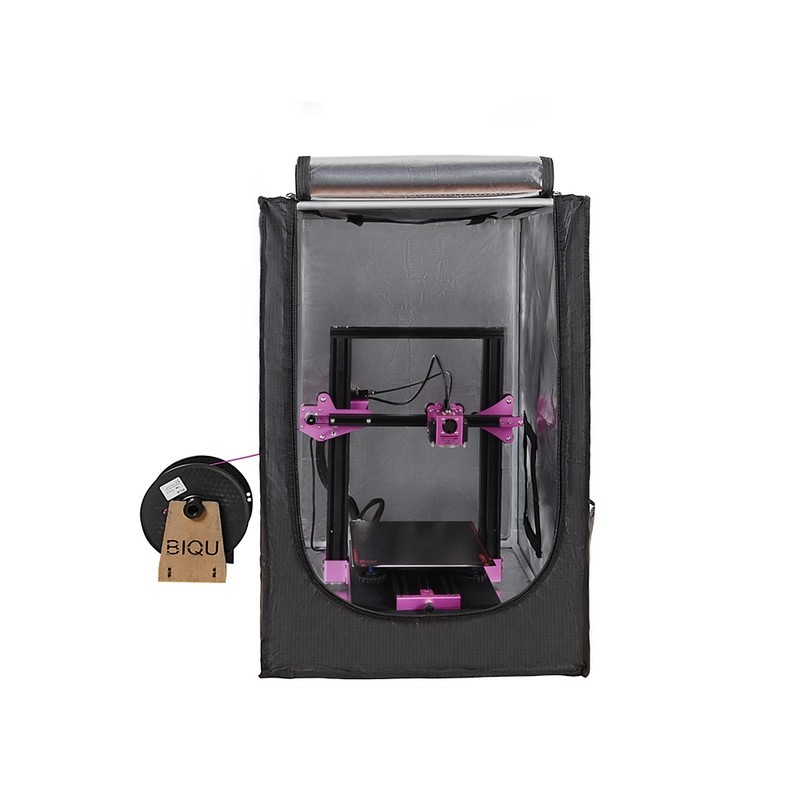
In case you’d like to reliably print with ABS and create hard-to-break items and prototypes, make sure to upgrade the B1 with an enclosure. A fully enclosed build chamber helps to maintain optimal temperature conditions required to print with high-temperature plastics, prevents unwanted temperature fluctuations, misprints on upper layers, and makes the assembly considerably safer. You can make the enclosure yourself or order it from the BIQU official website.
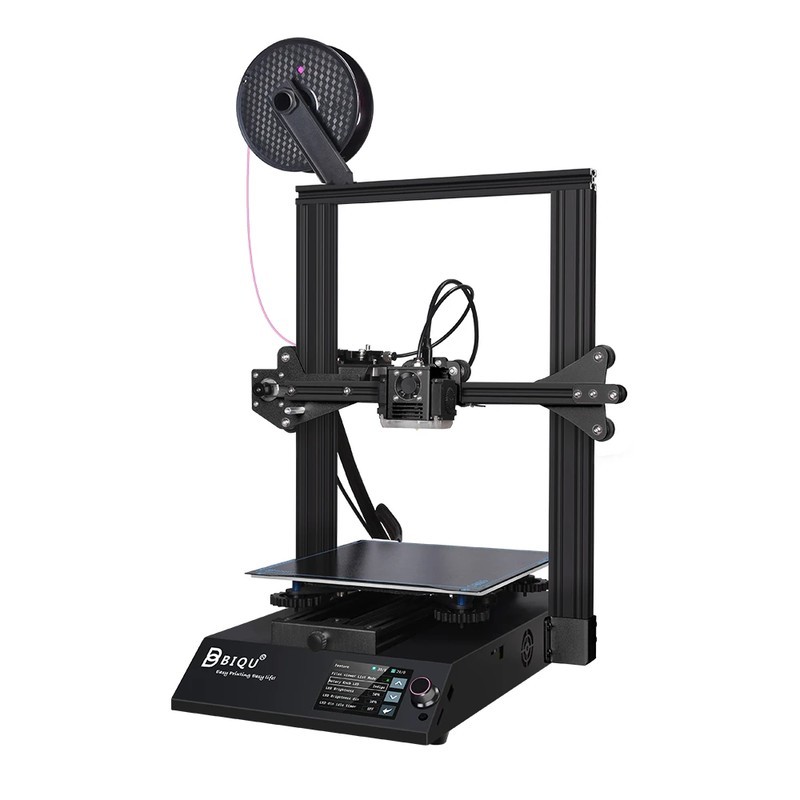
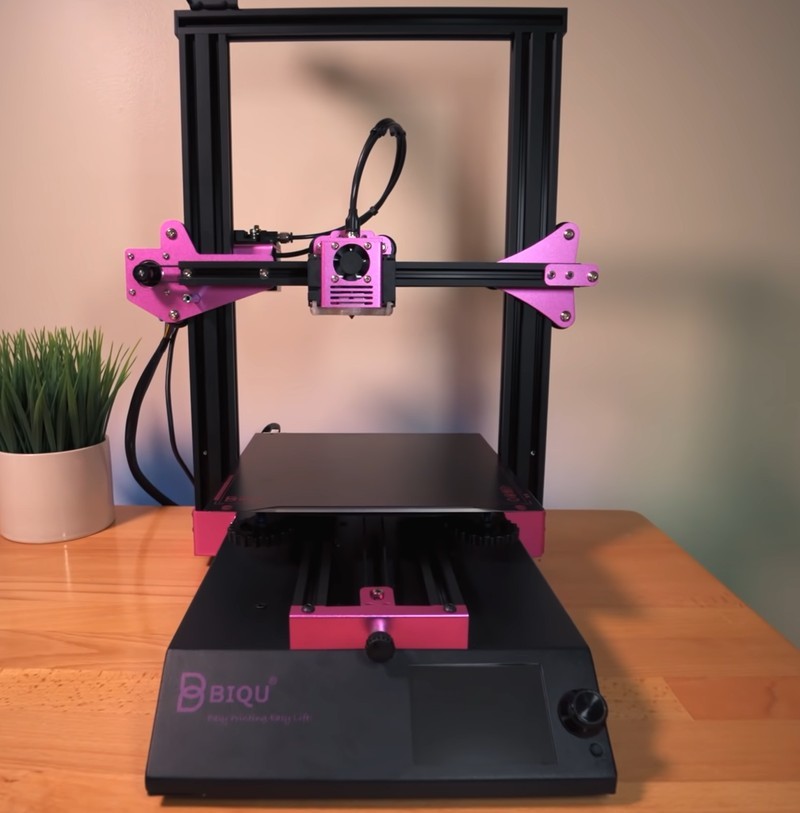
The BIQU B1 is a sturdily built medium-sized desktop 3D printer. Its outer dimensions are 570 x 450 x 340 mm (22.4 x 17.7 x 13.4 inches) and it weighs 11 kg (24 lbs). The machine is available in two different color schemes. The first one we are going to talk about is stylish pink.
Credit: Just Vlad / Youtube
As you can see, the assembly is not entirely pink, which, in our opinion, is a good thing. The main parts of the printer are painted in a soft shade of pink and make its appearance eye-catching. Indeed, such a unique color scheme makes the printer stand out and look fabulous, making for a change of pace in a home workshop or office.
Classic black is another color option. While it doesn’t look as eye-catching as the previous one, it makes the BIQU B1’s appearance more classic and refined.
Source: ModBot / YouTube
The B1 is equipped with an all-metal frame and its Z-axis is supported by a high-performance belt pulley. The print head runs on rods with linear bearings, making the assembly more lightweight.
Credit: Just Vlad / Youtube
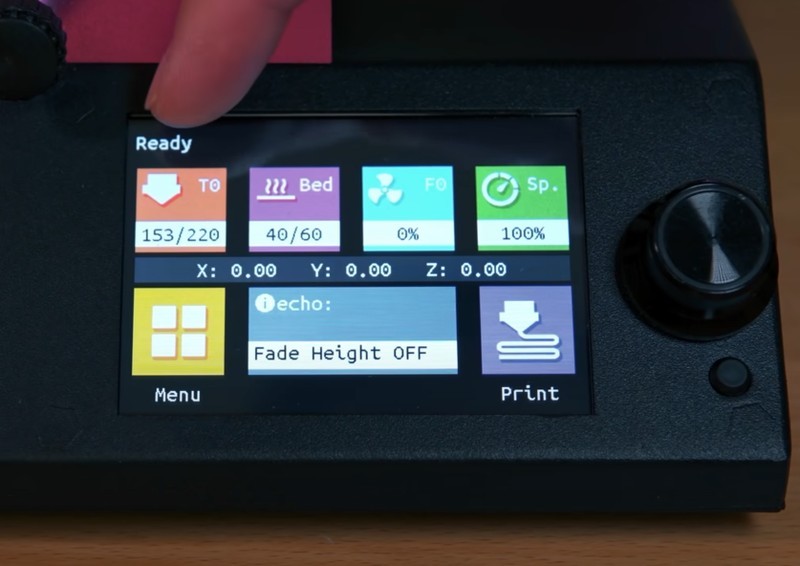
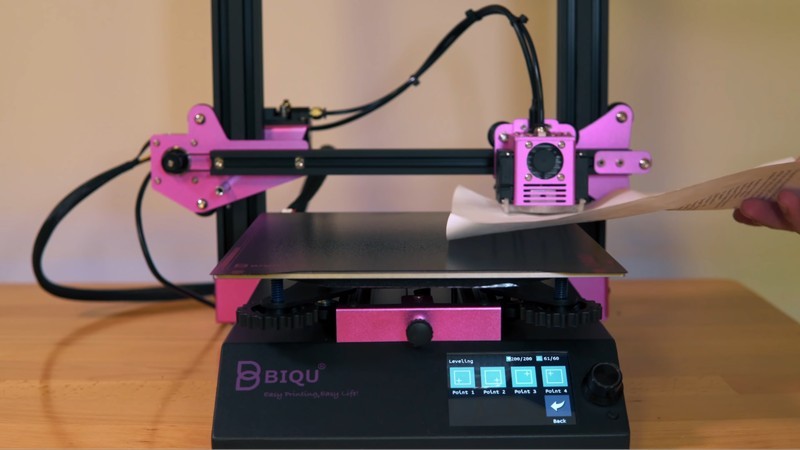
A built-in control screen is located on the front side of the printer base. Being straightforward and adjustable, it offers a user-friendly interface alongside intuitive controls.
Besides, it allows the user to select the UI language from a total of 15 languages available.
Source: Just Vlad / Youtube
The assembly is equipped with powerful cooling fans that provide sufficient cooling for the printer to work as intended, keeping all the overheating-related issues at bay. The leveling knobs located underneath the build plate are large and easy to reach, which ensures an effortless calibration process.
Source: ModBot / YouTube
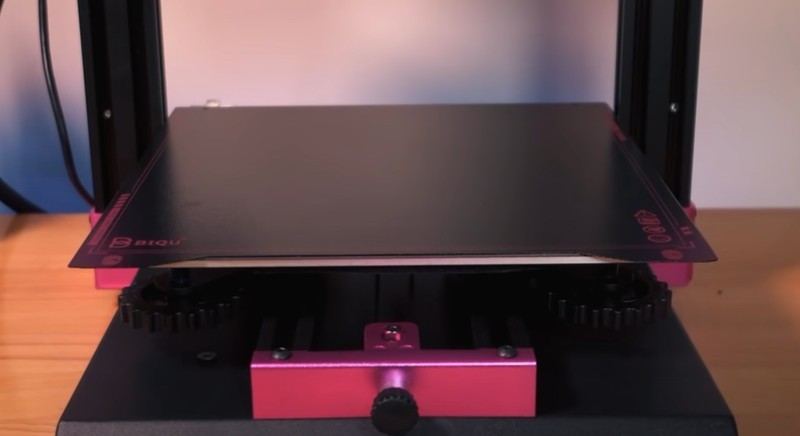
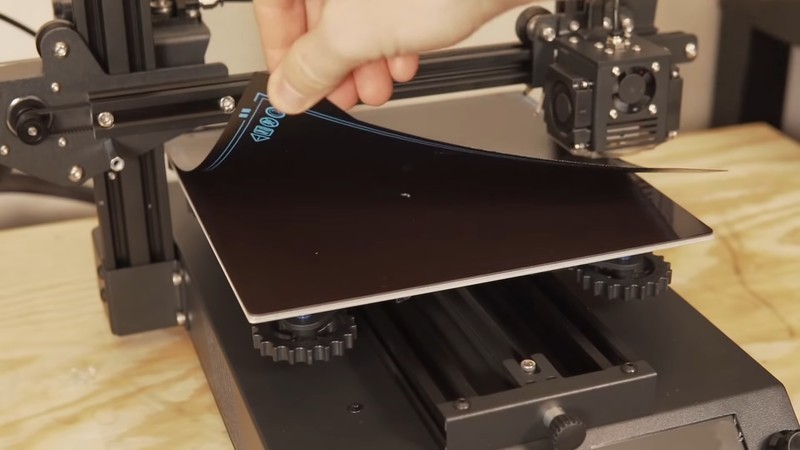
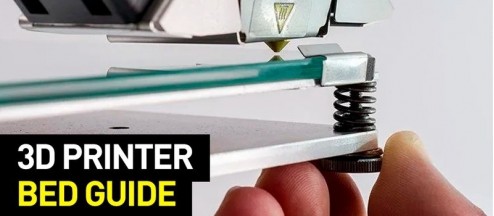
The BIQU B1 is equipped with a textured spring steel coated build plate that can be heated up to 100°C. It is a finely crafted magnetic piece that is just 4 mm thin. It ensures easy print removal and facilitates layer bonding by keeping the first layers heated. Not only this minimizes the amount of warping-related issues that could mess up your entire print, but it also expands the variety of filaments you can print with. Clearly a must for a streamlined 3D printing experience.
As you can see, the surface of the heat bed is even, so it won’t cause any calibration-related issues. Besides, there’s also a layer of thermal insulation material underneath.
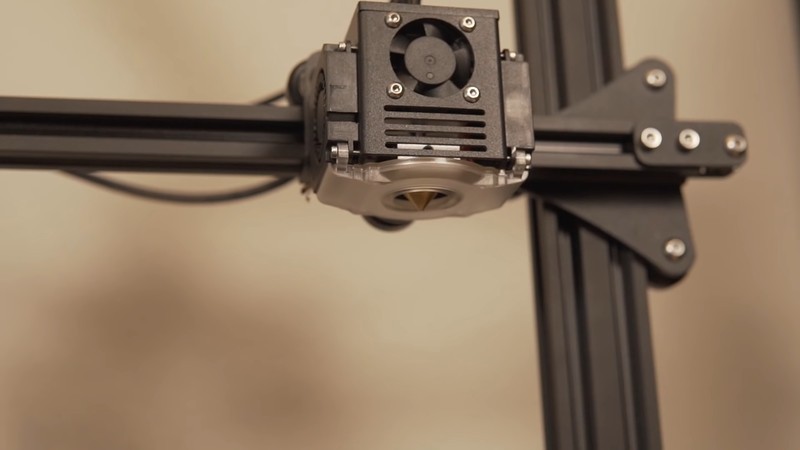
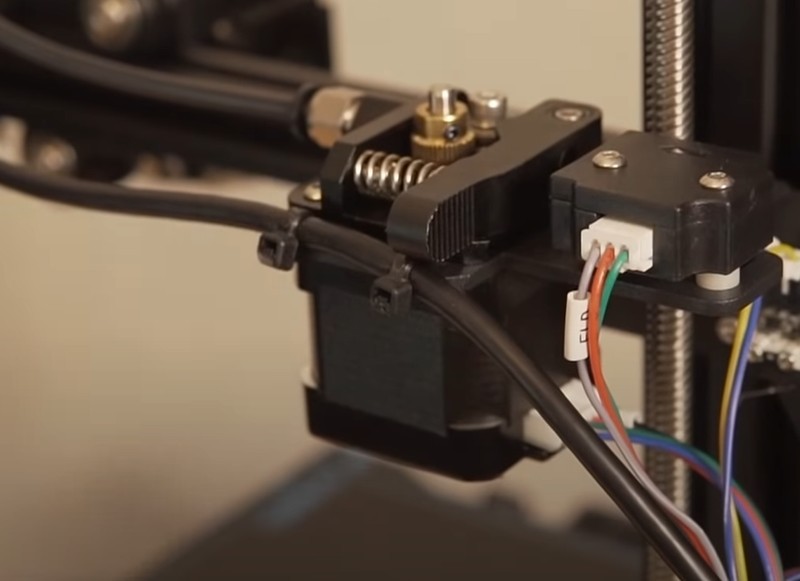
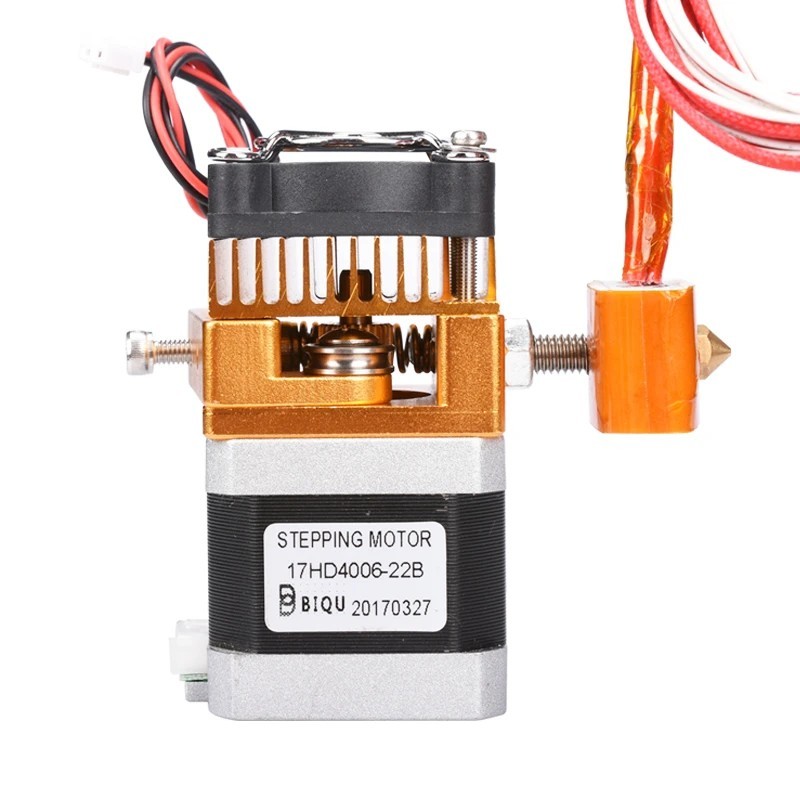
The BIQU B1 is equipped with a Bowden-type single gear extruder with a metal nozzle. It can reach a maximum temperature of 260°C, which is more than enough to print with PLA, TPU, ABS, and other 1.75 mm filaments.
Source: ModBot / YouTube
Make sure to equip the machine with a direct drive extruder before proceeding to print with high-temperature materials though, because the PTFE tube it is equipped with may start to degrade and release noxious fumes in the air while printing at more than 240°C. Besides, a direct drive extruder ensures better retraction, responsiveness, and minimizes backlash.

Source: ModBot / YouTube
The prints are cooled by a duo of radial fans that provide sufficient ventilation even though they employ a single air duct. In case you’d like to ensure better airflow, 3D print two separate air ducts and upgrade the assembly design manually.
Source: ModBot / YouTube
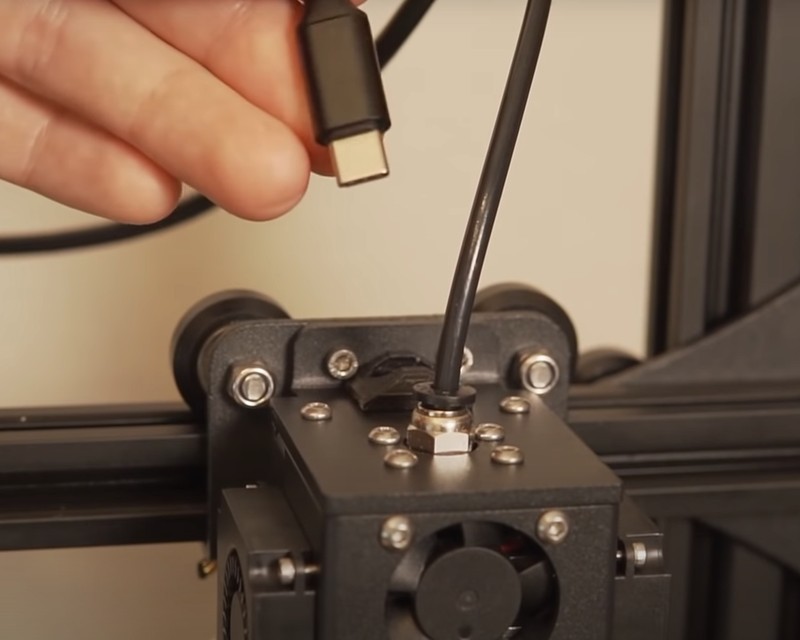
A Type-C USB plug socket located in the back of the B1’s hotend assembly is yet another feature of interest. The connection is established via a miniature breakout board located inside the hotend that will be particularly useful in case you’d like to swap the whole assembly.
In case you enjoy nocturnal printing sessions and bright colors as much as we do, you’ll be amazed by the design opportunities the BIQU B1 provides. For starters, it lets you adjust the rotary knob button illumination and make it purple, white, red, orange, yellow, green, and blue.
Source: neoprod_fx / Instagram
In case you’d like to complete the scenery, select a color and turn on the illumination for the extruder assembly via the control screen interface. Not a vital yet very useful feature indeed.

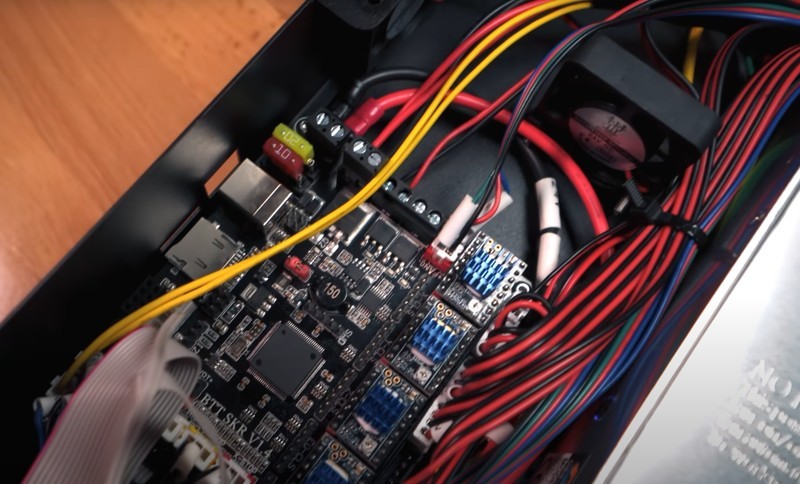
The BIQU B1 is powered by a self-developed SKR 1.4 mainboard equipped with TMC2225 stepper motor drivers that make it particularly silent. The mainboard is one of the most effective ones that can be found on the market and is usually installed on 3D printer kits that are equipped with its weaker counterparts.
Source: Just Vlad / Youtube
As you can see, the mainboard is cooled by a single 4010 fan that is pretty powerful considering the area it covers. Besides, there’s an additional driver slot that lets you install a second extruder to employ multi-color and duplicate printing to reduce print time quite noticeably. Anyways, the more the better.
Talking about other must-have functions that, in our opinion, every quality FDM 3D printer out there should feature, the BIQU B1 offers a smart filament runout sensor and resume printing function. It is surprising to see these functions on such a budget-friendly machine and very good to have them around.
Just as the names of the features imply, the printing process will be automatically paused in case of filament breakage or if there is not enough material to print with. Moreover, the printing will be put on hold in case a sudden blackout has occurred, letting you resume the process precisely from where it left off. Needless to say, these features are incredibly useful in case you are printing big and don’t want to remake large models from scratch if something went wrong.

Source: ultimaker.com
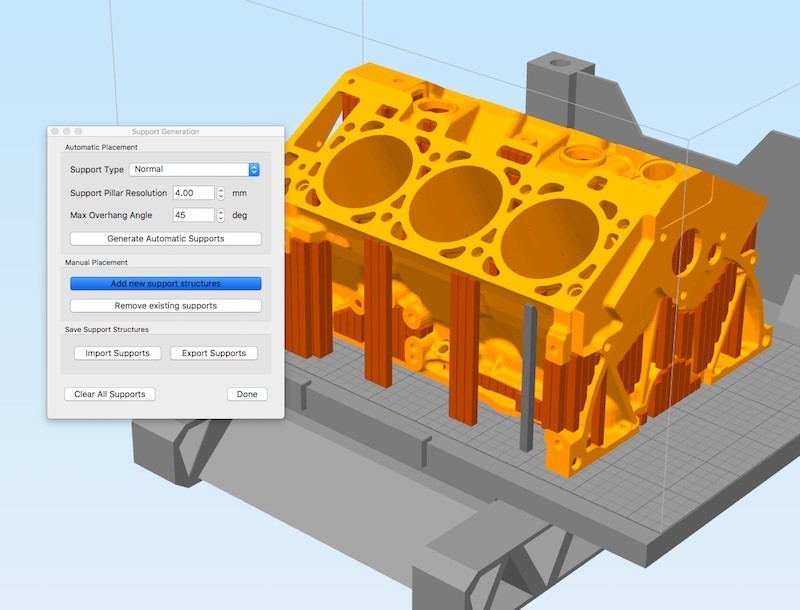
The BIQU B1 is compatible with Ultimaker Cura, a swift and easy-to-use slicer that guarantees optimal performance when used with FDM 3D printers. This trusted software suite lets you rotate, edit, one-click print your models, build supports and tinker with other print settings to fine-tune the machine. You can learn more about this powerful solution by navigating here.
Source: simplify3d.com
Simplify3D is another software suite that the BIQU B1 can run on. You can switch between multiple printers and run pre-print simulations to detect design flaws in advance. Besides, it lets you build supports automatically as well as customize them manually and tinker with a plethora of professional tools and advanced options to fine-tune the machine.
Source: repetier.com
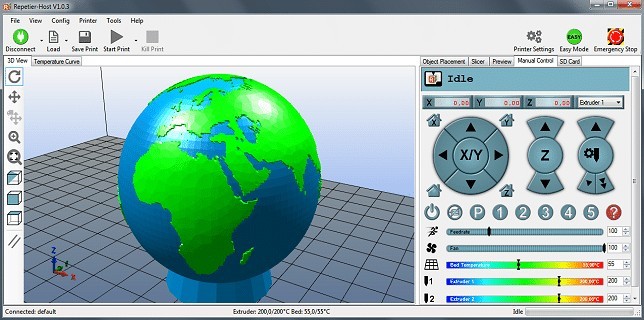
Another option would be to use Repetier-Host that comes with multi slicer support and provides for easy multi-part printing.
Source: ModBot / YouTube
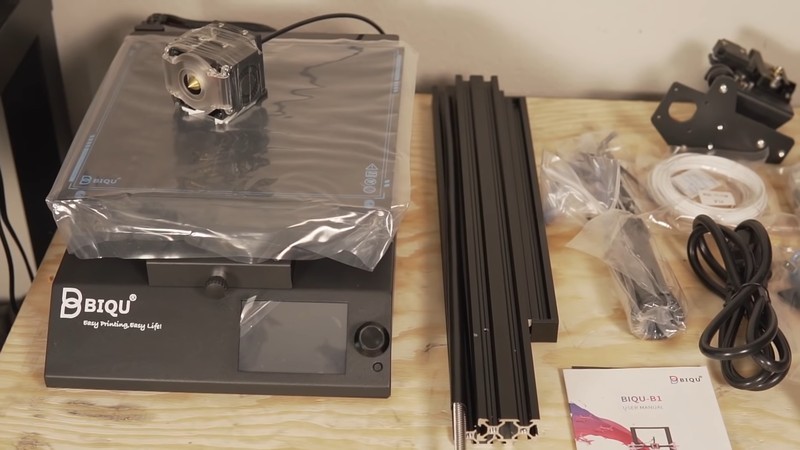
The 3D printer kit is supplied in a standard cardboard box. The contents are reliably packed and include the print base that contains all the electronic components required to operate the printer as well as two gantries that guide the extruder and a set of other printer parts.
Here’s a full list of the items included in the supply package:
For some items, package content may change. In case of any questions, please get in touch.
After unboxing the BIQU B1, you’ll need to complete the assembly and calibration before proceeding to the actual printing process. All of the main parts of the machine such as the base and gantries come factory-assembled, yet there are a lot of small parts that will have to be screwed in place. All in all, the B1 can be up and running in less than thirty minutes if assembled and calibrated by an experienced maker.
On the other hand, inexperienced makers should take their time and re-check everything twice. Check the video below for a detailed overview of the installation process.
After completing the assembly, turn the printer on and use the control screen to begin the calibration. Put a piece of A4 paper in between the nozzle and the build plate and adjust the nozzle position until the piece can barely move. Repeat the procedure for each remaining axis to complete the calibration.
Source: Just Vlad / YouTube
Make sure to create a couple of small test prints before printing big models to ensure that everything is fine and ready.
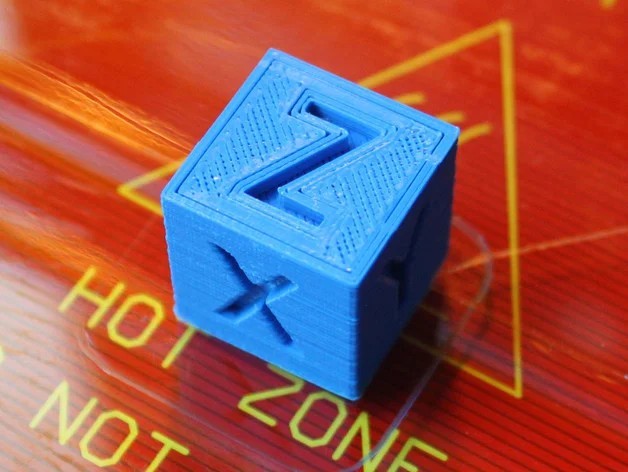
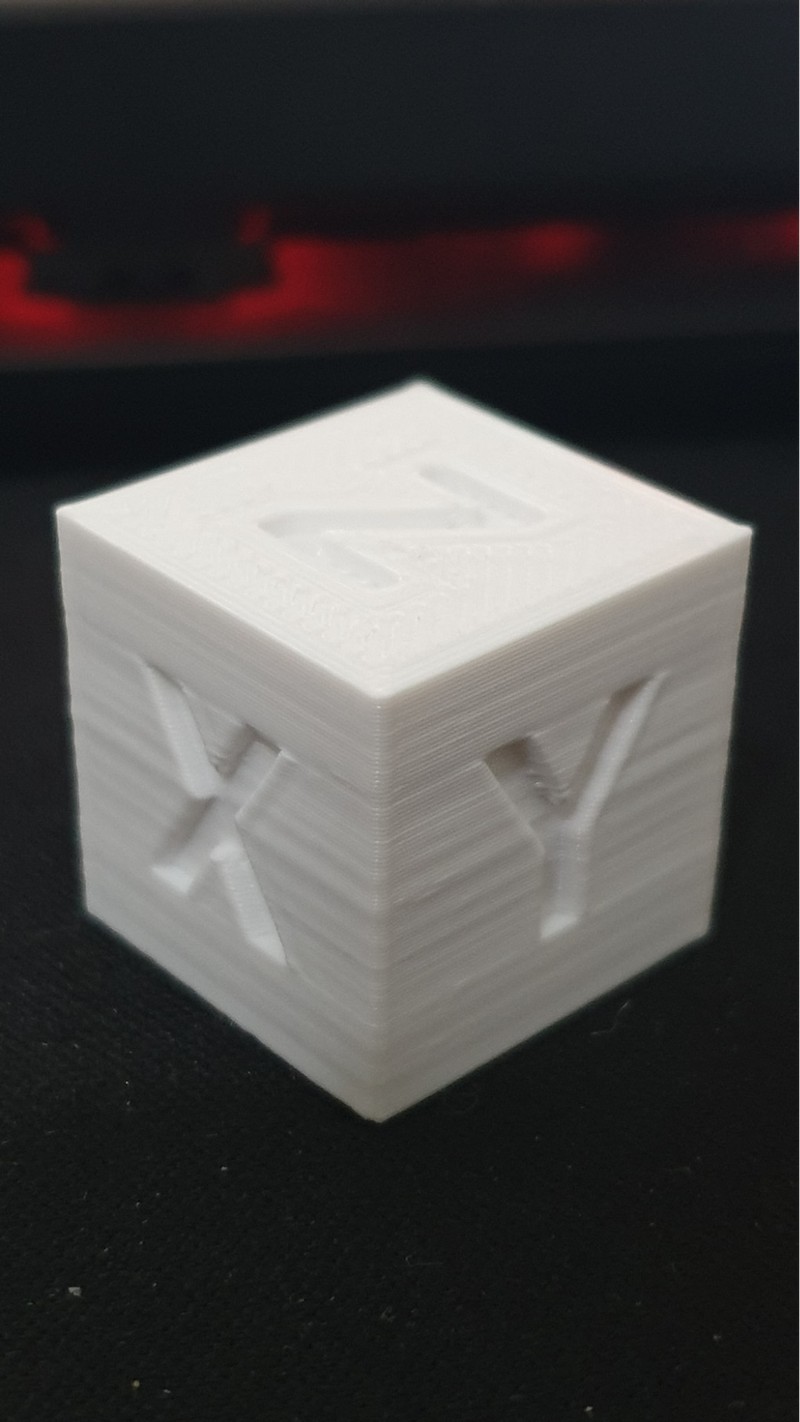
XYZ 20mm Calibration Cube by iDig3Dprinting / Thingiverse
One of the most obvious upgrades for the BIQU B1 is a BLTouch probe for automatic bed leveling.

The device even has a dedicated socket for the mod and the probes are very cheap to come by. A properly operating BLTouch probe lets you save a lot of time that otherwise would’ve been spent on calibrating the machine manually. The BLTouch probe is easy to install, so make sure to try it.
To make the BIQU B1 print with ABS and other high-temperature materials safely, you should replace the Bowden-type extruder with its direct drive counterpart, since the PTFE tubing the stock assembly is equipped with will degrade while printing at high temperatures required to print with ABS filaments of some brands.
Source: biqu.com
You can buy a decent direct drive extruder for less than $30, so make sure to check this upgrade out.
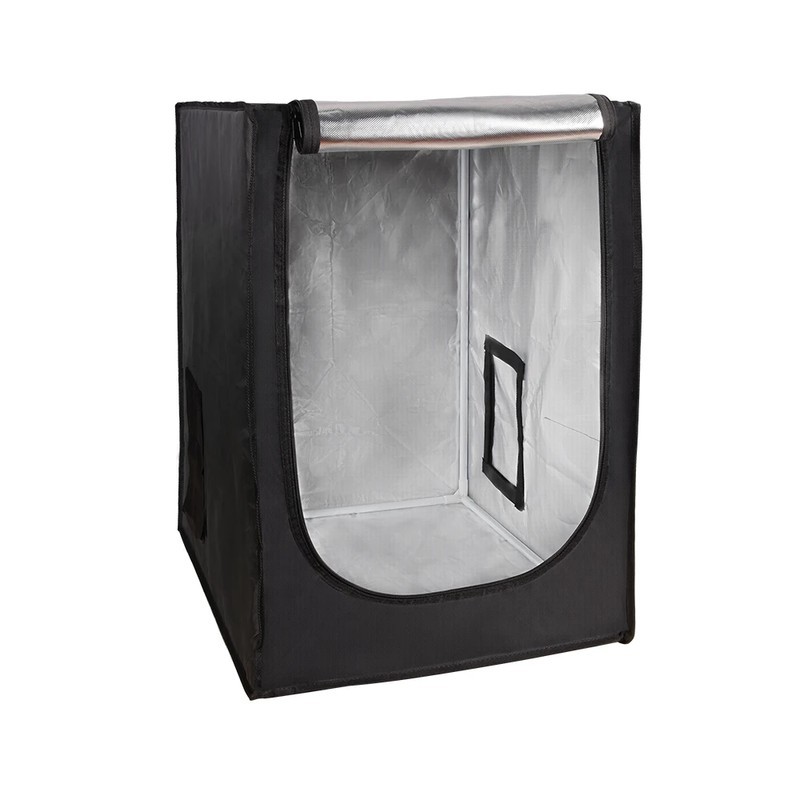
Upgrading the BIQU B1 with an enclosure is the last requirement for safe and consistent ABS 3D printing. Like we already mentioned, it makes the printer’s design considerably safer and improves the quality of your 3D printed models by keeping the optimal temperature inside the chamber.
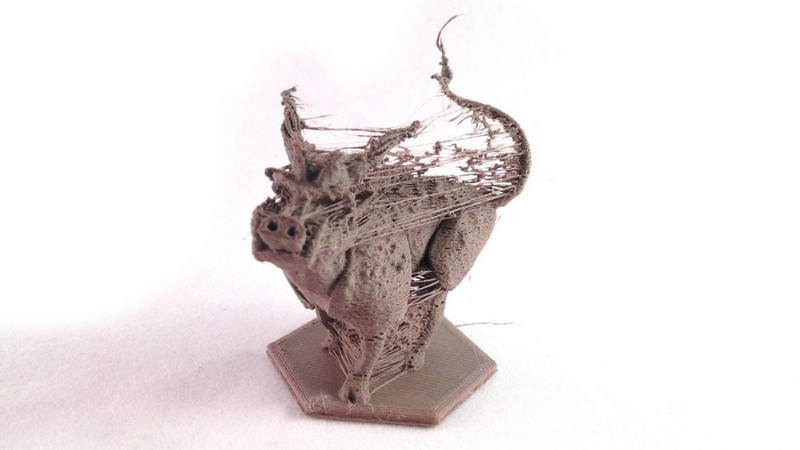
In case the first layers of your models come out just fine but the middle layers and some angles look like the ones displayed in the photo below, you might want to re-adjust your steps and flow settings.
Source: David Ferreira
Additionally, make sure that the belts are tight and there are no vibrations during printing.
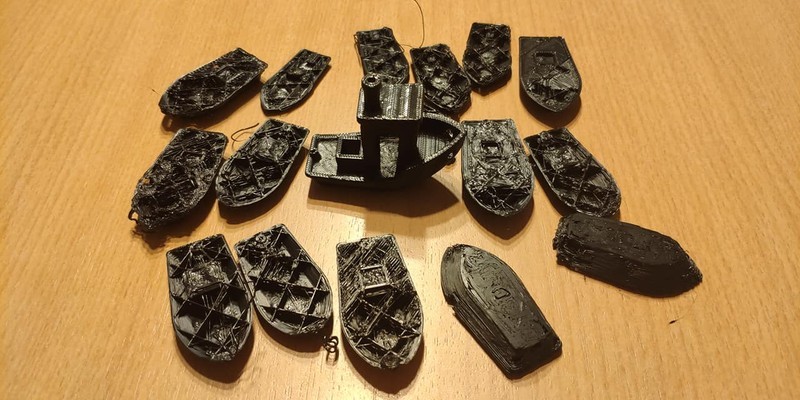
Source: pinshape.com
Stringing appears due to excessively high extruder temperature that causes the filament to become too fluid. Because of this, the material flows out of the nozzle and creates webs and strings in between the printing points.
To deal with the issue, decrease the extruder temperature and turn on the retraction in your slicing software before printing
Since PLA-based filaments have a relatively low melting point, small-scale PLA parts oftentimes do not have enough time to cool down and harden. Additionally, they are continuously heated by the print head that is always nearby.
Source: Stephan Lang
To solve the problem, reduce the printing speed and decrease printing temperature. Moreover, make sure that the printed part is cooled properly during printing and that the airflow does not enter the extruder.
Source: Michael Elgaard
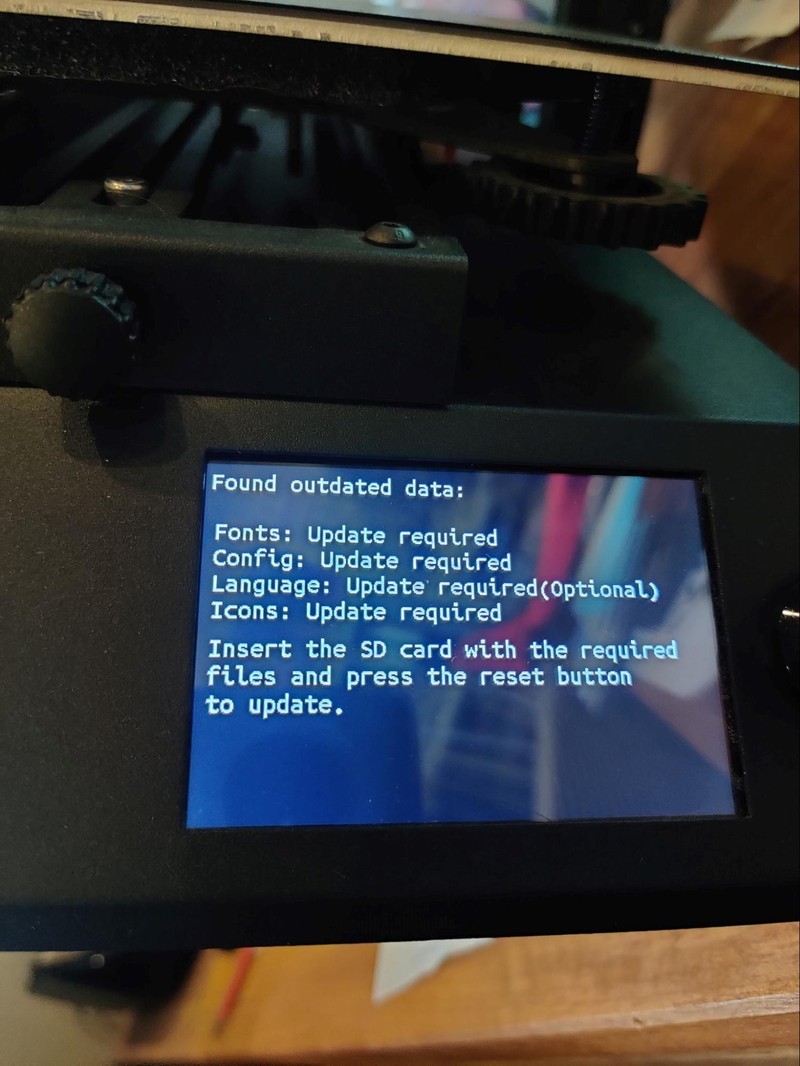
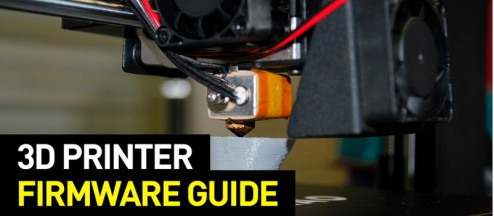
In case your TFT firmware is out of date or your previous update failed to install, try installing me according to the guidelines provided below.

First, manually copy the required files from here and add them to the root of a blank FAT32-formatted SD card.
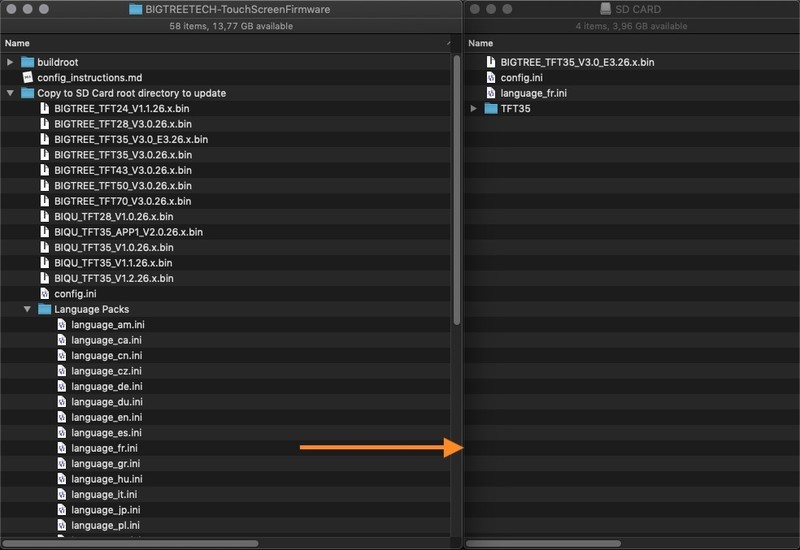
Make sure to also copy all the necessary language packs.
Then, insert the SD card with the BIGTREE_TFT*_V*.*.*.bin, the TFT* folder and the config.ini into the TFT's SD card reader and reset your TFT (or optionally - power cycle your printer) to start the update process.
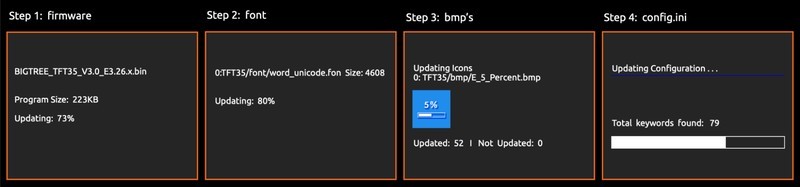
In case you did everything correctly, the screen will show you the messages like the ones shown in the image above.
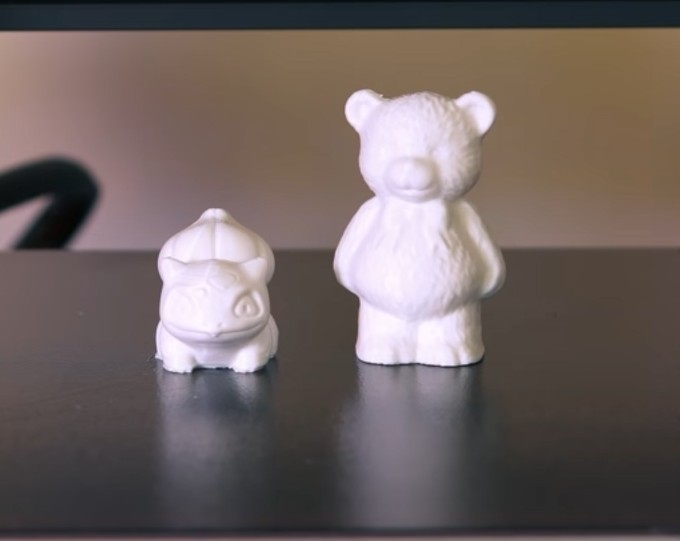
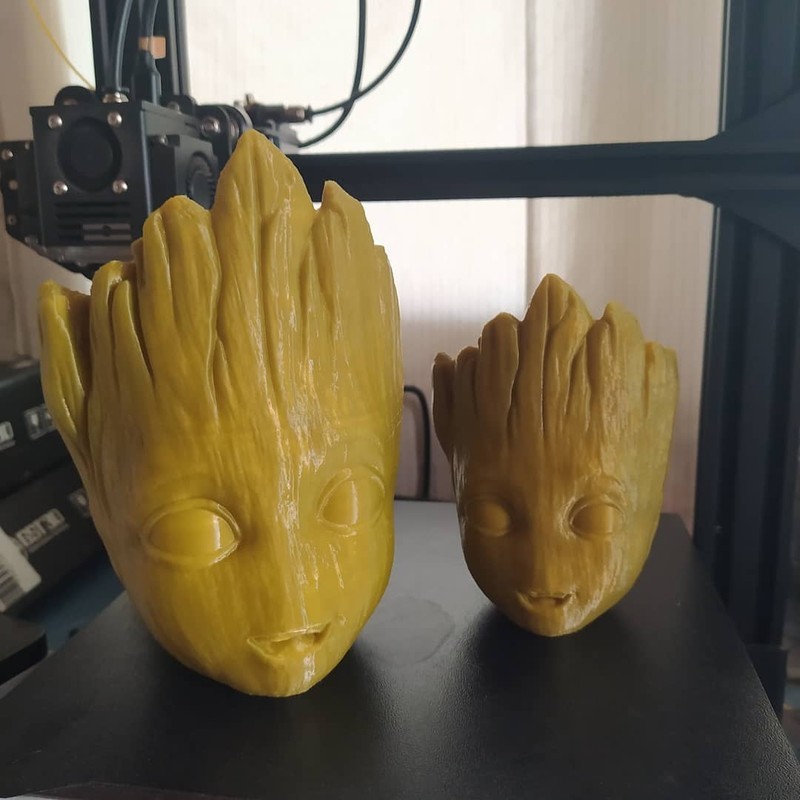
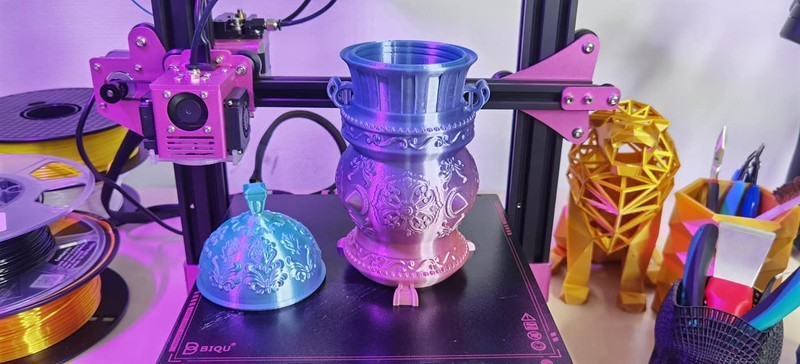
Check out some of the models printed with the BIQU B1 to see what this budget-friendly FDM 3D printer is capable of shaping.
In case some of your houseplants need a new home, you can easily print a set of neatly-looking flowerpots.
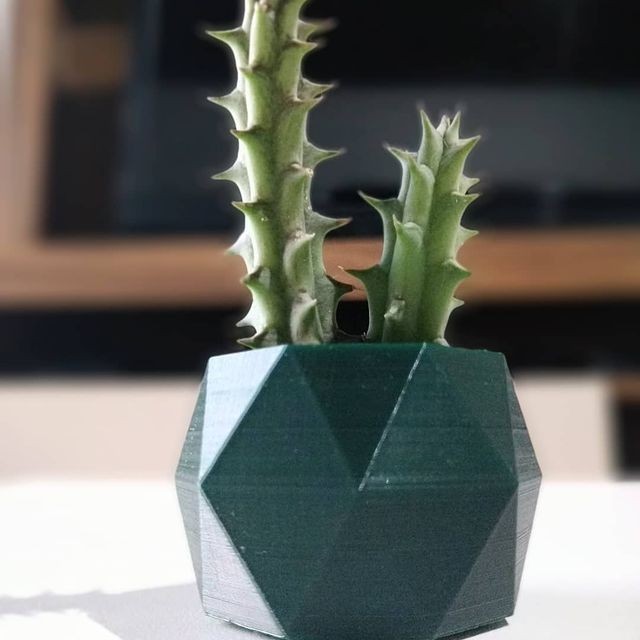
Source: apressimpressoes3d / Instagram
For more household design ideas, how about 3D printing a crystal-shaped item holder? This is how it looks fresh off the printer:
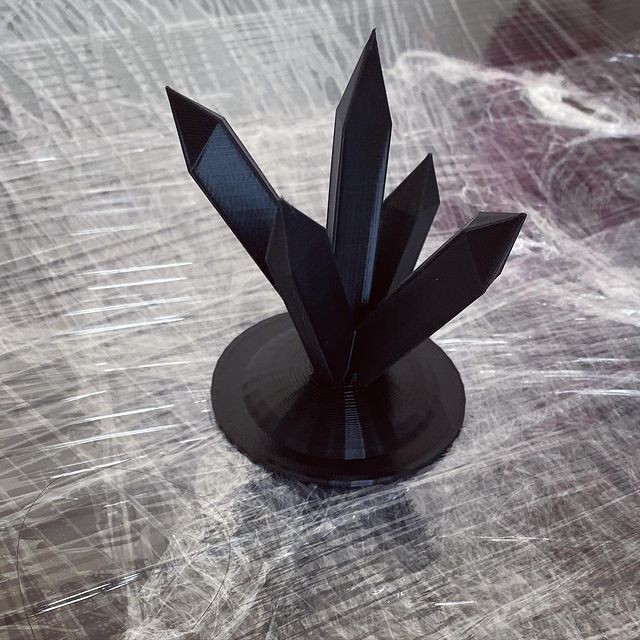
Source: deedee.makes / Instagram
Looking good, but a bit dull and not shiny at all. What if we add some glitters?

Source: deedee.makes / Instagram
Much better, isn’t it? Finally, it’s time to put the model to good use.
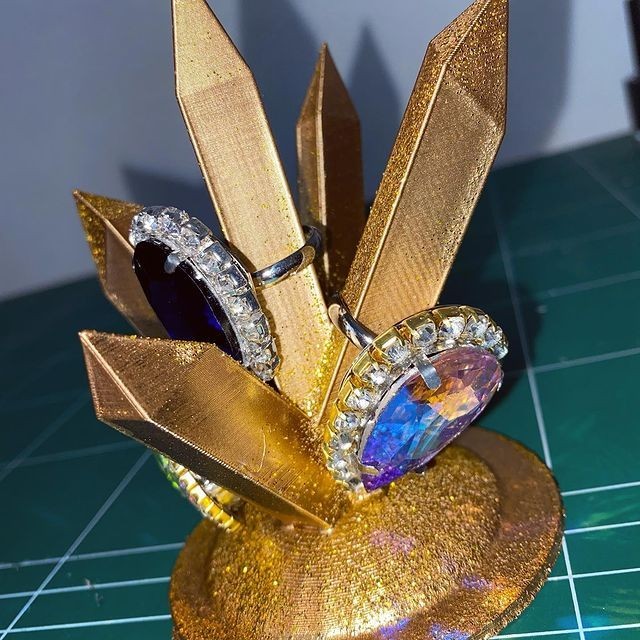
Source: deedee.makes / Instagram
Next up is a properly shaped and dimensionally accurate Catwoman bust printed with golden PLA. Look how smooth and wholesome it looks.
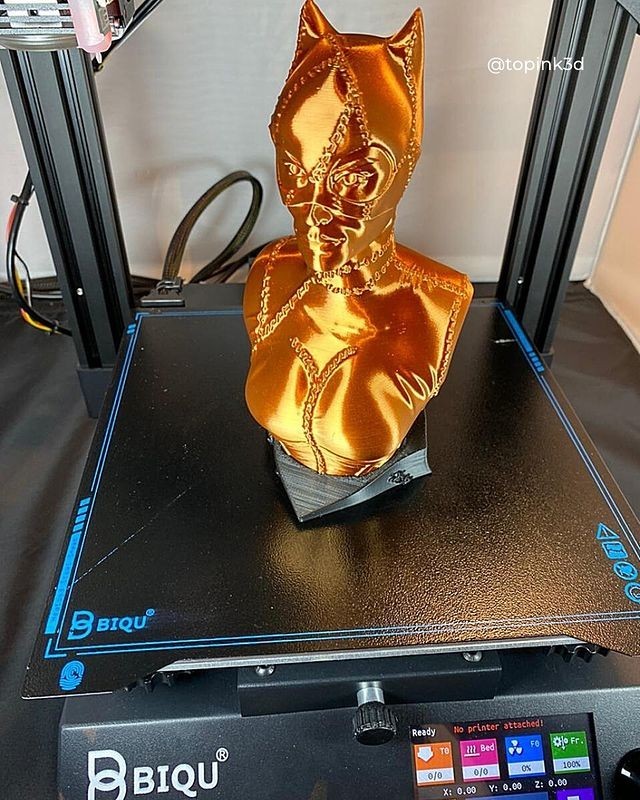
Source: topink3d / Instagram
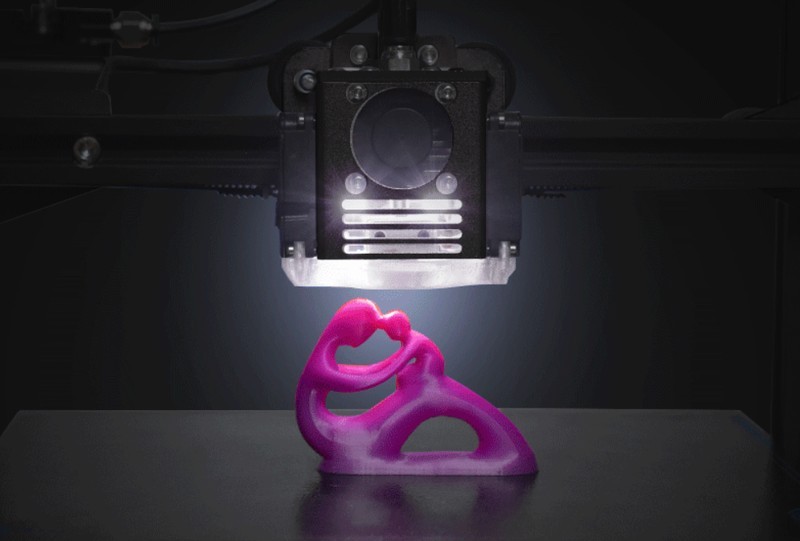
As you can see, the BIQU B1 can breathe life into any kind of three-dimensional model as long as you can find the design or shape the model yourself. You can even print some custom-made toys for your children:
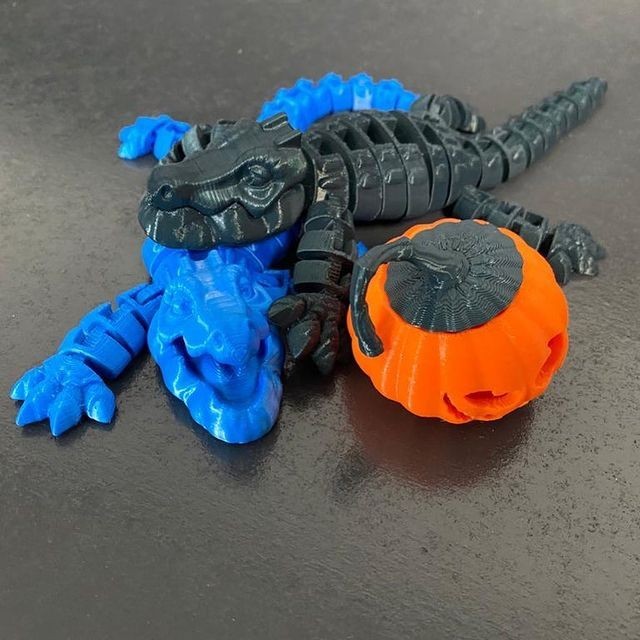
Source: 3d_krejcice
Source: Biqu Harper
Considering that the BIQU B1 comes at a sub-$400 price tag, these PLA-based prints look impressive. Not to mention that you can upgrade the device with an array of cheap and easy-to-install mods that will take your FDM 3D printing to a whole new level.
The BIQU B1 is a budget-friendly desktop FFF/FDM 3D printer that offers tall build volume and wide material compatibility. It is equipped with a single gear extruder that can heat up to 260°C and a magnetic heated build plate that can reach 100°C quite rapidly. The B1 ships in a semi-assembled state, so it has to be assembled and leveled manually. It indeed has some flaws in its design, but nothing too hard to fix because it can be upgraded with a plethora of useful add-ons. This 3D printer shows outstanding results when printing with PLA and is a good choice for hobbyists and tinkerers. Installed with proper upgrades, it can even be used for some semi-professional applications.
You can use the BIQU B1 to print toys, props, uniquely designed household items, tabletop figurines and miniatures, cosplay accessories, hard-to-break prototypes, and much more.
The BIQU B1 can be purchased at Top 3D Shop. This affordable FDM 3D printer comes with the manufacturer’s warranty. Besides, our team will make sure to provide the best service possible, just like we always do.
Update your browser to view this website correctly. Update my browser now


Write a comment