
Hi everyone! This is Top 3D Blog, and in this review, we will talk about how to 3D print via various tools: a PC and a USB cable, a flashcard, Wi-Fi, as well as LAN.
Read the article to learn more about 3D printing connectivity.

An assembled 3D printer is to be plugged in and then connected via the USB port to a laptop or desktop computer. Turn on the printer with the power button. After the computer's OS detects the printer as a new device, it will automatically install the drivers. If this doesn't happen, you need to download and install them yourself.
To start 3D printing, you also need to install a special program. Aside from software that comes with printers, the following programs will be suitable for beginners: free Repetier Host and Ultimaker Cura, paid Simplify3D. Subsequently, it is recommended to go with the latter one (or other professional software).
After installing the software, you will need it to detect your printer. In Repetier Host, there is a red Connect button in the upper left corner of the window. If the printer does not connect automatically, you should go to the settings and specify the desired port instead of the default one.
If you have problems with connecting the printer to the PC, open the device manager and check on which COM-port the printer is found, set the corresponding COM-port in Repetier Host, and check the baud rate parameters. This should usually be 115,200 or 250,000 bps. If one of the values does not fit, then the other one is needed.
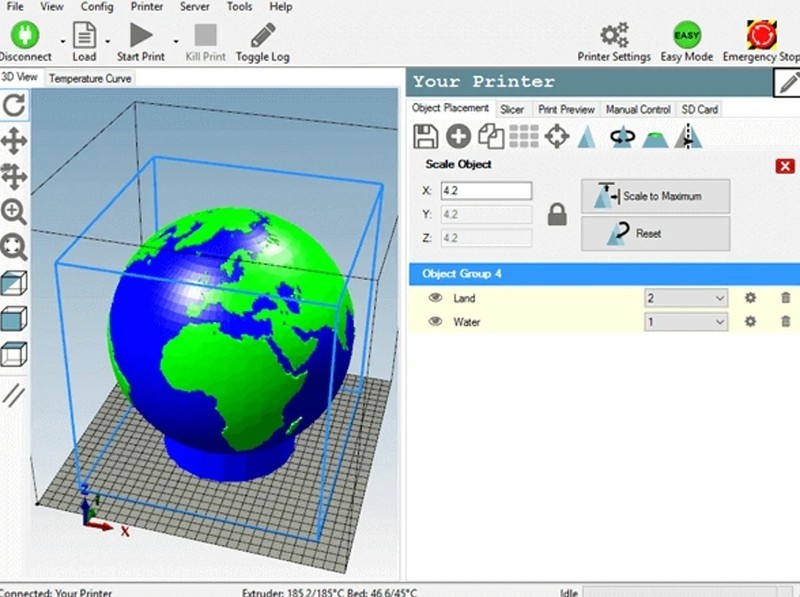
In Cura, use the Add Printer menu item. In the next window, there will be a list of printers from Ultimaker, as well as several models by other manufacturers in the Other list. If your printer is not there, open the Custom list. Here you have to fill in all the parameters of your printer manually. If this is your first time seeing the 3D printer, you may find it rather difficult.
To connect a printer in the Simplify3D software, in the program window, on the right panel, you need the second icon from the bottom, with the image of a gear. It opens the Port list where you need to select the port that is detected during driver installation. Set the baud rate value — for Windows, it can be 250,000 or 115,200, as in the previous case. Then click the Connect button.
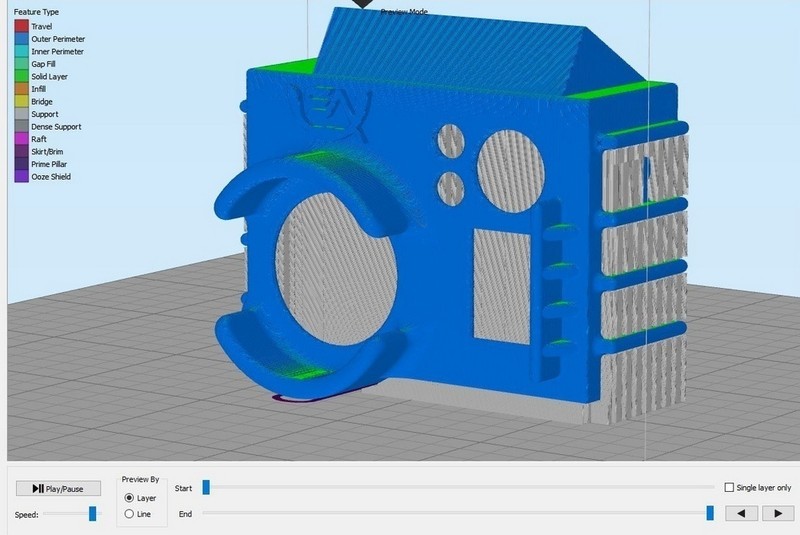
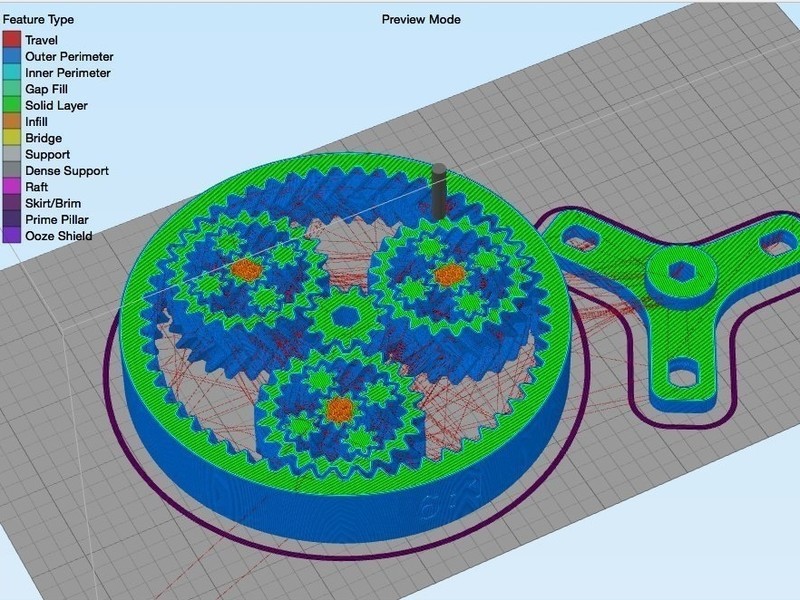
All of the above programs have a slicer function that divides a 3D model into the required number of layers and converts STL files into G-code.
If you choose to print via an SD card, you still need to put files on it using a PC. After that, on inserting the card into the printer's card reader, you will find G-code files.
The most common problem when printing via a card is the inability of the printer to detect it. There may be several reasons for that: loose contacts, the need to update the printer's firmware, the wrong file system, or the wrong file format. In the latter case, you have to reformat the card and write the files to it again.
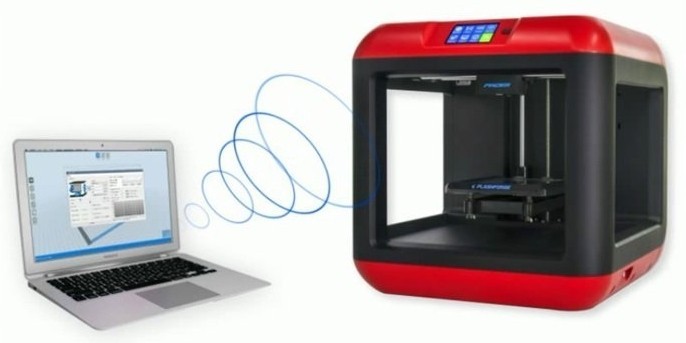
Many users choose Wi-Fi-enabled 3D printer models. This is useful when the computer and printer are located in different rooms, or for printing models from the network. You can control Wi-Fi printing from anywhere using remote access. Nearly all printers work via Wi-Fi strictly through their own web interface. However, sophisticated users strongly advise against leaving a 3D printer unattended: the extruder nozzle may clog, the filament may get entangled, even a fire might occur. If you are going to print remotely, there should be someone in the room who at least can unplug the printer, in the extreme case.
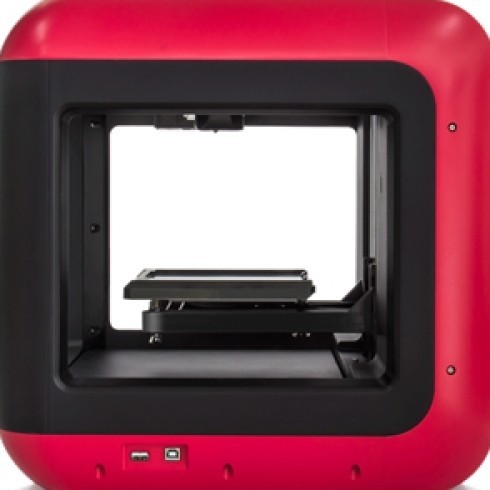
Even among budget models, you can find those supporting Wi-Fi, such as FlashForge Finder or XYZprinting da Vinci Mini W+. The latter device can be connected to a home network and controlled remotely via an application on a smartphone or tablet — for example, XYZmaker or Maker Mobile.
If your printer does not support Wi-Fi and belongs to the DIY category, that is, it comes in the form of an assembly kit or was bought as separate parts, it can still be configured to work over Wi-Fi. For example, one experienced user recommends employing the ESP8266 Wi-Fi module, which is sold separately.
You can find detailed instructions for each particular DIY printer in the online communities of 3D printing enthusiasts — or ask advice from more experienced makers. If you are assembling your own model, rely on the already installed components, keeping in mind the compatibility.
OctoPrint is an open-source application that controls a 3D printer connected to it, sending commands to print directly. The main advantage of Octoprint is the ability to print with more than two extruders. It should be noted that most printer screens do not detect OctoPrint and do not comply with its commands.
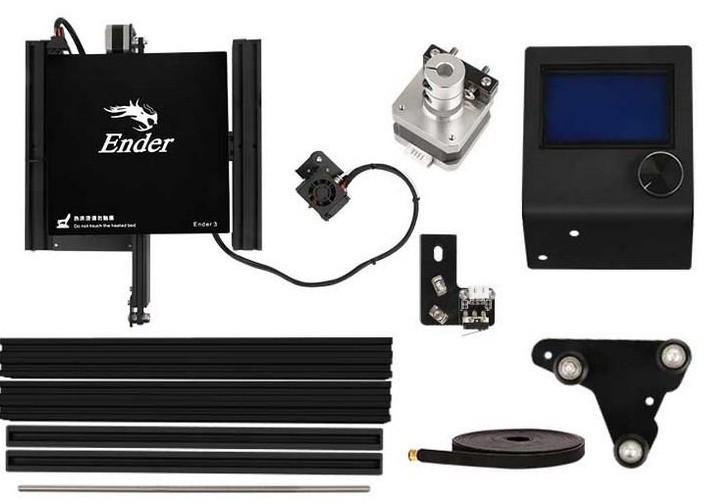
To set up OctoPrint on a DIY printer such as the Creality Ender 3, you have to purchase the Raspberry PI3 B+ single-board microcomputer and a 5V power supply for it, as well as the PI 2.1 board with a ribbon cable.
Watch the video for more details on how to connect and configure OctoPrint on Creality Ender 3:
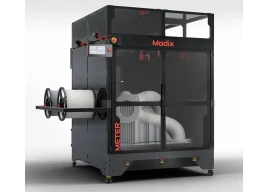
When choosing a 3D printer, you should pay attention to the printing methods available in the selected models. For example, the new Hercules G2 printer does not have slots for a USB flash drive or SD card — it downloads files for printing over a local network or via Wi-Fi into the internal memory and prints from it. This is more reliable than direct printing from a PC regardless of the connection method.
Update your browser to view this website correctly. Update my browser now


Write a comment