Hi everyone! This is Top 3D Shop, and in the following article, we are going to talk about how to set up a 3D printer.
If you’ve become an owner of a 3D printer or you need to master additive technologies for work, read our recommendations on setting up a printer and creating your first models.
Before plugging in an assembled 3D printer, you need to make sure that the transport locks are removed. Belt buckles can damage the printer.
Depending on the model, users can apply different printing methods comprising an SD card, a USB drive, a PC with a wired connection, Wi-Fi, or Ethernet. In most cases, these are combined: many models offer 2–3 methods.
Let's compare printing from an SD card and via desktop computer or laptop.
Both methods have benefits and drawbacks. Printing via PC is "more visual"; besides, you can make changes during the process. When working with an SD card, printing is not affected by the workload of the computer; accidental disconnection of the USB cable connecting the printer to the PC is excluded. Printing from SD cards is more reliable, but sometimes printers are unable to read them. When printing over Wi-Fi, there may also occur some difficulties associated with the stability of the printer's signal reception.
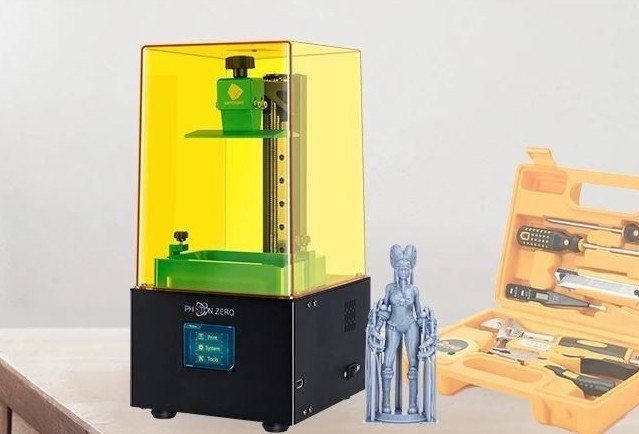
The most reliable option is to pre-copy a file into the printer's internal memory, where it can be transferred by any of the above methods (usually via a wired connection or Wi-Fi, but also from an SD card or a USB drive), as, for example, in printers by Raise3D and Phrozen.
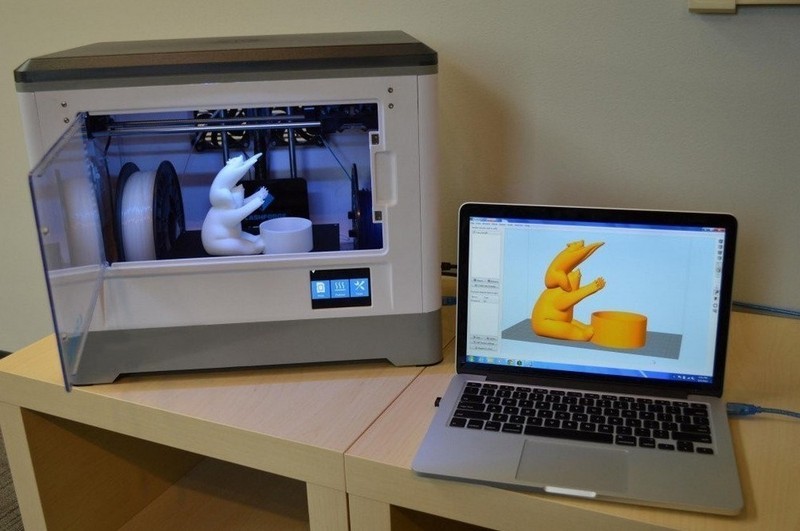
When printing from a laptop or desktop computer, the printer must be connected to them using a USB cable. Once the operating system detects the printer as a new device, it should automatically install the drivers for your printer. Otherwise, the drivers must be downloaded from the Internet or installed from the media that came with the printer.
For printing from an SD card, a card with 3D object files is placed in the corresponding slot of the printer. Typically, an SD card with several test model files is supplied with the printer.
Read more about 3D printer connectivity, possible difficulties, and their solutions.
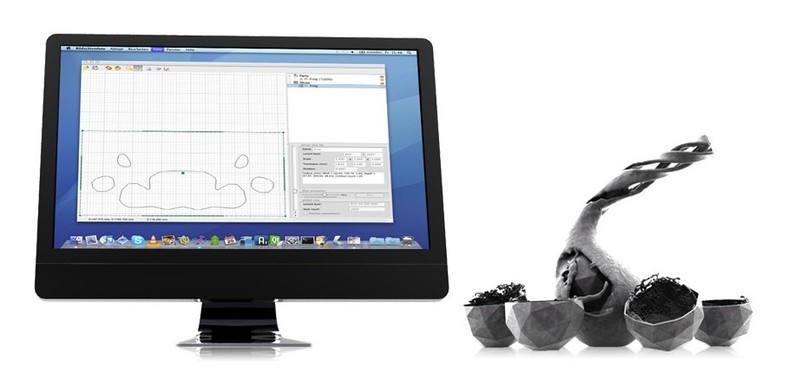
Today's market is abundant with software used in 3D printing. There are many paid and free programs for 3D design, model editing, slicing. Some of them are intuitive and suitable for beginners, while others can be understood only by professionals.
To learn more, read the full guide to the most popular, proven software for modeling, processing, and printing 3D objects.
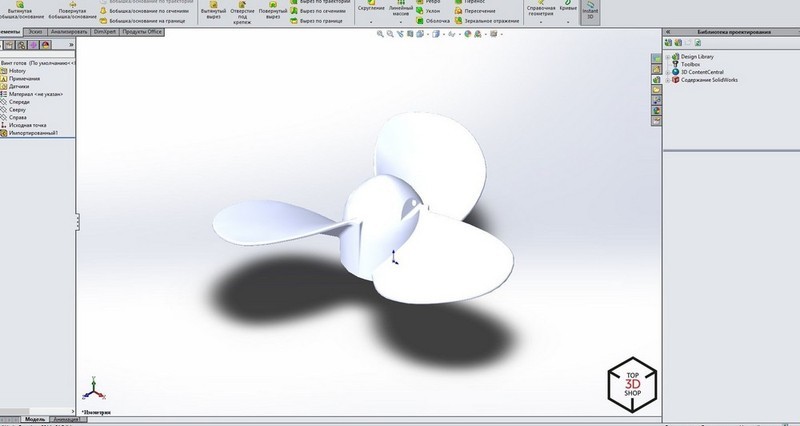
Any printing starts with finding or creating a 3D model, which can be made from scratch through 3D design or based on a 3D scan. 3D design allows you to embody an idea in a three-dimensional model. Check out the Top 3D Shop blog for an overview of free 3D modeling software. It will take at least a month to master them properly, so first, we recommend downloading models from the Internet or contacting specialists in 3D design. The most popular resources for downloading objects are thingiverse.com and grabcad.com, you can also check out our model finder.
Downloaded files may turn out to be flawed: sometimes models require error correction. The model grid must be hermetic: it is necessary to check the presence of space where it should be and the absence of holes where they should not. Also, there must be no self-intersections, “hanging” points, micron gaps; the normals should be located correctly.

Source: 3dtoday.ru
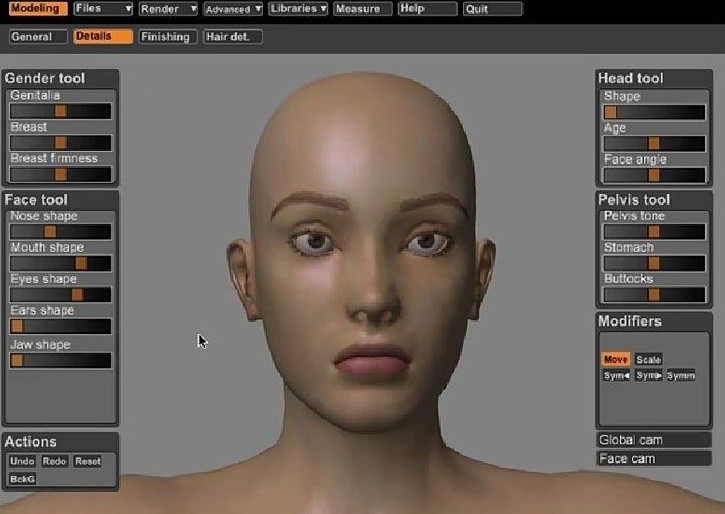
Windows 10 has a pre-installed application for viewing and basic processing of 3D objects: formerly it was 3D Builder, in later versions — Paint 3D. This program is suitable for novice users.
Experienced users can employ Netfabb Studio Basic or Solid Inspector with the free Sketchup plugin, which will allow you to find errors and restore models: edit the grid, fill holes and remove double surfaces, fix polygons and divide models along orthogonal planes.
Although the model can be fixed in many slicers, it is better to use highly specialized software.
The two most used file formats in 3D printing are .STL and .OBJ. Before printing, they are converted with the help of slicers into a control G-code recognizable by printers.
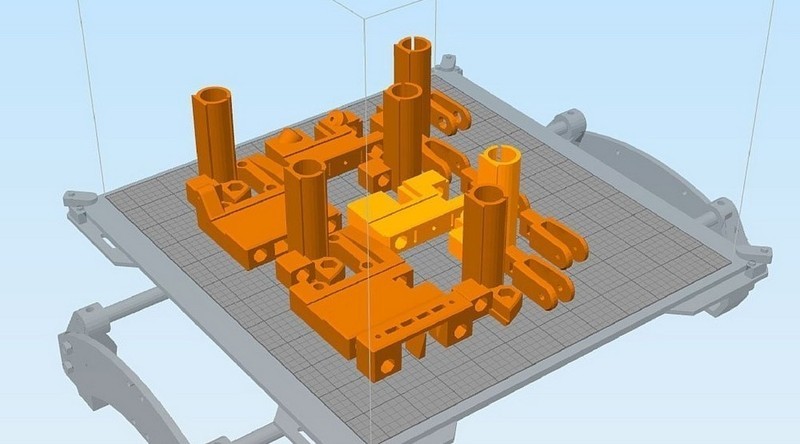
Slicers are programs that split a 3D model into layers consisting of a path with or without filling. The strength and weight of a model depend on the percentage of filling. A hollow model is printed significantly faster, requires less material, and features less weight, but suffers from extremely low strength. A model with a 100% fill, on the contrary, is as strong as possible but consumes a lot more material and takes incomparably longer to print. Here it is important to maintain a balance — the optimal filling of models of different sizes and for different purposes will vary a lot.
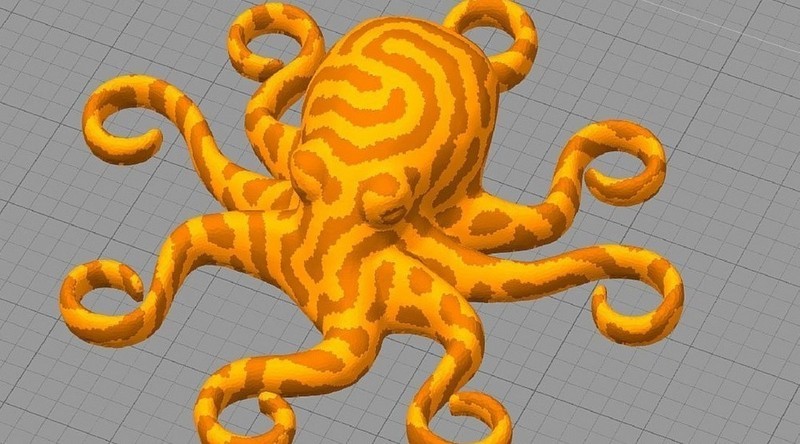
Most often, beginners use programs that come with the printer, or universal slicing software: the free Repetier Host and Ultimaker Cura, or a paid one such as Simplify3D.
Before starting to print, the device must be calibrated. Typically, the instructions for a printer tell you how to do this.
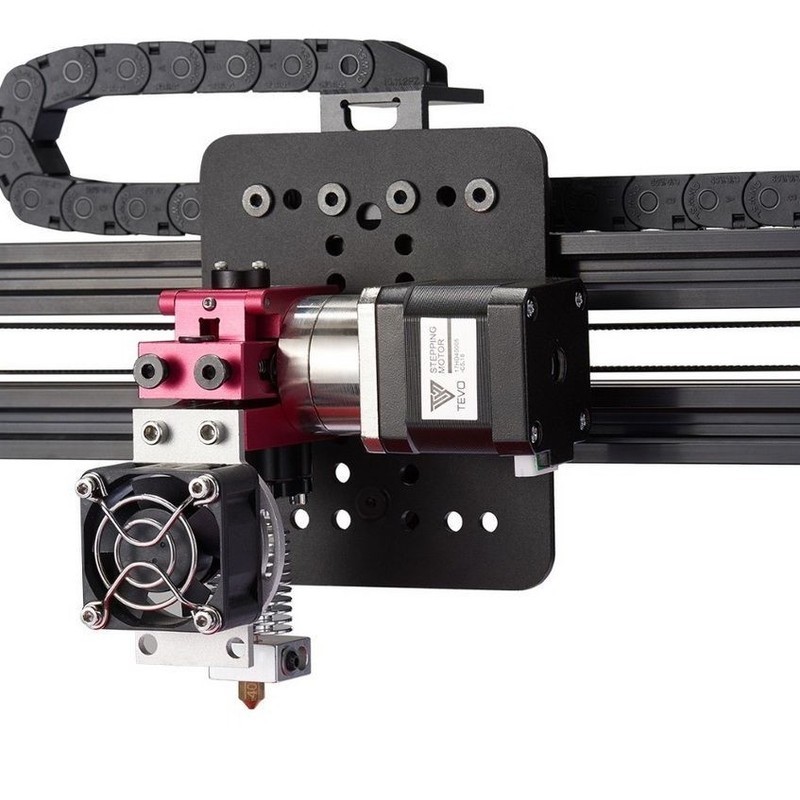
Let's talk in more detail about the calibration of FDM printers, since they are usually chosen to get acquainted with 3D printing, due to the availability and affordable price of such devices and materials for printing on them.
Source: all3dp.com
Mechanical calibration of a printer using FDM technology represents leveling the plane of the print bed, that is, the build plate.
The purpose of leveling is to position the platform so that the movement plane of the extruder XY axes is parallel to the plane of the bed surface. The calibration sequence varies depending on the model — read the instructions for details. Calibration is usually a matter of tightening four adjusting screws at the edges of the platform.
Source: all3dp.com
This calibration has one drawback — the middle of the bed remains unleveled. The problem is relevant for inexpensive printers where the plate surface is uneven. To check the center of the platform, you can print the first layer of several models located at the edges and in the center of the print bed.
When heated, the bed undergoes thermal expansion, which inevitably leads to deformation. If the first layer doesn't peel off, the problems with the uneven bed are solved by selecting the printing parameters for the first layer: low speed (15 mm/s), a slightly higher temperature, the filament feed is increased if there is a large gap and lowered if the gap is small.
If the bed is so uneven that printing is going well in the corners but in the center, it is either too high above the bed or rests against it, then it is recommended to fix glass on the bed and print on it.
Aside from leveling, it is necessary to set a working zero point — the height of the nozzle above the bed, from which printing starts (z=0). This height is approximately equal to the layer height (thickness of a sheet of paper). But it also depends on the properties of a filament. More fluid plastics (ABS, etc.) require less height, more viscous (such as PETG) — on the contrary.
For some 3D printers, setting a working zero and bed leveling go as one procedure; for other models, these are separate actions. In the latter case, follow the instructions for a specific model.
Bed leveling should be carried out not only before the first print but also after moving the printer from place to place, as well as when there arise problems during printing, or if you had to use force when removing a print and the clamping screws may have loosened.
The automatic leveling of the print bed is carried out using a probe or similar devices (sometimes the printhead nozzle itself serves as a probe if the design provides for an appropriate sensor). They come into contact with the bed surface at the points specified in the firmware. Thus, the printer builds a virtual plane taking into account the unevenness. Most often, this plane does not coincide with the real horizontal plane of the bed, but the calculated tolerances allow printing models with a flat base.

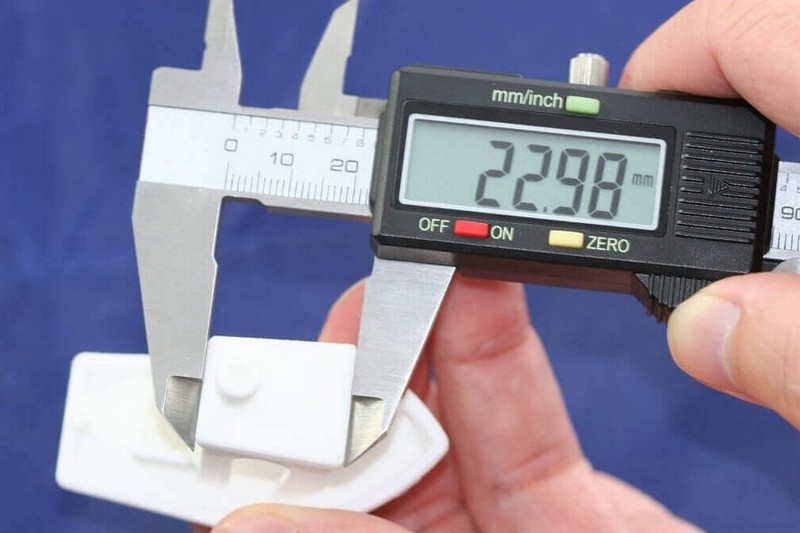
Once mechanical calibration has been performed, it is necessary to set the optimal parameters for the first print. They can be configured manually or with the help of a 3D printer calibration utility.
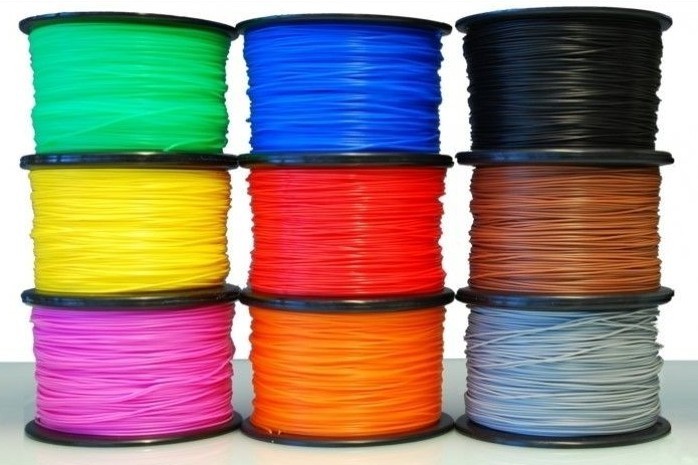
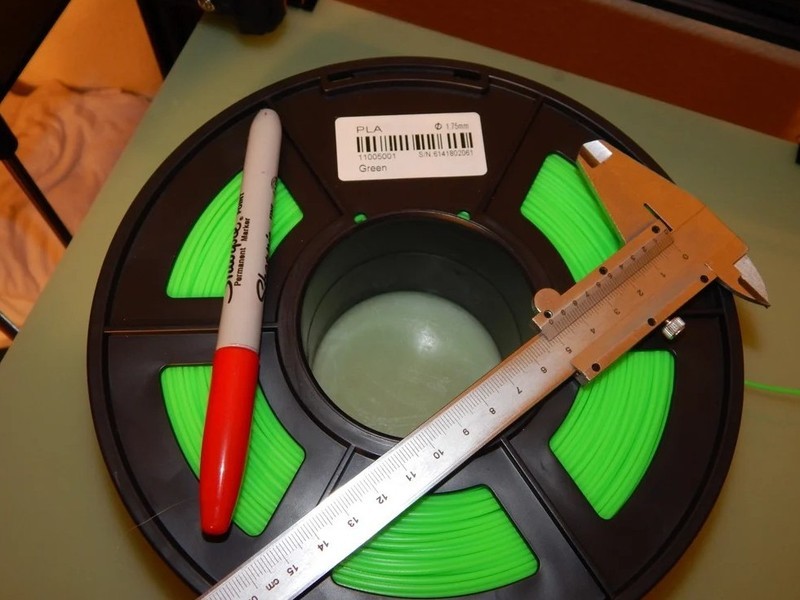
FDM printers use a spool of plastic wire — the filament, the most popular of which are ABS and PLA.
ABS models are more durable, they are designed for use in machinery and can endure friction and environmental influences. For prototyping and design objects, PLA is more suitable.
Source: all3dp.com
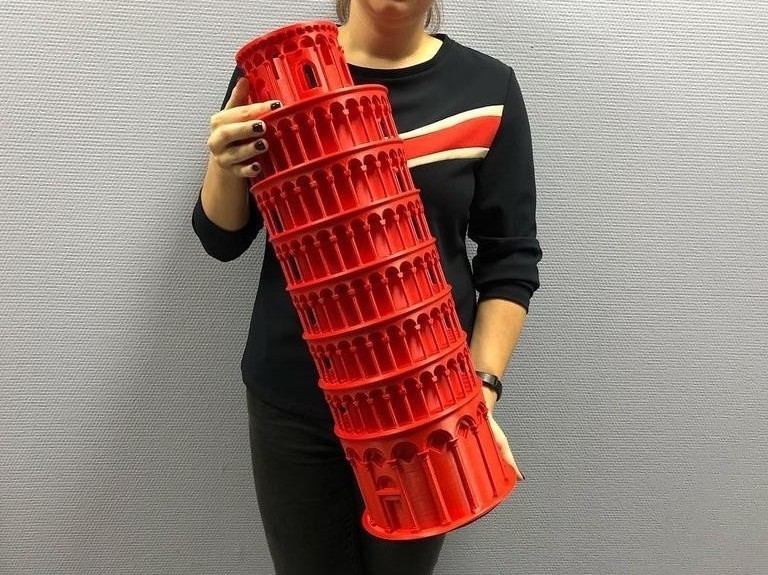
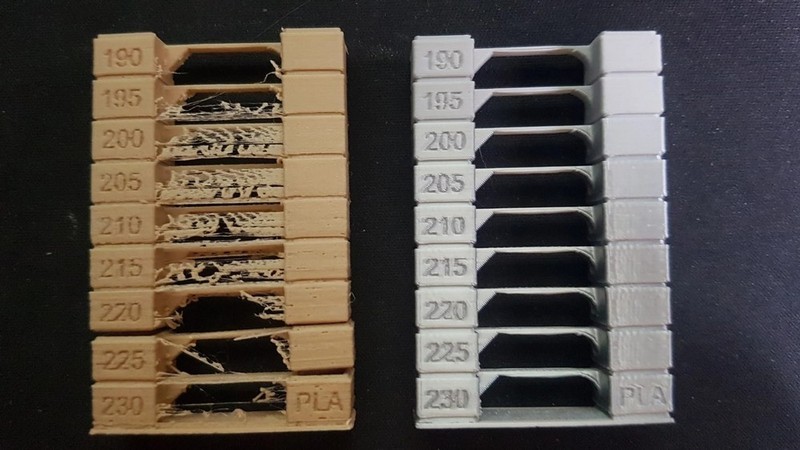
After the printer is warmed up and configured, you can start printing. As the first model, users often choose one of the test ones: a cube, a 3D Benchy boat, or a temperature pyramid.
For the printed model not to come off the print bed, delaminate or deform during printing, it is necessary that the first layer of the model adheres well to the bed.
To achieve good adhesion, it is recommended to print the first layer at a slower speed than subsequent ones. Thus, the plastic has time to stick to the bed surface. Besides, it is advisable to make it thicker to compensate for the unevenness of the bed or the underlay placed on it.
The following items can also be of use for good adhesion: masking or blue tape, heat-resistant tape Kapton, glue stick, hairspray, beer or cola, ABS or PLA solution in acetone, (self)-adhesive films, glass or mirror.
There are some more auxiliary methods to achieve good adhesion: rafts, brims, and skirts. A raft is a specially printed underlay that is placed under the product. Be aware, though, that the raft spoils the surface of the model. Brims are printed around the perimeter of the object without touching the base. They are easier to detach from the model than rafts. A skirt is a brim that doesn't touch the object and is at a distance from it. Skirts are primarily used to test the printer operation. A high skirt protects the model from drafts and uneven cooling.
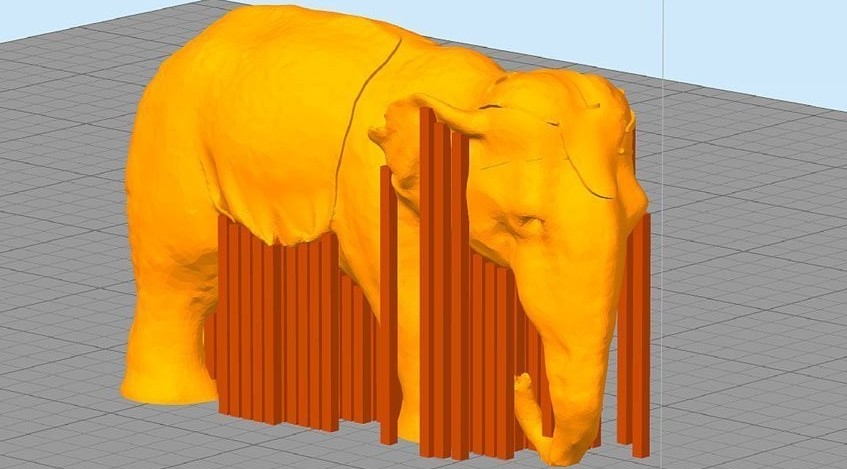
For complex geometries, slicing programs generate special supports for overhanging elements. Even though the supports spoil adjacent surfaces (if they are printed from the same material), one must understand that without supports, overhanging elements cannot be printed — they will sag, and the model will lose shape. Printing without supports is acceptable for walls with an inclination angle of no more than 70 degrees.
In printers with two or more extruders, supports can be printed from a material whose solvent does not interact with the main model material — for example, from PVA (water-soluble) or HIPS (D-limonene-soluble). This allows removing the supports as delicately as possible, without leaving marks on the surface and with no need for mechanical removal and subsequent cleaning.
There are a lot of problems associated with mastering 3D printing: from assembling the device to incorrectly printed models. Here are a few points to note:
As is clear from the article, it takes some time to master 3D printing. At first, it may seem that there are too many subtleties, but they are easy to remember and impose no difficulties providing you have practiced and acquired some skill. All you need is desire and enthusiasm.
Update your browser to view this website correctly. Update my browser now

Write a comment