Automatic bed leveling is a function that is available in some 3D printers as the factory default. Moreover, experienced specialists can install an automatic bed leveling sensor on their own.
In this article, we will talk about what this function is for, as well as how to use it.
The majority of FDM 3D printers are devices that require the active involvement of a user during the printing preparation process. The need to regularly check the level of a print bed is among the characteristics of such machines. The structure of an FDM 3D printer can become “loose” and less stable over time. Not only can it be caused by calibration knobs but also due to gaps in all of the screw-type connections. Usually, it’s manifested by wobbling during the printing process.
Source: pinshape.com
Due to the bed’s deviation from the set level, the distance between the nozzle and the print bed changes by different values at different points. This can cause the model to deform and its proportions and sizes to distort, as well as result in nozzle clogging (in cases when it’s very close to the print bed, and the plastic can’t be extruded).
This can be caused by a lack of a screw-thread fixator and bad quality of calibration knobs. The error may also be caused by the user's actions, such as incorrect sticking of an adhesive tape to the print bed.
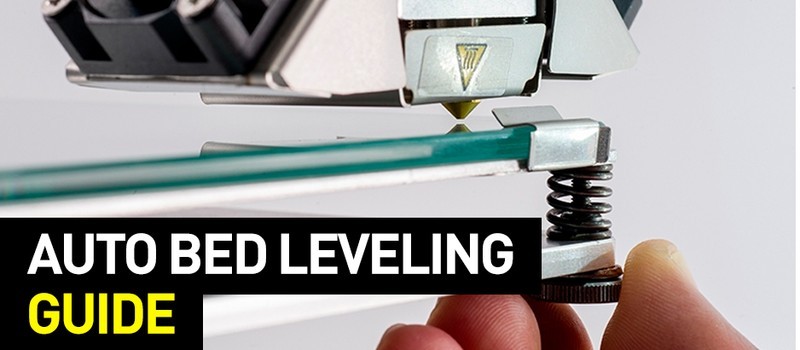
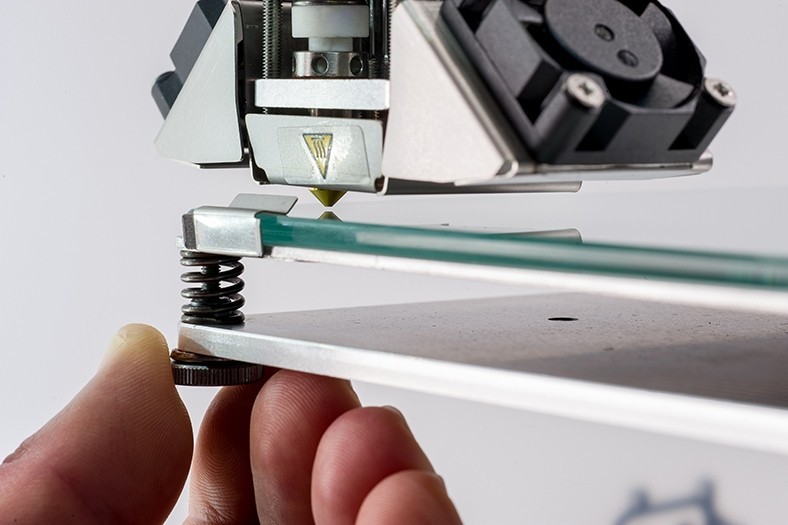
To avoid the problems the user must regularly level the print bed. In budget models, it has to be done manually. For this reason, the calibration knobs are added to the bed. But there are models with automatic bed leveling which significantly simplifies working with a 3D printer.
Source: all3dp.com
As the name implies, automatic bed leveling is a mechanism that allows users to automatically calibrate the machine. Before printing starts, the machine calculates the position of the bed in relation to the extruder and adjusts the nozzle placement during printing if needed.
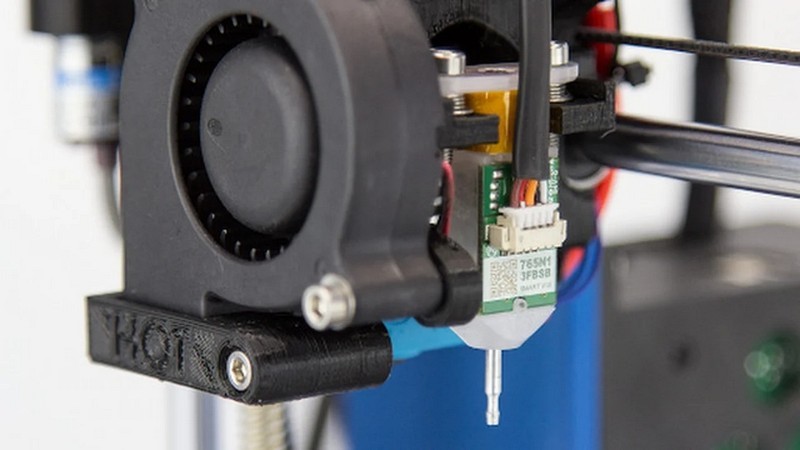
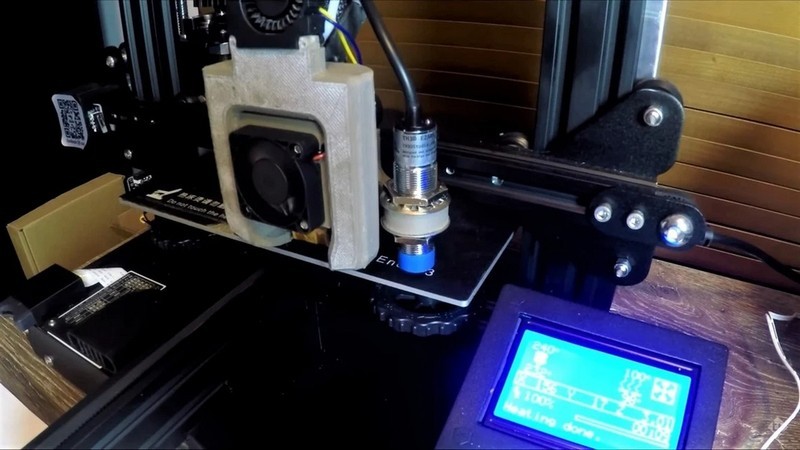
Usually, a 3D printer with the automatic bed leveling feature has a built-in proximity sensor or a contact limit sensor located at a level of the print head nozzle. It scans certain points over the platform after the launch of automatic bed leveling. Sometimes the extruder with a feedback encoder can play the role of that sensor, while the nozzle will act as its probe.
One of the pros of automatic bed leveling is the ability to produce high-quality prints even if the bed has some visible bumps. This can happen after long usage of the device at high print bed temperatures.
Since a 3D printer automatically corrects the nozzle placement in relation to the plate, the nozzle is always at an optimal distance from the print model during the process. This, in particular, improves layer adhesion and quality of printing.
For non-professional FDM 3D printers, especially those sold as DIY kits, there are extensive upgrade opportunities available, including a way to install an automatic bed leveling sensor.

Source: simplify3d.com
Let’s take a look at the way to configure automatic bed leveling using one of the most popular professional 3D printing programs — Simplify3D.
If a 3D printer features automatic bed leveling, then the printer profile in Simplify3D must be configured for calibrating the machine automatically at the beginning of each print job.
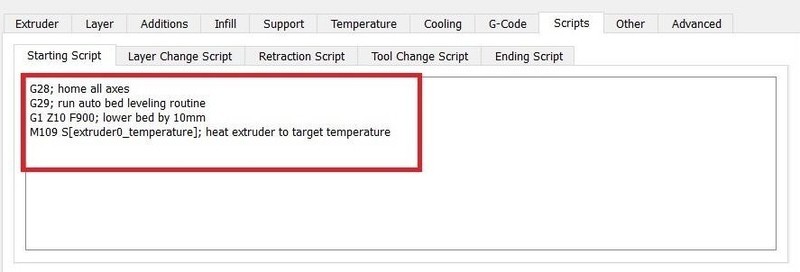
If the printer is used for the first time, you can download a standard Simplify3D profile for a certain device by going to “Help” > “Configuration Assistant”. After loading the profile go to “Edit process settings”, go to the “Scripts” tab and find a starting script. This is a set of commands that will define the actions that the 3D printer will execute in the beginning of each print job.
Source: simplify3d.com
To automatically level the bed of the 3D printer one has to add some adjustments to the G-code of the script. To do that: the G29 command has to be added at the beginning of the file. It will “tell” the printer that it has to automatically level the bed. The 3D printer has to home all axes before calibrating the bed, so the G29 command must be placed after the G28 (the ‘home all axes’ command) in the script.
Starting scripts may differ depending on a model. There are different types of the G28 command, including the regular “G28” (homes all axes), “G28 X0 Y0” (homes only the X and Y axes), and the “G28 Z0”» (homes only the Z-axis). For the script to be executed correctly, the G29 command should be placed after the last G28 command.

Source: simplify3d.com
After adding the changes, the new printer settings must be saved. To check if it was successfully changed, one only has to start a new print job and see if the automatic bed leveling is done at the beginning of the process.
Automatic bed leveling is mainly controlled by firmware, so the exact points for the sensor to go to are already preset. The user only has to add the aforementioned command, while the printer will do the rest — adjust the automatic bed leveling.
The automatic bed leveling process simplifies 3D printing since it eliminates the need for a long manual leveling. A 3D printer with the automatic bed leveling feature will guarantee to get a good result after each print job.
An automatic bed leveling sensor can be installed on a device that isn’t designed with this feature in mind. Using the sensor will be possible after adjusting the G-code of the default script. The experienced users can do that on their own, while we recommend the others to ask the professionals for help. This kind of upgrade is a quick one and isn’t expensive.
Update your browser to view this website correctly. Update my browser now


Write a comment