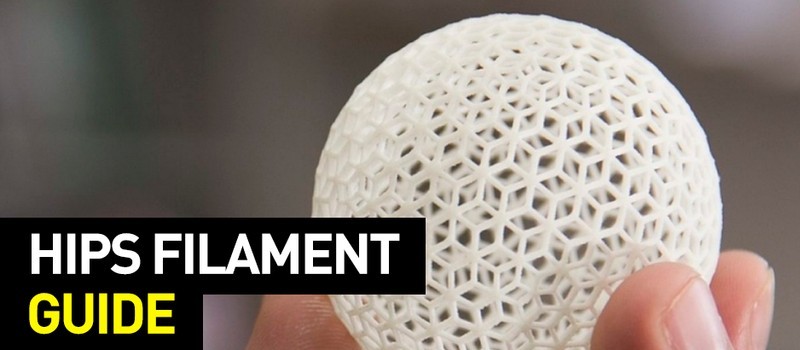
Hi everyone! This is Top 3D Shop with another informative addition about printing materials for FFF/FDM 3D printers. This time, we are going to tell you everything you’ll need to know to succeed in 3D printing with HIPS.
In this article, we will provide you with optimal settings for printing with HIPS on popular FDM 3D printers, review the most popular problems and their solutions, and show you some of the most neatly looking HIPS-based models. Read the guide to obtain in-depth knowledge about the material and learn how to organize your workflow in an efficient and streamlined way.
«HIPS» stands for High Impact PolyStyrene. It is one of the most versatile and cost-efficient 3D printable plastics available on the current market. The material was discovered back in 1839 by a German apothecary Johann Eduard Simon. It all began with his decision to distill an oily substance that he synthesized from the resin of the Sweetgum tree known as Storax (Styrax). Several days after the synthesis, to his amazement, he found out that the Styrene he created had thickened into a jelly-like substance that he initially named «styrene oxide».
But it was not until almost a century later when professionals finally realized their full potential and started to use the material in industrial applications. The first company to use it was IG Farben, a renowned German chemical and pharmaceutical conglomerate. The thing is that pure polystyrene is quite fragile and is unsuitable for many industrial applications in its initial state. Therefore, it has to be combined with polybutadiene or rubber to create a copolymer and make it much stronger, that is, to turn pure polystyrene into HIPS.
Source: hrjsurgicals.com
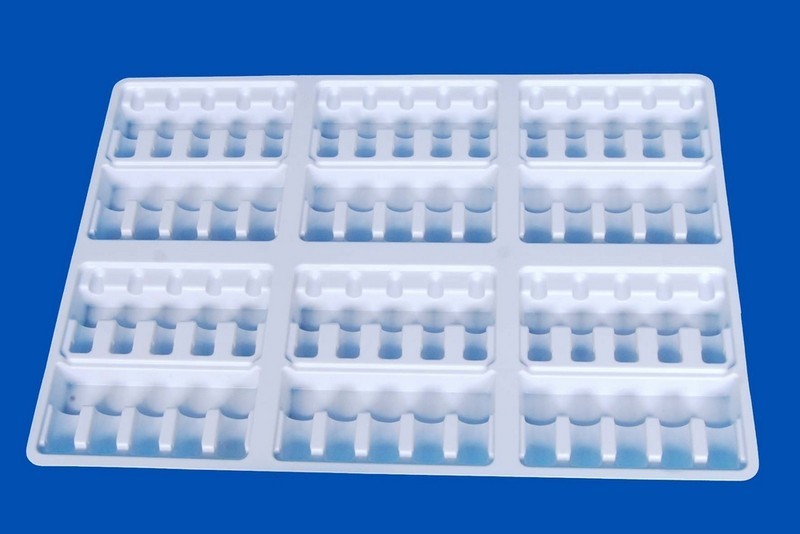
Just like that, HIPS has become a more cost-efficient solution for products that were previously manufactured from stamped galvanized steel. Nowadays the material is used to manufacture automobile parts, electronic appliances, laptop cases, soft drink cups, plastic cutlery, food packaging, and a plethora of other products.
To get an accurate idea of how HIPS-made products look like, imagine a yogurt jar. Most of the jars are made from this material because it is tough, moisture-proof, and food-safe. Moreover, HIPS is easy to thermoform and is 100% recyclable.
Source: airwolf3d.com
HIPS is a lightweight shockproof thermoplastic that provides models built from it with a neatly-looking appearance. It is a more lightweight analog of ABS that is easy to sand, polish, and dye with acrylic paints. Besides, it can repeatedly undergo melting and hardening without losing its mechanical properties.
The main features of HIPS are the following:
Source: all3dp.com
Among the main advantages of HIPS is its budget-friendly price tag, ease of post-processing, recyclability, resistance to alkalis, acids, mineral oils, and solubility in D-limonene.
On the other hand, this flammable material releases toxic styrene when heated and offers poor resistance to solvents. Besides, there is a need to use moderately toxic D-limonene when working with the material.
Source: all3dp.com
The most troublesome quality of HIPS is that it releases toxic styrene fumes during 3D printing. Therefore, it is strongly recommended to place your printer in a well-ventilated room as well as follow both electrical and fire prevention & safety rules during printing.
Source: all3dp.com
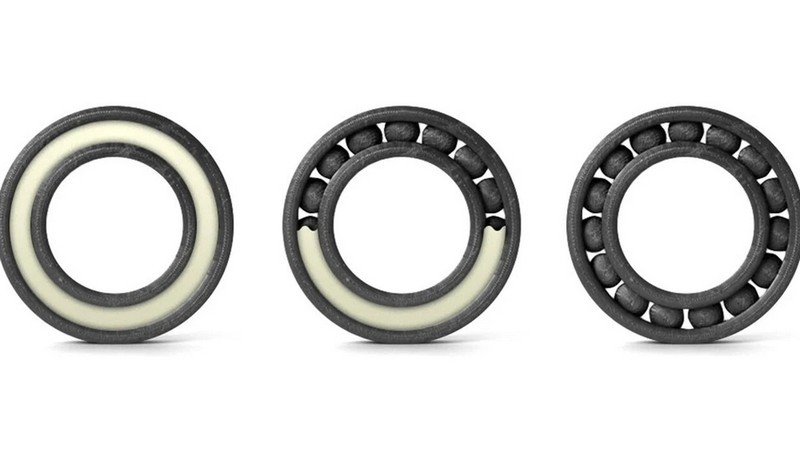
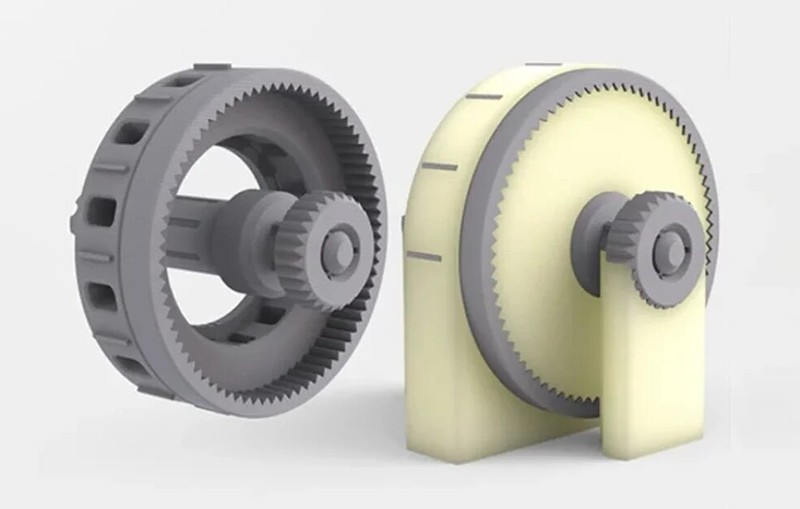
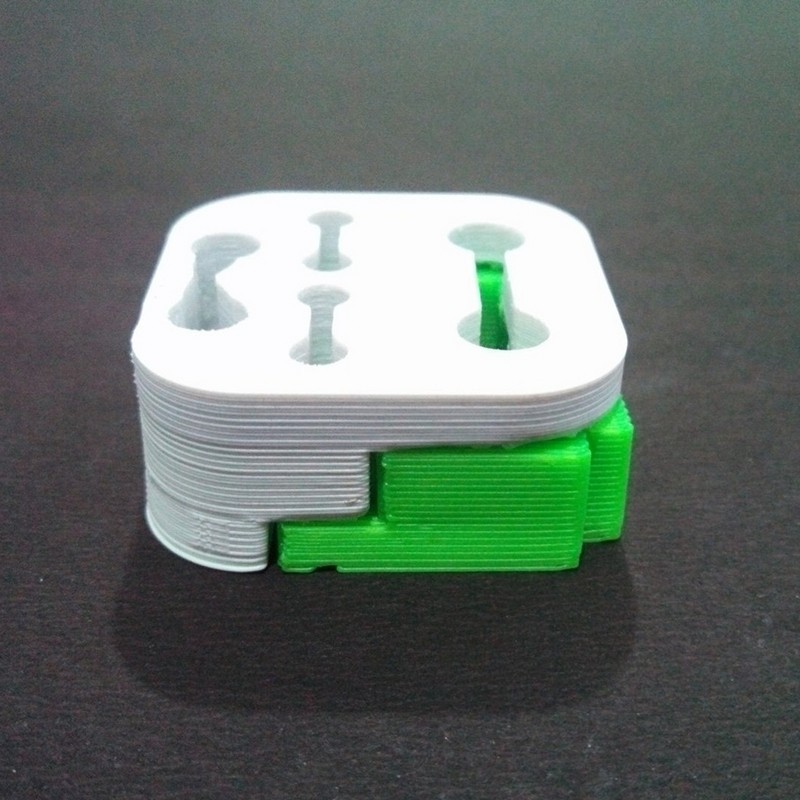
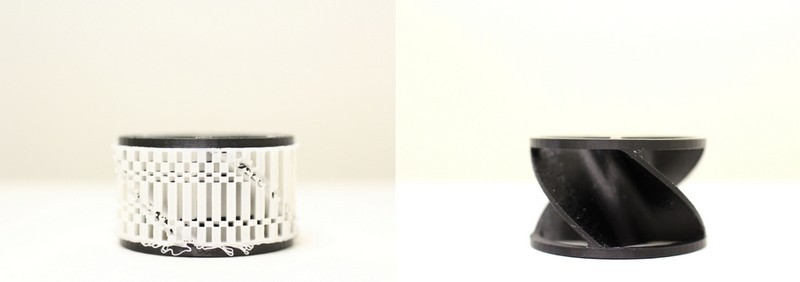
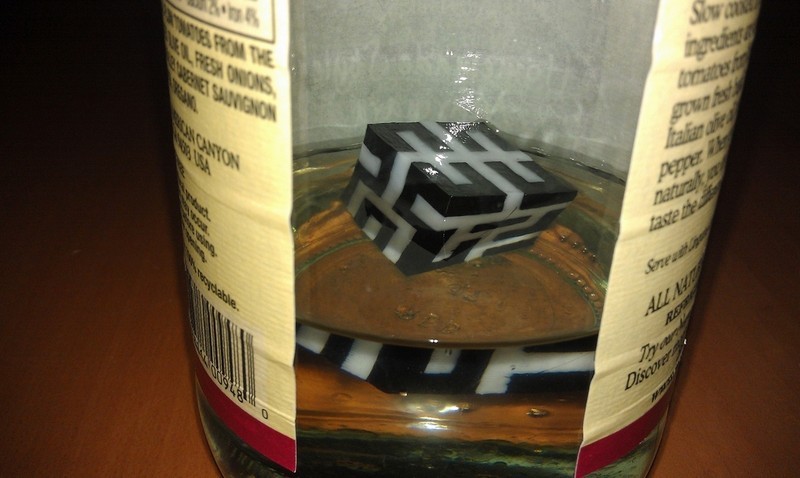
As we have already mentioned, HIPS-based products are incredibly similar to their ABS-printed counterparts. As a matter of fact, HIPS boasts superior impact resistance and is more lightweight. The material is easy to paint, post-process, and it is compatible with a plethora of adhesives. Moreover, HIPS is FDA-compliant, meaning that the material is safe for direct food contact. In 3D printing, HIPS is mainly used as an auxiliary material because it dissolves in D-limonene. This completely eliminates the need to remove all the unnecessary parts (e.g. supports) with abrasives, cutting tools, and other instruments that can damage the final product.
Source: all3dp.com
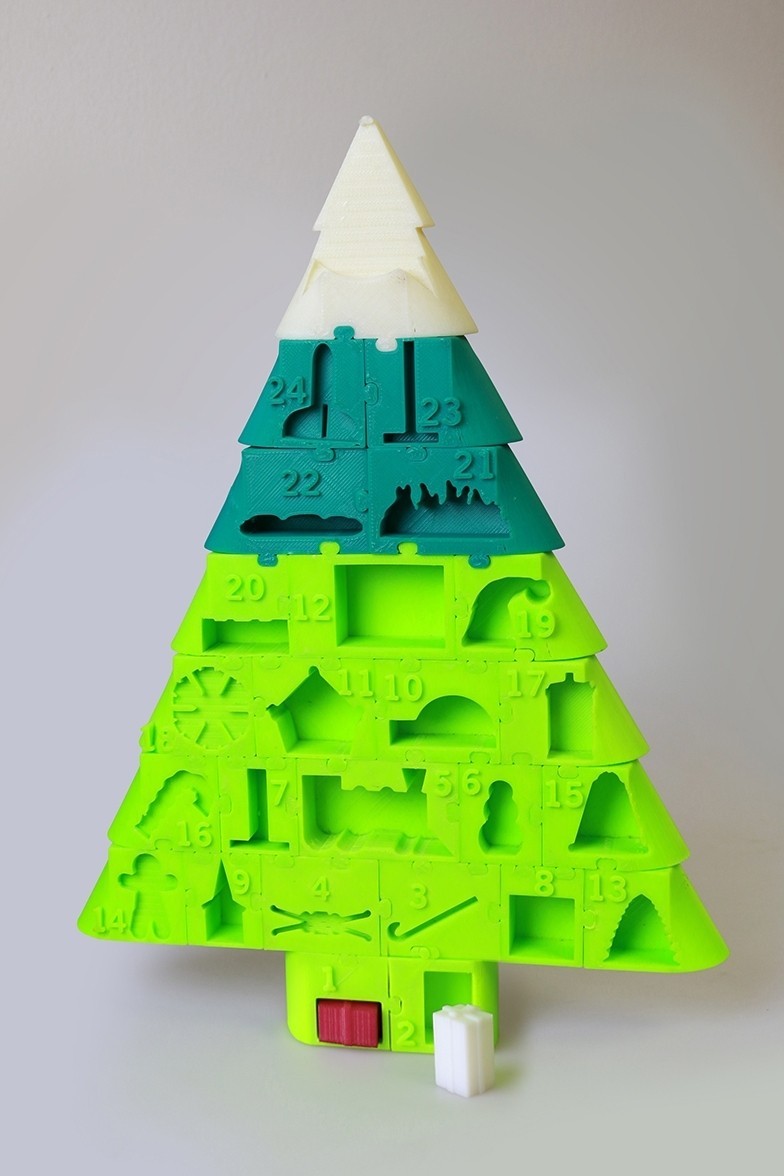
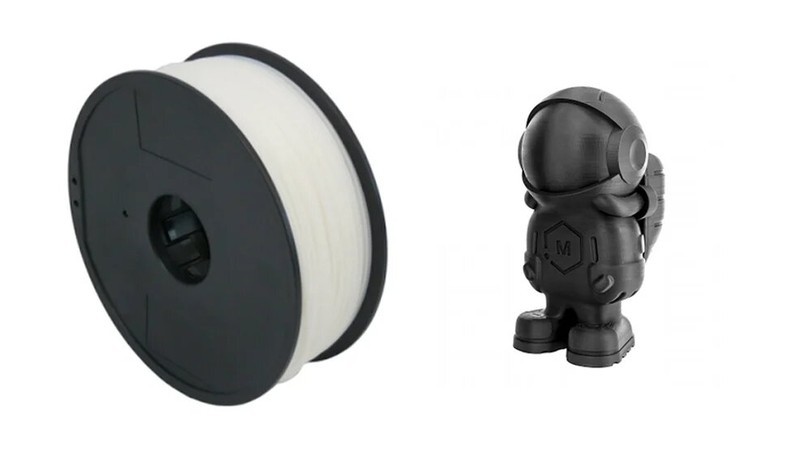
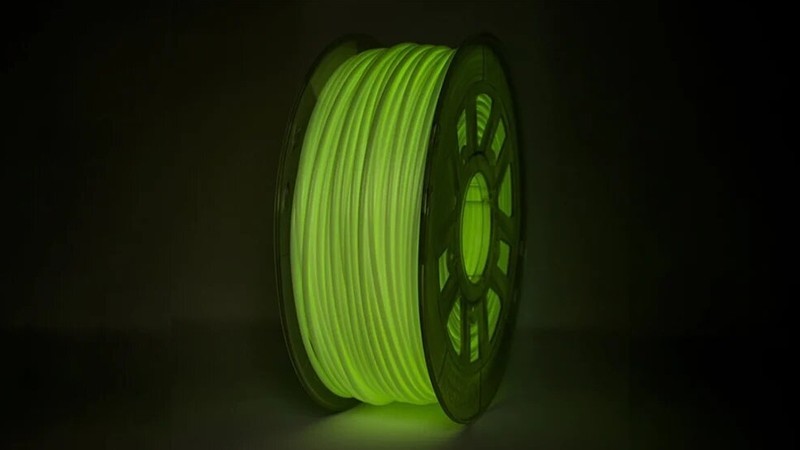
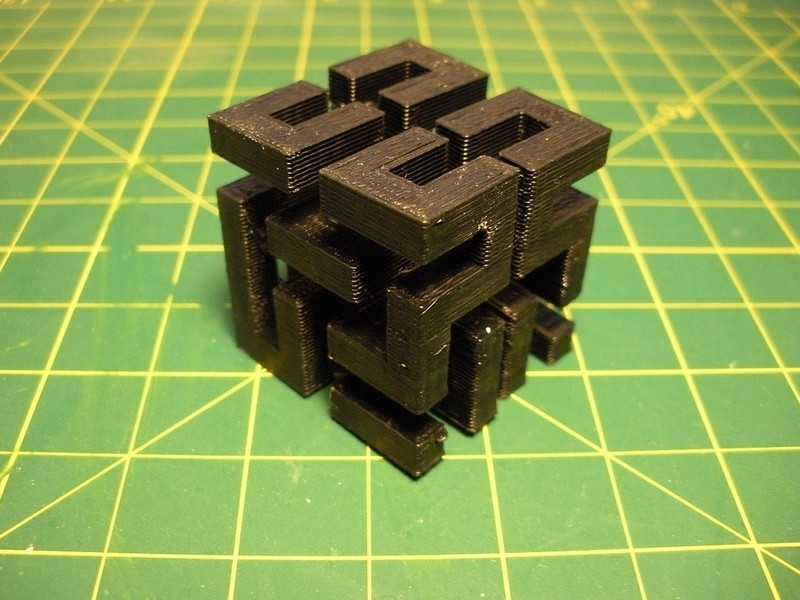
Even though HIPS is mainly used as a material to print supports, it can still be successfully used as an independent material to create durable, precise, and dimensionally accurate 3D printed models. In fact, the contemporary additive manufacturing market offers a wide array of HIPS-based filaments to choose from. There are transparent, matte, white, colored, and fluorescent filament spools that can be used on both single and dual extruder 3D printers.
Source: wanhao3d.ru
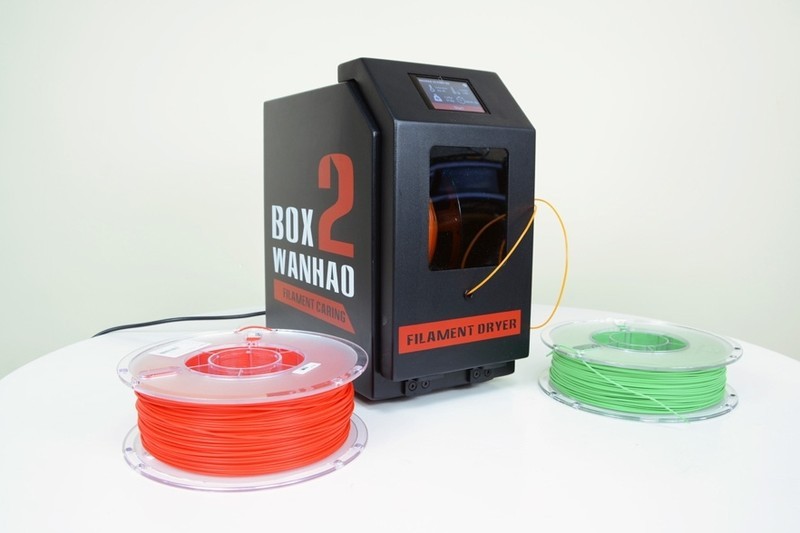
Since HIPS is a hygroscopic material, it needs to be stored in a sealed container with desiccant to prevent it from absorbing moisture. In case you are unsure if the material was properly stored before printing, drying it in a filament dryer like the Wanhao Box 2 would always be a good idea.
Your printer needs to be equipped with a heated print bed and enclosed build chamber to reliably print with HIPS. Optimal first layer adhesion can be achieved by covering the bed with basically any type of adhesive. For instance, you can employ high-end coatings such as Kapton or BuildTak, use a hairspray, ABS juice, or even a glue stick. Make sure to decrease printing speed and increase the initial printing area by creating a raft when printing the first layers to achieve the best adhesion.
The above-mentioned settings are rather arbitrary and highly depend on the printer manufacturer and printing environment, as well as on filament brand and condition. Therefore, the best way to find the correct settings for your particular project would be to create a couple of test prints.
Turn the extruder-powered cooling on while printing the product just like you would’ve done when printing with ABS. To ensure optimal first layer adhesion, however, turn off the cooling while printing the first layers.
Source: all3dp.com
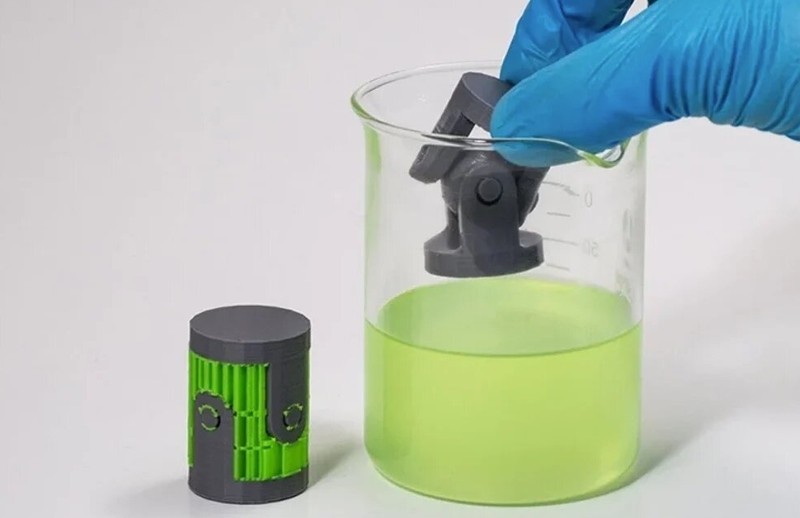
Since HIPS is primarily used as a material to print supports, the main post-processing method would be to immerse printed models in a D-limonene solution and wait until the supports are dissolved.
HIPS-made parts can be easily glued together by using almost any adhesive, so you won’t likely encounter any problems with the process.
Poor bed adhesion is one of the most commonly encountered FDM 3D printing problems. The problem manifests itself when the first layers don’t provide enough adhesion to hold the final product in place. You can either increase the temperature of the heated bed or cover the platform with an adhesive (e.g. hairspray, glue stick, ABS juice, Kapton, or BuildTak coatings) to deal with the problem once and for all. You can also ensure better layer adhesion by increasing the area of the bottom layer that holds your print in place by creating a raft.
Stringing is yet another common issue that appears when printing on FFF/FDM-powered machines. This tends to happen when you set the extruder temperature too high, which makes melting plastic too liquid and lets it flow out of the nozzle under the influence of gravity, heralding the appearance of thin web-like structures in places where the printer was not even supposed to print.
Lower the extruder temperature and activate retraction in your slicer settings to solve the problem. Retraction is an indispensable function that pulls the filament back in the extruder when the print head moves between the printing points.
Source: fabsterdam.com

Source: fabsterdam.com
Source: fabsterdam.com
Source: blog.zmorph3d.com
Source: twitter.com
Source: makergear.zendesk.com
Source: youtube.com
Source: makerhacks.com
Chris elaborates:
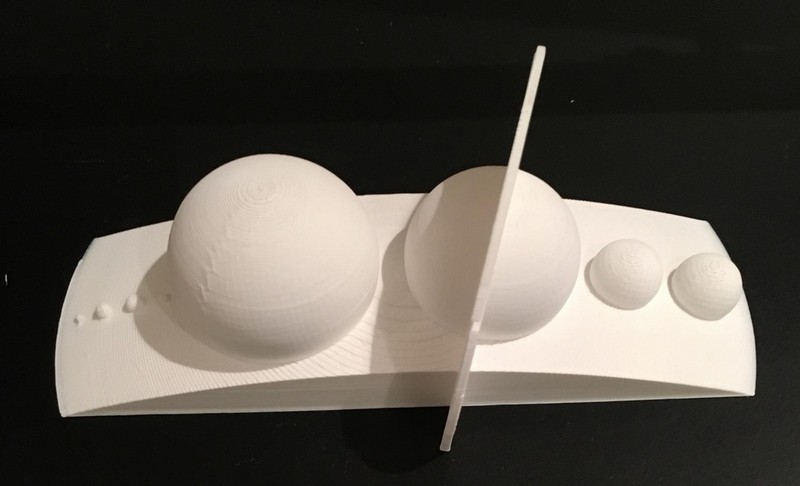
«I like the white HIPS! It is very white, has a chalky texture, and layers bonded well, despite not having an enclosure on my CR-10. The CR-10 did a great job on my solar system print, considering the above, but unfortunately I was a bit over enthusiastic removing the print from the bed while still warm. It stuck VERY well, so well that it tore a little removing it. I think next time I will use my enclosed printer and dial in the temperatures.»
Source: 3dppvd.org
Matt says:
«When printing with an FDM 3D printer, such as a Makerbot or RepRap, you run into problems when printing objects that have large overhangs or bridges within your model.
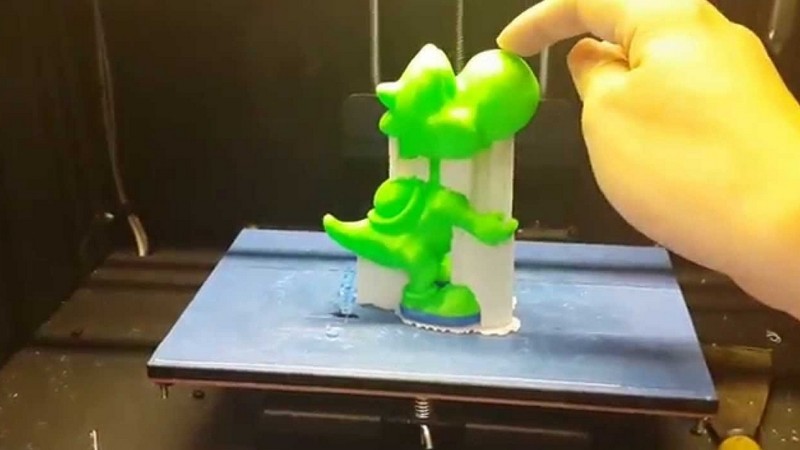
I have been working with HIPS (High Impact Polystyrene) plastic, printing in combination with ABS. When printed as a tearaway support structure, HIPS can be easily torn from the ABS – leaving an even finish behind. The real power, though, comes from the ability to remove the HIPS support material by dissolving it away. HIPS is soluble in a chemical called Limonene. When a print is placed in a bath of Limonene, the HIPS portions are completely dissolved away – leaving behind just the ABS sections. This opens up the potential for moving parts and more complicated structures to be printed in one print instead of multiple.»
Source: 3dppvd.org
«I made my prints with a Makerbot Replicator 1 with two extruders. My process was simple:
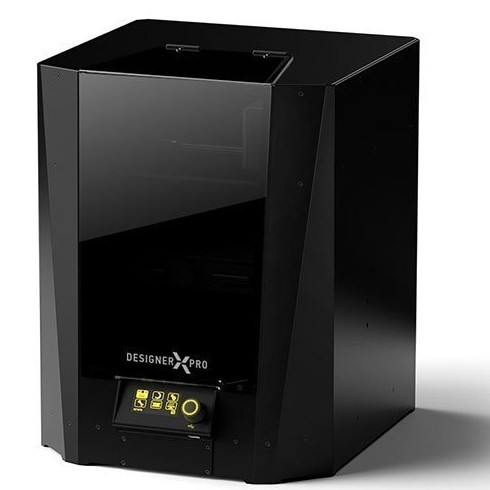
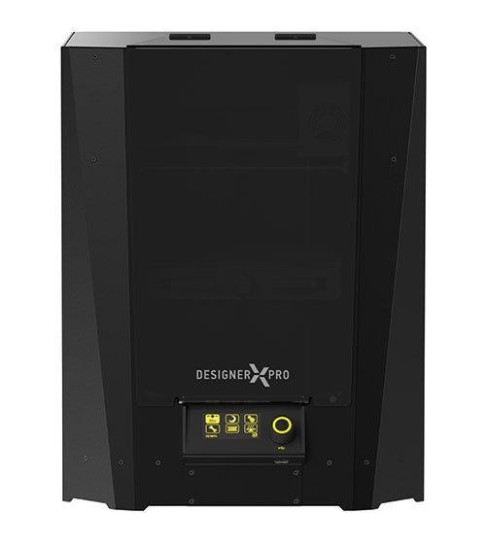
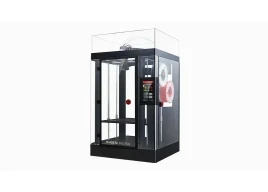
The Picaso 3D Designer X Pro is a professional 3D printer that boasts its dual extrusion system and state-of-the-art heat bed that can be heated up to 140°C. This fully enclosed machine can reliably print with all kinds of high-temperature materials with a melting temperature below 381°С, including carbon fiber-reinforced and other engineering plastics. Its dual extrusion system lets you effortlessly print complexly shaped and intricate parts with supports and bridges made from HIPS. Besides, the printer features an innovative kinematics system that ensures high precision, dimensional accuracy, and printing speed. Moreover, this 3D printer offers automatic bed leveling and an advanced self-monitoring system to provide you with a streamlined printing experience.
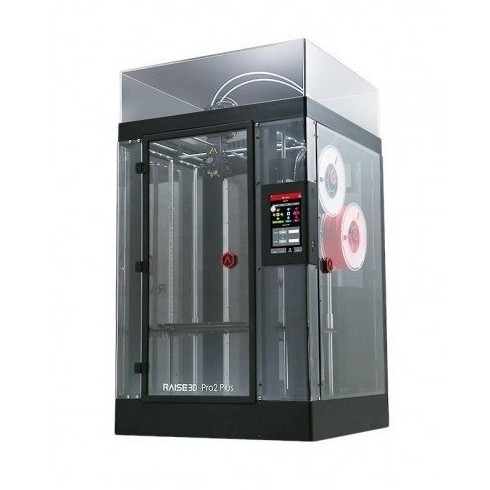
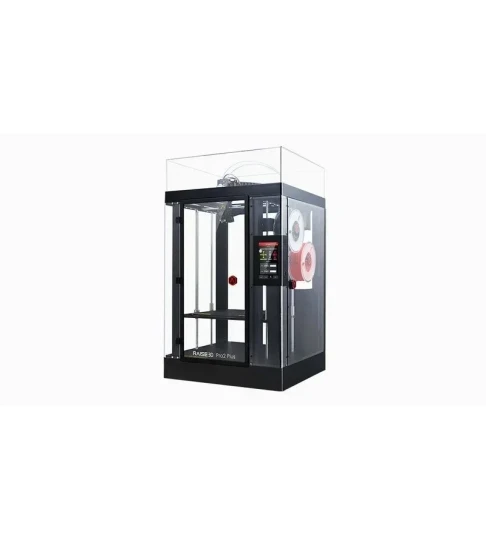
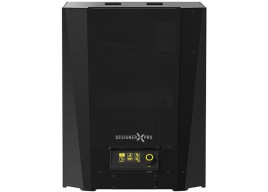
The Raise3D Pro2 Plus is a large-format industrial-grade 3D printer designed for 3D printing labs, entrepreneurs, and manufacturers of fully functional prototypes. The machine has been made from high-quality components and can be effortlessly controlled by using its full-color touchscreen. The Pro2 Plus offers automatic bed leveling and is easy to move around thanks to being equipped with wheels that can also be fixed in place to make the device immovable. It is a professional machine with a fully enclosed frame and transparent see-through panels that lets you reliably print with ABS, HIPS, and other high-temperature materials. Besides, the Pro2 Plus is equipped with a high-end cooling fan with a HEPA filter that reduces emissions up to 90%. The Pro2 Plus features a stunning build volume of 305 x 305 x 605 mm that lets you print several large or medium-sized models in one go. It has a large and durable nozzle that offers an unbelievable level of Z-axis positioning accuracy of just 5 microns, ensuring accuracy and precision. It is compatible with PLA, ABS, PEEK, HIPS, PC, TPU, TPE, Nylon, PET-G, ASA, and PP filaments and can also print with flexible and abrasive materials as well as with glass-, carbon fiber-reinforced, and metal-filled plastics.
HIPS is one of the oldest 3D printable plastics with a set of well-researched features and a plethora of workflow guidelines. It is an affordable and easy-to-print polymer that boasts its durability and dimensional accuracy after post-processing. Besides, HIPS-based parts are incredibly easy to paint and glue together. It can be successfully used both as an independent and supporting material.
You can purchase HIPS 3D printer filaments from Top 3D Shop. Our team will provide you with the best service possible, just like we always do.
Update your browser to view this website correctly. Update my browser now
Write a comment