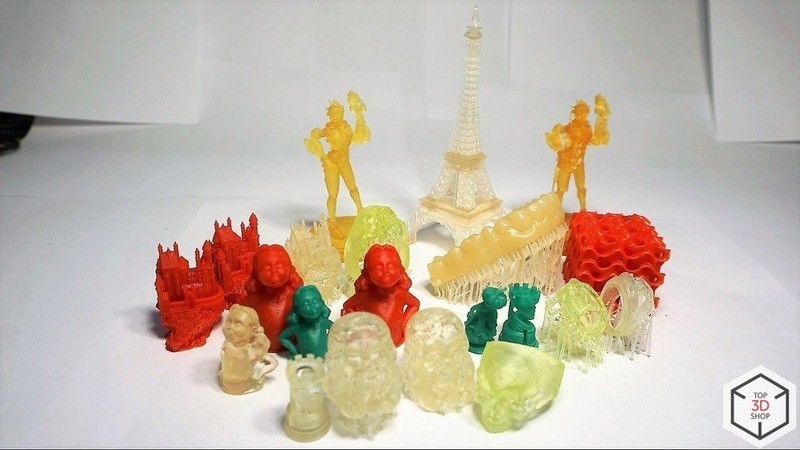
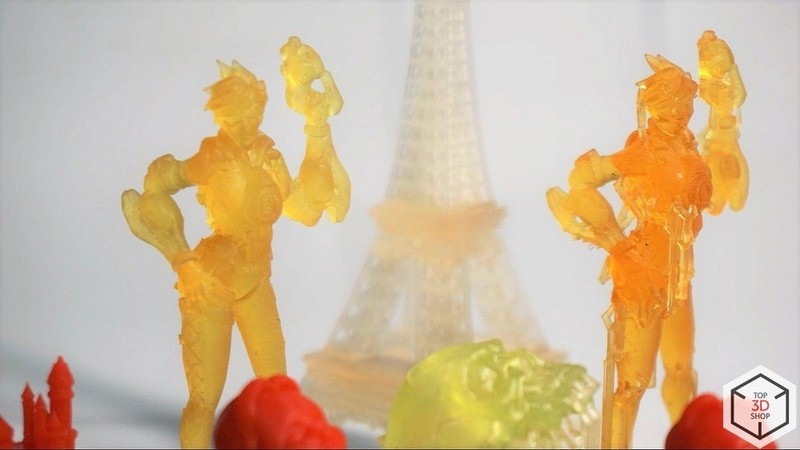
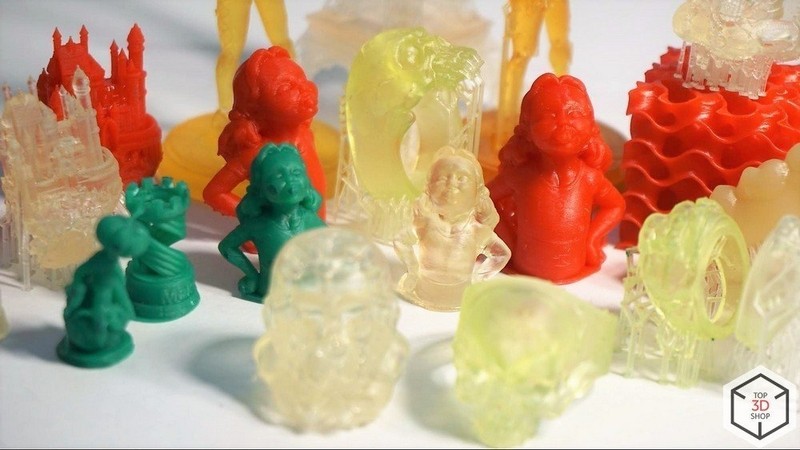
Hey everyone! The device we are talking about today is the Uniz Slash+ 3D printer. Being a desktop resin 3D printer, it prints models with photopolymer resins in modes that are not yet available to its competitors.
The printer doesn't appear to be much different from its counterparts. The same resin vat, removable bed, light source.
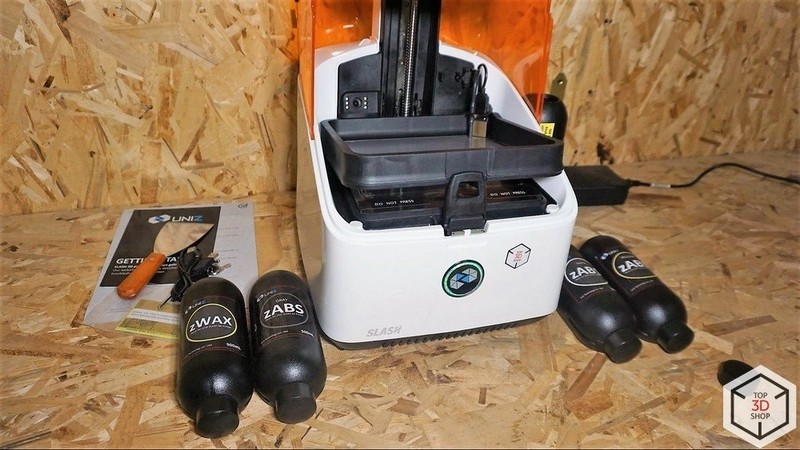
The printer is supplied as standard:
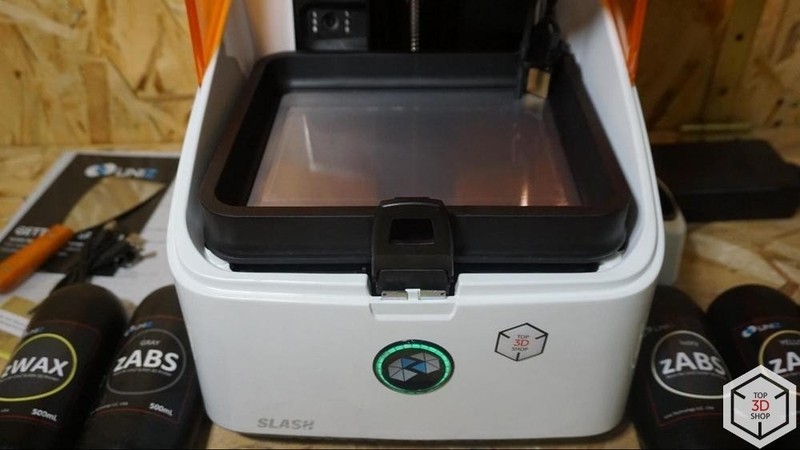
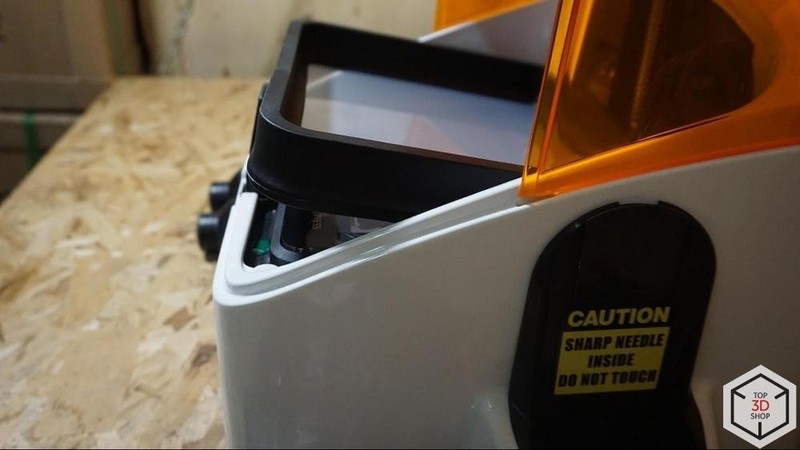
The printer has a touch button on the front panel and an on/off button on the back.
You can manage the printer via either a PC or a smartphone.
For the printer to work, you must connect it to Wi-Fi or a wired connection. The printer is equipped with its own Wi-Fi router. So, if we connect to the printer via IP, the router window will open:
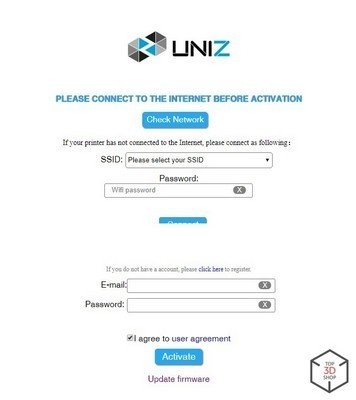
In this window, you can connect the printer to your Wi-Fi router and create a Uniz account.
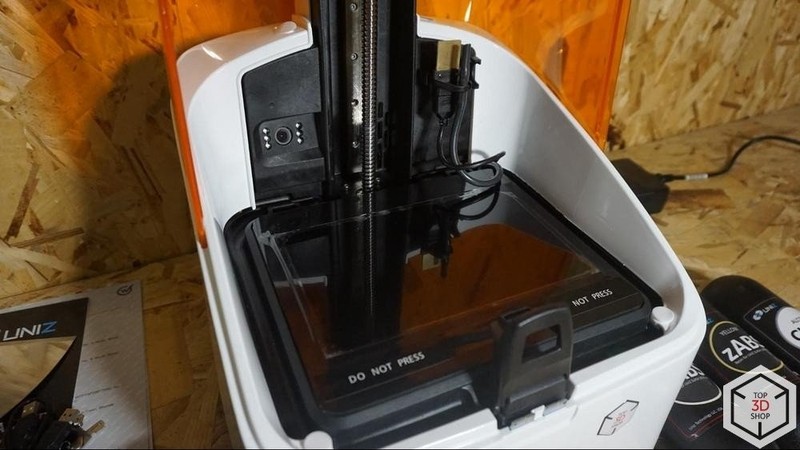
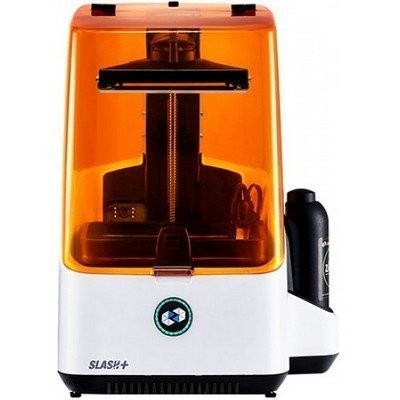
Our 3D printer has an orange dome.
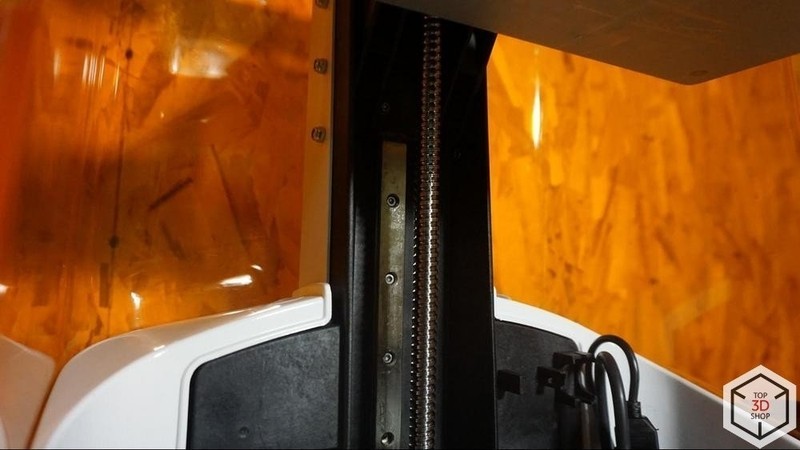
The Z-axis is equipped with a ball screw and linear rail.
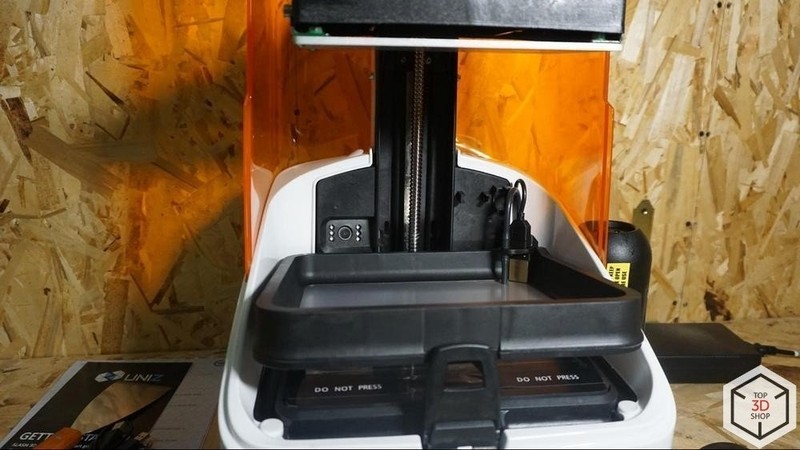
Located on the sides: a camera for observing the process, resin feed tube with a liquid level sensor, and a level sensor mount.
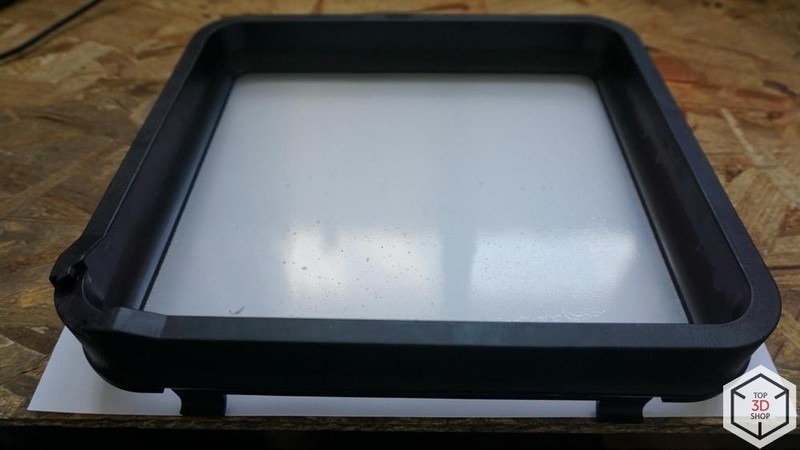
The vat on the sides has a groove for mounting the resin level sensor.
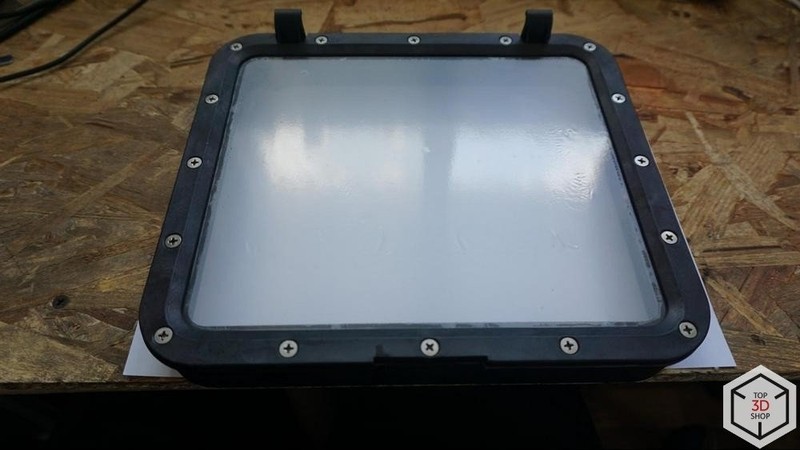
The film is replaceable. No difficulties arise when replacing it. You can install third-party films of suitable size.
The standard film of the vat is multi-layer, reinforced. If the film tears or you remove a model carelessly, the resin will not "flood" the printer. The manufacturer guarantees the increased strength of the standard film, compared with PDMS analogues.
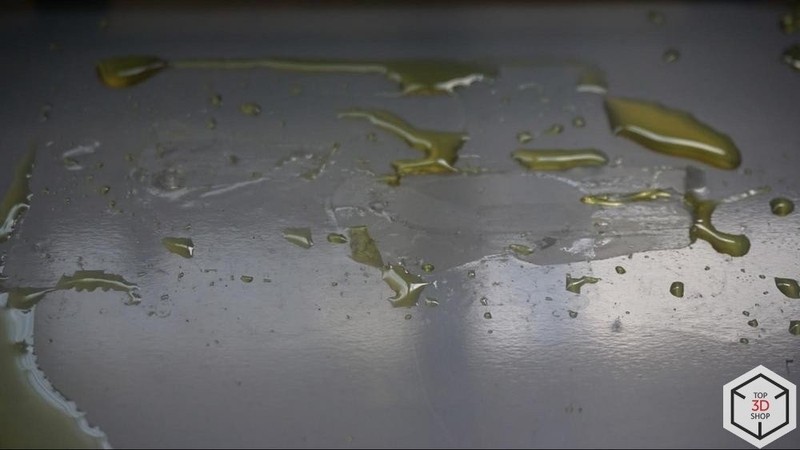
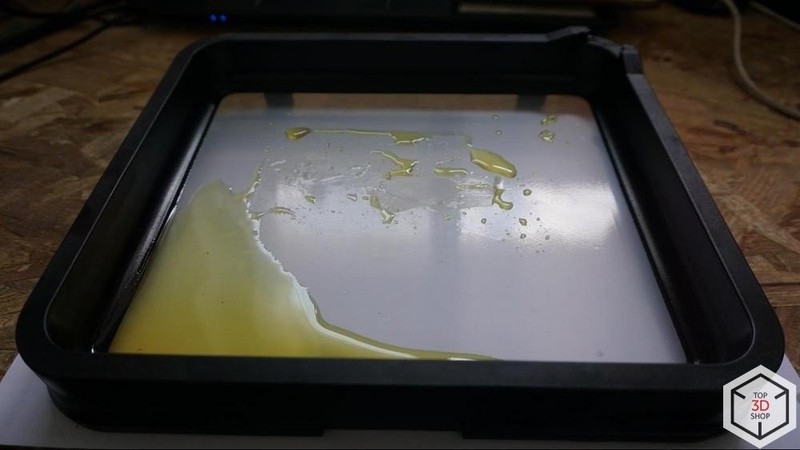
In the photo above is an example of the film tearing off. The rest of the film remained on the model. The cause of the tear is incorrect settings for printing a large product with third-party resins. The model fell apart, stuck tightly to the film.
The vat can be positioned at an angle to conveniently drain the resin back into the bottle.
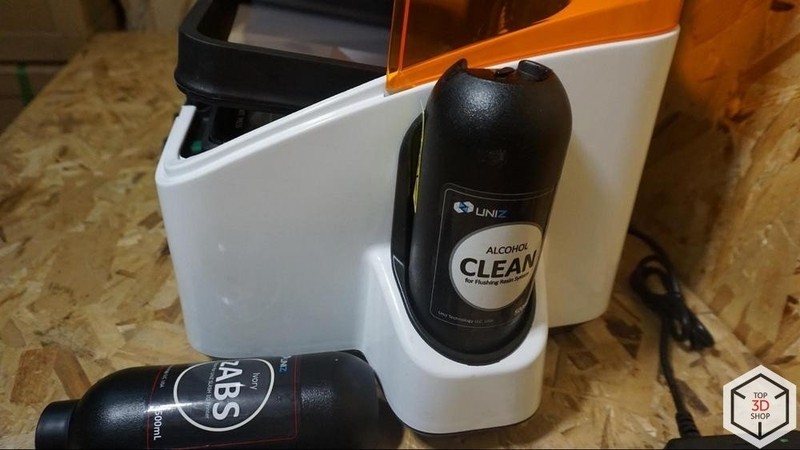
Cartridges are installed without any problems. The resin is fed according to the principle similar to that of an oil pump. When changing resin, it is recommended to wash the feed system with isopropyl alcohol.
Cartridges are not microchipped; you can pour into cartridges your resin or not use them at all — and pour polymers directly into the vat.
The cartridge system is convenient for large printing when the amount of the resin poured may not be enough.
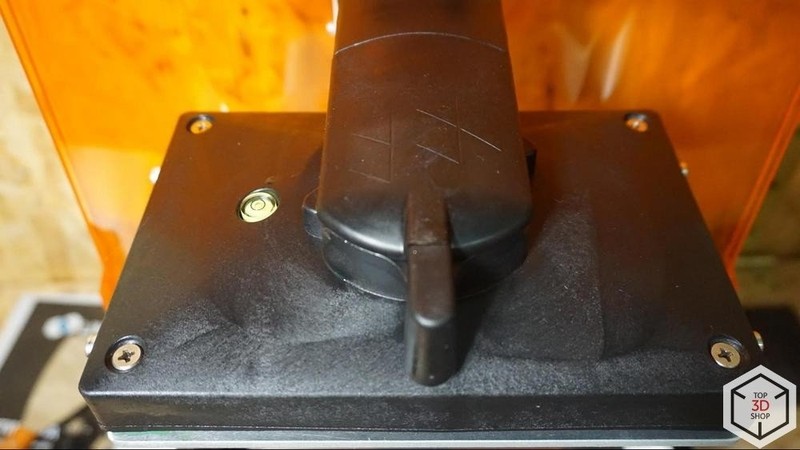
The build plate is equipped with liquid level control.
It will allow you to position the printer precisely on the horizon plane.
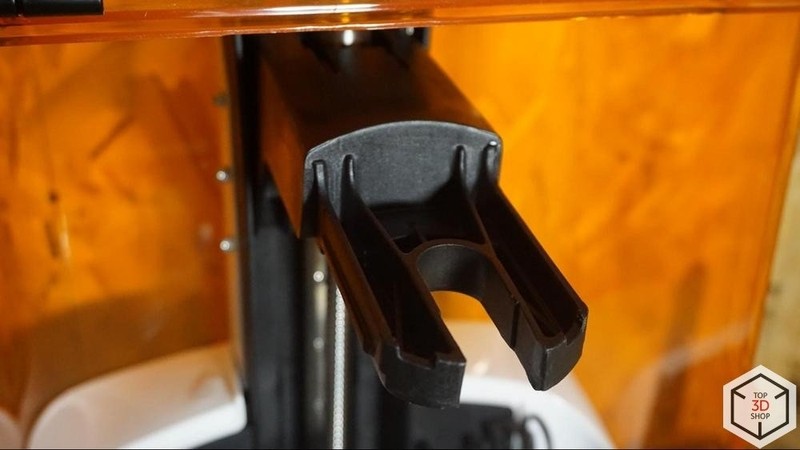
The bed is easy to remove.
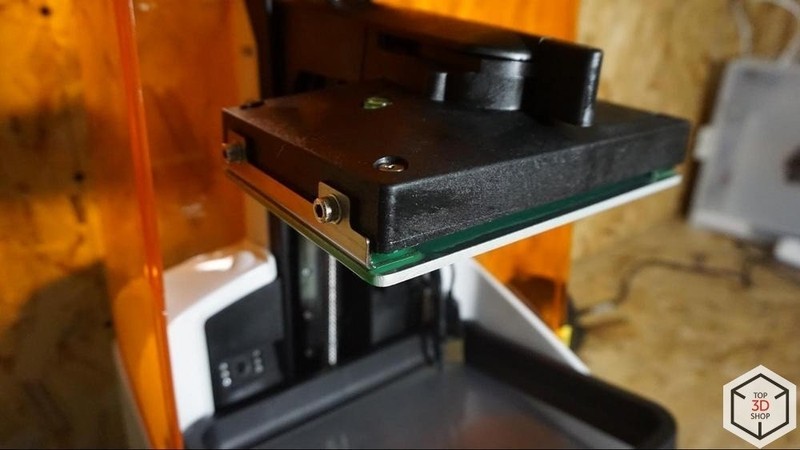
As is the case with all resin printers, the bed has to be calibrated over the surface of the vat. Early Slash models calibrated the projection area for the build plate.
In this printer model, it is enough to loosen the bed's adjusting screws, manually lower the plate until it contacts the film, fix the bed screws and select “Reset Z-axis Zero position” in the Uniz software.
An LCD is installed under the bed, which is also easily replaced.
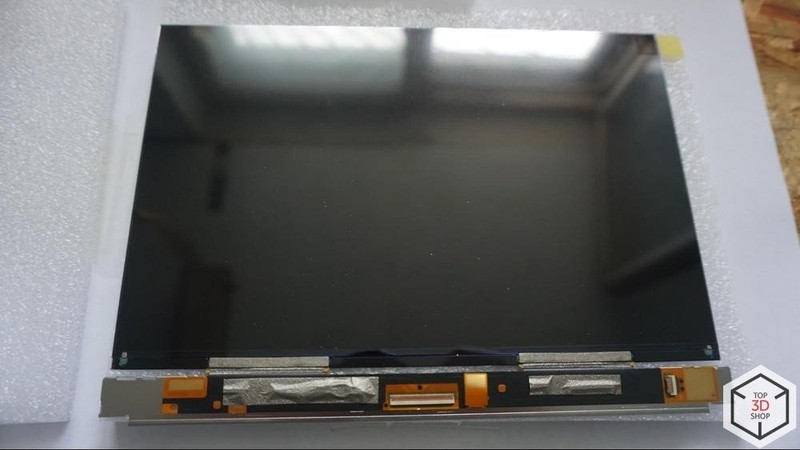
It is enough to peel off the adhesive tape.
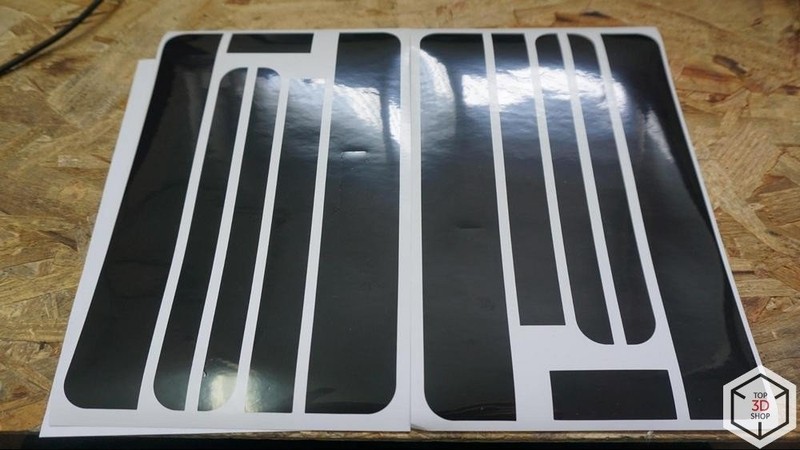
The replaceable screen comes with two sets of mounting adhesive strips.
Since a large amount of heat is released during polymerization, under the LCD is a liquid cooling system, which allows the polymers to be illuminated at maximum intensity without harming the screen and film.
You can watch a quick guide to unpacking and preparing your printer here:
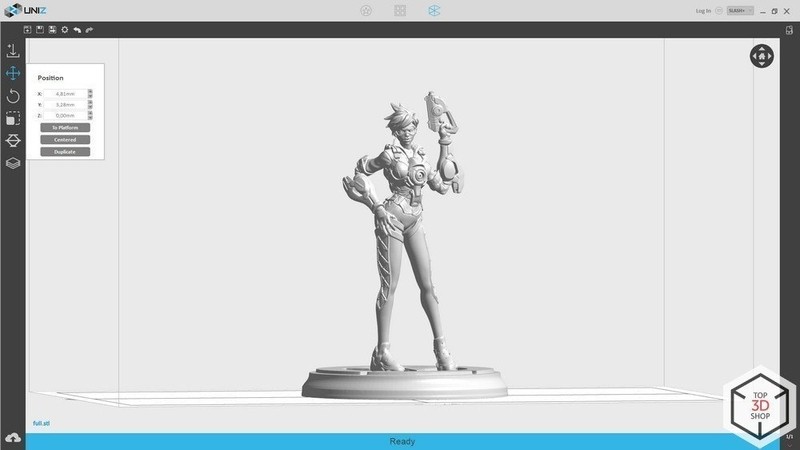
The Uniz slicer is independent free software for preparing for printing, with the browser for all models printed using this device and settings for them.
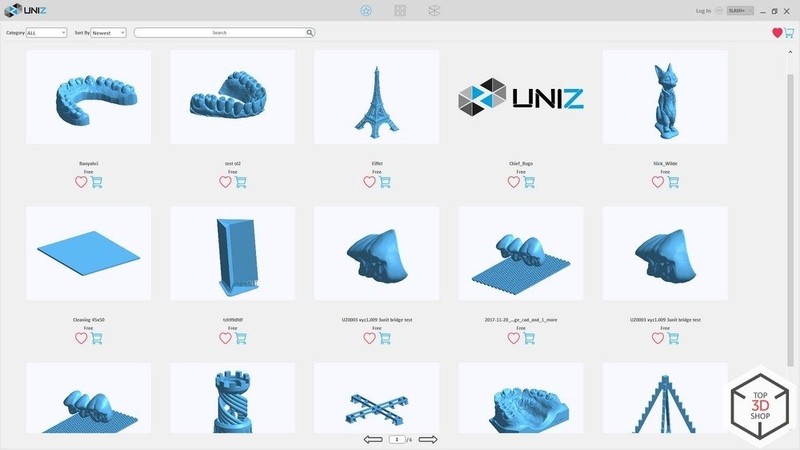
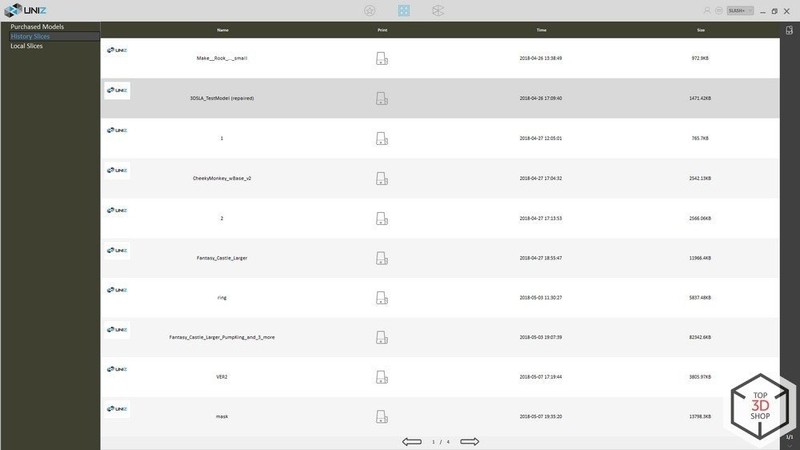
You can also view the history of prepared files to re-print.
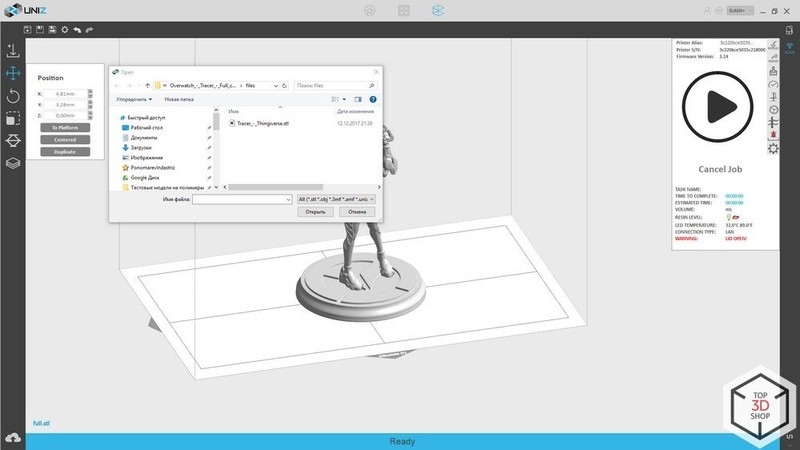
All the main functionality for preparing a model is located on the left. This is an object loading.
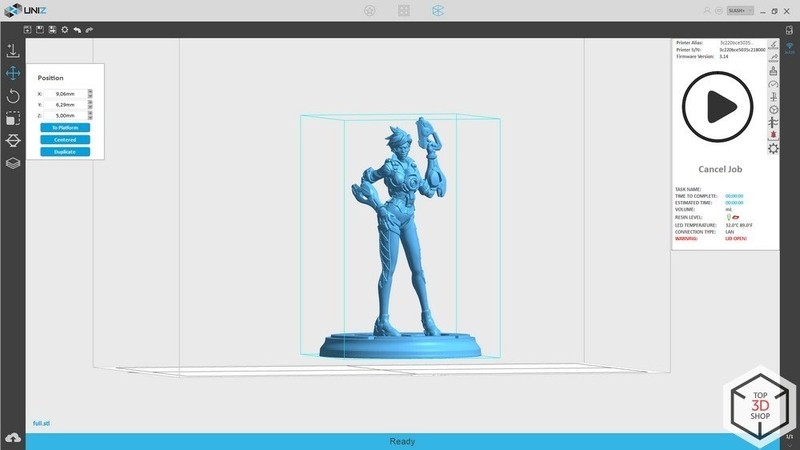
The position of the object in three axes.

Object rotation.
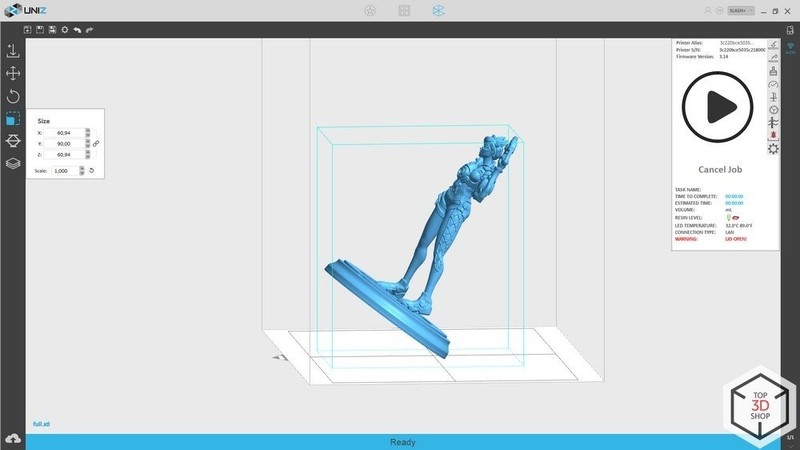
Scaling.
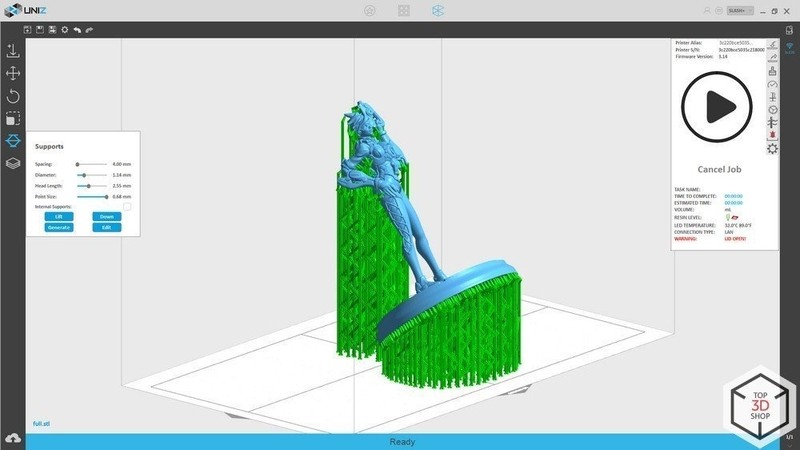
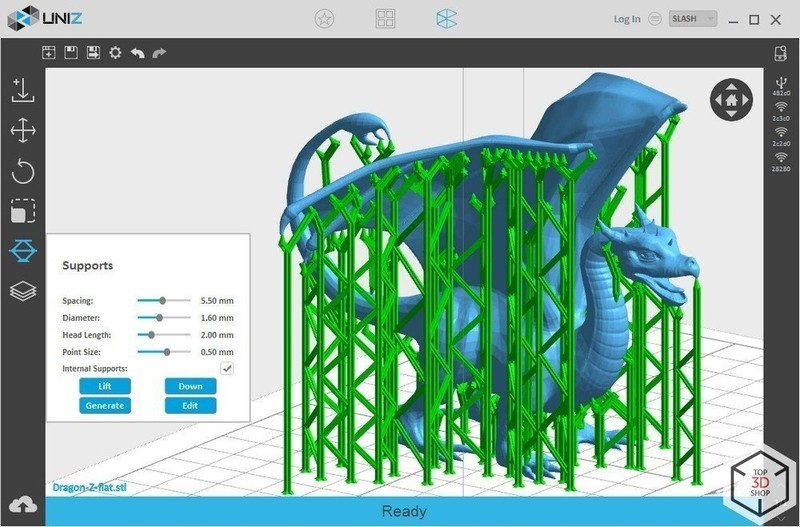
When creating supports, we can select the "Lift" key and raise the object above the platform, use the "Generate" key to generate supports according to the specified parameters, "Down" to lower the model to the surface, and "Edit" to add manual supports or remove unnecessary ones.
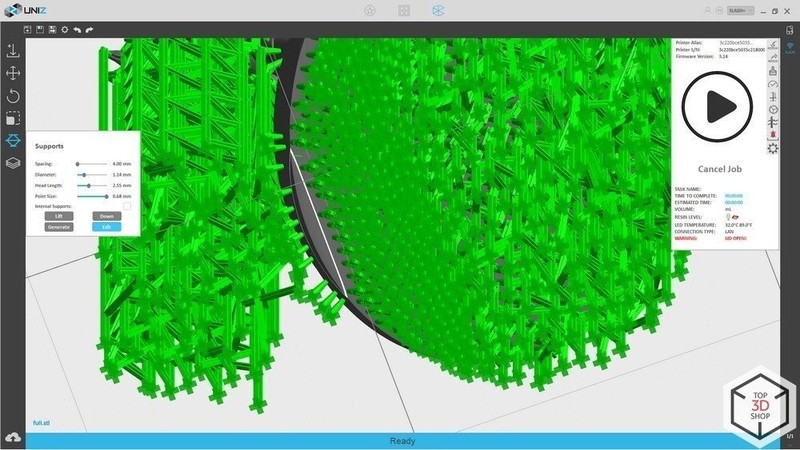
In a manual mode, you can view the outline of the model's horizontal slice, identify vague vertices and improve the stability of the model printed.
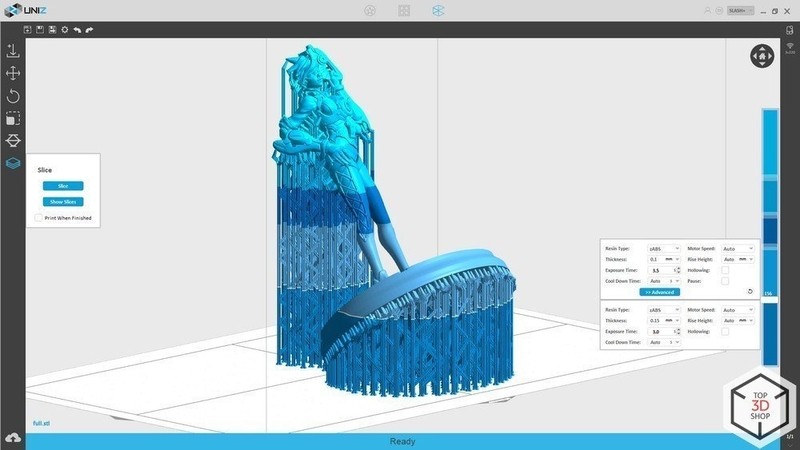
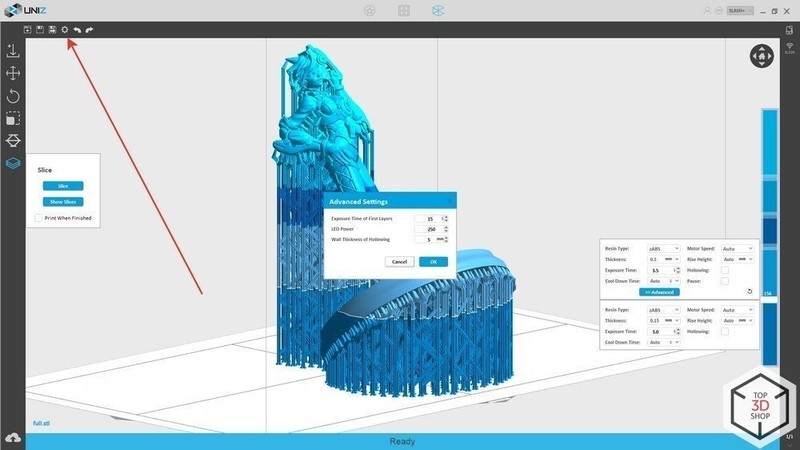
In the slicing menu, we can configure an unlimited number of transitions between different print settings. It can be a transition from the 0.3 to the 0.1 mm layer, indicating a new exposure time, the speed of lifting and lowering the platform, and the creation of voids in the object.
You can also adjust the lighting power, the exposure time of the first layers, and the wall thickness of hollow objects.
After slicing the object, we can see the printing time, the amount of resin needed and the number of layers.
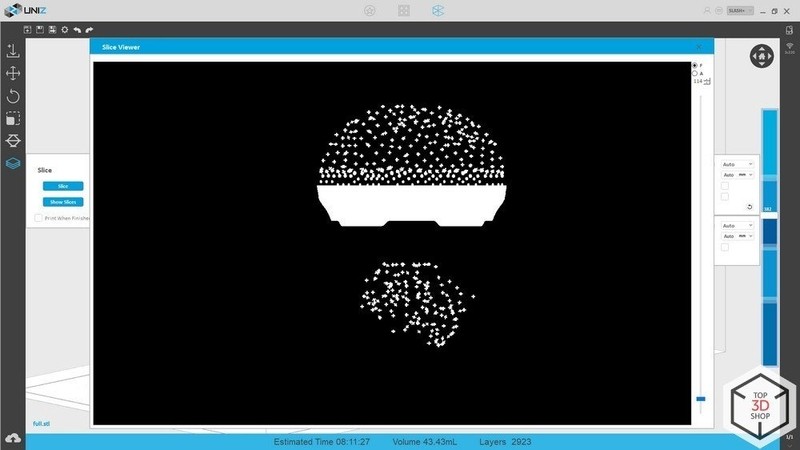
When viewing layers, we can: determine on which layer we will switch to other settings; define where there will be voids in the internal volume of the model; find out whether the growth of the model will begin correctly; identify the vertices of the model without supports.
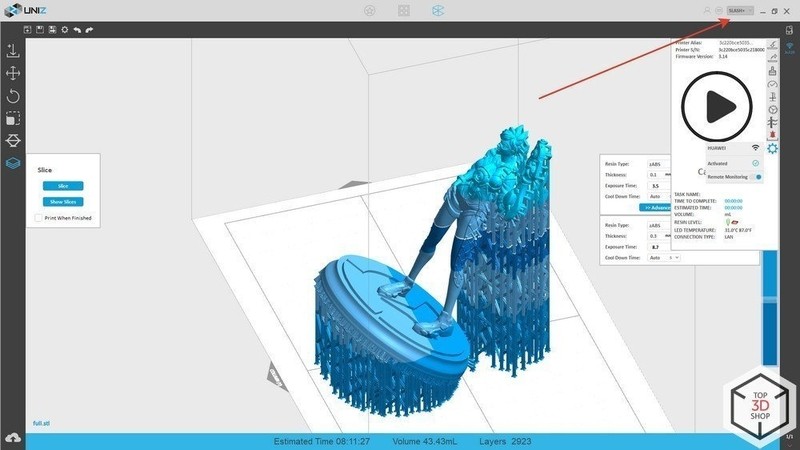
To use this printer, your PC or mobile device must be connected to a single Wi-Fi or Ethernet network.
If you have several Uniz printers of the same type, they will be displayed on the right side, in a column.
Through one interface you can control an unlimited number of devices, print objects, drain resin, prepare the machine for printing in the farm mode.
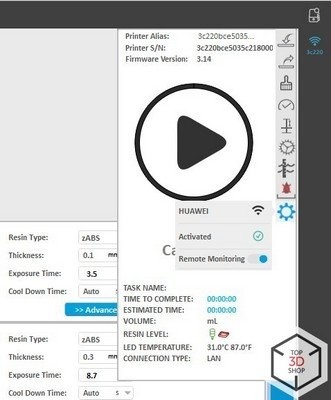
Main printer control keys:
Let's consider the most important points:
3. Short-term illumination of the entire print area
The entire print area is illuminated for one second. The resin layer is polymerized in the vat, which allows you to remove dust and other contaminants from the surface. We don't recommend performing this operation, as the polymer may overheat, shrink, and spoil the film.
It is better to drain the polymer and carefully clean all the trash.
4. Screen operation test with logo projection
This test must be carried out without resin and with an empty bath (or without it).
5. Zero setting during height calibration
Zero is set in the coordinates of the limit switch operation.
7. Configuring the resin auto-level sensor
The sensor is configured by storing the average conductivity at the minimum and maximum polymer levels. If the polymer is a dielectric, auto-level cannot be adjusted.
8. Configuring a Wi-Fi router, turning on the camera, activating the printer
After activating the printer and checking the corresponding box in remote monitoring, you can connect to the camera from your smartphone and monitor the printer.
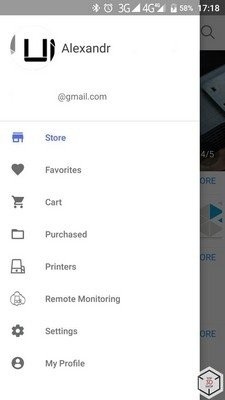
Main menu.
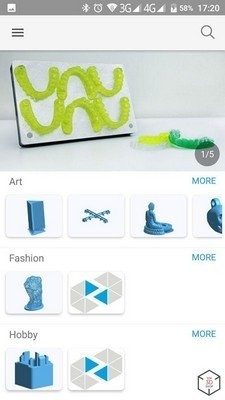
Model selection menu.
The mobile device control menu allows a user to access the browser with models, printer control menu, remote monitoring, and FAQ about the printer.
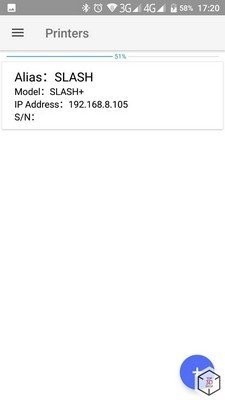
In the “Printers” menu you can see all the printers connected via Wi-Fi and connect to them.
Start pouring or draining resin, find out the status of the printing process, the remaining time; pause printing or stop completely.
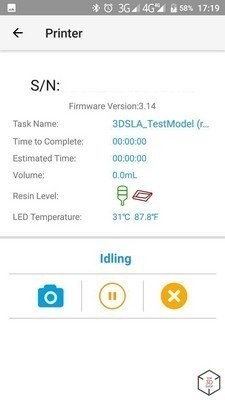
In the Remote Monitoring menu you can take a picture using the printer camera.
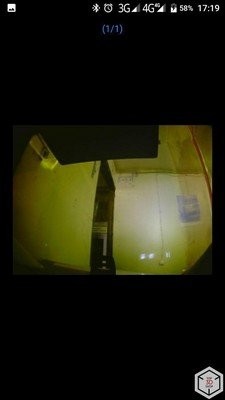
The camera can shoot at night, when there are no external light sources.
After loading a model through the slicer, it is necessary to confirm the start of printing — to press the center touch button with the Uniz logo. Resin is poured in advance.
The slicer doesn't have the capability of creating your own profiles, but you can configure the exposure time, power and layer height of the current process. So, you have to use a notepad and create your table.
Uniz SLASH+ requires periodic close attention. You should always check it for the screen cooling system leaking. The appearance of air bubbles is not a big problem, but it will affect the polymerization time and the general sound of the printer operation.
In normal mode, the printer doesn't require any maintenance except pouring resin and timely replacement of the vat.
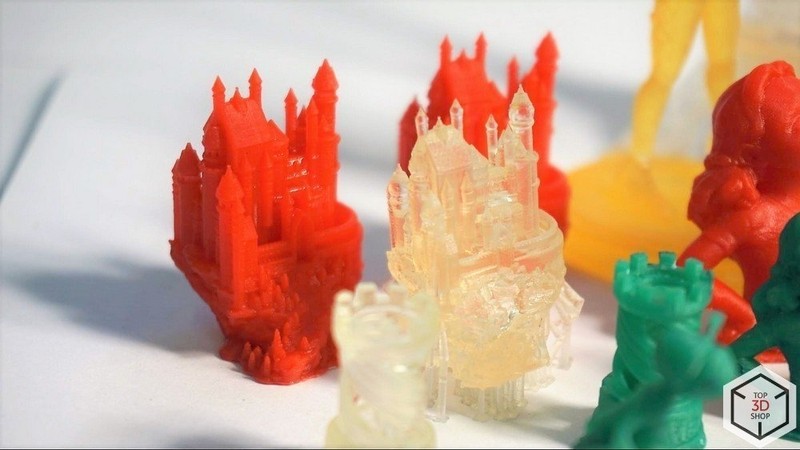
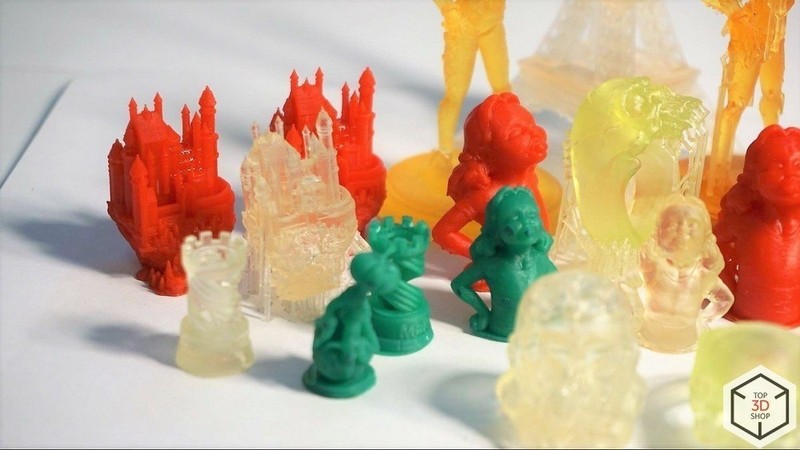
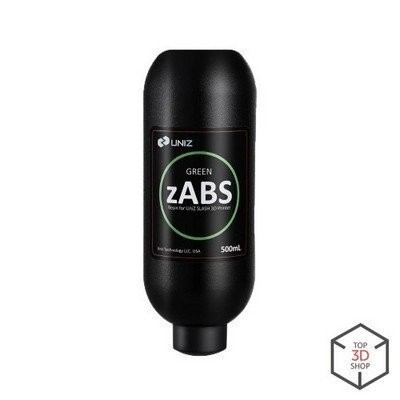
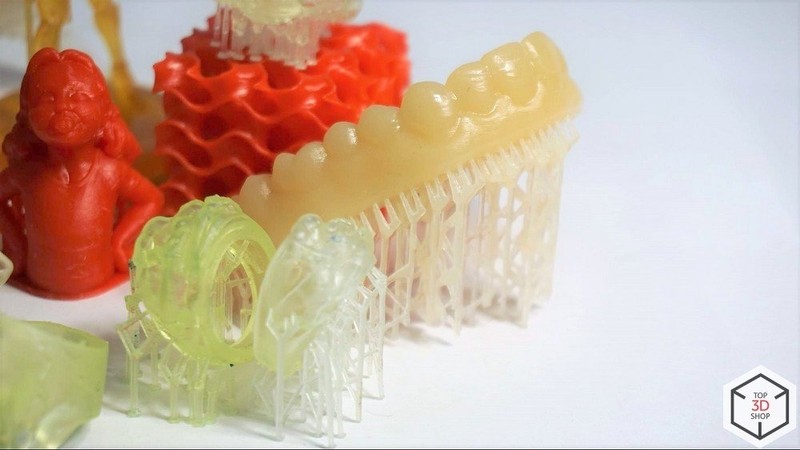
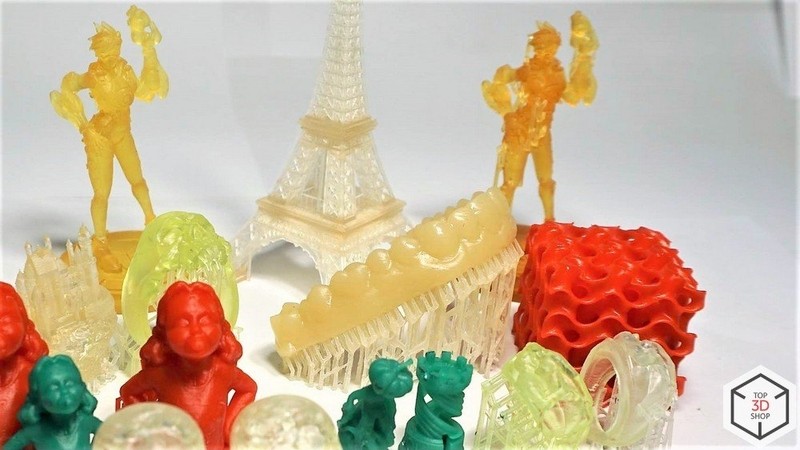
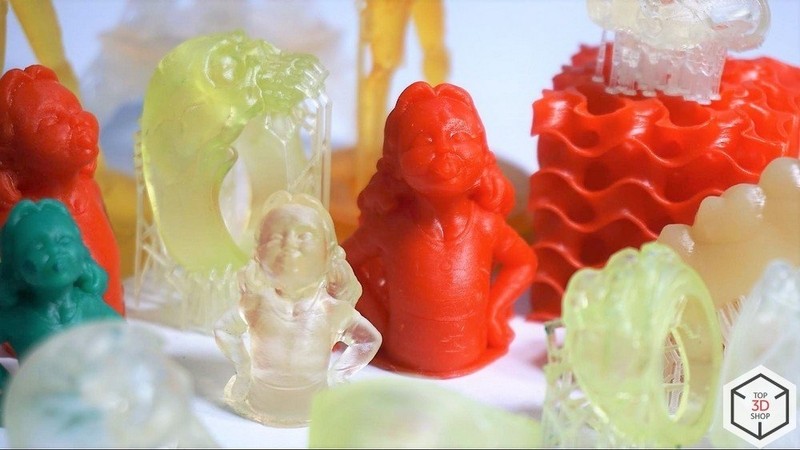
Testing was carried out with Uniz zAbs, zWax and third-party polymers.
Pros:
Cons:
We enjoyed working with the Uniz Slash+ 3D printer. The cooling system of the LCD screen increases its durability, extending the operating time to 10,000 hours without replacement. The reinforced multilayer film in the vat has increased strength, which minimizes the likelihood of resin spillage, adding to the convenience of use.
Remote monitoring and the convenient software management of multiple printers through one device indicate the printer being well suited for the use in 3D printing farms as well.
If you are thinking of organizing a small enterprise with 3D printing or equipping a 3D prototyping workshop, please contact us — we will help you choose, supply and install the necessary equipment to solve your problems.
Update your browser to view this website correctly. Update my browser now


Write a comment