At some point any 3D printing hobbyist will wonder how to edit STL files. Sometimes, the pre-downloaded STL file or your own model is good enough. In other cases, you would need to edit or repair it. There are STL editors that help users with that.
There are two types of programs that allow users to edit STL files:
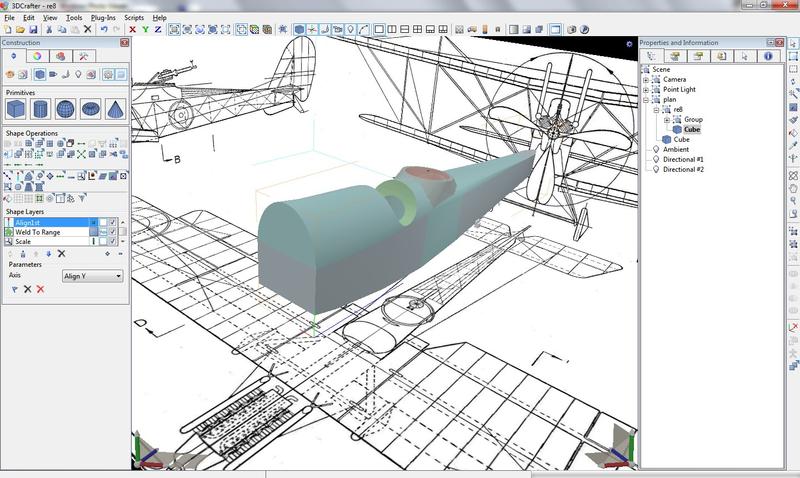
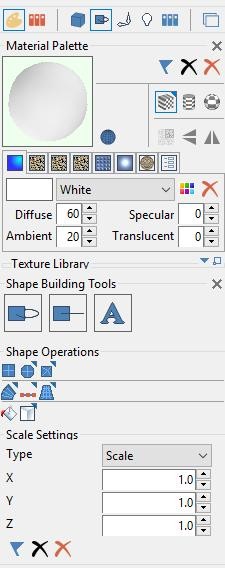
3D Crafter (formerly known as 3D Canvas) is a free 3D editing and animation software available only for Windows. The intuitive interface and simple controls are worth mentioning, as well as extensive animation abilities. The program supports importing and exporting a wide variety of file formats, including STL. The built-in tools make 3D Crafter a good choice for easy editing. The main shortcoming is the lack of the native ability to export STL in the free version, but you can get the Pro one rather cheaply or save files in other formats.
Opening STL files
Go to File > Import > StereoLithography (stl) and choose the object you want to import.
Editing STL files
1. Press the wheel of your mouse and move the mouse to change the view. You can also use the Orbit button in the toolbar above the model view. The Pan and Zoom buttons help as well. But if you have a mouse available, using it would be faster and more comfortable.

2. Select your part or the whole object using mouse and either right-click on the selected parts or on the rectangle in the lower-right corner of the program. It will bring the list of the options to manipulate and edit your object.

3. The left toolbar has many other tools as well.
4. You can get more tools available by changing the difficulty level in the upper toolbar from Novice tools to Intermediate or Pro Tools.

5. If you still struggle, the program has a short built-in tutorial that appears on the right when using it for the first time.
Blender is a free and open-source cross-platform 3D editing software. It's probably the most popular free 3D program on the market. It's used for creation, editing and animation of 3D models in various industries – from video game development to landscape design and construction. STL files can be easily imported and prepared, and there are many algorithms that help working with surfaces.
The program isn't easy to use, requires a learning curve and the amount of features may overwhelm new users. Blender requires a powerful PC for working with complex models but same can be said about many other CAD programs. Blender also wasn't developed with 3D printing in mind, but it's still possible to edit and repair STL files in the software.
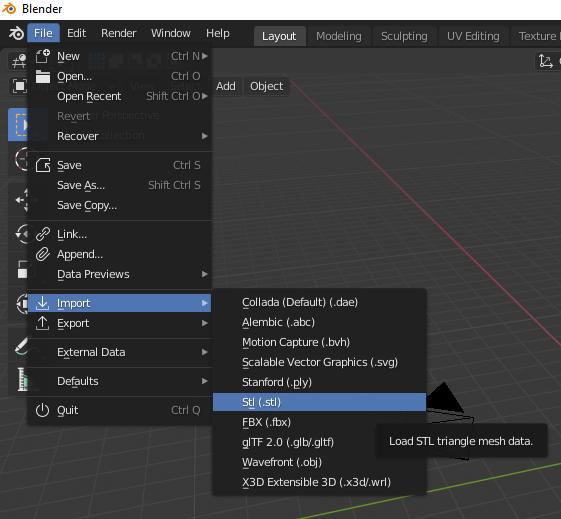
Opening STL files
1. After opening Blender there's usually a default cube present. You can delete it by placing the mouse cursor above it and pressing the 'Del' button.
2. Go to File > Import > STL, choose a file and import it.
Editing STL files
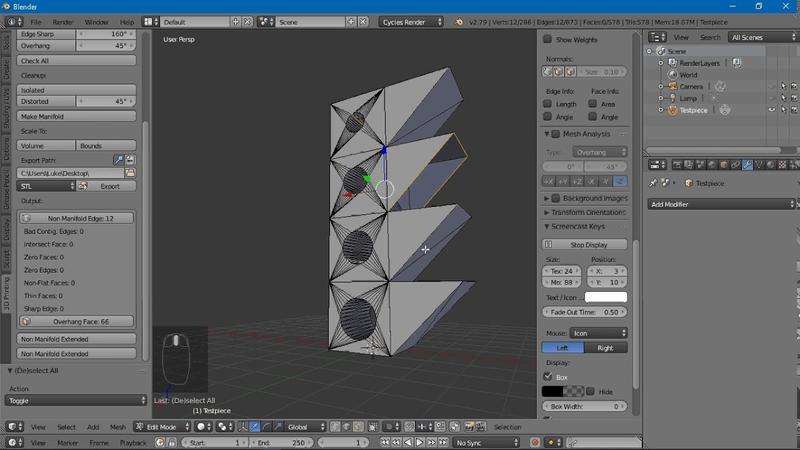
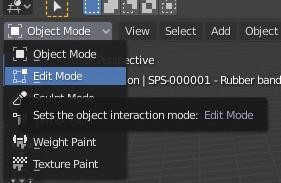
1. Switch to Edit mode. The edges of your model will now be visible.
2. Hitting Alt+L selects all elements. It will allow you to select individual points, planes and edges by pressing RMB.
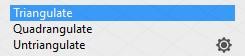
3. Alt+J converts triangles into rectangles.
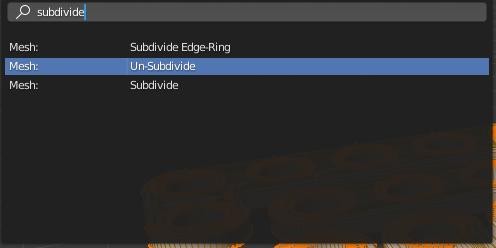
4. Searching for Subdivide or Un-Subdivide grants the ability to change the number of tiles.
5.Selection options Vertexes, Edge or Face select allows you to manipulate the parts of the model
6. You can search for different shapes such as Cube or Sphere to add them the model
7. You can extrude the area by using the Extrude command
8. The Boolean command can be used to cut or merge forms.
Repairing STL
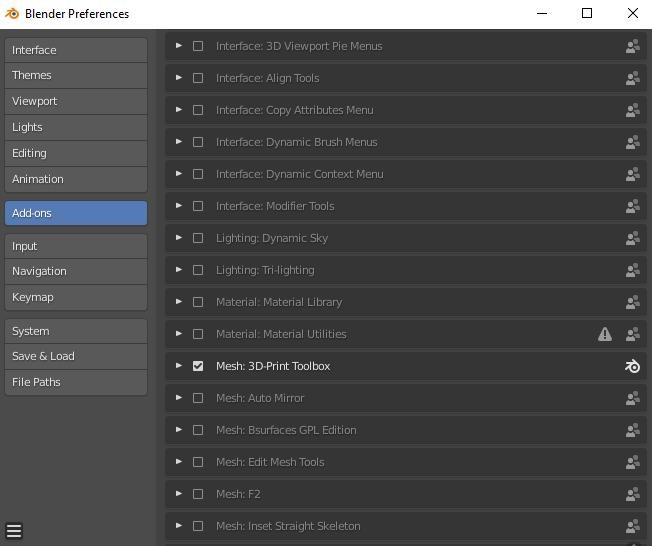
1. Using the 3D Print Toolbox: Edit > Preferences > Add-Ons > Mesh: 3D Print Toolbox. It’s now available in the left sidebar.
2. 3D Print Toolbox can help you fixing the issues with your STL files, the ones that prevent it from printing correctly. Most important issues are:
Overhangs requiring adding support structure.
Wall-thickness shows the thinnest walls that would be problematic to print.
Manifolds.
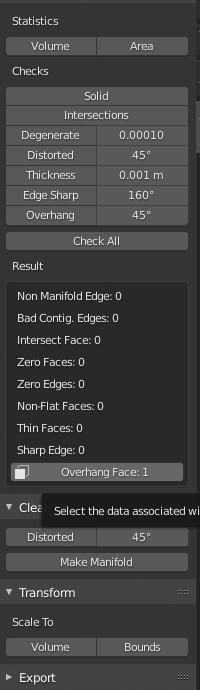
3. Pressing Check All checks for every issues. The list of errors is located at the bottom of the toolbox.
4. Pressing Isolated repairs edges and vertices.
5. The Make Manifold button creates mesh manifold.
Exporting STL
Go to File > Export > Stl to export your model.
Here’s one of the tutorials that show how to fix mesh issues in Blender:
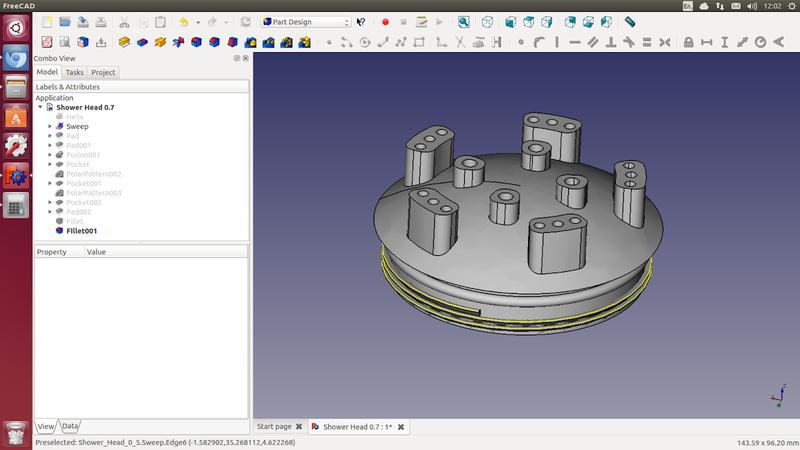
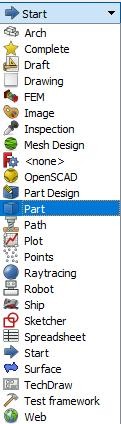
FreeCAD is a free and open-source (LGPLv2+) cross-platform CAD software. It supports full parametric modeling as well as several 2D tools handy for drafting purposes. There are various add-ons that extends the software’s abilities.
FreeCAD is not the best solution for STL editing and repairing but it’s still pretty functional. Among its shortcomings are the lack of a full move-around 3D view and the problems with intercepting structures.
Opening STL files
1. Open the program and go to File > New.
2. Click File > Import and choose the STL file. Other formats such as OBJ and AST are also supported. FreeCAD can open other mesh formats such as OBJ and AST as well.
3. Change the workbench to Part.
4. Select the model you just imported in the Model window.
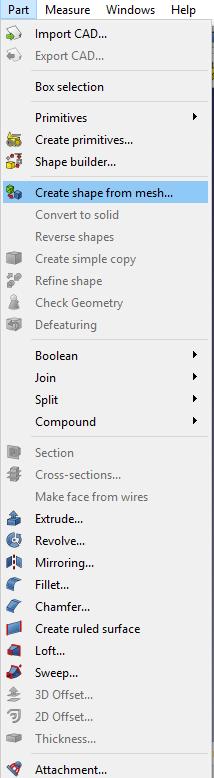
5. Go to Part > Create shape from mesh. The object will be split into several triangles. The precision of the process can be changed, but 0.10 will be good enough for the majority of objects.
6. The mesh can now be deleted or hidden.
7. Click Advanced utility and select Solid from shell. Choose any object with triangles, click on it and then click on the Create button. Click Close. The object is now solidified.
8. The old shape can now be deleted and hidden. Your solid object is ready for editing.
Editing STL files
1. Change the workbench to Part Design.
2. Choose where you want to add or remove material, click on the surface so it's highlighted.
3. Click Create Sketch.
4. Create a shape you want to manipulate using the tools for drawing.
5. Click Close. Double-click on the model tree if you want to edit your sketch.
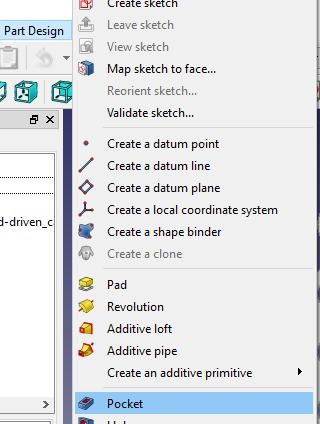
6. You can use the Pad for extrusion. And the tool called Pocket allows you to cut.
Repairing STL
1. Switch workbench to Mesh Design.
2. Go to Meshes > Analyze > Evaluate & repair mesh.
3. You can choose any possible defect in the list and click the Analyze button.
Choosing the All above tests together window and clicking Analyze works like a 'select all' option and looks for all of the possible defects.
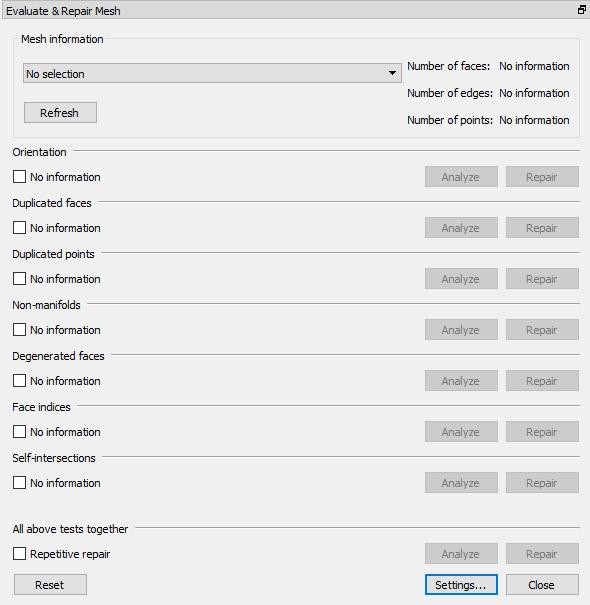
4. Click Repair.
Exporting STL
Select the last feature in the model tree. Then go to File > Export and choose Mesh formats.
Here’s a good video (no commentary) that shows FreeCAD’s editing abilities:

MeshLab is a free and open-source cross-platform STL editing and repairing software. It doesn't even have an option to create new objects but the program is a powerful editor. The meshes can be converted and merged and later inspected and repaired. MeshLabs supports working with point clouds and can import and export many different file types, including 3DS, OBJ, OFF and, of course, STL.
Opening STL files
Go to File > Import Mesh and select your model.
Editing STL files
MeshLab can't create new objects but it has various editing tools, especially for merging.
Merging two models:
1. Load both models
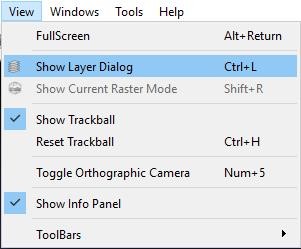
2. Click on Show Layers. Select the models.
3. Select the object in the Layer menu and click on Manipulator Tools to manipulate it.
4. Pressing T uses the Transform option, R allows you to rotate the object and pressing S gives you the access to scaling options.
5. Rotating the view changes the axis you're working in. Use arrows and drag-and-drop functions to manipulate the objects.
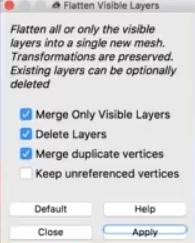
6. When everything is where it should be, press RMB after selecting any part of the combined mesh and choose Flatten Visible Layers. Check the first three boxes and click on Apply.
How to delete a section:
1. Click on Select Face.
2. Click Delete the Current Selected Face and Vertices.
How to repair your object or search for holes:
1. If your model is manifold, click on Fill Hole.
2. A window will appear and show you all the holes. You can select the ones you want to fill, then click on Fill and then on Accept once they're highlighted.
Repairing STL
1. Go to Filters > Quality Measures and Computations > Compute Geometric Measures if you want to check if your object is manifold. A volume file or an error will appear in a window.
2. If it's not manifold (watertight), go to Filters > Cleaning and Repairing > Merge Close Vertices, and apply it.
Go to Filters > Cleaning and Repairing > Remove Duplicate Faces, click Apply.
Go to Filters > Cleaning and Repairing > Remove Duplicated Vertices.
3. Check the file again.
Exporting STL
Go to File > Export Mesh.
This video shows how to repair STL file using MeshLab:
Meshmixer is a free and open-source 3D printing software. It's available for MacOS and Windows and developed by Autodesk. Rich functionality allows for various ways to work with STL files – including editing and repairing (the older versions even used to have a built-in slicer tool). The developers call it a 'state-of-the-art software for working with triangle meshes'. And the amount of features seems to prove that – hollowing, support structure branching and other abilities are useful for editing your meshes.
Opening STL files
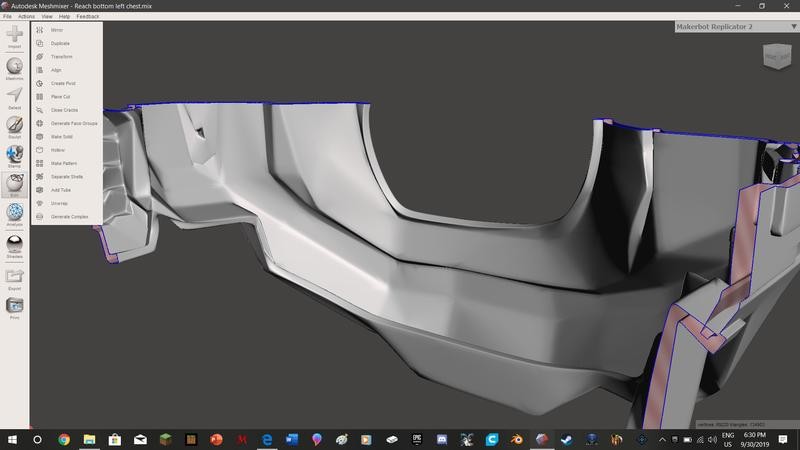
1. Click on Import and choose the model.
2. Go to Edit > Make solid to solidify your object. You can also make it hollow by choosing the 'Hollow' option
Editing STL files
1. The Select option will let you mark the parts of the object.
2. Pressing Del removes the elements you marked.
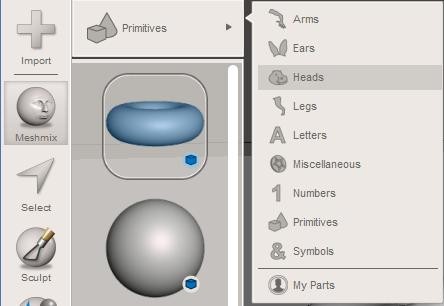
3. The Meshmix option will let you manipulate various forms. They can be combined by using the Sculpt tool. You can switch to using more complex forms. The objects can be easily drag-and-dropped and rotate by using colored arrows. more models by switching from basic forms to for example arms or legs. Drag and drop the object you want to insert. Use different colored arrows to rotate or move your model.
4. Clicking on Sculpt will let you extrude or smoothen different parts.
Repairing STL
1. In the sidebar, click on Print. It will show various tools for repairing and preparation for 3D printing.

2. Select your 3D Printer from the list. If yours is absent, you can add it manually by providing its specs.
3. Click on Repair Selected. This will automatically fix all of the issues in the mesh. You can also hollow it and adjust the minimum wall thickness.
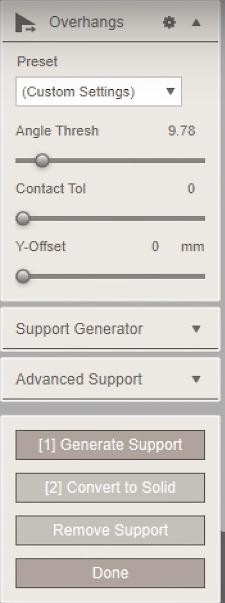
4. Click Add Support for making a support structure. Change the settings according your printer's requirements and click Generate Support. Then choose Done.
5. Once everything is ready, click Send to Printer.
Exporting STL
Go to File > Export and select the .Stl option.
This tutorial demonstrates how you can fix STL with Meshmixer:
SculptGL is a free web-based 3D sculpting software. It's based on WebGL and is rather minimal, including only the necessary tools and features but still manages to be powerful enough. Obviously, it cannot be compared to much more extensive competitors such as Zbrush. But it's the best STL editor for those interested in 3D sculpting.
While it's great for editing, it lacks the ability to repair STL files and sometimes the finished result is non-manifold, which will require using repairing programs (such as those described in the article).
Opening STL files
1. Delete the default shape by clicking Scene > Clear Scene.
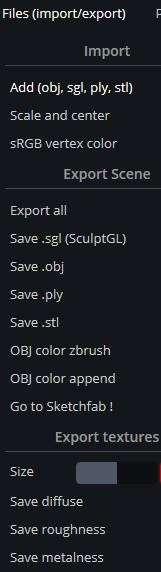
2. Go to File (import/export) > Add (obj, sgl, ply, stl) to open an STL file.
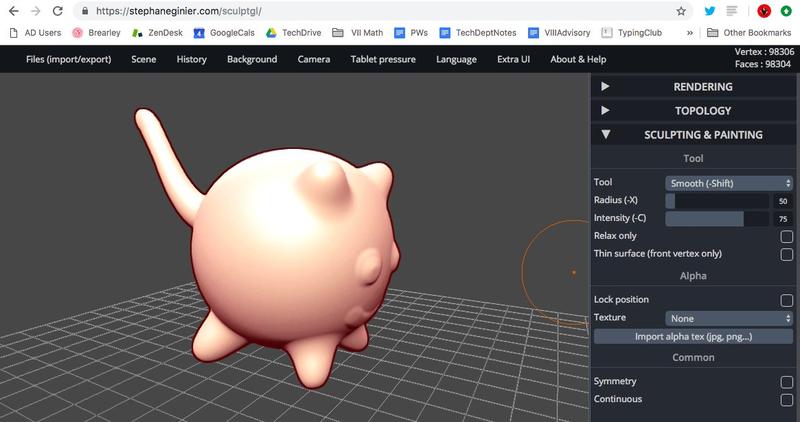
1. Use the Radius slider in the Sculpting & Painting toolbar to control the size of the tool. The tools are used to define the key features of your model. Use the smaller ones for more precise editing.
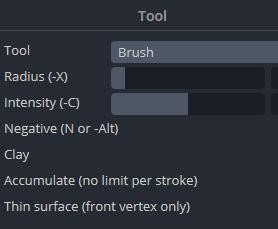
2. Pressing the Symmetry button will help you to streamline the process by mirroring the changes you make in the other half of the mesh.
You can increase the resolution if you run into problems or need to work on smaller details. There are two different ways to achieve so.
Subdividing: go to Topology > Multiresolution > Subdivide.
Remeshing: go to Topology > Voxel Remeshing > Resolution, select the resolution and click the Remesh button.

Exporting STL
Go to File (import/export) > Save STL.
SketchUp is a paid 3D modeling and editing CAD software available for Windows and macOS. It has two free versions – web-based SketchUp Free (which won’t be covered in this article, because it doesn’t support STL editing and repair) and a discontinued (but still available at the website) version called SketchUp Make. The program is powerful and is widely used by the professionals. Its abilities can be extended by various plugins, including the STL plugin which will be covered below.
Installing the STL plugin
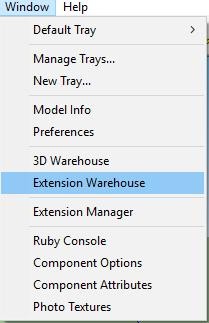
1. Go to Window > Extension Warehouse.
2. Search for SketchUp STL, log in using Google account and install it.
Opening STL files
Go to File > Import… Choose the STL type. Browse for your model. Browse for the object you want to open and import it.
Editing STL files
1. The Eraser tool can be used to remove the triangles' edges, so at the end you will get a rectangle. The Pencil will let you to create new sketches..
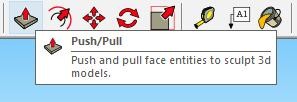
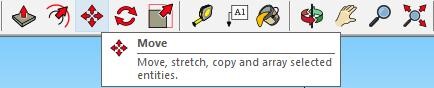
2. The Push/Pull feature and the Move tool allow you to manipulate the model after finishing the sketches.
Repairing STL
SketchUp lacks the STL repair ability out of the box, but you can get the feature using various plugins. We recommend installing the free plugin called Solid Inspector.
1. Install the Solid Inspector Plugin by going to Extension Warehouse.

2. Select the mesh and click the Solid Inspector button that is now available at the toolbar.
3. The list of errors will appear.
4. The Tab feature (Shift+Tab) will help you check all the errors of the STL file and zoom.
5. The errors can be automatically fixed by pressing Fix or Fix All buttons.
Cleanup is another useful plugin that can help deleting hidden or redundant geometrical feature.
Exporting STL
Go to File > Export and choose .stl format.
This video shows how to work with STL files in SketchUp:
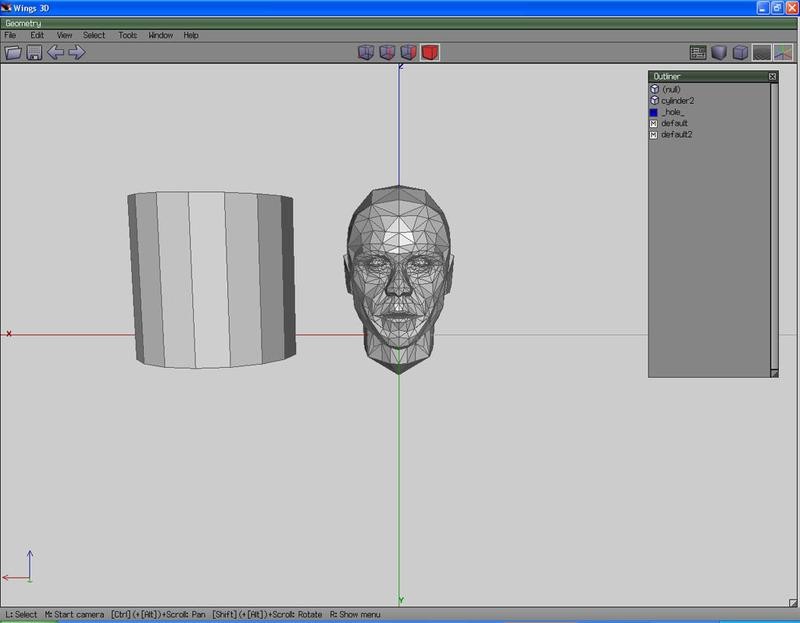
Wings 3D is a free and open-source (BSD licensed) 3D software. It’s a rather simple and minimalistic program, which is pretty useful for creating basic models before exporting them to more powerful editors (such as Blenders). It works with its own .wings format, but it supports various other file formats, including STL and OBJ. The software lacks repairing features, but it’s STL editing capabilities are very useful and impressive for such a simple program. The functionality of Wings 3D can be extended by using different plugins.
Opening STL files
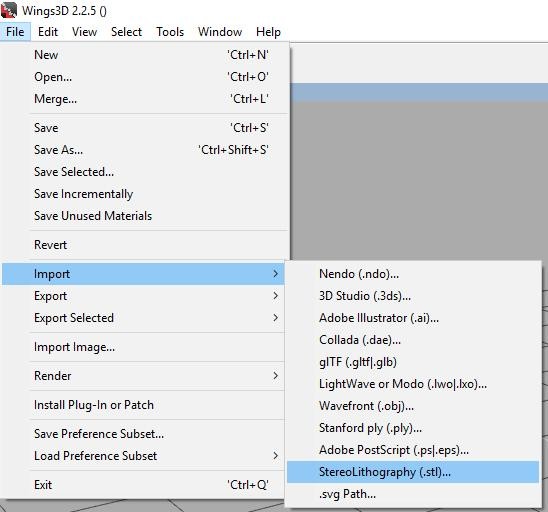
Go to File > Import > StereoLithography (.stl)… and choose the object you want to import. Keep in mind that Wings 3D will open your model to a random scaling, since the program doesn’t measure the size of the imported model.
Editing STL files
1. The toolbar above the model window shows different selection modes: Vertex, Edges, Face and Body. Choose one you want to work in.
2. Select the part or the whole object so it’s highlighted.
3. Press RMB and see the options available. There will be a long list covering everything from moving and rotating to more complex abilities.
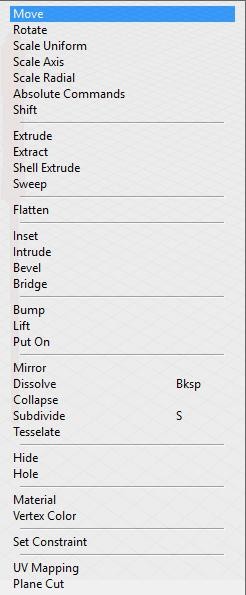
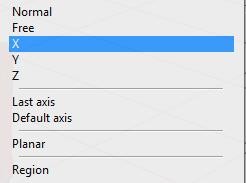
4. Move and rotate options are rather intuitive – you just click on them and choose the axis you want to work in. After that you just manipulate the elements with your mouse.
5. The Absolute Commands option allows you to precisely manipulate the object setting the exact parameters.
6. While working in the Face Selection mode, right-clicking the chosen parts will show the Tesselate option. It will make possible to convert triangles of your object to rectangles, vice-versa and other options.
Exporting STL
Go to File > Export > StereoLithography (.stl)…
If you only want to export some parts, select the ones you need and go to File > Export Selected > StereoLithography (.stl)…
Here’s a tutorial covering the first steps of using Wings 3D:
Update your browser to view this website correctly. Update my browser now


Write a comment