Users of Phrozen resin 3D printers are often faced with the question of how to reflash their printer (i.e. to replace its firmware) when it starts to malfunction.
Read the detailed instructions for flashing Phrozen 3D printers.

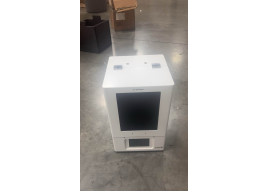
If, after turning on the 3D printer, the loading screen “freezes” for more than 5 minutes, then its firmware must have malfunctioned and therefore needs replacement. Replacing the hardware in the printer is called (re)flashing.
Source: phrozen3d.com
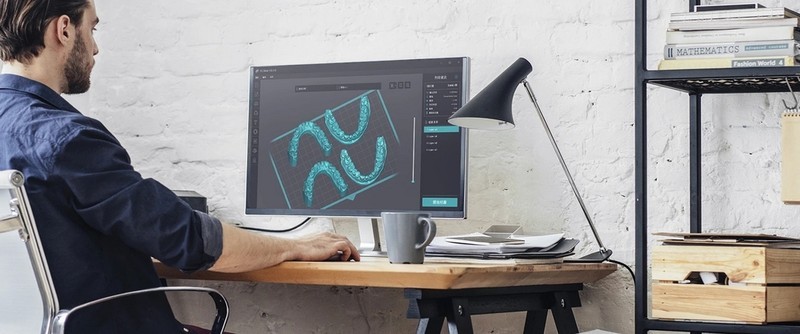
Firmware is the “brain” of the 3D printer, or rather, the program that helps the device read G-code. Depending on the modification, the firmware contains some additional information, for example, on operating the printer via interfaces. In Phrozen printers, the firmware is located on a micro SD card that can be easily removed from the back of the printer.
Before starting the process, you need to download the firmware. Firmware images for Phrozen printers can be downloaded from the manufacturer's official website.
Look for your printer model in the SD Image tab.
Source: phrozen3d.com
To flash the 3D printer, two programs must be installed on the personal computer: SD card Formatter and win32diskimager. You can download them here.
Turn off your printer. Remove the micro SD card from the device and insert it into a card reader connected to the computer.
Then use SD card Formatter to format the card by selecting Quick Format.
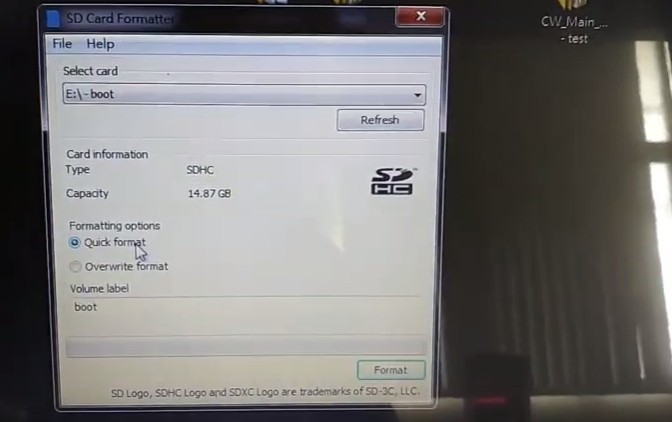
Source: youtube.com
Open win32diskimager and click on the blue folder icon located next to the search bar.
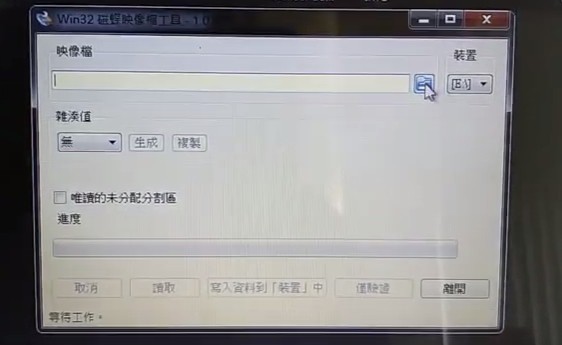
Source: youtube.com
Select the .img file that you previously downloaded to flash your printer.
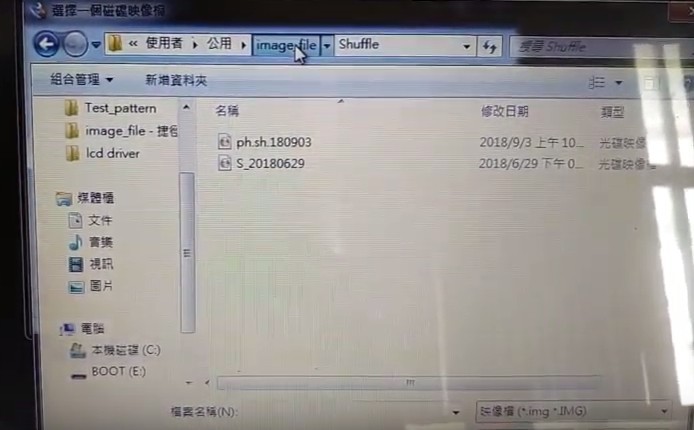
Source: youtube.com
The name of the selected file will appear in the search bar. Click the Write button and wait while the file is written to the SD card.

After the process is complete, click OK and remove the memory card from the card reader.
Return the card to the appropriate slot of the printer and turn on the device. The loading may take 2–3 minutes.
If the problem persists, you have to replace the micro SD card with that of the same size (in this case, 16 GB) and type (in this case, HC) and repeat the operations described above.
Update your browser to view this website correctly. Update my browser now

Write a comment